As a survivalist, it is essential to have a diverse range of skills and resources at your disposal. One such valuable resource is gold, which can be used as a currency in emergency situations.
In this blog post, we will explore a useful DIY project that involves extracting gold from old computer memory chips.
By refining and smelting the gold, you can turn what would have been considered electronic waste into a valuable resource.
.
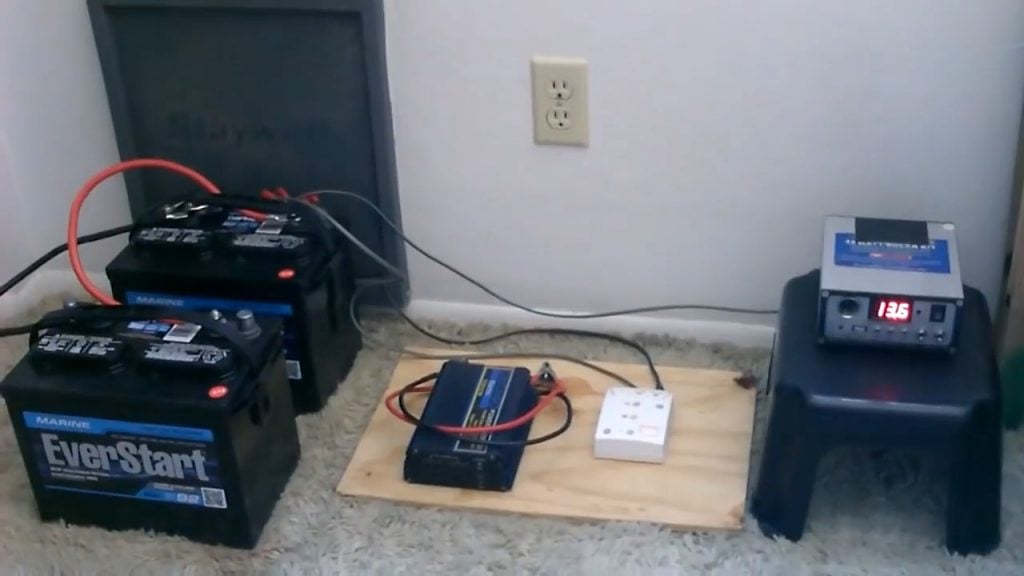
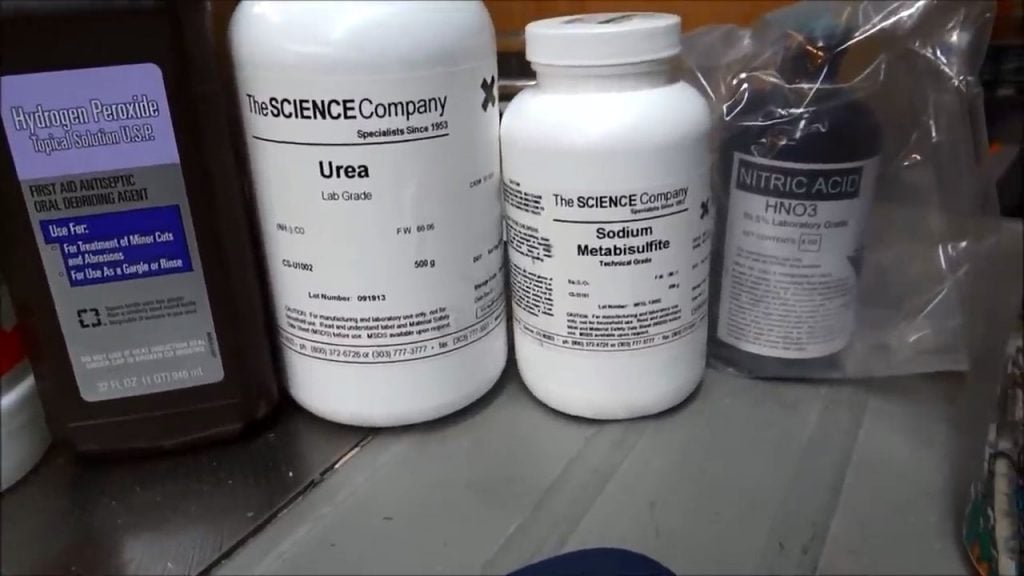
STEP 1 : MATERIALS REQUIRED
To extract gold from old computer memory chips, you will require several materials. These materials include muriatic acid, hydrogen peroxide, urea, sodium metabisulfite, and nitric acid.
Muriatic acid, also known as hydrochloric acid, is used to dissolve the base metals present in the gold fingers.
Hydrogen peroxide is used to clean and remove any dirt or debris from the gold fingers before the refining process.
Urea is added to the mixture to neutralize the acid used during the refining process. Sodium metabisulfite is used to precipitate any gold that may have been left in the solution.
Finally, nitric acid is added to the mixture to dissolve the remaining base metals and impurities, leaving behind pure gold. These materials are readily available and can be purchased at hardware stores or online.
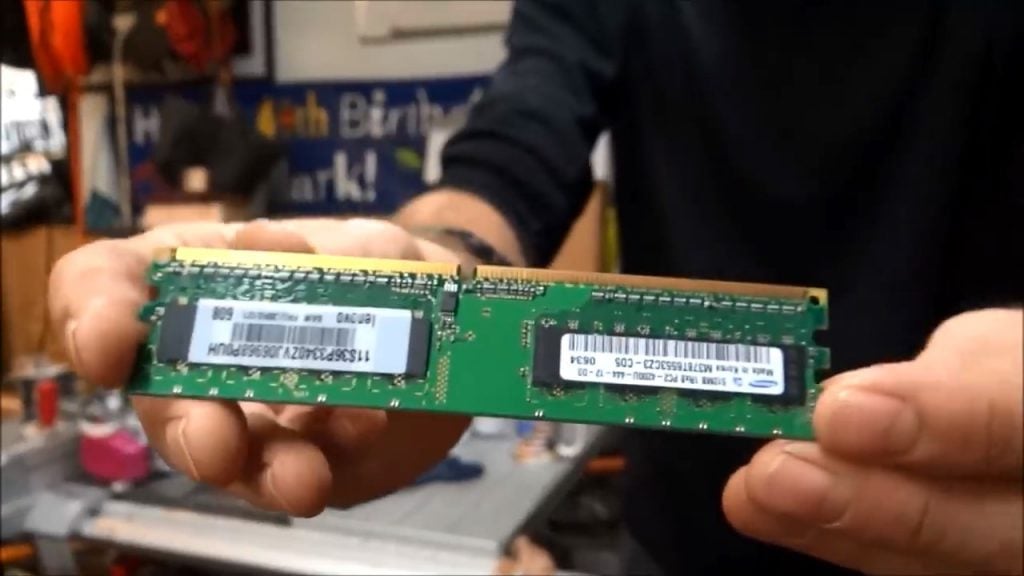
STEP 2 : COLLECTING THE GOLD FINGERS
The first step in extracting gold from old computer memory chips is to remove the gold fingers from the chips.
To do this, you will need heavy-duty scissors to cut off the little gold fingers from the chips. It is important to handle the memory chips with care and to avoid damaging them while cutting.
To ensure maximum yield, it is recommended that you get right to the edge of the gold and cut it off, leaving behind as little waste material as possible.
Once you have cut off the gold fingers, you should carefully collect and store them in a safe container until you are ready to proceed with the refining process.
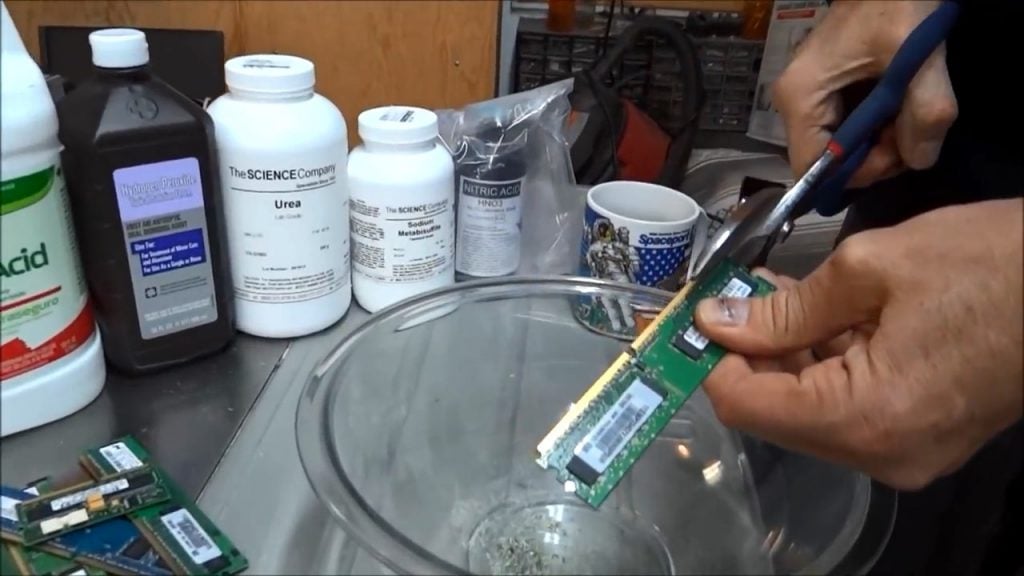
STEP 3 : ADDING HYDROGEN PEROXIDE AND MURIATIC ACID
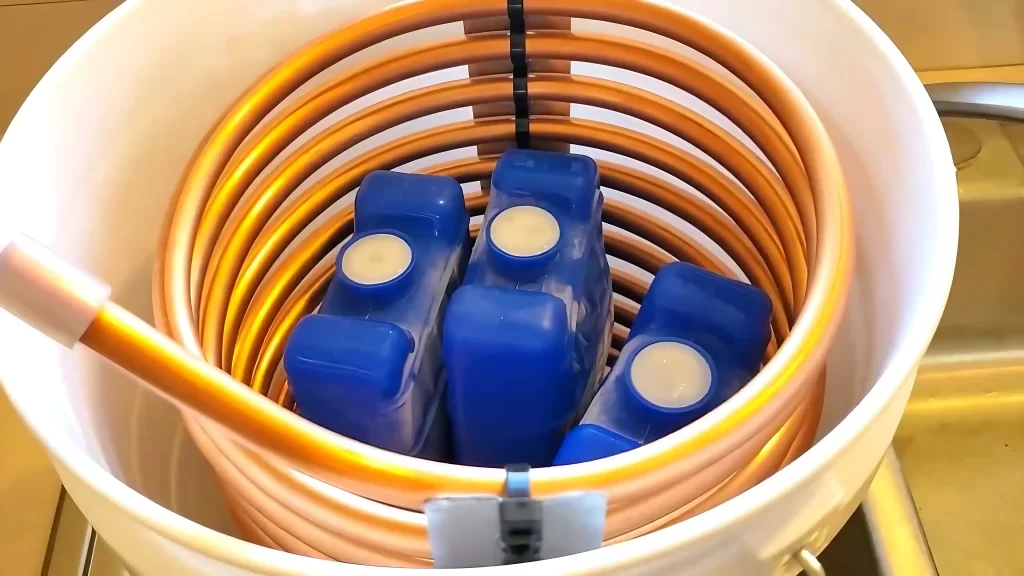
Once you have cut off the gold fingers from the memory chips, the next step is to transfer them to a plastic container.
It is important to use a container that is large enough to hold all the gold fingers without crowding them.
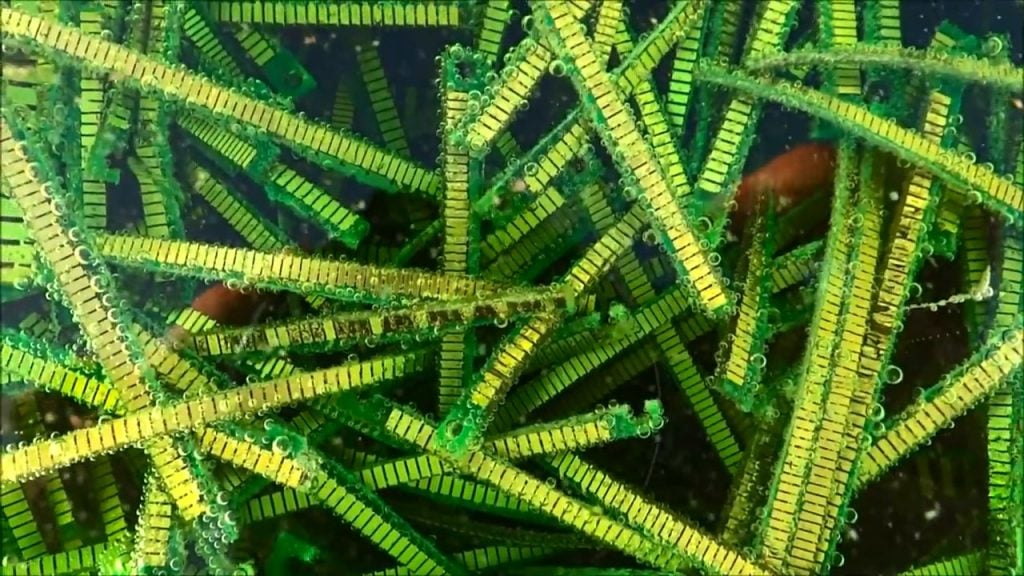
Once you have transferred the gold fingers to the container, the next step is to add equal parts of hydrogen peroxide and muriatic acid to the container.
Hydrogen peroxide is used to clean the gold fingers and remove any dirt or debris that may be present on them. Muriatic acid, also known as hydrochloric acid, is used to dissolve the base metals that are present in the gold fingers.

After adding the hydrogen peroxide and muriatic acid to the container with the gold fingers, it is important to let the solution sit for 24 hours to allow the chemicals to dissolve the base metals present in the gold fingers.
During this time, the container should be left undisturbed to allow the solution to work its magic.
Ideally, you should place the container in an area where it can receive sunlight during the day and bring it back indoors at night.
This is because sunlight can help to speed up the reaction process by providing heat and energy to the solution.
It is important to cover the container with a lid or plastic wrap to prevent any dust or debris from entering the solution.
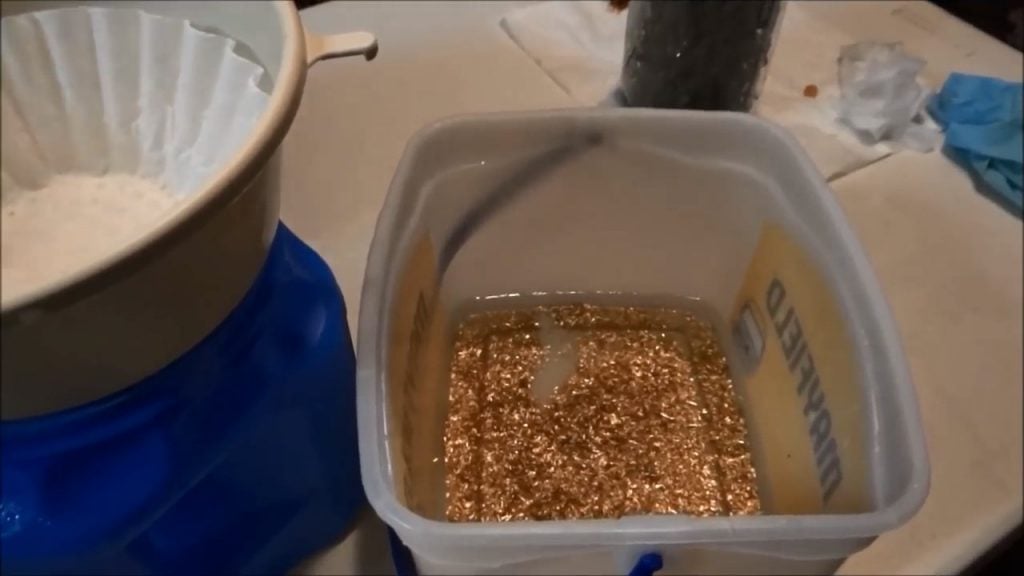
STEP 4 : DRAIN THE MIXTURE
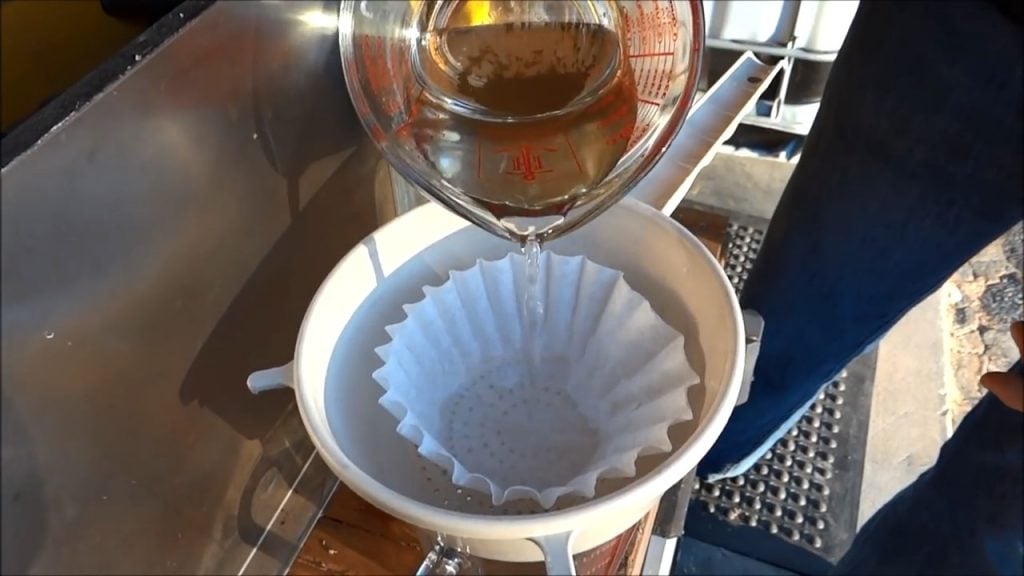
Once the solution of hydrogen peroxide and muriatic acid has been allowed to sit for 24 hours, the next step is to drain the mixture through a coffee filter and into another plastic container.
This process is important to remove any remaining base metals and impurities from the gold fingers. The coffee filter is used to trap any solid particles and leave behind a clear liquid solution containing the dissolved gold.
After draining the mixture, the gold fingers should be rinsed with distilled water to ensure that no gold is left behind.
It is crucial to carefully examine each finger individually and remove any remaining gold particles using a plastic spoon or tweezers.

Once you are confident that all the gold has been extracted from the fingers, you can filter the gold granule-filled water using a coffee filter.
It is recommended to add sprinkles of distilled water to the mixture to help move the tiny granules around, ensuring that all the gold particles are collected.
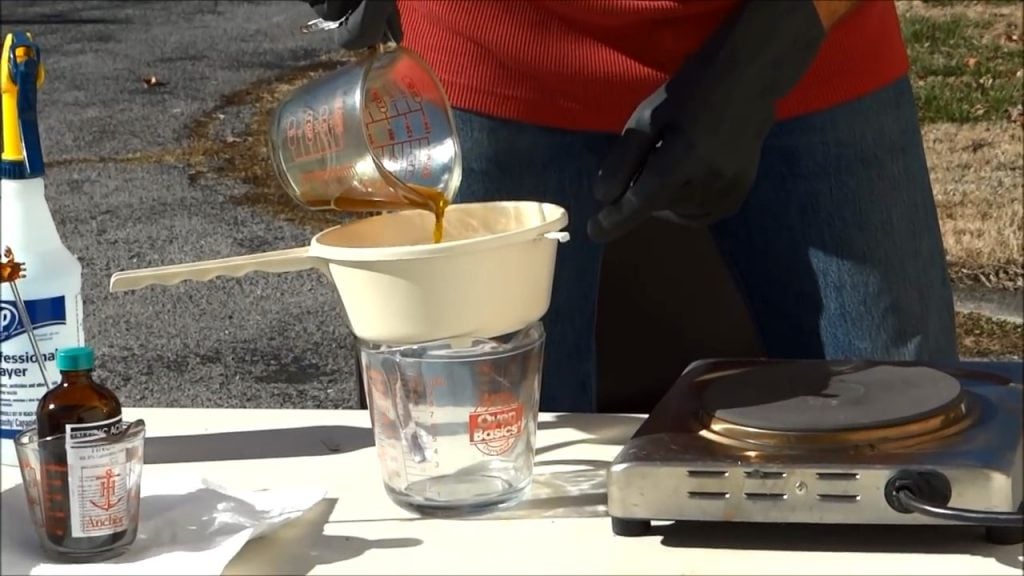
STEP 5 : ADDING NITRIC ACID AND MURIATIC ACID
The next step in the process of refining gold from old computer memory chips is to add nitric acid and muriatic acid to the gold mix that has been collected.
Nitric acid is used to dissolve any remaining base metals that may still be present in the gold, while muriatic acid is used to dissolve any other impurities in the gold mix.
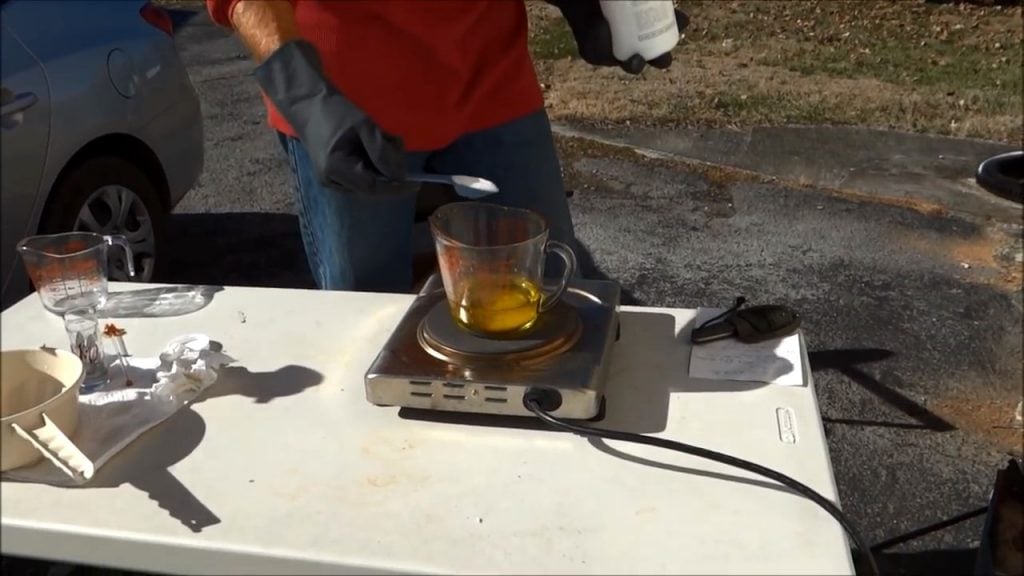
Once you have added the acids to the mixture, you should put it on a hot plate or a coffee maker and turn it low, allowing the gold to dissolve into the mixture.
It is important to stir the mixture continuously to ensure that the acids dissolve the gold evenly.
The heating process can take some time, depending on the quantity of gold being refined.

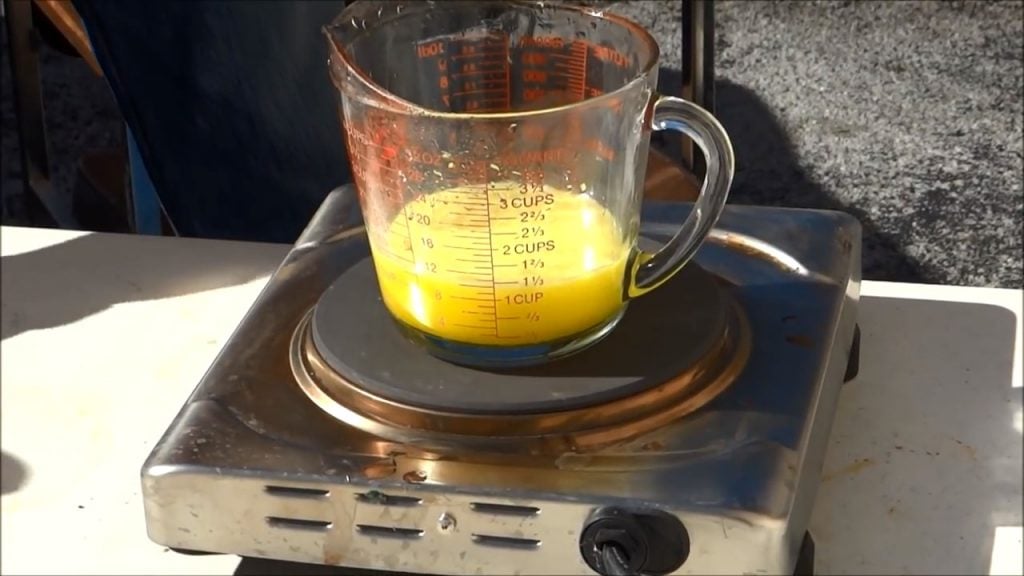
Once the gold has dissolved completely into the mixture, the next step is to strain the mixture through a coffee filter and rinse it with distilled water.
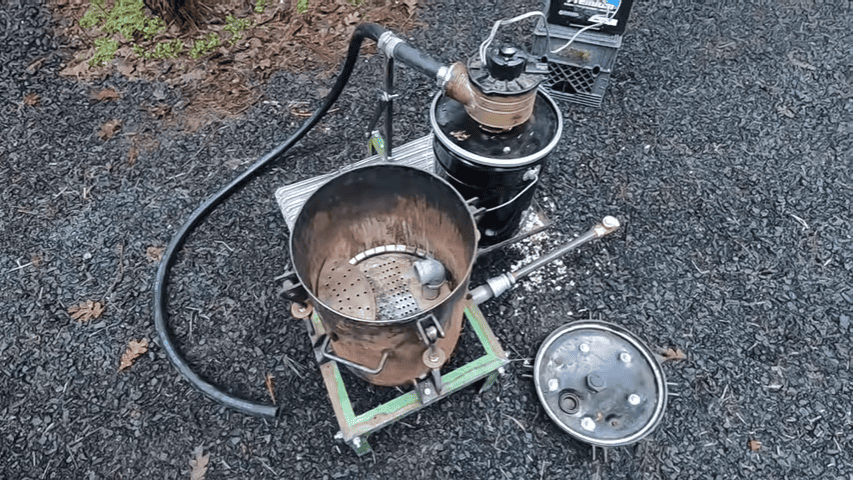
After rinsing the mixture, you should put it on a burner and heat it until it melts.
STEP 6 : ADDING UREA
The next step in the gold refining process involves adding Urea to the mixture containing the dissolved gold.
Urea is used to neutralize the acid in the mixture, which helps to make the gold more stable and easier to work with.
It is recommended to start by adding one tablespoon of Urea to the mixture and then gradually increase the amount until the bubbling in the mixture stops.
This indicates that the acid has been successfully neutralized, and the gold is now in a stable form.
It is essential to stir the mixture continuously during this process to ensure that the Urea dissolves evenly and effectively neutralizes the acid.
Once the bubbling stops, you should allow the mixture to sit overnight to let it settle down.
During this time, the heavier gold particles will settle at the bottom of the container, while any remaining impurities will float to the top.
The final step in the gold refining process involves adding sodium metabisulfite to the mixture containing the dissolved gold. This chemical is used to precipitate the gold out of the solution, causing it to solidify and turn into metal.
It is recommended to add two teaspoons of sodium metabisulfite to the mixture and stir it thoroughly to ensure that it dissolves completely.
As the chemical reacts with the gold in the mixture, you will notice that the liquid gold starts to solidify and turn into metal.
Let the mixture sit overnight and let it settle down. Everything on the bottom is going to be our gold, and it’s going to be ready to smelt.
After the gold concentrate has settled overnight, it is time to collect and smelt the gold.
The first step in this process is to carefully pour off any remaining impurities or debris from the top of the container, leaving behind the gold concentrate at the bottom.
It is important to handle the gold concentrate with care during this process and to avoid disturbing the settled sediment.
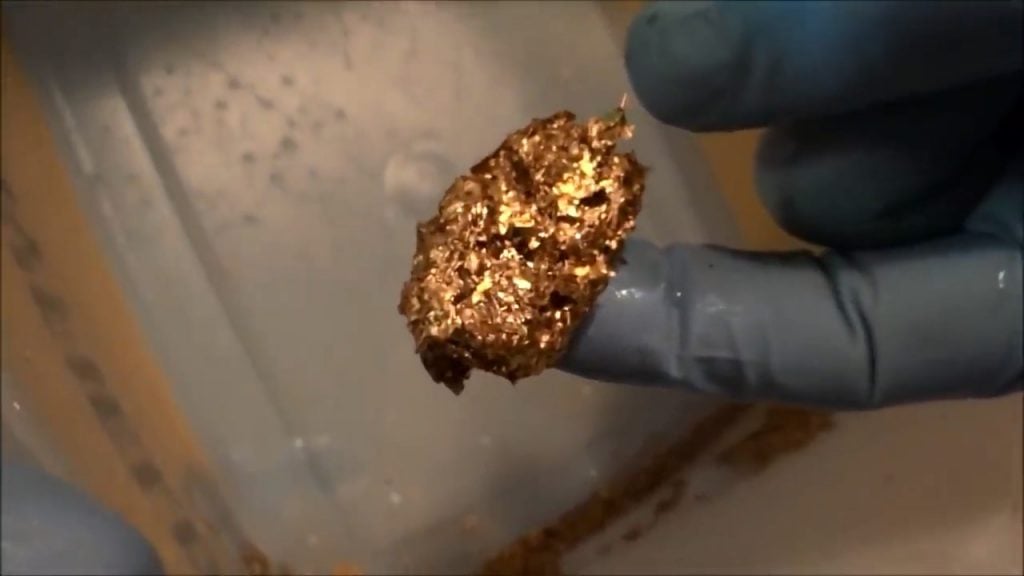
Once you have collected the gold concentrate, you can then heat it until it melts, using a propane torch or a gas stove.
It is essential to heat the gold concentrate evenly to avoid any burning or scorching. As the gold concentrate melts, you will notice that it takes on a shiny, metallic appearance, indicating that it has been successfully smelted.

STEP 7 : TESTING THE PURITY
The next step in the gold refining process is to test the purity of the gold that has been produced. To do this, acids of different strengths are used, depending on the karat of the gold.
For example, nitric acid is used to test 14 karat gold, while aqua regia is used for 18 to 24 karat gold.
A small sample of the gold is placed into a testing solution containing the appropriate acid. If the gold does not react to the acid, such as changing color or dissolving, then it is a sign of high-quality, pure gold.
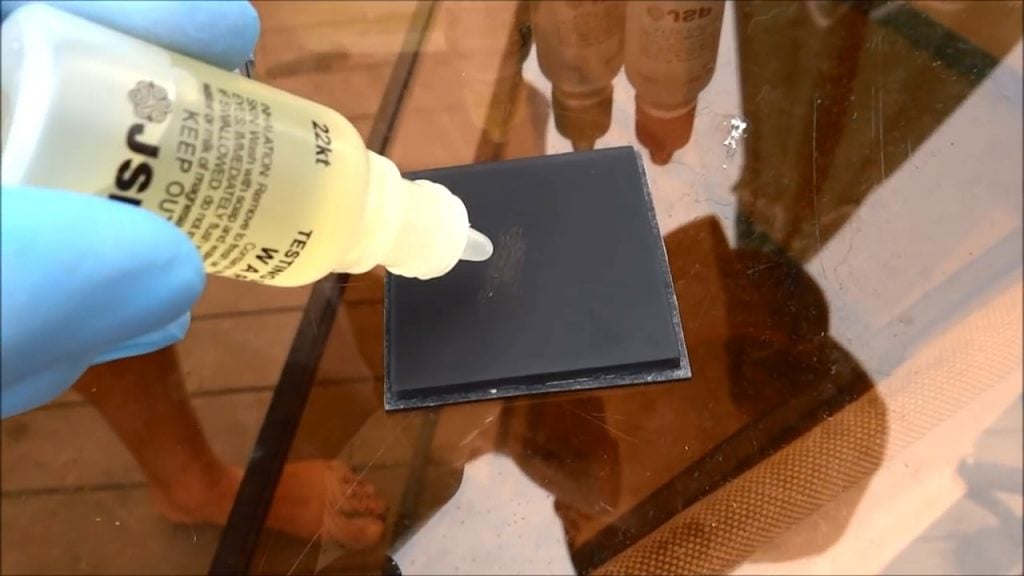
Image Credits : LifeBuzzN