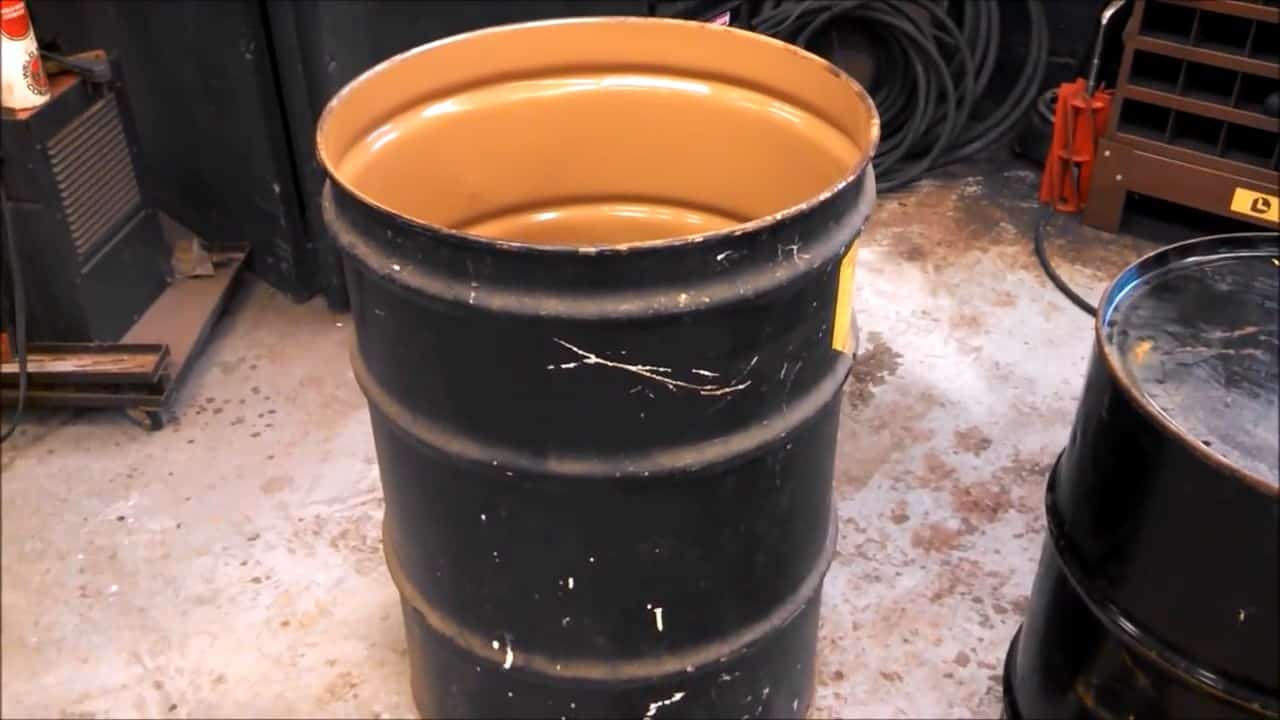
This project entails the construction of a low-cost garage heater utilizing a DIY outdoor barrel stove with a heat exchanger.
The stove itself is built using a readily available 30-gallon drum, and the access doors and legs can be purchased at a local store, ensuring that the project is both affordable and accessible.
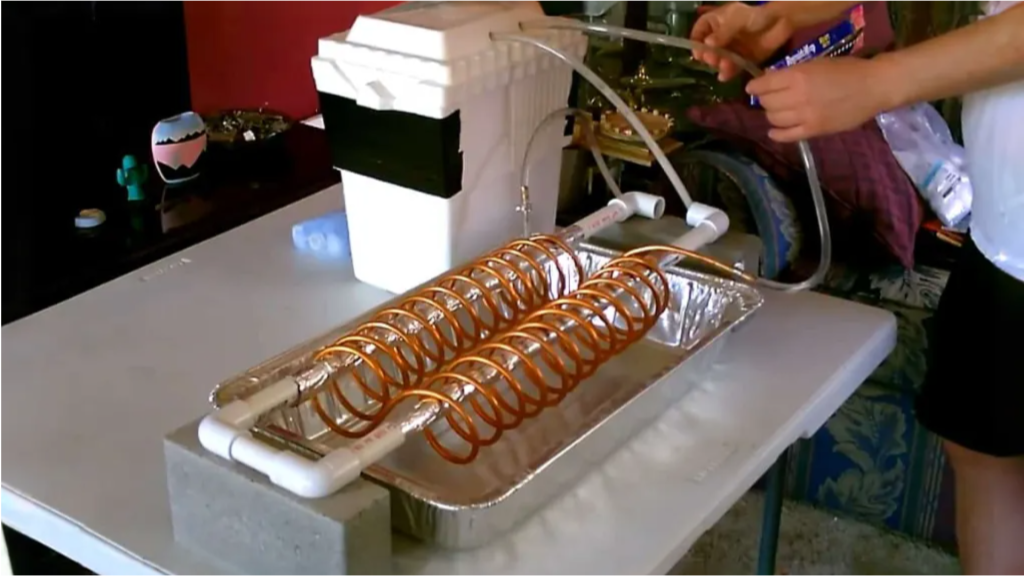
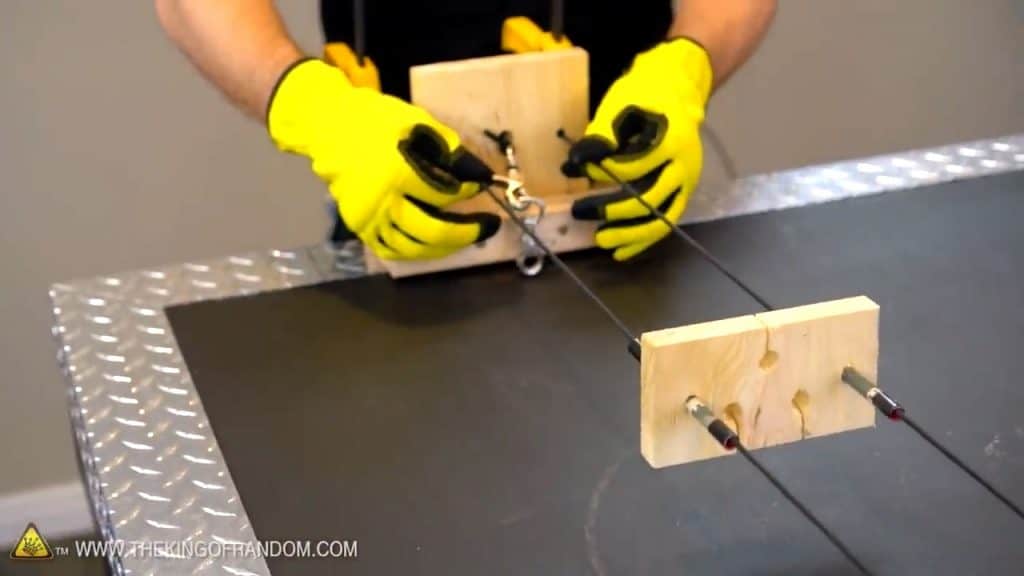
STEP 1 : MAKING THE HEAT EXCHANGER
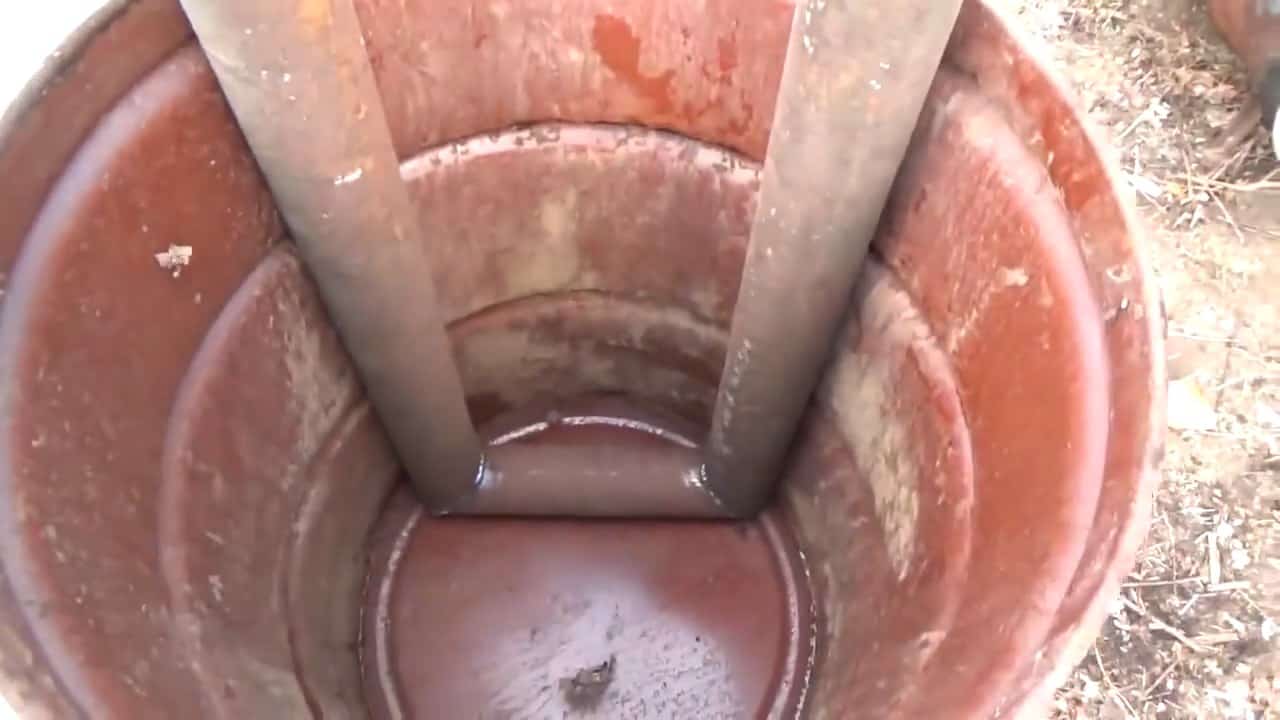
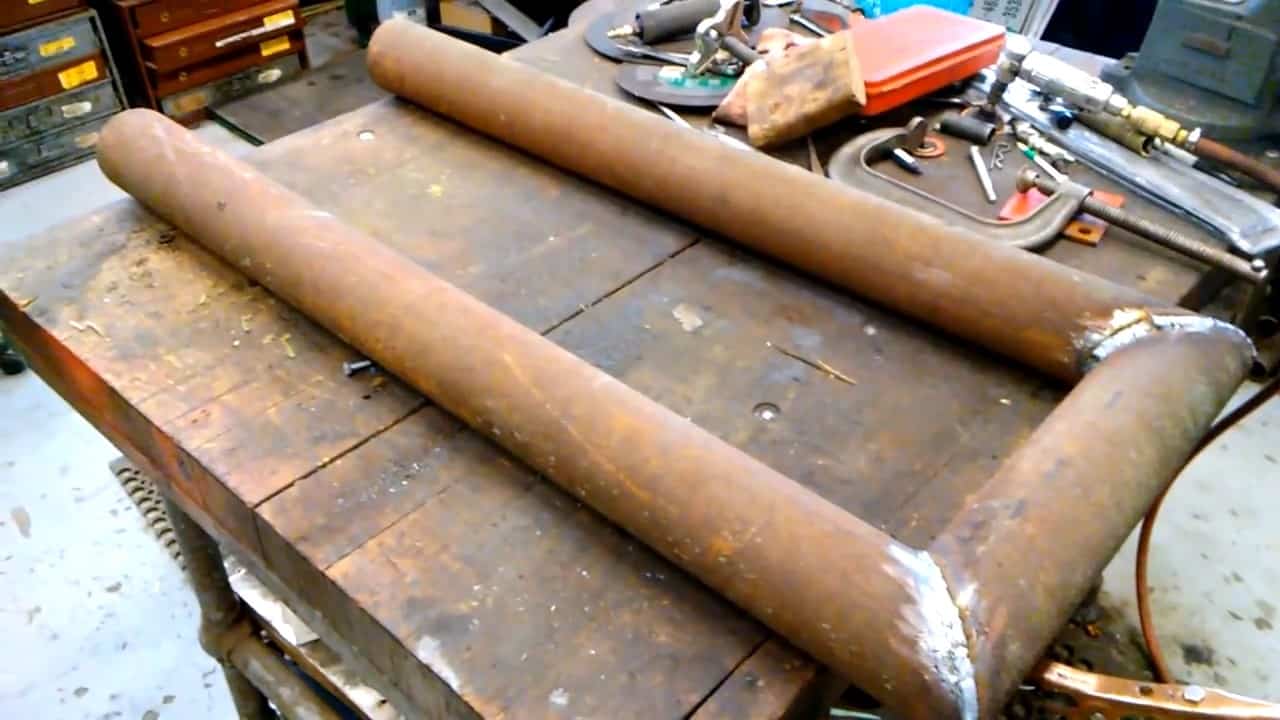
To construct the heat exchanger, we begin by taking two 4-foot pipes and welding them together using another small pipe. The resultant four-inch steel pipe is then placed inside the firebox and connected to the chimney pipes.
It is important to ensure that the pipe is thick enough to withstand the intense heat produced by the stove without sagging or bending.
This pipe heat exchanger is a critical component of the setup and adds positive pressure, which improves the efficiency of the system.
By channeling the hot air produced by the stove through the steel pipe, the heat exchanger ensures that the air is heated evenly and quickly.
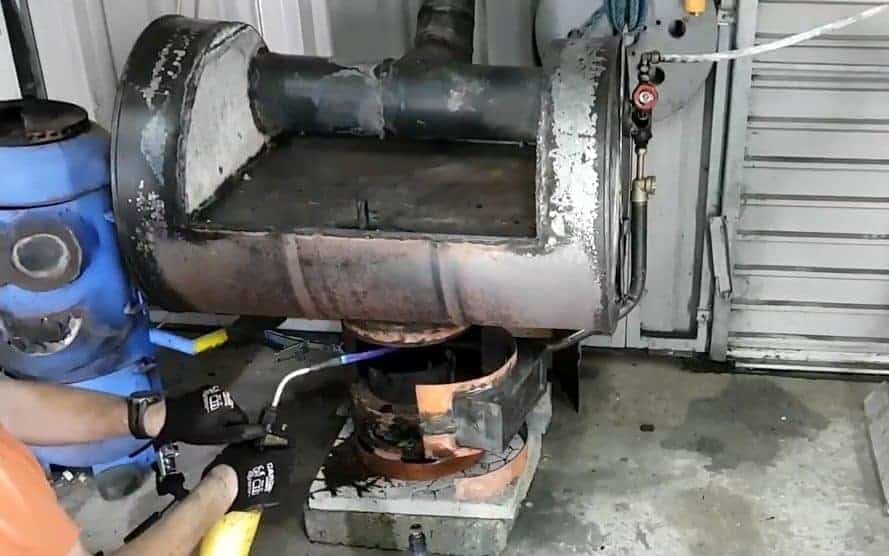
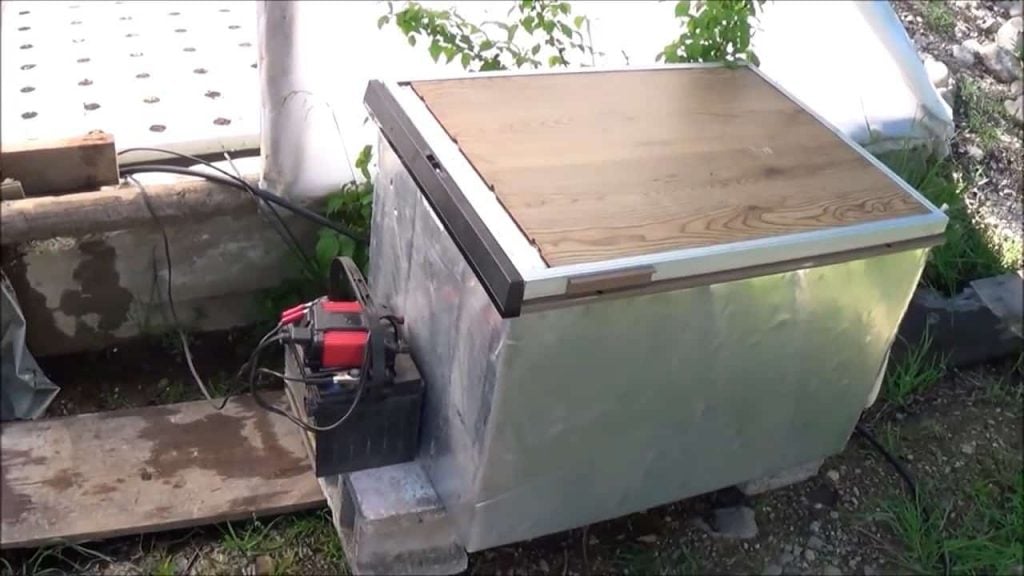
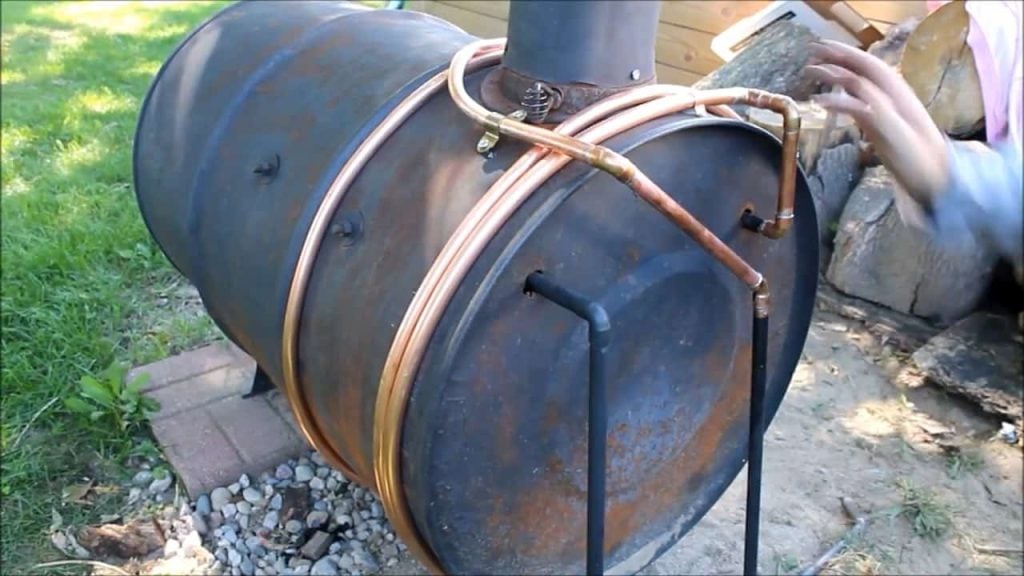
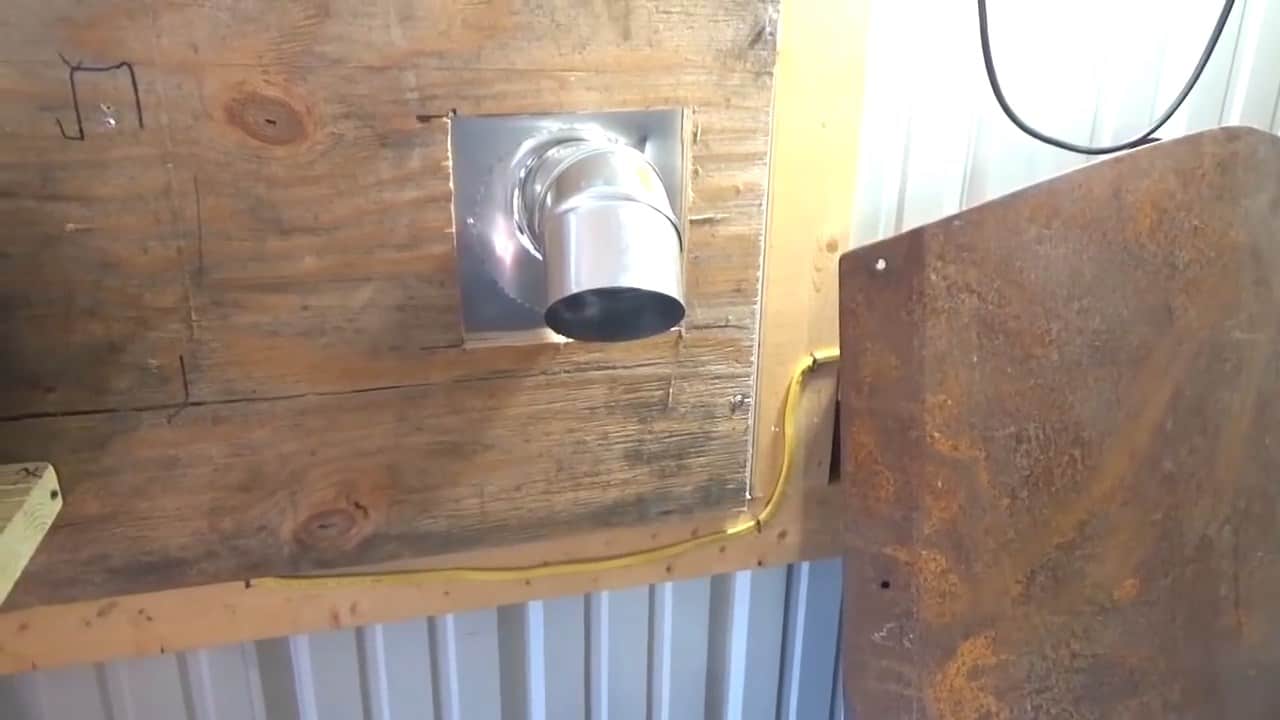
STEP 2: CONNECTING THE CHIMNEY TO THE BARREL
To connect the outdoor stove to the garage, removable hatches are made on one side of the stove. These hatches are designed to connect the two four-inch aluminum flex chimney pipes from the outside barrel to the garage.
The hatches are essential for enabling the transfer of hot air from the stove to the garage while preventing any harmful fumes from entering the garage.
The chimney pipes are designed to release the exhaust gases and smoke produced by the stove safely outside the garage.
It is important to ensure that the hatches are properly fitted to the stove and the chimney pipes to prevent any leaks or inefficiencies.
Proper insulation around the hatches can help to minimize heat loss and increase the efficiency of the system.

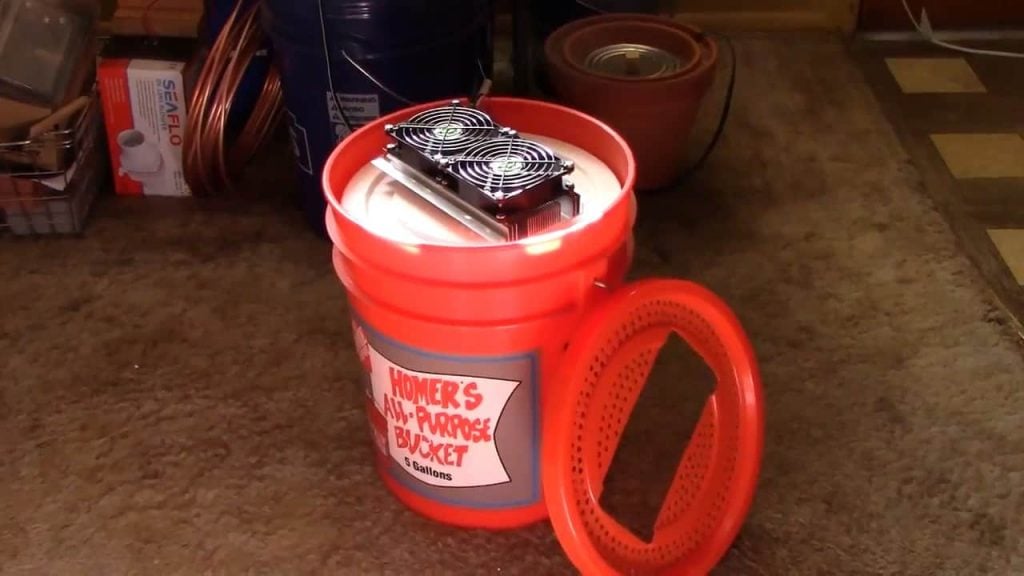
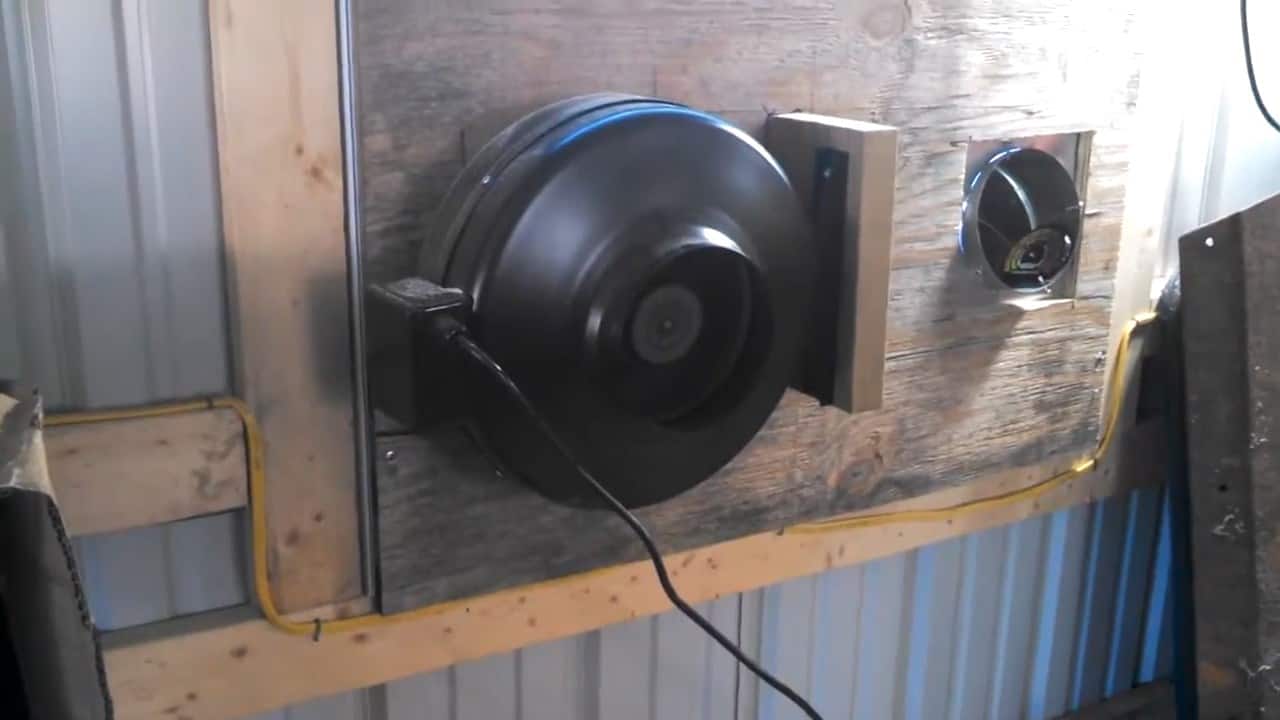
STEP 3 : INSTALLING A BLOWER FAN
Inside the garage, we install a 4-inch exhaust fan blower that is crucial for ensuring optimal air circulation and heating efficiency.
The fan is designed to suck in colder air from the floor and blow it through one of the flex chimney pipes into the stove. This helps to ensure that the air is heated evenly and quickly, providing a comfortable environment in the garage.
The exhaust fan blower we use is a hydroponics duct exhaust fan that we purchased from eBay. This type of fan is highly efficient and can operate quietly, ensuring that it does not disrupt the peaceful environment in the garage.
To maximize the efficiency of the system, it is important to ensure that the exhaust fan blower is positioned correctly to prevent any obstructions or leaks.
The fan should also be regularly maintained to prevent any blockages or inefficiencies.
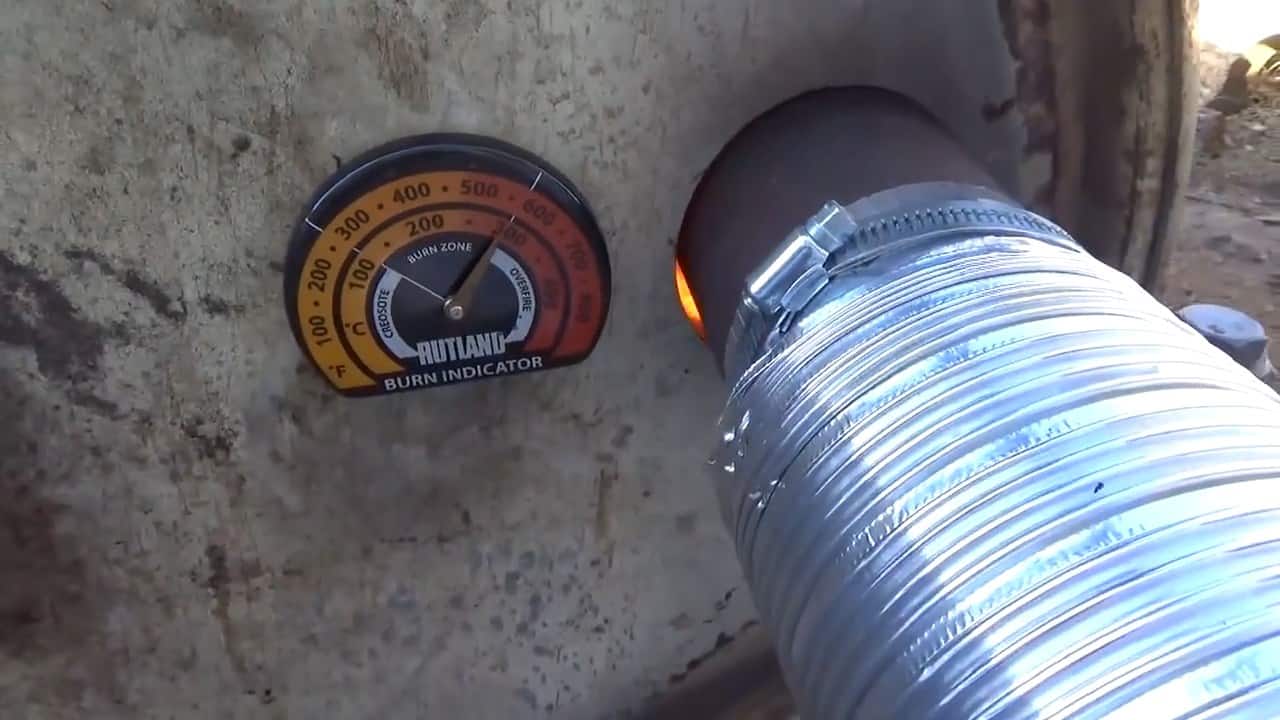
The efficient heating process of the garage is achieved by the proper circulation of the air. Once the 4-inch exhaust fan blower is activated, colder air from the garage floor is drawn into the stove, and pushed through the heat exchanger steel pipe.
The heat exchanger is designed to absorb heat from the stove and transfer it to the circulating air, thereby increasing the temperature of the air.
The heated air then moves out through the second chimney flex pipe and back into the garage. Proper insulation around the pipes can also help to minimize heat loss and maximize the efficiency of the system.
STEP 4 : ADDING A DRIP FED WASTE OIL SYSTEM
To further enhance the heating capabilities of the outdoor stove, we incorporate a drip-fed waste oil system. This system involves the slow dripping of waste oil from a tank into a frying pan on top of the stove. Cotton rags are added to the oil, which slowly burns like a wick, producing additional heat.
The combination of both wood and waste oil creates a more robust and efficient fire, resulting in a higher output of hot air.
The system is designed to be easily adjustable, and if the stove gets too hot, the oil can be turned off or used only to maintain the desired temperature.
In order to maximize the efficiency of the waste oil system, it is important to use a high-quality tank that is designed for waste oil storage.
Additionally, the frying pan used for the system should be able to withstand high temperatures and be positioned in a way that allows for easy adjustment and maintenance.
To prevent heat loss and maximize the efficiency of the system, an insulated shack can be placed around the stove. The shack should be properly insulated and free of any leaks or obstructions to ensure that heat is properly distributed throughout the garage.
By incorporating a drip-fed waste oil system, the outdoor stove can provide even more heat, ensuring that the garage is warm and comfortable during even the coldest winter months.
In conclusion, building an affordable garage heater using a DIY outdoor barrel stove with a heat exchanger offers numerous benefits to a survivalist.
By constructing the heating system yourself, you can customize it to fit your specific needs and preferences, while also saving money on installation costs. Additionally, the use of a waste oil system and efficient heat exchanger allows for optimal heating performance without relying solely on electricity or gas.
With regular maintenance and proper insulation, this DIY garage heating system can provide reliable and efficient warmth during the cold winter months, making it an excellent investment for any DIY enthusiast looking to enhance their workshop.
Image Credits : Ron Stickle