If you’re looking to harness the power of wind to generate your own electricity, repurposing an old ceiling fan into a wind turbine could be a great option for you.
This beginner tutorial will guide you through the process of transforming the main part of the ceiling fan, which houses the motor, into a functional wind turbine.
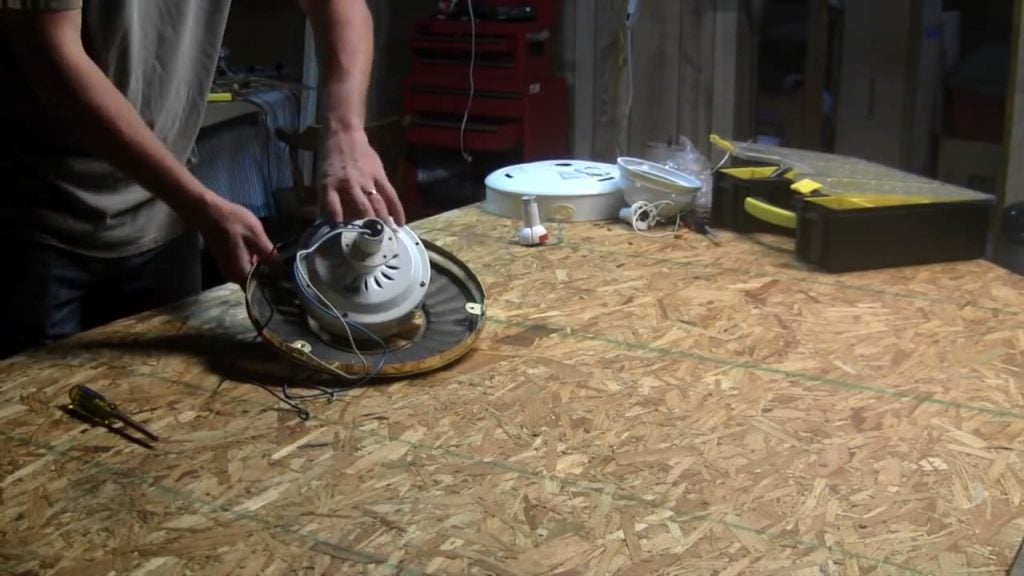
STEP 1 : GETTING THE MOTOR OUT
The first step in repurposing your ceiling fan into a wind turbine is to carefully remove the motor from its casing.
This can be a delicate process, as the wires connecting the motor to the fan are fragile and can easily become detached if mishandled.
To avoid damaging the wires, you’ll need to use the right tools and be cautious as you work. You’ll primarily need a screwdriver, and a flathead screwdriver may also come in handy.
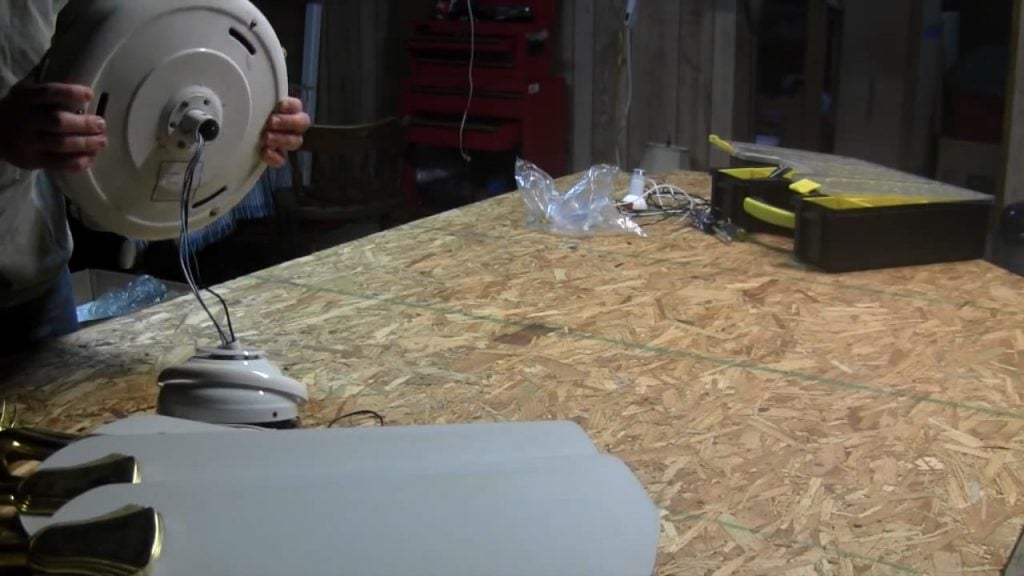
The next step is to take off the top part of the ceiling fan that’s attached to the ceiling.
It’s important to disconnect the wires without cutting them, as you’ll need to use these wires to connect your wind turbine to your battery later on.
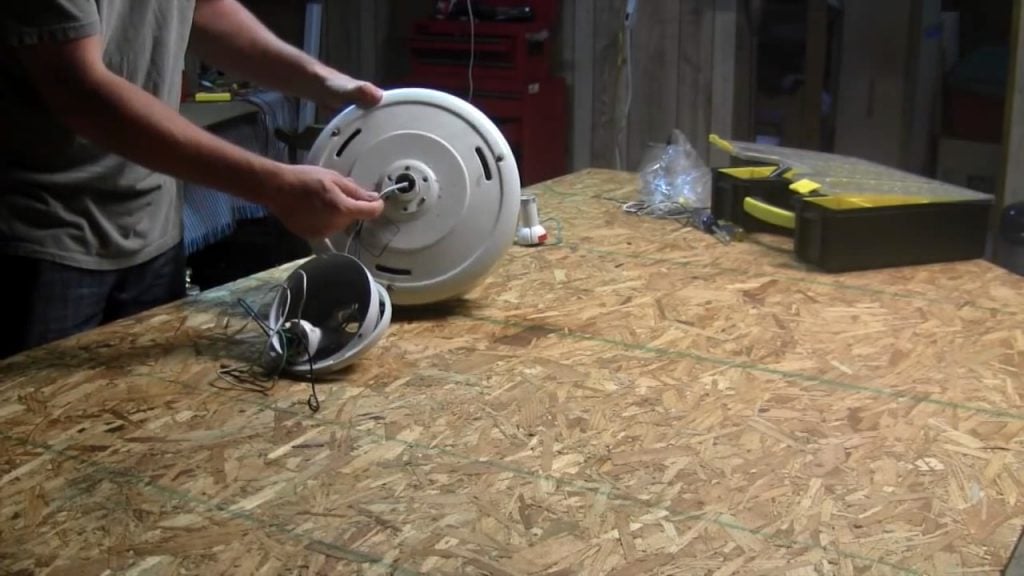
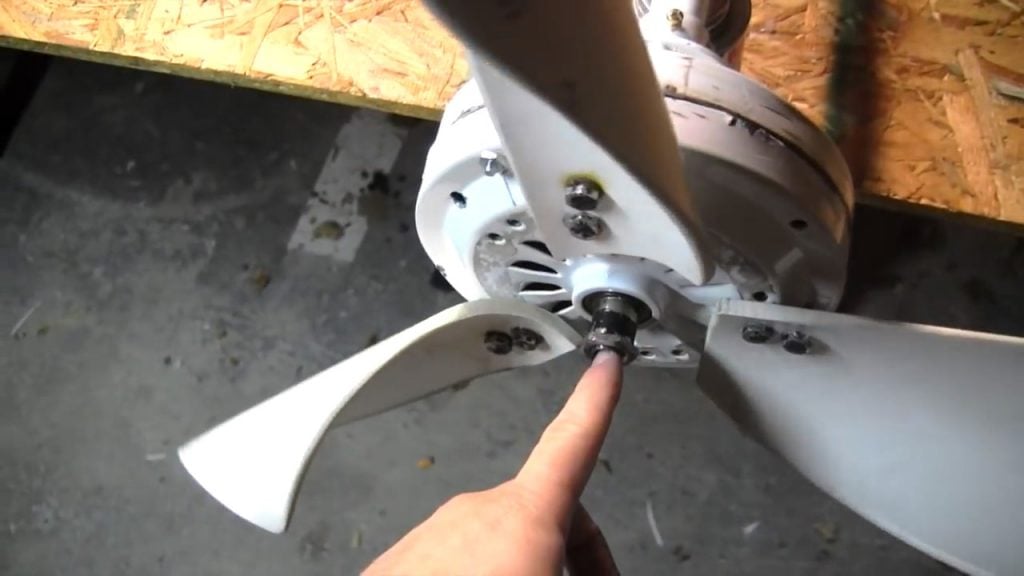
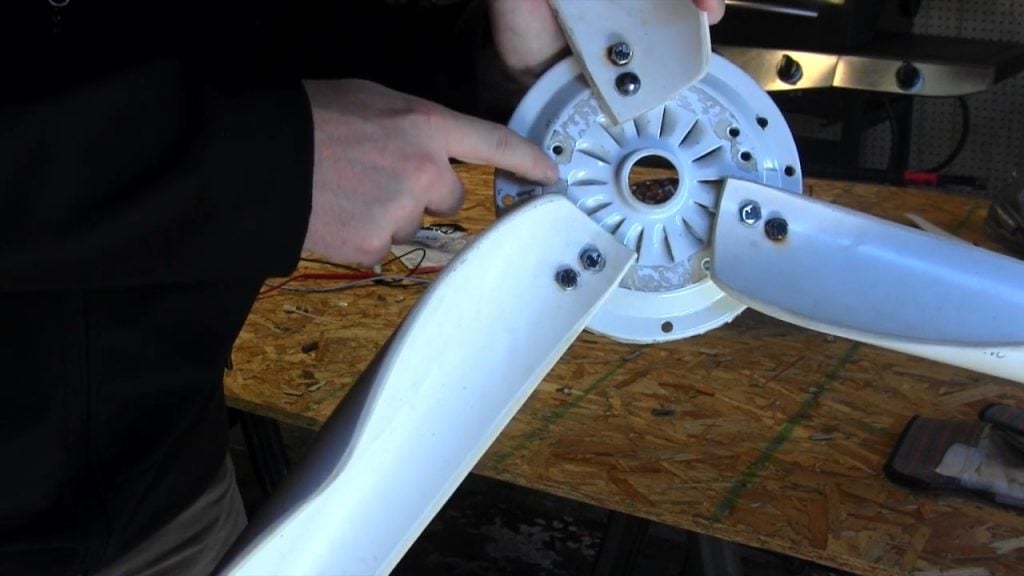
Once the wires are safely disconnected, you can move on to removing the plate that’s held in place by a nut and washer.
While you’ll want to remove this plate, it’s important to keep the washers intact, as they’ll be used in the construction of your wind turbine.
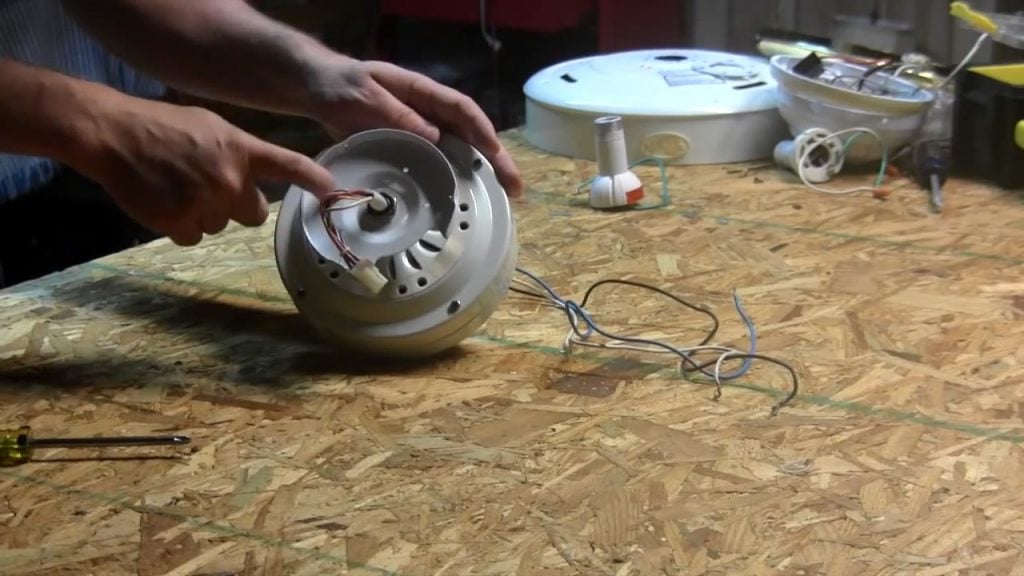
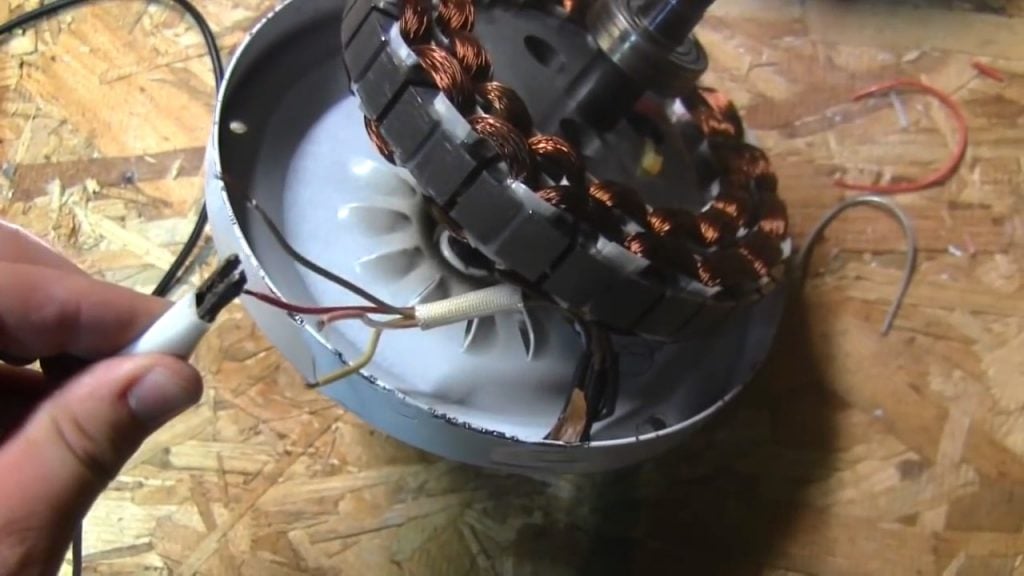
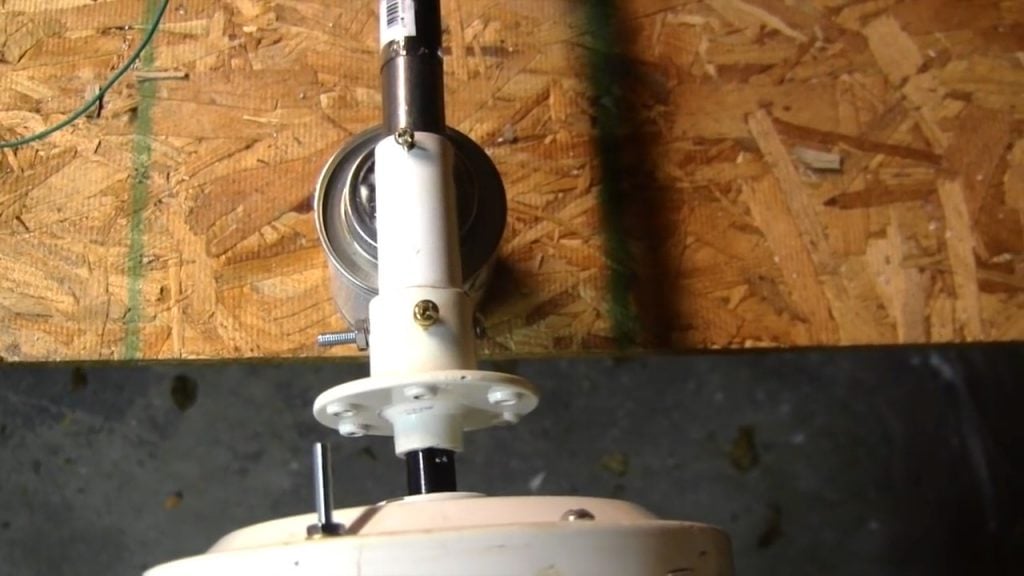
Carefully take apart the casing, being mindful of any wires or components that may be attached to it. You may need to use your screwdriver or other tools to help with this process.
Once the casing is taken apart, you’ll be able to see the copper coils that actually power the fan.
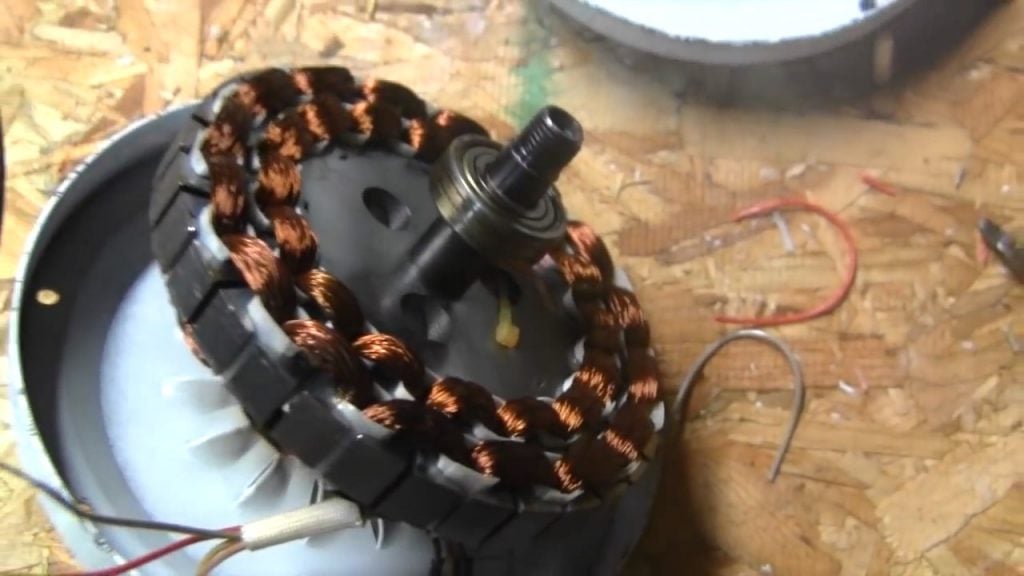
STEP 2 : FINDING THE HIGHEST OHM READING
After disassembling the casing of the ceiling fan and identifying the copper coils, the next step in building your wind turbine is to locate the highest ohm reading wire out of the four wires that are connected to the coils.
This wire will be the most efficient at generating electricity and should have the highest resistance.
You can use a multimeter or other measuring device to identify the highest ohm reading wire. Once you’ve located it, carefully pull it through the center pole to the other side of the motor.
You’ll then need to insert a metal banding, which is used to attach the magnets around the stator. The stator is a stationary component of the motor that surrounds the rotor.
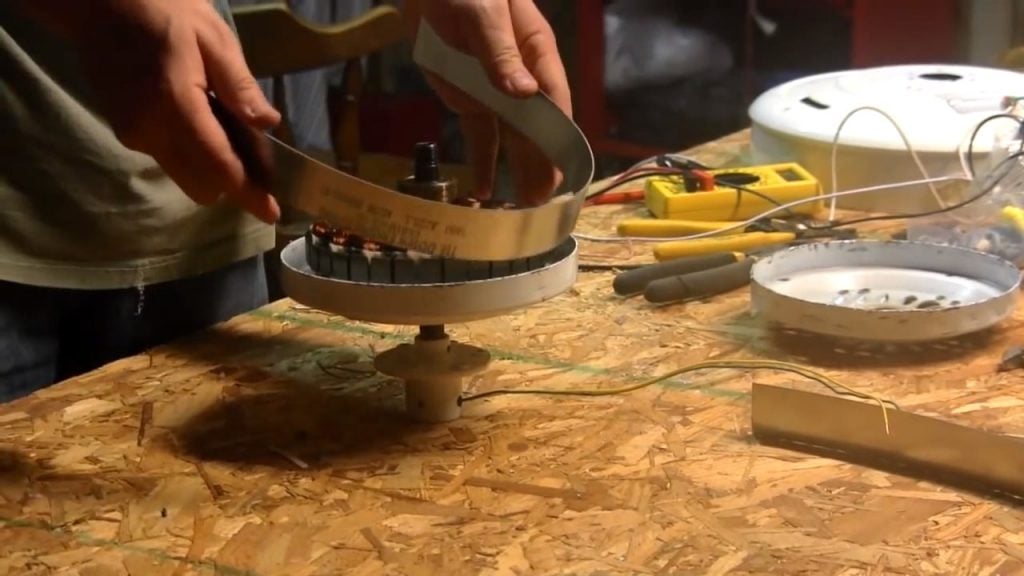
STEP 3 : ADDING THE MAGNETS
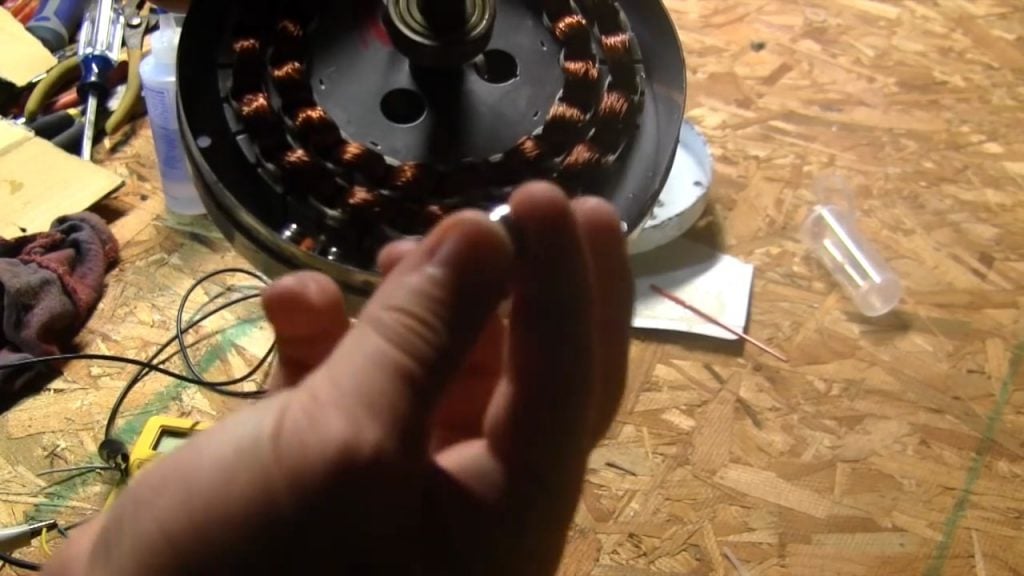
The next step is to insert magnets inside the fan housing. The magnets will be attached to the rotor, which will rotate past the copper coils in the stator.
To insert the magnets, you’ll need to place them in the fan housing in a way that aligns them with the stator. To ensure that the magnets stay in place and rotate smoothly, it’s important to add a cardboard spacer.
Once the magnets are inserted and aligned properly, you can measure the voltage that the wind turbine produces.
STEP 4 : MAKING THE BLADES
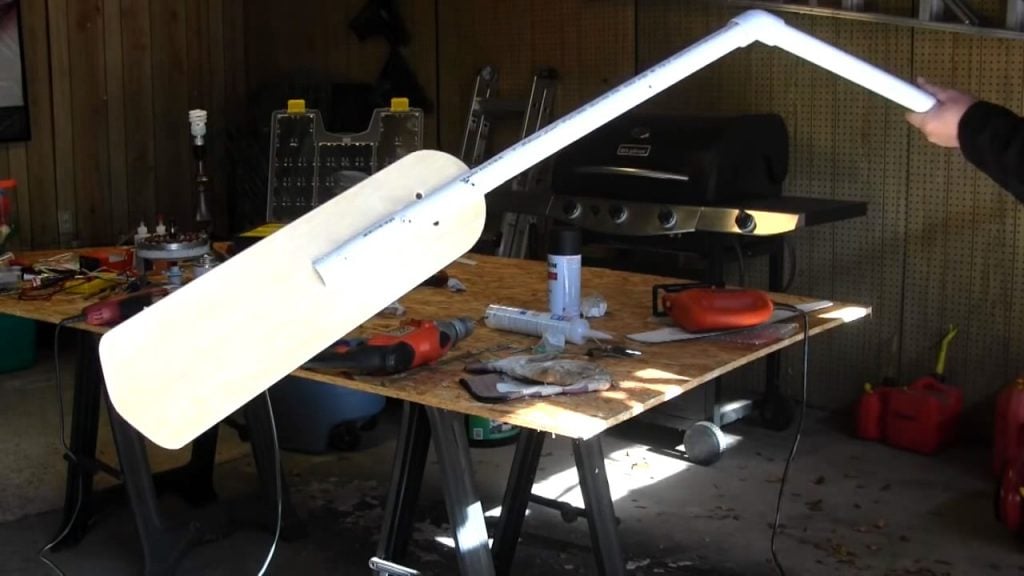
The next step is to create the blades for the wind turbine. The blades can be made from 4 inch PVC, and you can find templates for the blades online.
To create the blades, you’ll need to put the outline of the blades from the paper template onto the PVC and then cut them out using a jigsaw.
Once the blades have been cut out, you can smooth the edges using a hand sander. This will ensure that the blades are aerodynamic and efficient at capturing wind energy.
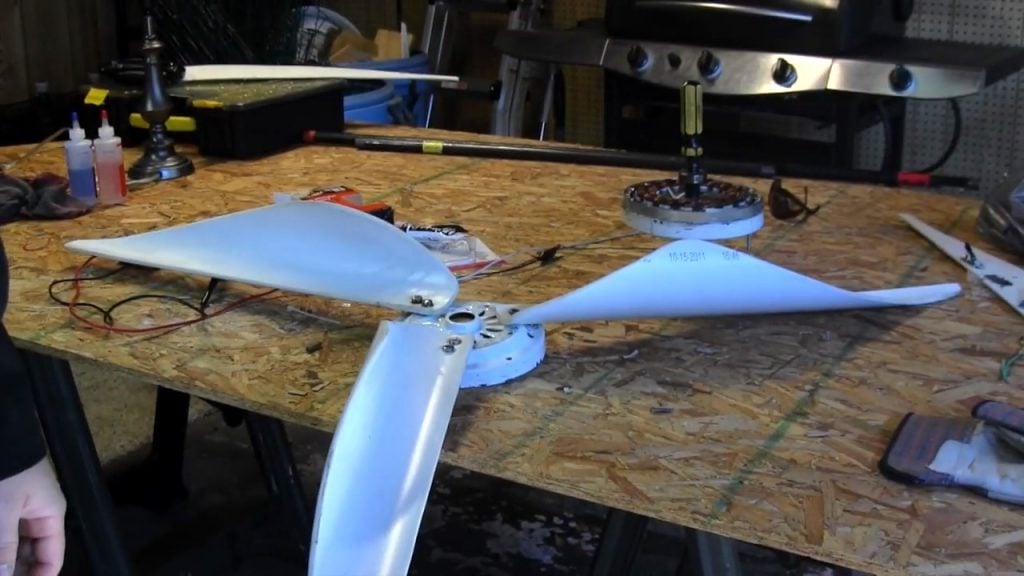
Finally, you’ll need to connect the blades to the faceplate of the old ceiling fan. This can be done using screws or bolts, depending on the design of the ceiling fan.
It’s important to ensure that the blades are securely attached to the faceplate to prevent them from flying off during high winds.
STEP 5 : BODY OF THE TURBINE
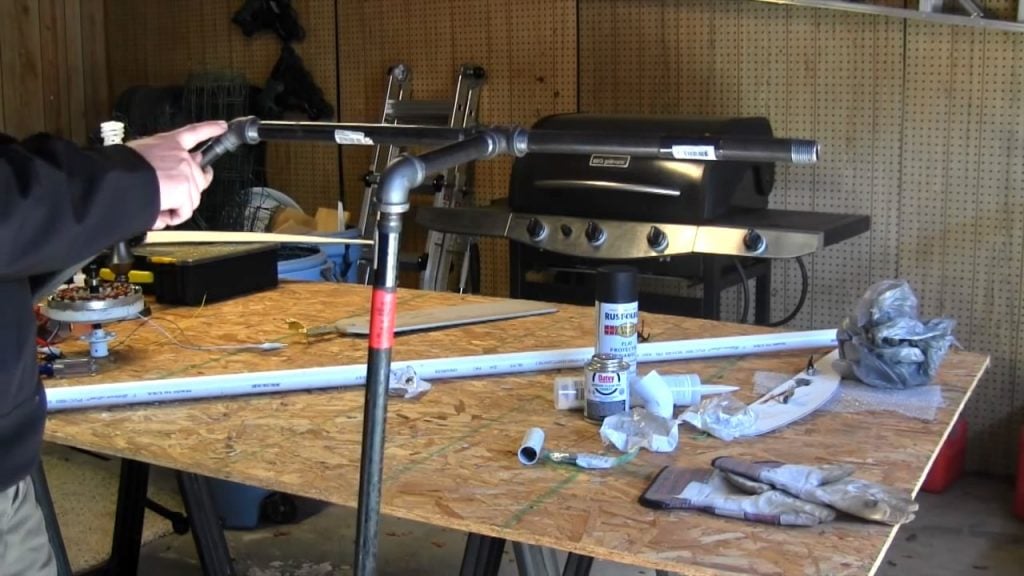
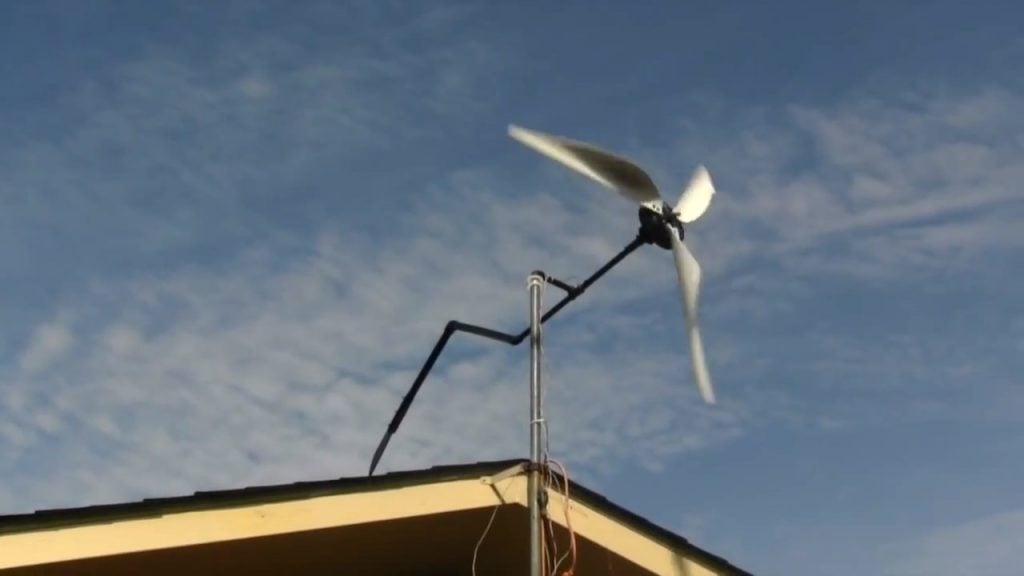
The next step is to construct the body of the turbine. This can be done using a 1-inch galvanized pipe, which will form the main structure of the turbine.
You’ll need to cut the galvanized pipe into two pieces: a 40-inch piece and a 30-inch piece. The 40-inch piece will slide down into the conduit of the mounting system for your turbine, providing a sturdy base for the wind turbine to be mounted. The 30-inch piece will be angled up into the wind, helping to keep the blades in the wind
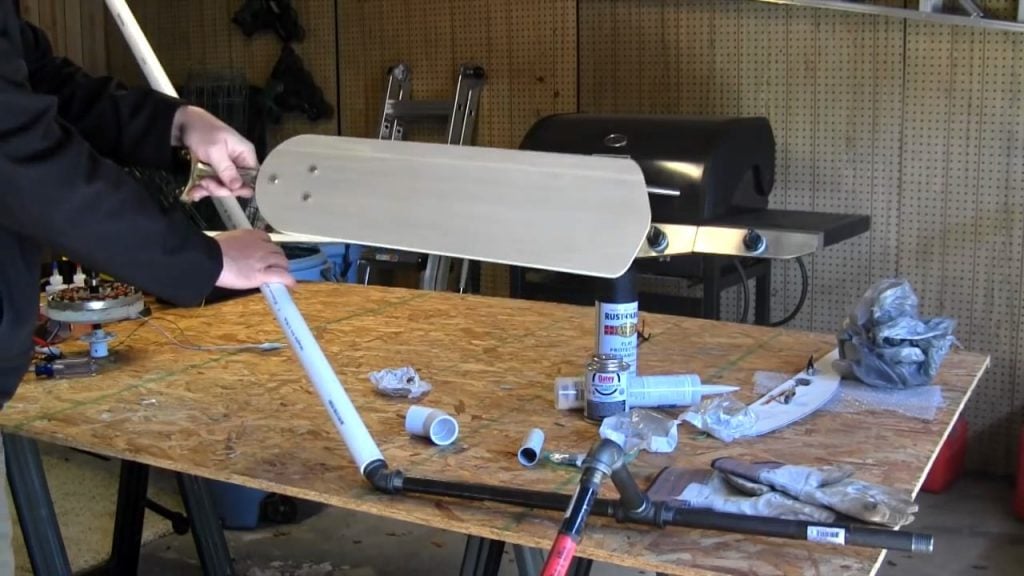
STEP 6 : ATTACHING A TAIL PIECE
After constructing the body of the wind turbine using a galvanized pipe, the next step is to attach the tail piece to the end of the 30-inch pipe.
This can be done using a 1-inch PVC pipe, which will be slid down the end of the pipe and attached securely.
Once the tail piece is attached, you’ll need to pass the wires from the fan through the pipe and zip tie them down to ensure they are securely fastened.
This will help to prevent any damage to the wires and ensure that they don’t get tangled up during operation.
To create the attachment for the ceiling fan blade, you’ll need to cut the PVC in half to create a 45-degree elbow.
Then, cut a line down through the PVC so that you can split it in half. Finally, drill some holes in the PVC and attach the ceiling fan blade securely.
STEP 7 : CONNECTING THE FAN
The next step is to attach the fan to the galvanized pipe. This can be done using an extension that was previously saved during the dismantling of the ceiling fan.
Use JB weld on the inside of the extension, and insert a bolt through the part to tighten it to the pipe, which will dig into the metal and secure the fan in place.
Connect the two leads from the fan to a bell wire. Solder the two leads together and wrap them up with electrical tape. Then, zip tie the wire to the top of the wind turbine so that it stays in place.

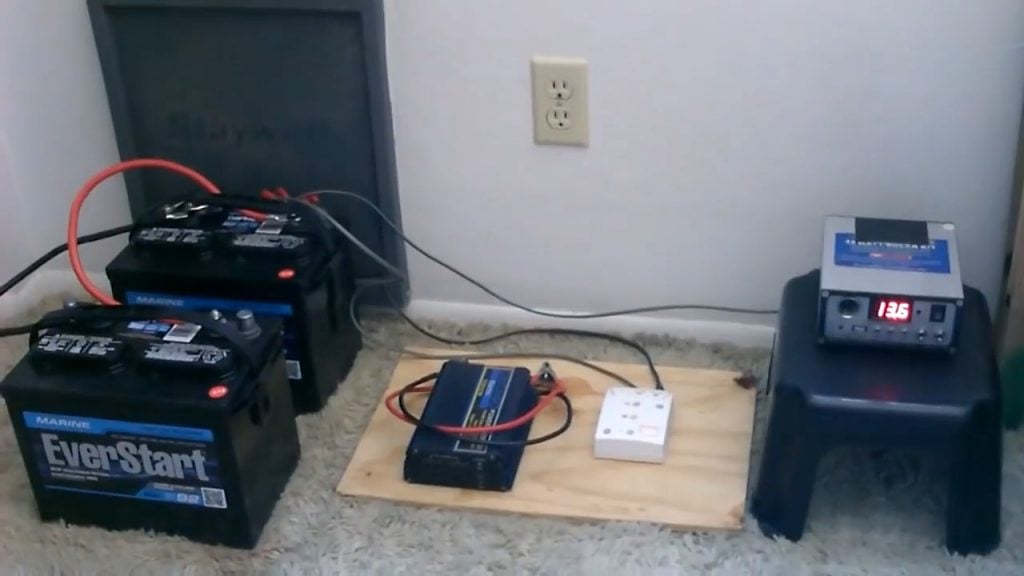
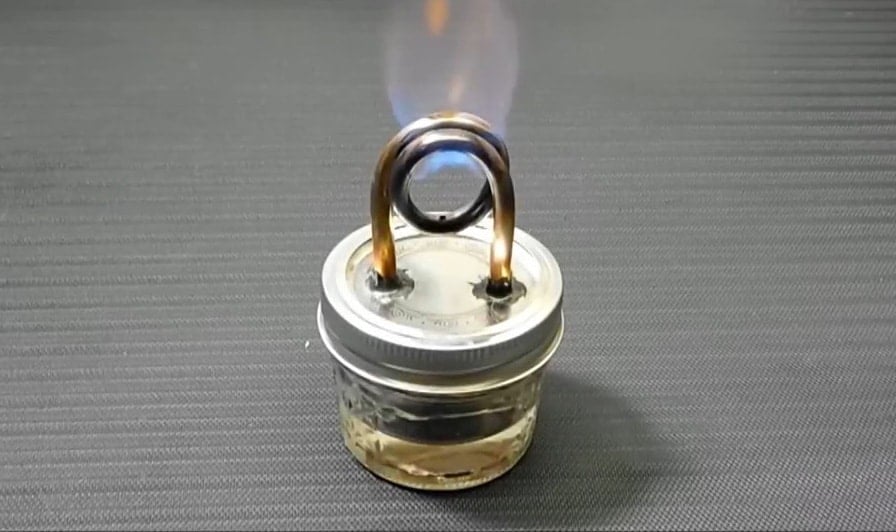
At the base end of the wire, connect it with a diode bridge rectifier. The rectifier will convert the AC current generated by the wind turbine into DC current that can be stored in a battery.
It’s important to ensure that the rectifier is securely connected to the wire and that the wires are not connecting or shorting out.
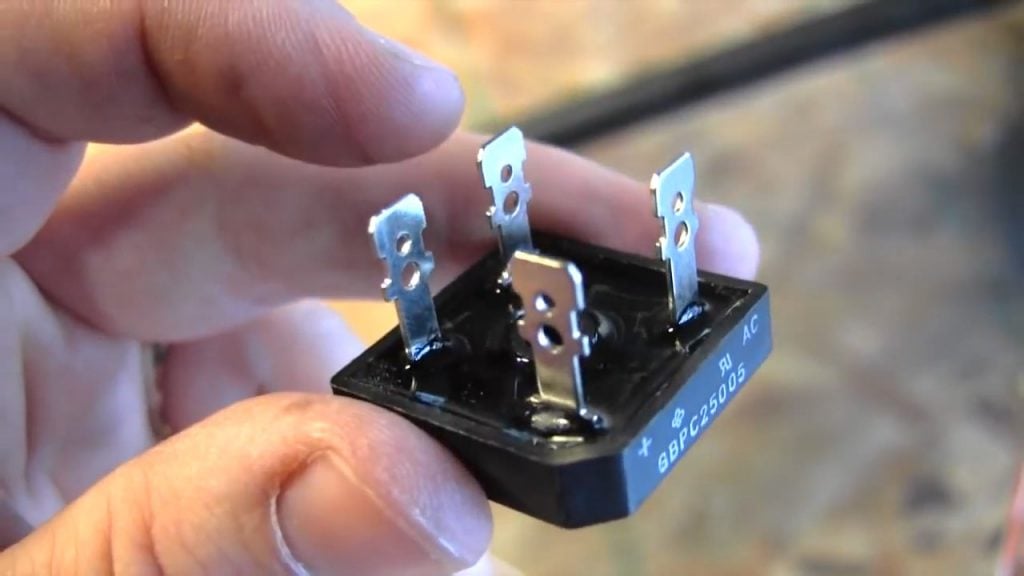
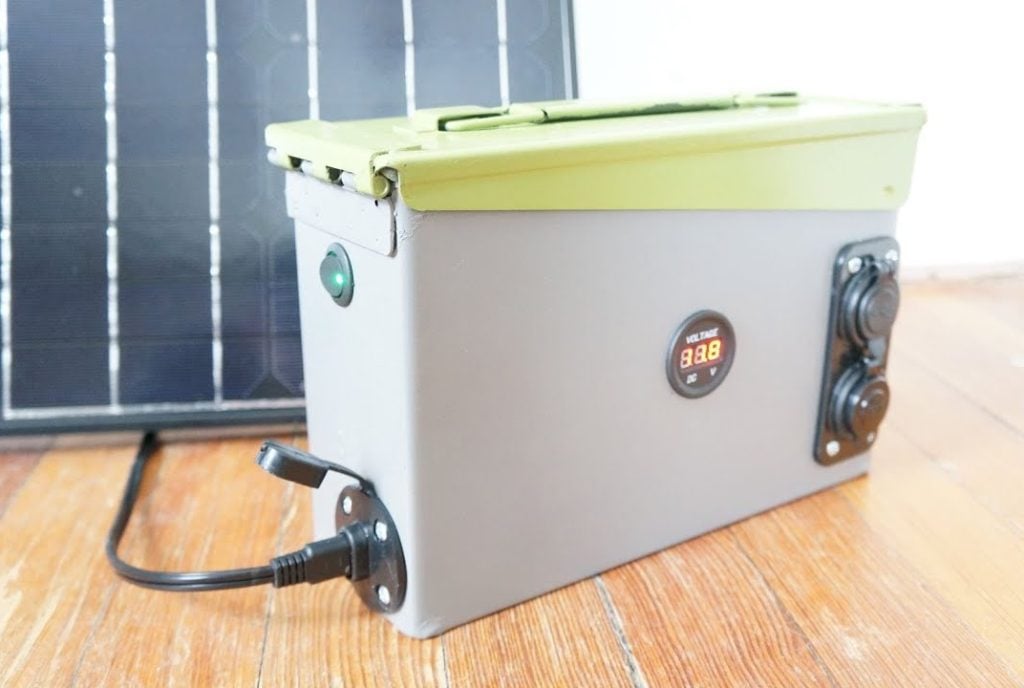
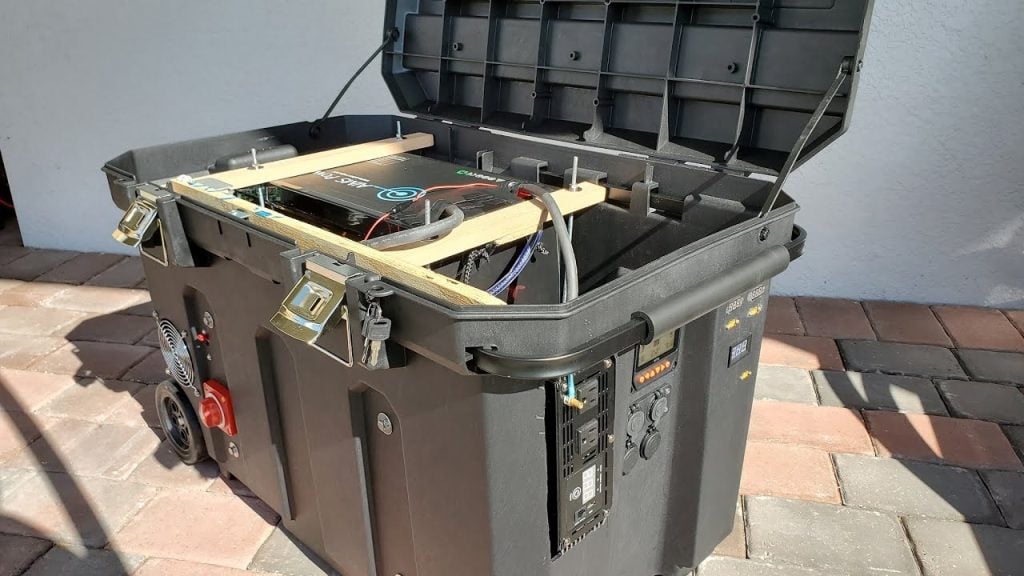
You’ll want to put the rectifier at the base of the wire at the very end so that you can put it inside of your battery box and hook it up to your battery.
With these final steps completed, you’ll have a fully functional wind turbine that can generate clean, renewable energy and help you save money on your energy bills.
Image Credits : Primed Preppers