STEP 1 : MATERIALS REQUIRED
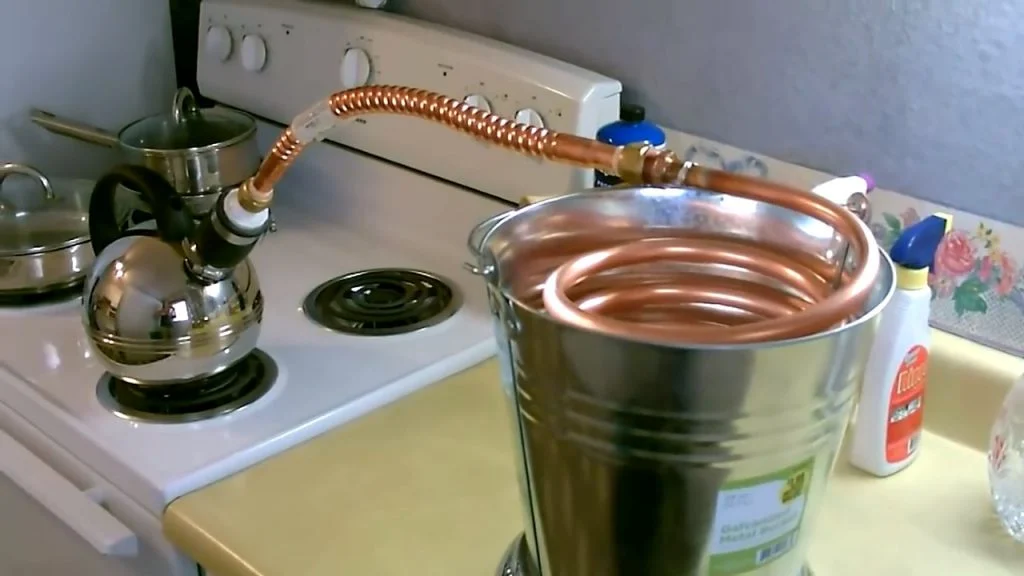
In this project, we will discuss the construction process of a highly functional copper coil burner stove fueled by Isopropyl Rubbing Alcohol.
This compact and efficient stove can be built using readily available materials such as a canning jar, small copper tubing, a pipe for wrapping the coil, a wicking material, sand, and JB Weld for sealing both inside and outside of the copper tubing.
The construction process involves converting the copper tubing into a loop, marking the coil against the jar, and drilling holes for the coil.
Once the coil is secured onto the jar lid with JB Weld, the wicking material is inserted through the drilled holes, and the stove is primed for its first burn.
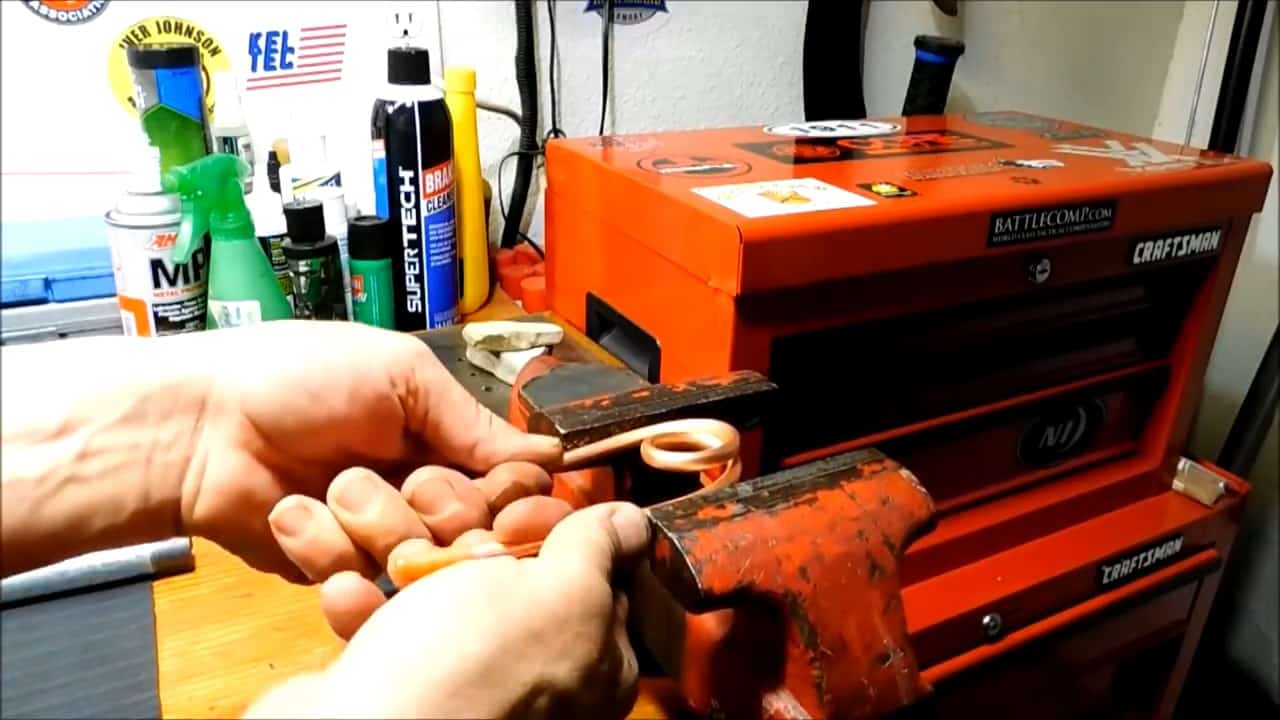
STEP 2 : CONVERTING THE COPPER TUBING INTO A LOOP
To begin creating the copper coil for the stove, start by filling the copper tubing with sand entirely. Ensure that the sand is packed tightly and reaches all the way to the top of the tubing.
Afterward, seal both ends of the tubing using either a cloth or a cap to prevent the sand from escaping.
Next, with the aid of a vice, gently bend the tubing around a pipe to form a loop. It is crucial to ensure that the sides of the coil are flattened while keeping them together to form a uniform and stable structure.
Take care not to bend the tubing too tightly or sharply, as this may damage the tubing.
By filling the copper tubing with sand, we are creating a solid and rigid structure that can maintain its shape even when subjected to pressure or force during the bending process.
After bending the copper tubing into a loop and flattening it on both sides, the next crucial step is to remove any sand particles from the tubing.
To accomplish this, the sand-filled tubing should be emptied of its contents entirely, taking care to ensure that all the sand particles are removed. This step is necessary to ensure that the interior of the tubing is entirely clear and unobstructed.
To ensure that the tubing is free of sand and any other debris, it is advisable to run water through the tubing. The water should be allowed to run through the tubing until it runs clear, indicating that all sand particles and other debris have been removed from the tubing.
The removal of sand and debris from the tubing is essential to enable optimal airflow and circulation of gas within the copper coil, which is critical for the efficient functioning of the stove.
Any blockages or obstructions within the tubing can impede the proper flow of gas and air, leading to inefficient burning and reduced functionality.
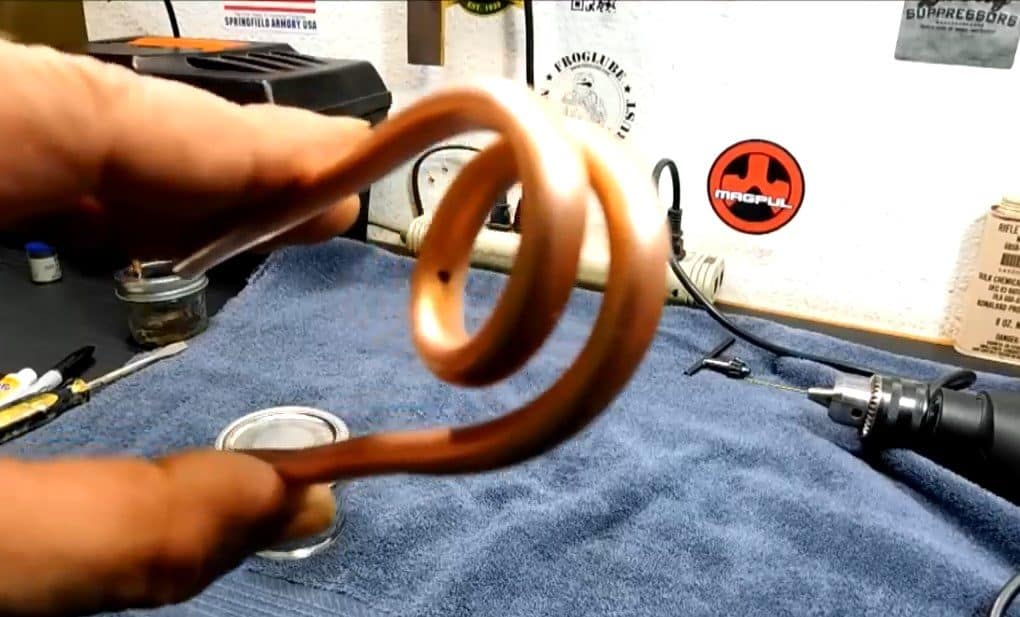
STEP 3 : MARKING THE COIL AGAINST THE JAR
After the copper tubing has been bent into a loop and flattened on both sides, the next step is to cut a vent hole down the center of the looped coil using the smallest drill bit.
This hole is essential for allowing air to enter the coil and mix with the Isopropyl Rubbing Alcohol to create a steady flame.
Once the vent hole has been drilled, the canning glass jar should be marked against the copper coil to determine the required length of the coil.
The extra coil legs should then be cut off to ensure that the coil fits inside the jar, approximately three-quarters of the way down.
It is important to ensure that the coil fits snugly inside the jar to prevent any air leaks, which can affect the efficiency of the stove.
Cutting off the extra coil legs also ensures that the stove is compact and portable, making it easy to transport and use in various settings.
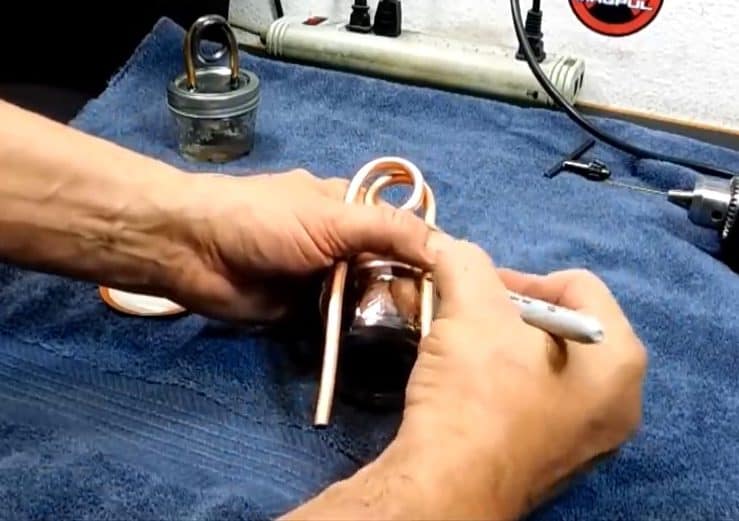
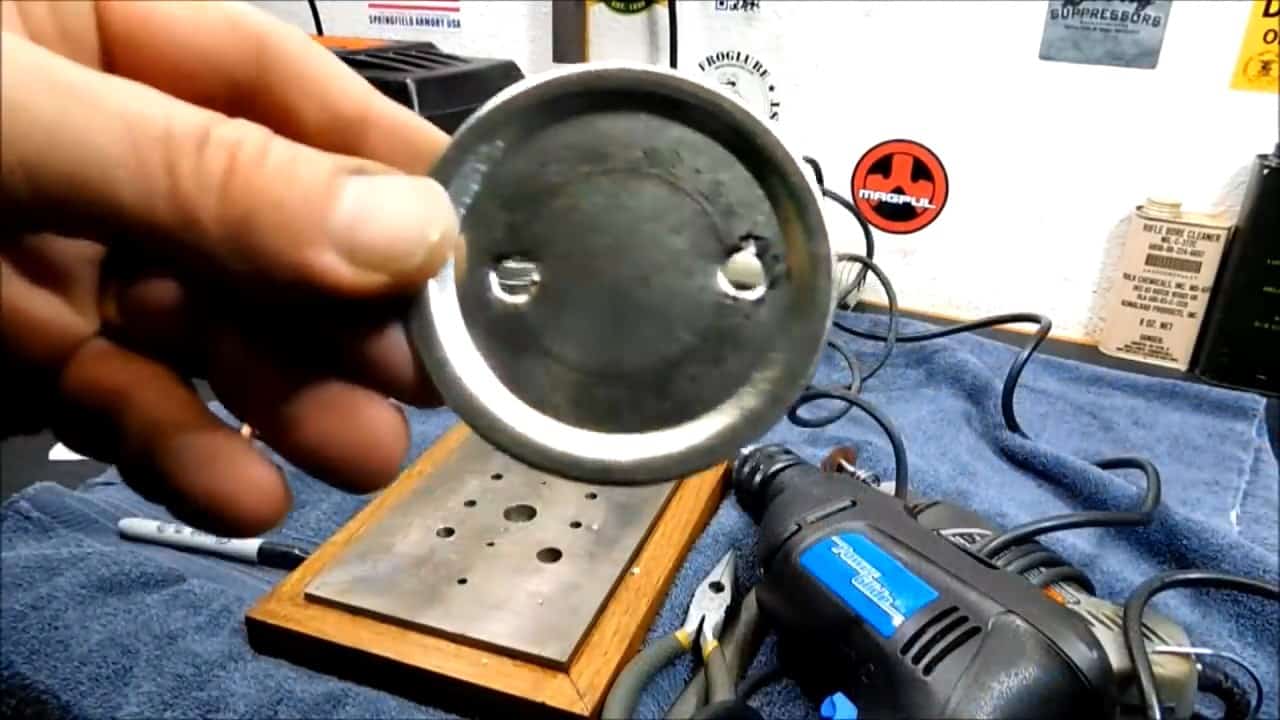
STEP 4 : DRILL HOLES FOR THE COIL
After the copper coil has been cut to the appropriate length, the next step is to make holes in the lid of the canning glass jar to allow the copper coil to fit through it.
To do this, place the copper coil on top of the lid and mark two spots where the holes will be drilled.
It is important to use the appropriate size drill bit to create the holes. A drill bit that is the same size as the coil is recommended to ensure that the holes are the correct size and will provide a snug fit for the coil.
Once the holes have been drilled, the copper coil can be inserted through the holes in the lid. It is essential to ensure that the coil is securely in place and that there are no air leaks.
To prevent air leaks, JB Weld can be used to seal both the top and bottom sides of the lid around the coil. It is essential to allow the JB Weld to set for an hour before proceeding to the next step.
STEP 5 : INSERTING THE WICK
The next step is to insert the wick cloth material through the holes of the copper coil. To do this, take your wick cloth material and insert it into one of the holes of the copper coil.
Once it has been inserted, twist the wick cloth material tightly and push it through the other hole on the opposite side of the copper coil.
Continue this process, ensuring that the wick cloth material is tightly twisted and inserted all the way up to the top of the copper coil.
The wick cloth material should be packed tightly to ensure that it is in contact with the Isopropyl Rubbing Alcohol fuel, allowing for efficient burning.
Once the wick cloth material has been inserted into the copper coil, the next step is to pour some Isopropyl Rubbing Alcohol into the canning glass jar. It is essential to pour the alcohol carefully to avoid spillage.
After pouring the alcohol, place the lid with the coil on top of the jar and tightly close the jar with the cap. It is crucial to ensure that the cap is tightly sealed to prevent any external combustion.
To further prevent external combustion and ensure optimal burning, it is recommended to wipe the sides of the coil with rubbing alcohol.
This step helps to remove any excess fuel or dirt from the coil, ensuring that it burns cleanly and efficiently.
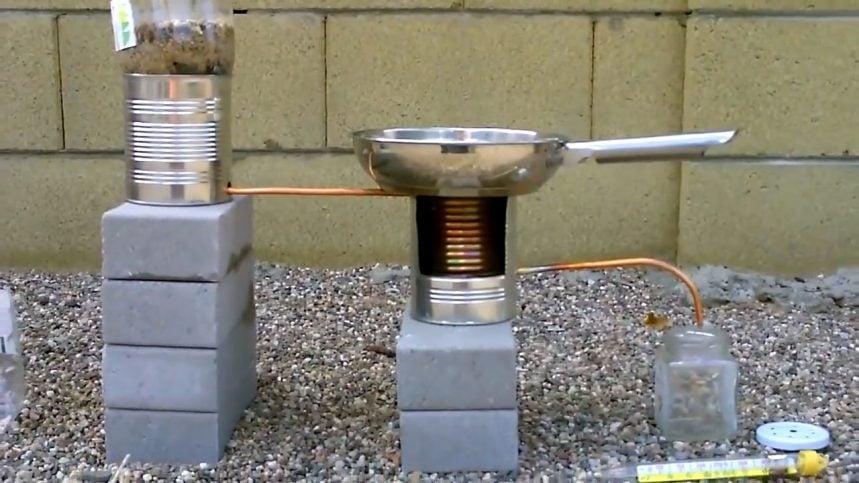
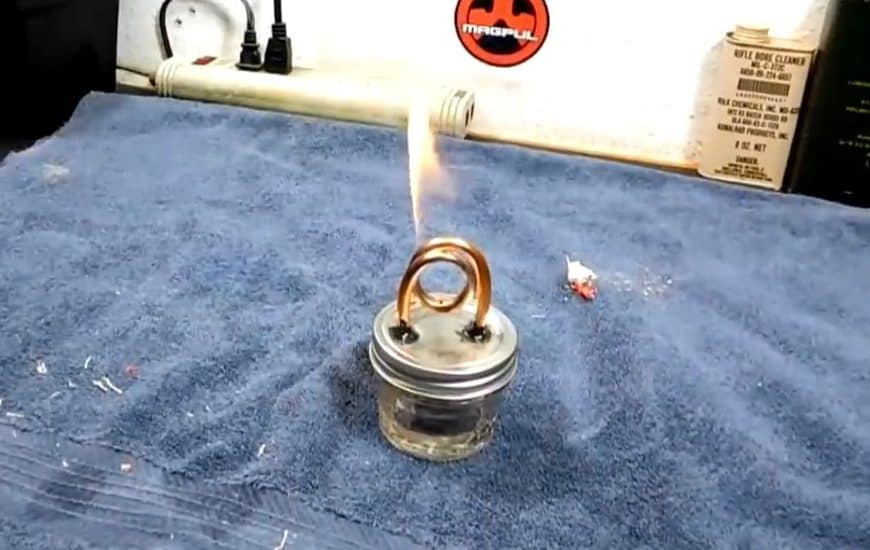
STEP 6 : PRIMING THE STOVE
To prime the stove for its initial burn, the first step is to heat the copper coil using a propane torch. This heat will vaporize the Isopropyl Rubbing Alcohol, creating a mixture of gas and air that will burn steadily.
To begin, hold the propane torch near the copper coil and heat it until the flame appears.Once the flame appears, let the stove burn for four to five minutes to stabilize the flame.
During this time, keep an eye on the flame to ensure that it remains steady without flaring up or going out.
It is important to note that during the first burn, some smoke or odor may be produced. This is normal and will dissipate within a few minutes.
If the smoke or odor persists, consider adjusting the wick cloth material or the amount of Isopropyl Rubbing Alcohol used.
Image Credits : Iridium242