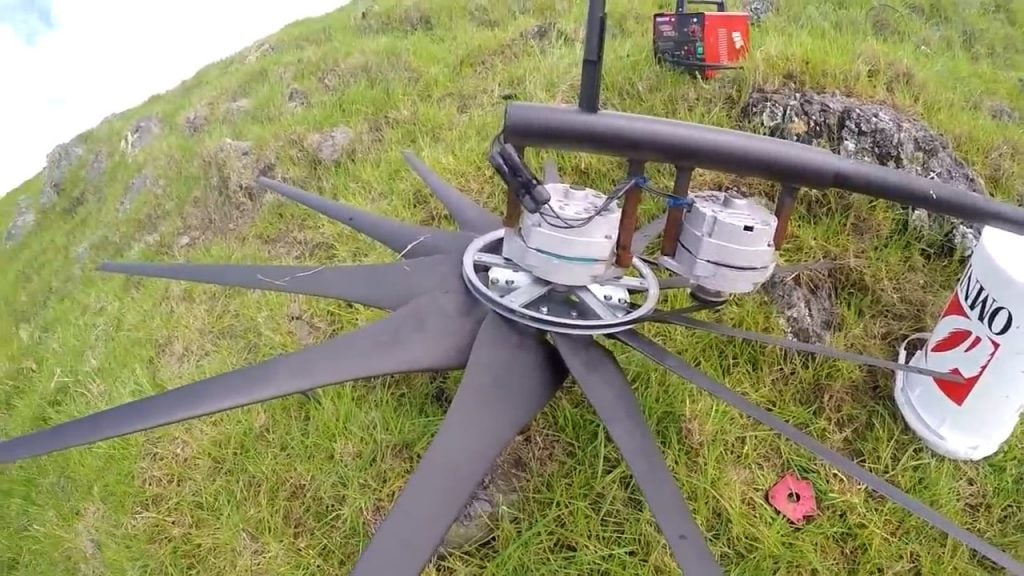
Wind turbines are devices that extract energy from the wind and convert it into electricity. Typically, a wind turbine’s main component is its rotor, which is made up of several blades mounted on a central shaft.
As wind blows through the blades, the rotor turns. The rotating shaft drives a generator, which generates electricity.
There are two main types of wind turbines: horizontal-axis and vertical-axis. A horizontal-axis turbine has blades mounted on a horizontal shaft, while a vertical-axis turbine has blades mounted on a vertical shaft.
Horizontal-axis turbines are easier to mount on a wind farm since they can be placed at a lower angle to the wind. Vertical-axis turbines are generally more efficient than horizontal-axis turbines because they capture more wind energy.
Additionally, they are more costly to construct due to the number of moving parts they require.
A DIY wind turbine generator is a great way to lower your electric bill, and it’s also a fun project you can do.
Wind turbine generators provide many benefits, including low environmental impact because they use less energy than traditional sources of power.
Low maintenance costs.Wind turbines require no fuel, so they require little maintenance.
This project goes into the build of a DIY swivel top wind turbine generator that can generate off the grid electric power to run lights, radios, charge batteries.
This durable, lightweight and portable wind turbine would be very useful in SHTF or Power outage.
STEP 1 : MATERIALS REQUIRED
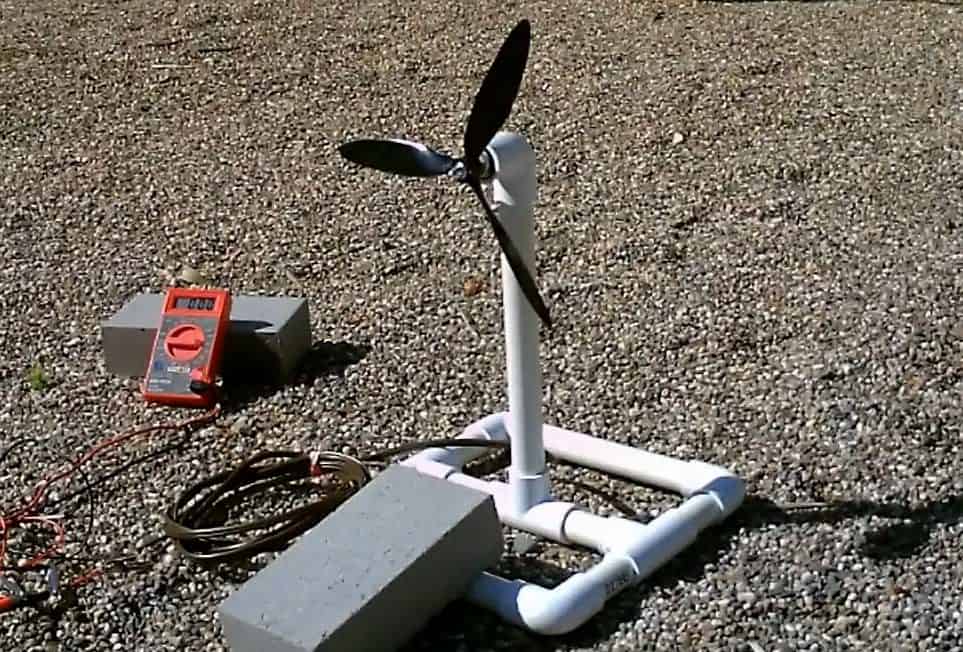
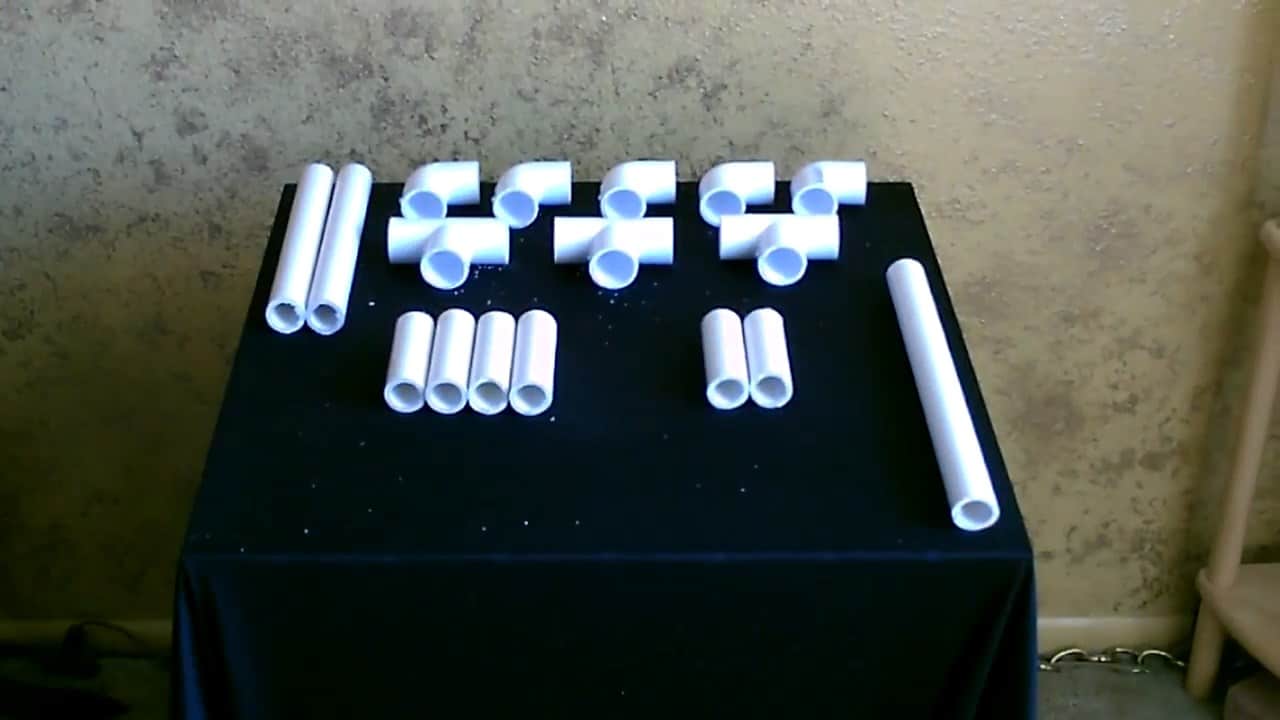
To build a wind turbine, you will need several materials. First, you will need 3/4th inch PVC pipes, including five 90 degree couplers, three Tee couplers, four three-and-a-half inch pipes, two eight inch pipes, two three inch pipes, and a long 11 inch pipe for the post. These pipes will be used to construct the frame of the wind turbine.
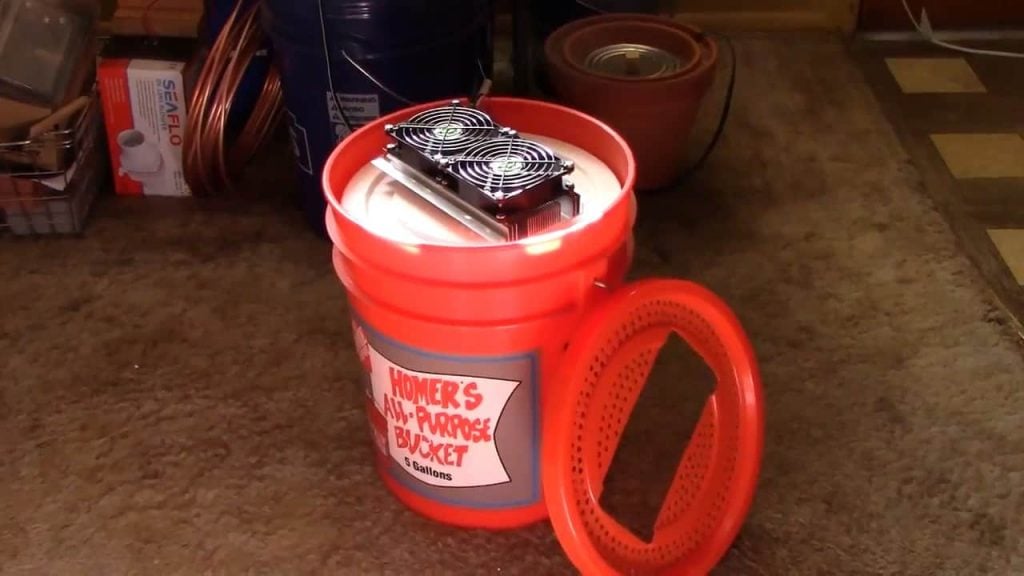
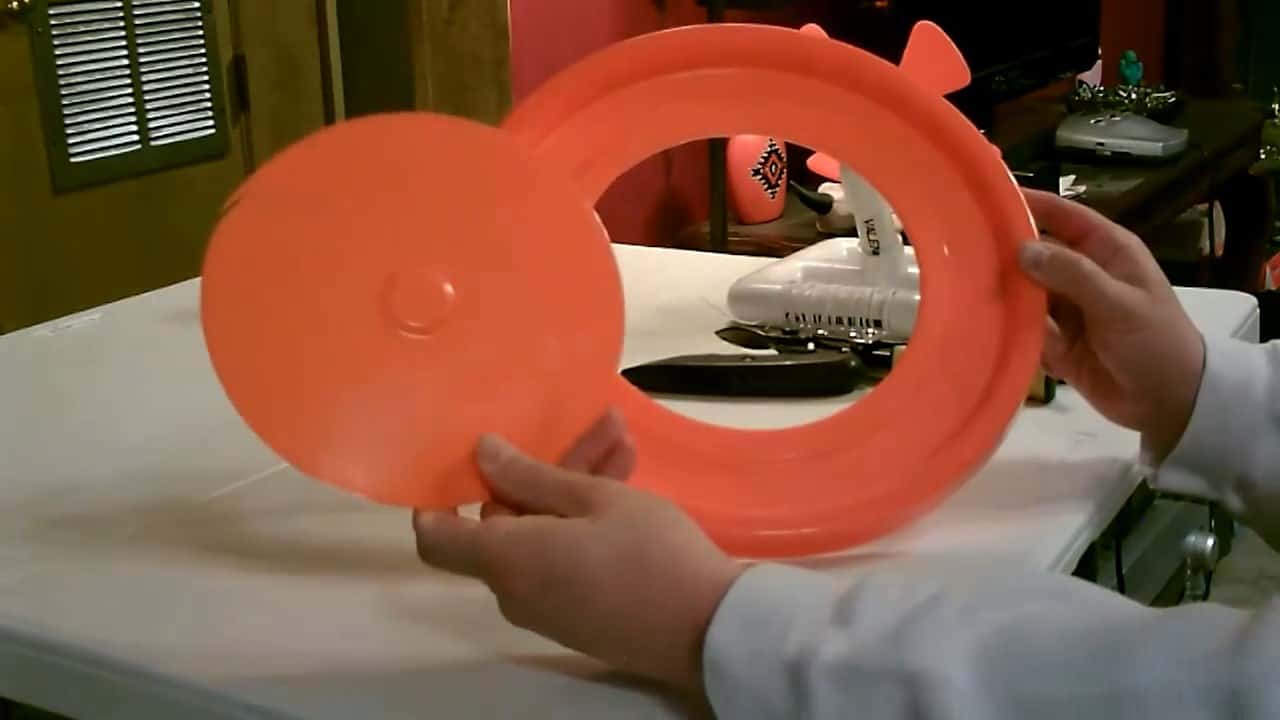
Additionally, you will need a propeller for the turbine. One option is to make the propeller from a 5-gallon bucket lid. Alternatively, you can purchase a propeller from your local hobby store.
You will also need a 3V 350ma DC hobby motor. This motor will be used to generate electricity as the wind turns the propeller.
Finally, you will need wire from an old extension cord. This wire will be used to connect the motor to a battery or other storage device to store the energy generated by the wind turbine.
STEP 2 : ASSEMBLING THE BODY OF THE TURBINE
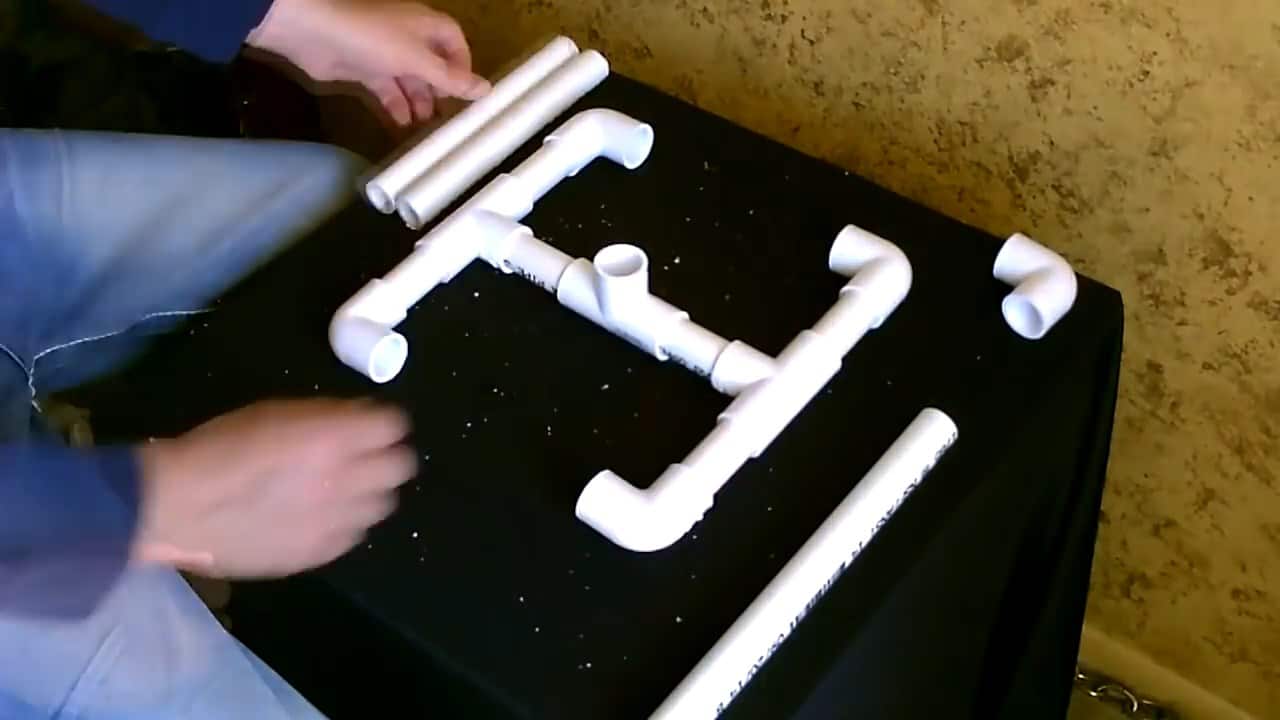
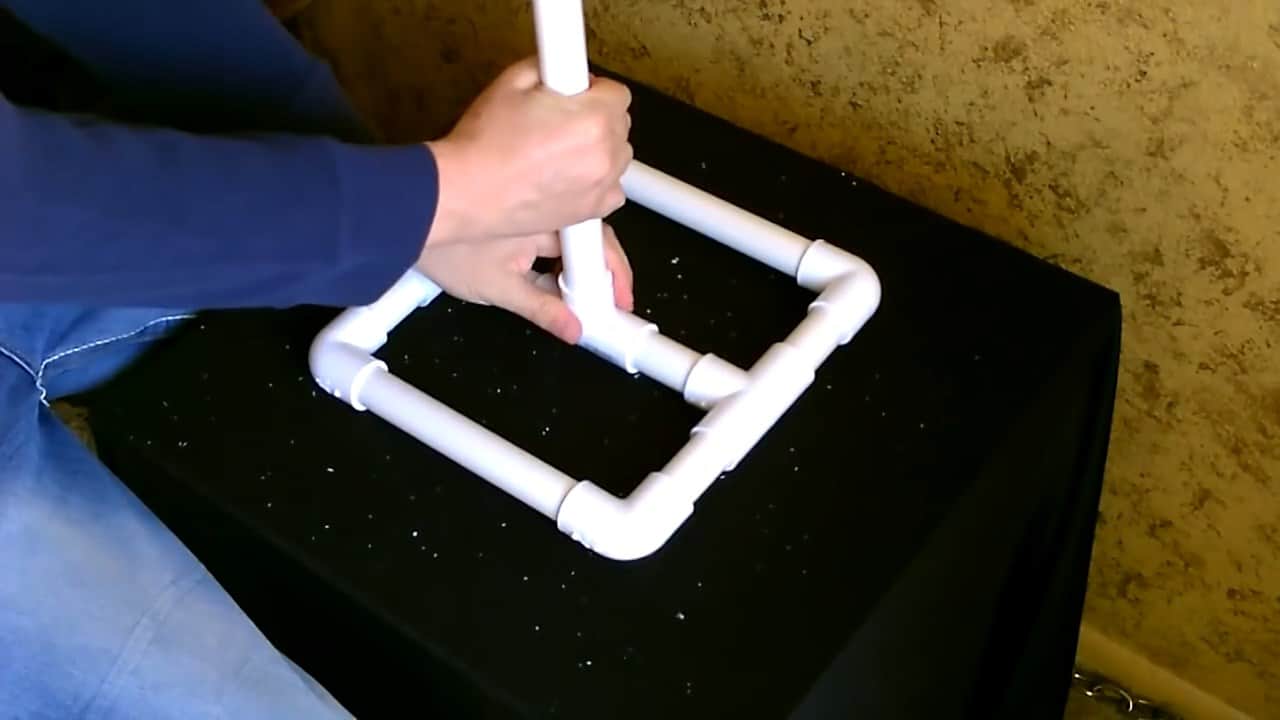
To assemble the base stand for the wind turbine, you’ll need the 3/4th inch PVC pipes and couplers mentioned earlier. Start by attaching three Tee couplers to three of the four 3.5 inch pipes.
Then, attach the remaining 3.5 inch pipe to the fourth Tee coupler.
Next, connect the 8 inch pipes to the Tee couplers on the three 3.5 inch pipes. These will serve as the legs of the base stand.
Once the legs are securely attached, take the 11 inch PVC pipe and insert it into the remaining open end of the Tee coupler attached to the fourth 3.5 inch pipe.
Make sure the 11 inch pipe is standing straight up and down, and use PVC pipe cement to glue it in place. This will ensure that the post remains firmly in place and stable when the turbine is spinning.
Allow the cement to dry completely before proceeding to the next step.
STEP 3 : ADDING THE ELECTRICAL CONNECTIONS
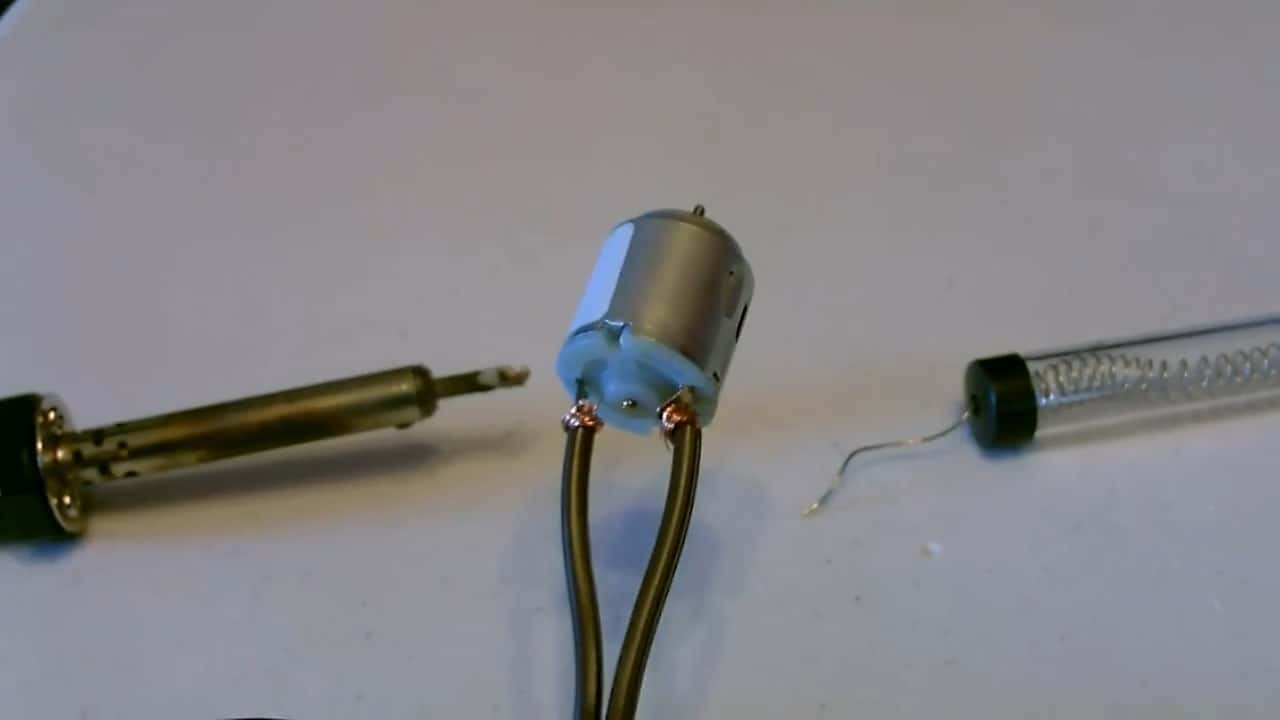
The next step is to make a hole at the bottom of the post for the electrical cord. A hole is drilled one inch from the end of the PVC pipe. The wires from a broken extension cord are used for this project.

The wires are soldered to the ends of the motor first for a good tight connection. Then, they are fed through the pipe, and the motor is mounted at the top.
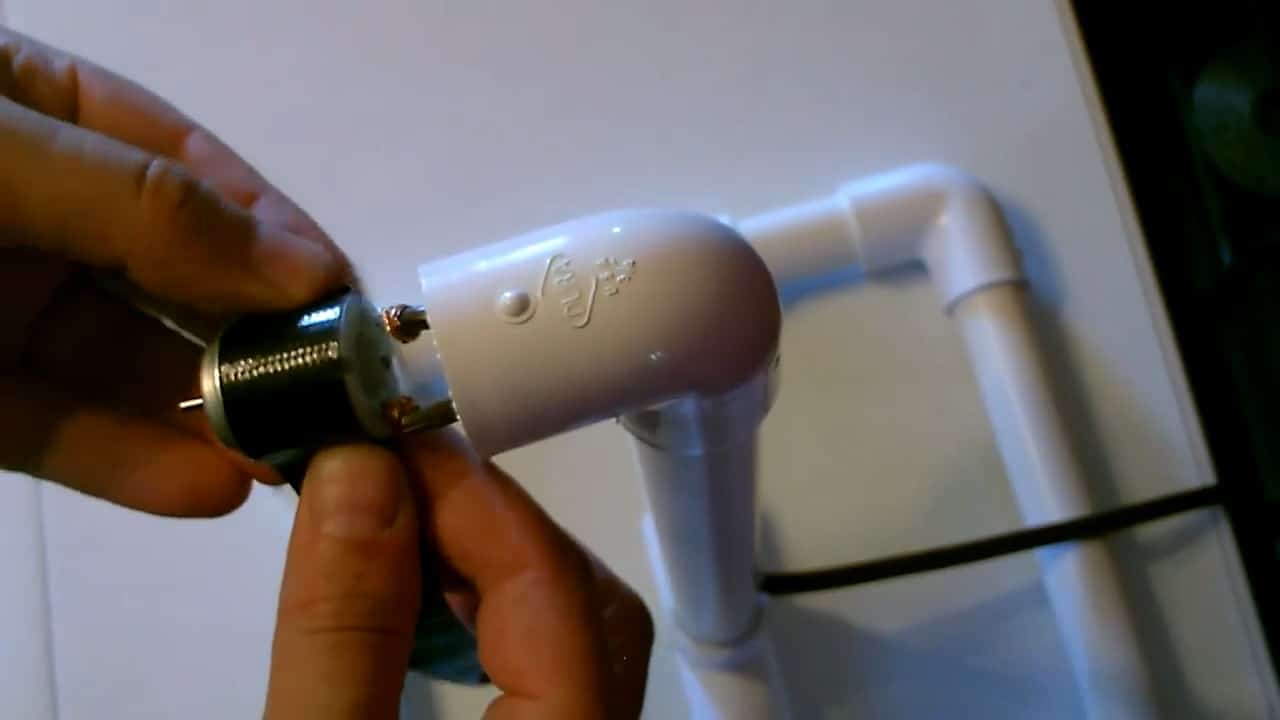
STEP 4 : MOUNTING THE MOTOR
The wire is fed through the pipe, and the motor is mounted at the top. A duct tape is wrapped around the motor multiple times so that it fits the entrance of the pipe opening.
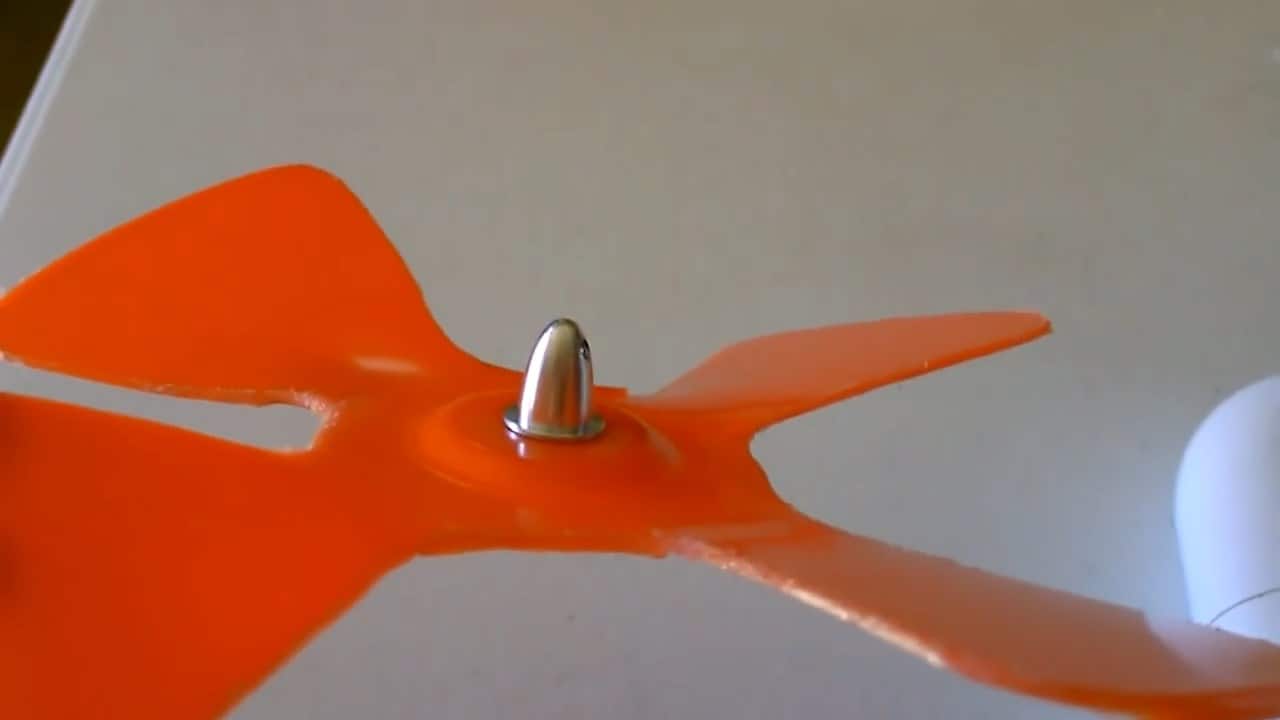
Before encasing the motor, the blade is put on. This will ensure that the motor can spin the blades effectively.
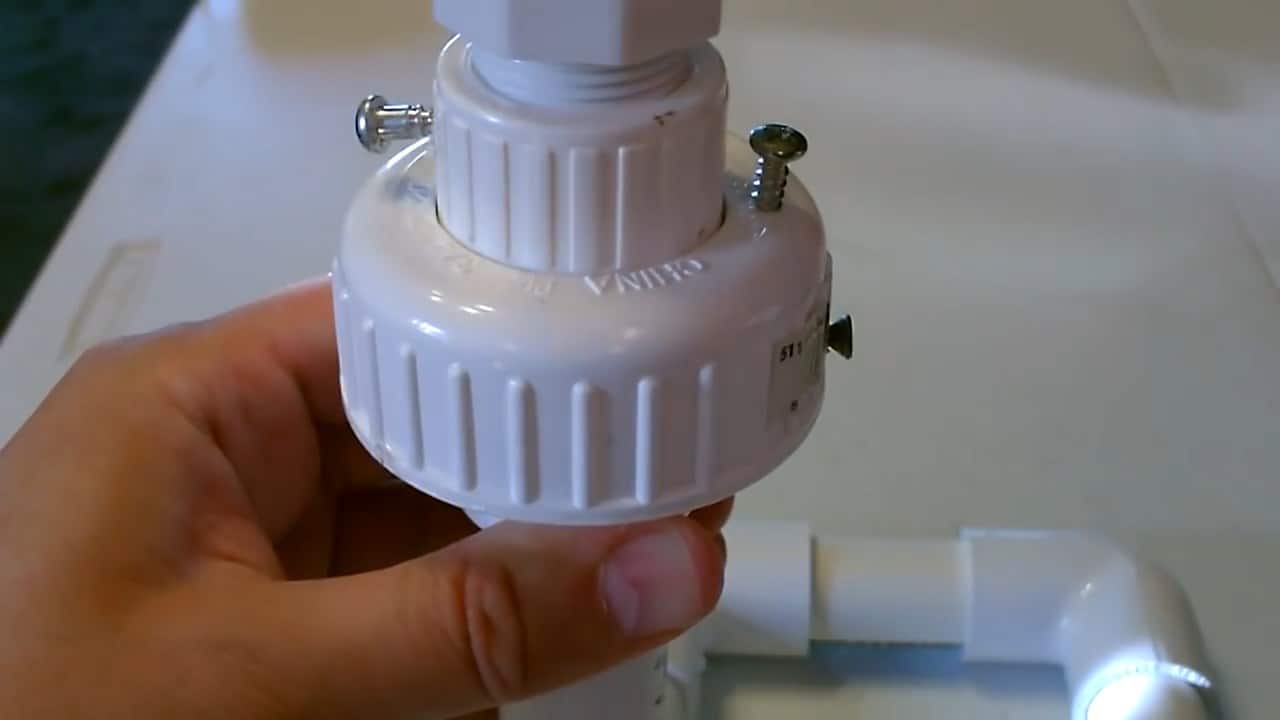
STEP 5 : SWIVEL ASSEMBLY BUILD
To build the swivel assembly, we need a PVC union, an adapter, and a 3-inch pipe. The adapter is screwed onto the union, and the 3-inch pipe is then connected to the adapter.
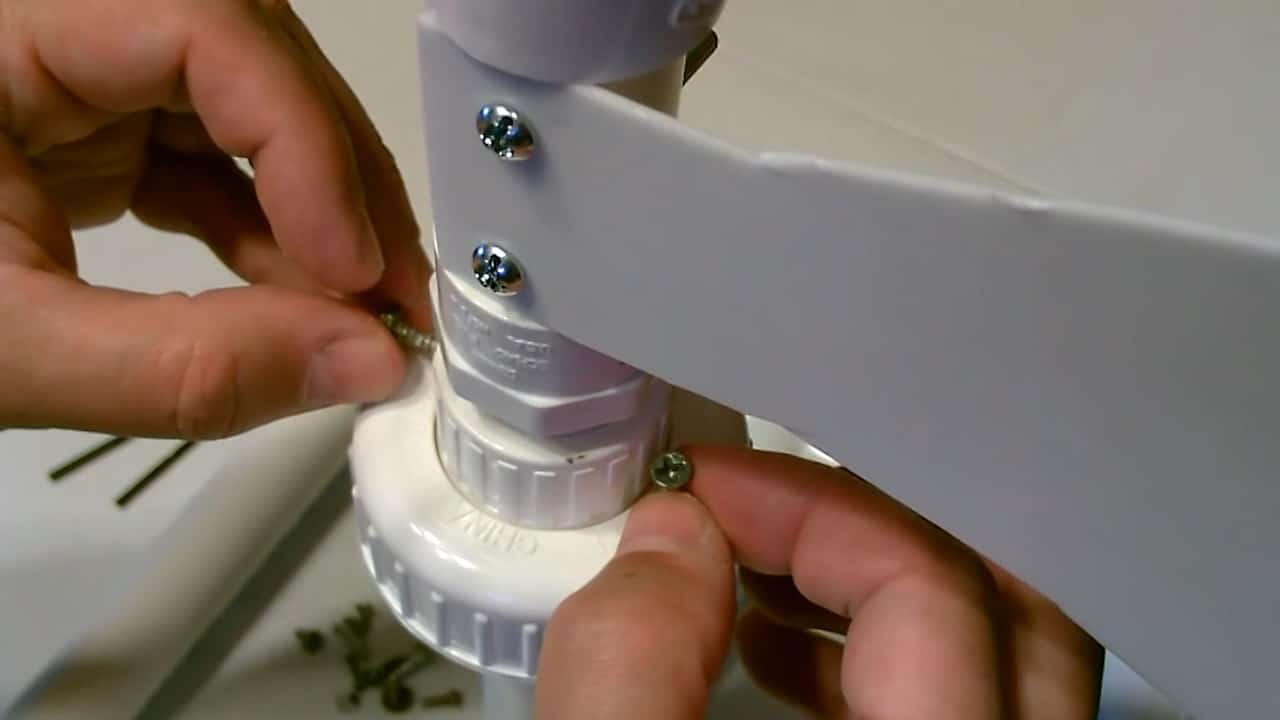
The tail fins are made from an old waste basket. The fins are screwed onto the post using machine screws.

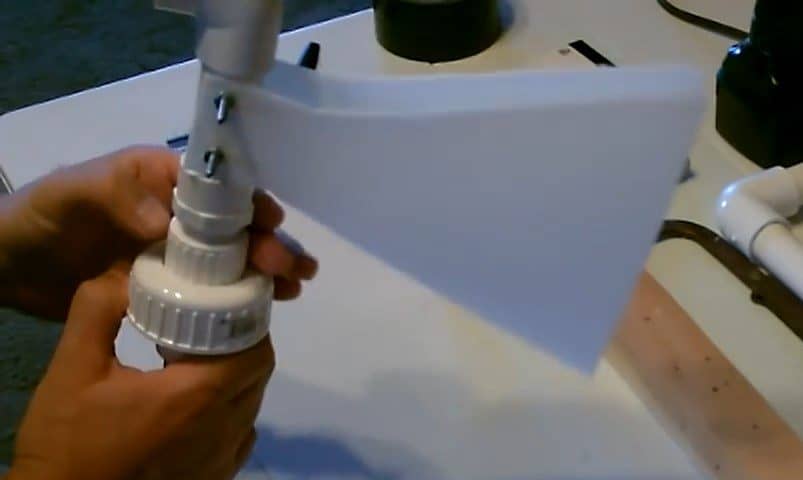
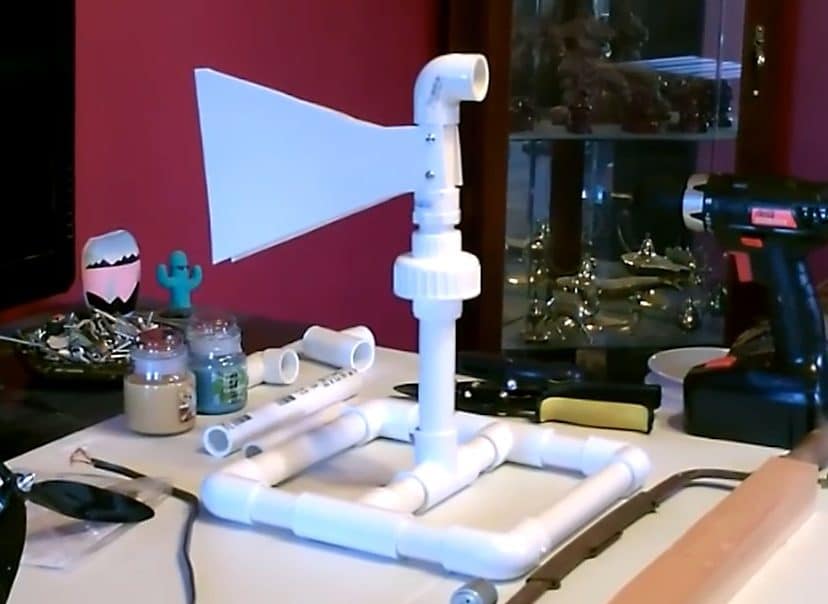
To stop the post from rotating 180 degrees in both directions, we put a couple of screws on either direction on the side of the post.
This prevents the post from rotating 180 degrees, and the turbine can effectively generate electricity. Not only can you charge your batteries using this set, but it can also be connected to an inverter to run AC powered appliances.
In conclusion, building your own wind turbine can be a fun and rewarding project that also contributes to a greener future.
By using readily available materials like PVC pipes and a 5-gallon bucket lid, you can create a functional turbine that generates clean energy.
It is important to note that while this wind turbine can generate some power, it may not be enough to fully power a home or business. However, it can still be used to supplement energy needs and reduce dependence on fossil fuels.
Moreover, by building and experimenting with small-scale wind turbines, you can gain a better understanding of how wind energy works and its potential applications. So why not give it a try and see how you can contribute to a cleaner and more sustainable world?
Image Credits : desertsun02
Watch the build video here: