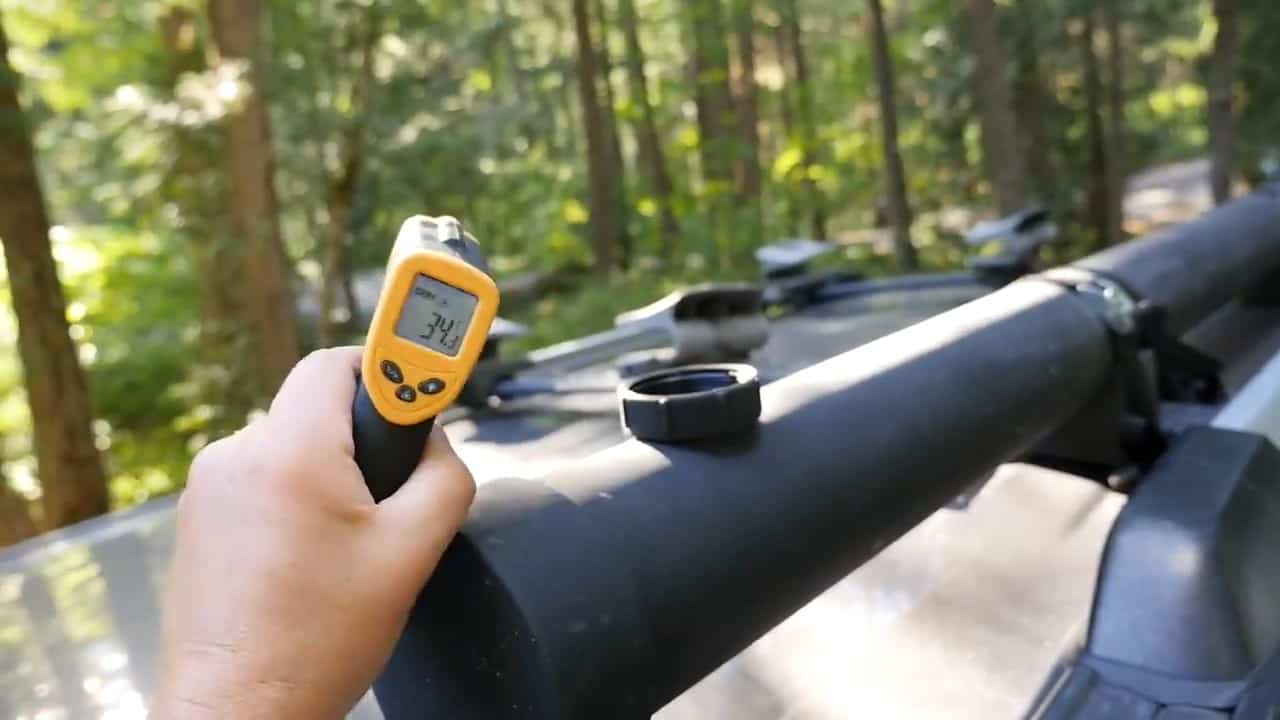
Are you planning a camping trip or outdoor adventure and want to have the luxury of a hot shower? Look no further than this DIY solar-powered pressurized roof top water heater and shower.
This project is designed to be portable, making it the perfect addition to your camping or survival gear. Using only minimal tools and plumbing parts, this project is easy to build and can be done by anyone with basic DIY skills.
With this step-by-step guide, you will learn how to install the necessary valves and fittings, create the water intake opening, add a radiator drain plug, and coat the ABS pipe with black paint for improved thermal absorption.
We will also cover how to securely attach the shower to the roof of your car or truck, connect the hose, and install an air compressor for pressurization.
STEP 1 : MATERIALS REQUIRED
To build this DIY solar-powered pressurized roof top water heater and shower, you will need the following materials:
- A six-foot-long four-inch ABS pipe that has a capacity of 15 liters
- An air compressor
- Two four-inch PVC end caps
- ABS cement
- A rubber Schrader valve
- A shutdown valve and retainer nut
- A radiator valve drain plug
- A Forstner bit
- A two-inch threaded end cap
- High heat flat black paint
- A steel wool scrubber
- Methyl hydrate
The dimensions of the ABS pipe used for this build are six feet tall and four inches wide, providing ample space for storing and heating water.
The air compressor is necessary for pressurizing the water in the pipe, while the two PVC end caps help to seal the pipe and keep the water contained.
ABS cement is used to join the different components of the water heater and shower together securely. The rubber Schrader valve is used to connect the air compressor to the pipe, while the shutdown valve and retainer nut help to control the flow of water.
The radiator valve drain plug is used to release any excess pressure that builds up in the system.
The Forstner bit is used to drill holes in the pipe for installing valves and fittings. The two-inch threaded end cap is used for the water intake opening.
High heat flat black paint is used to improve the thermal absorption of solar energy, while the steel wool scrubber is used to polish the surface of the ABS pipe before painting. Methyl hydrate is used to clean the surface of the ABS pipe before painting.
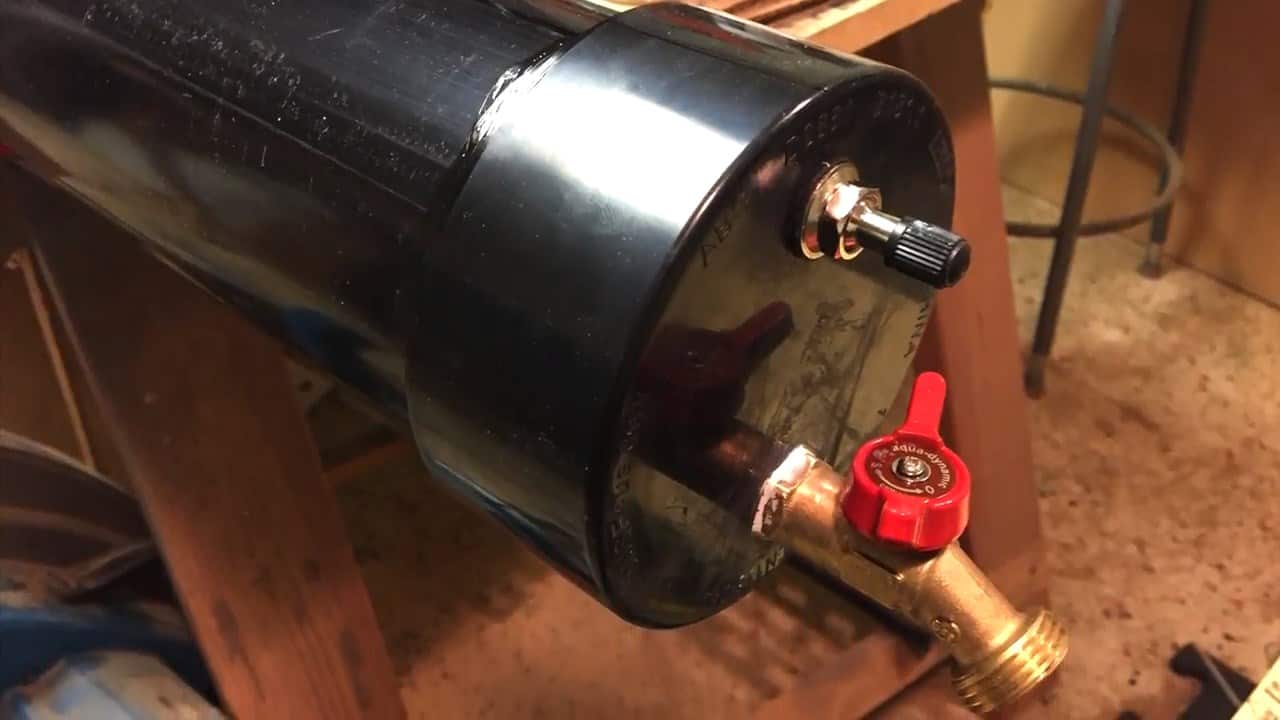
STEP 2 : INSTALLING THE SHUT-OFF VALVE AND SCHRADER VALVE
To install the shut-off valve in the ABS pipe, it’s essential to position it as low as possible to avoid having to tilt the system. To do this, mark the position for the valve while keeping the retainer nut in place.
Next, insert a Forstner bit into the nut to create a center mark for drilling the hole. Once the hole is drilled, thread the shut-off valve into place and attach the retaining nut to secure it in position.
When selecting the location for the shut-off valve, it’s important to consider accessibility and ease of use. Placing it at the lowest point of the pipe ensures that water can be easily drained out when necessary.
This is especially important when the system is not in use for an extended period, as it helps to prevent water from sitting stagnant in the pipes.
Pressurizing the tank is a critical step in building your DIY solar-powered pressurized roof top water heater and shower. To do this, you will need an air compressor and a long Schrader valve that is commonly used for aluminum rim tires.
The Schrader valve has threaded nuts that make it easy to secure in place, ensuring a tight seal between the valve and the ABS pipe.
It’s important to select a valve that is long enough to reach into the ABS pipe and connect with the air compressor hose.
To install the Schrader valve, start by drilling a hole in the ABS pipe using a Forstner bit. Then, thread the Schrader valve into place and use a wrench to tighten the nuts securely.
Once in place, connect the air compressor hose to the Schrader valve and turn on the compressor to pressurize the tank.
It’s essential to monitor the pressure in the tank to prevent over-pressurization and potential damage to the system. A pressure gauge can be used to keep track of the pressure and ensure that it remains within a safe range.
STEP 3 : OPENING FOR THE WATER INTAKE
After installing the shut-off valve and Schrader valve, the next step in building is to install the water intake opening.This is an important component that allows water to enter the system and be heated and pressurized for use in the shower.
To install the water intake opening, we use a two-inch PVC threaded adapter socket. This fitting is selected to match the diameter of the ABS pipe and ensure a secure fit.
Once the fitting is selected, measure and mark the location for the opening and drill it out using a Forstner bit.
After drilling the opening, glue the PVC threaded adapter socket into place using ABS solvent cement. This cement is specifically designed to bond ABS plastic and create a strong and durable seal.
It’s important to follow the manufacturer’s instructions for the cement and allow ample time for it to dry and cure before use.

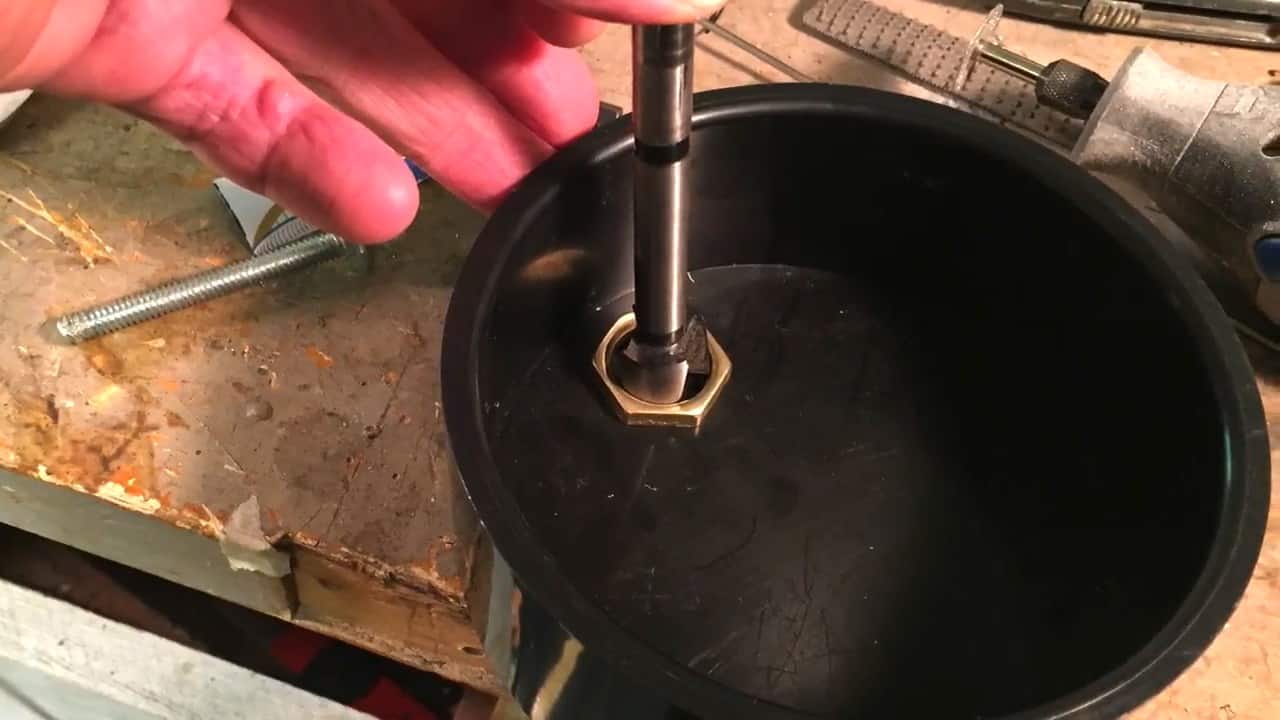
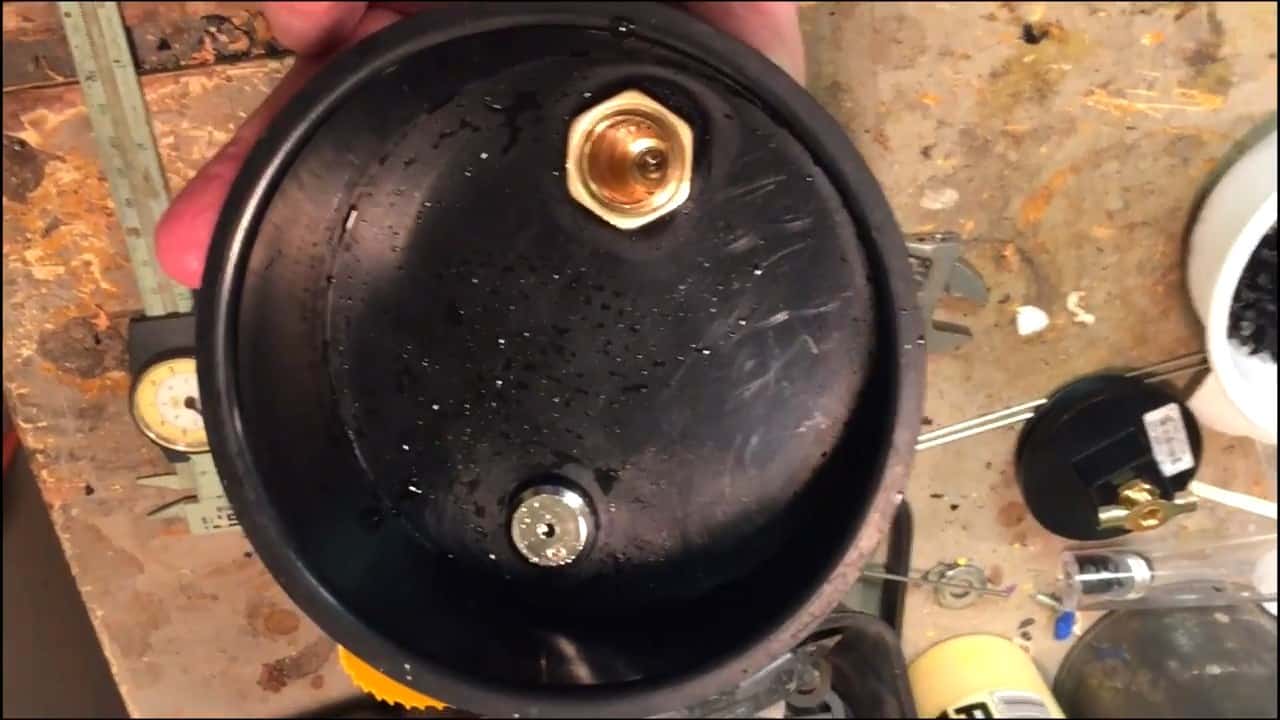
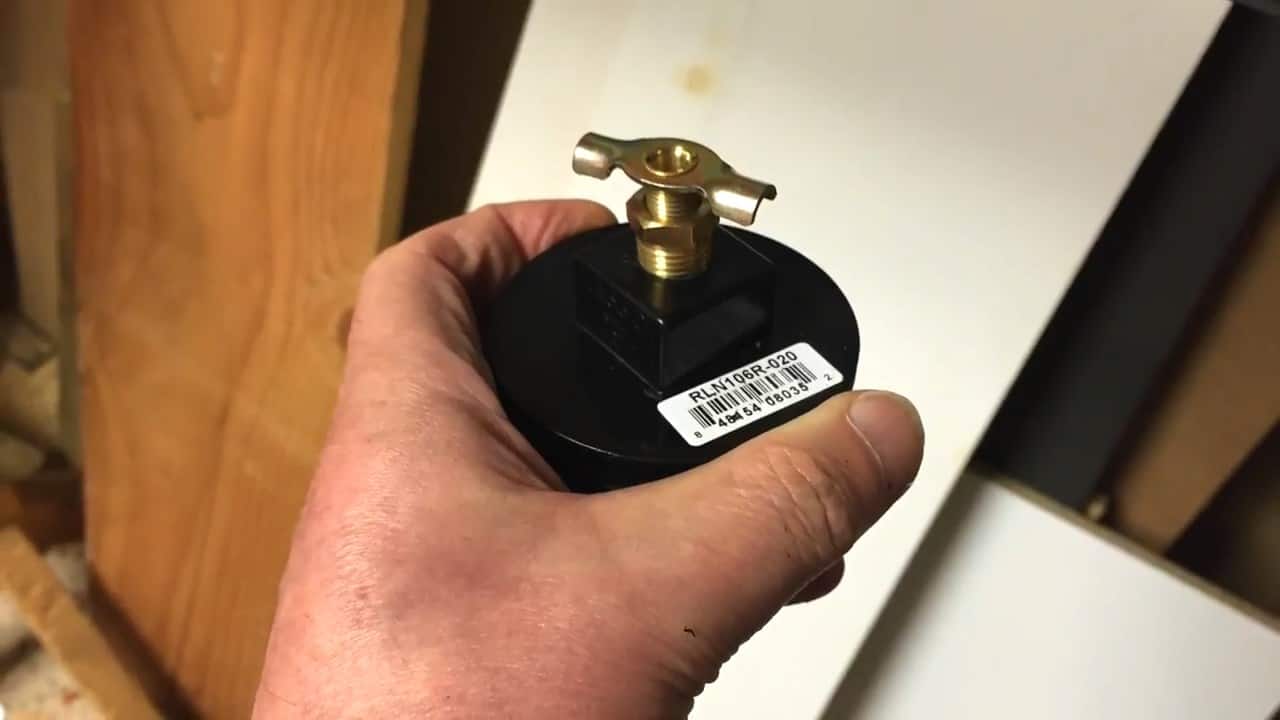
STEP 4 : RADIATOR DRAIN PLUG FOR RELEASING PRESSURE
installed on the threaded end cap of the water intake PVC fitting. This valve helps to release extra pressure from the tank without opening the main drain shut off.
A radiator valve drain plug is installed on the threaded end cap of the water intake PVC fitting and serves an important function in releasing any excess pressure from the tank without opening the main drain shut off.
The radiator valve drain plug is a small but essential component that helps to maintain the correct pressure levels in the system. It’s important to select a high-quality valve that is compatible with the ABS pipe and fittings used in the system.
This valve should be installed in a location that is easily accessible and allows for easy operation when needed.
To install the radiator valve drain plug, start by drilling a hole in the threaded end cap of the water intake PVC fitting using a Forstner bit.
The size of the hole should match the diameter of the valve to ensure a tight and secure fit. Once the hole is drilled, thread the radiator valve drain plug into place and tighten it securely using a wrench.
It’s important to ensure that the valve is tightened enough to prevent any leaks.
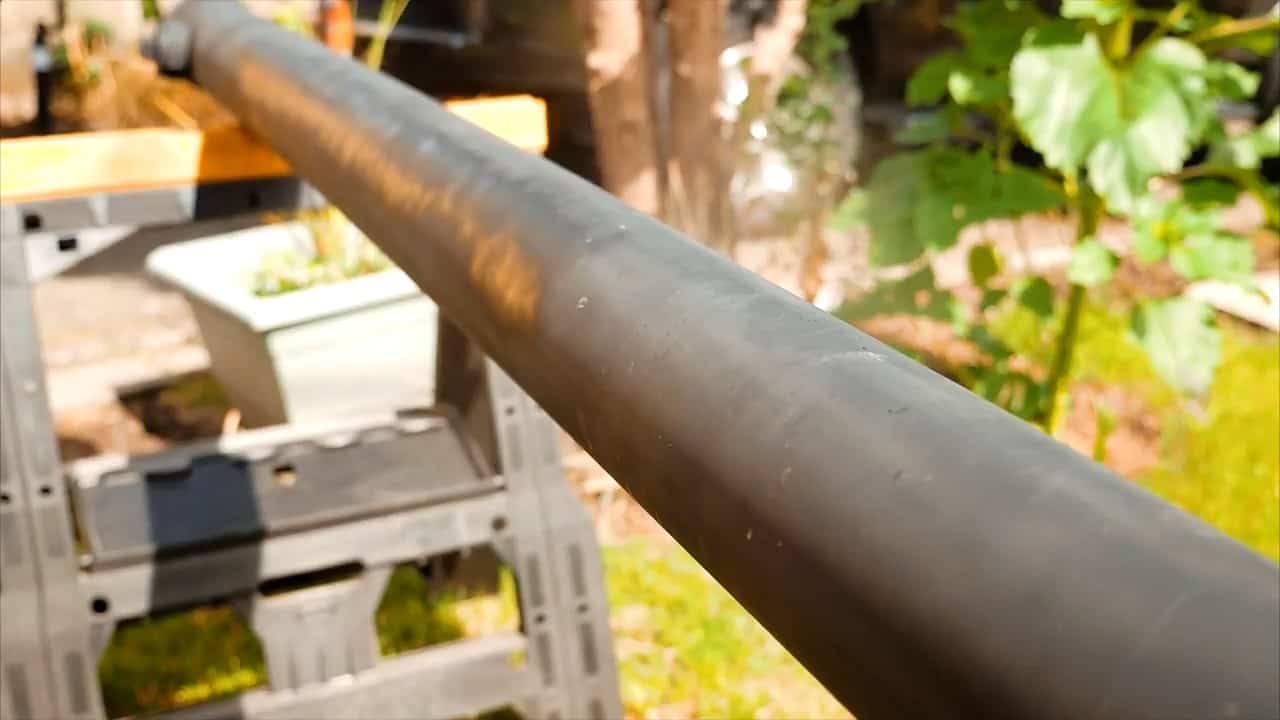
STEP 5 : COATING WITH RUSTOLEUM BLACK PAINT
To optimize the heating efficiency, it’s important to improve the thermal absorption of solar energy. One effective way to do this is by painting the surface of the ABS pipe with flat black paint.
To start this process, the surface of the ABS pipe should be cleaned and polished with steel wool soaked in methyl hydrate.
This will remove any dirt, grime or residue that may prevent the paint from adhering properly. After the surface is thoroughly cleaned and polished, it’s time to apply the paint.
The first step is to apply a coat of spray primer to the surface of the ABS pipe. This will help the paint to adhere better and create a smooth and even surface for the final coats.
After the primer has dried, apply two coats of high heat Rustoleum black paint to the surface of the pipe. It’s important to apply two coats to ensure full coverage and maximum thermal absorption.
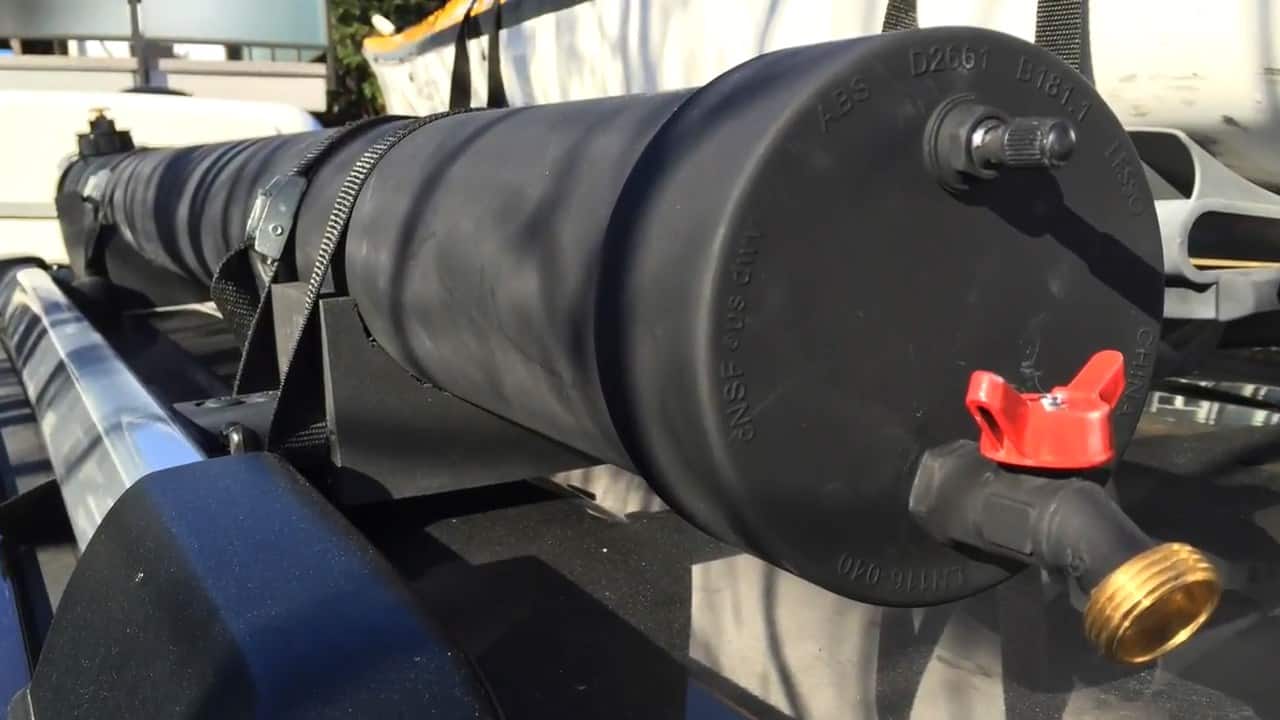
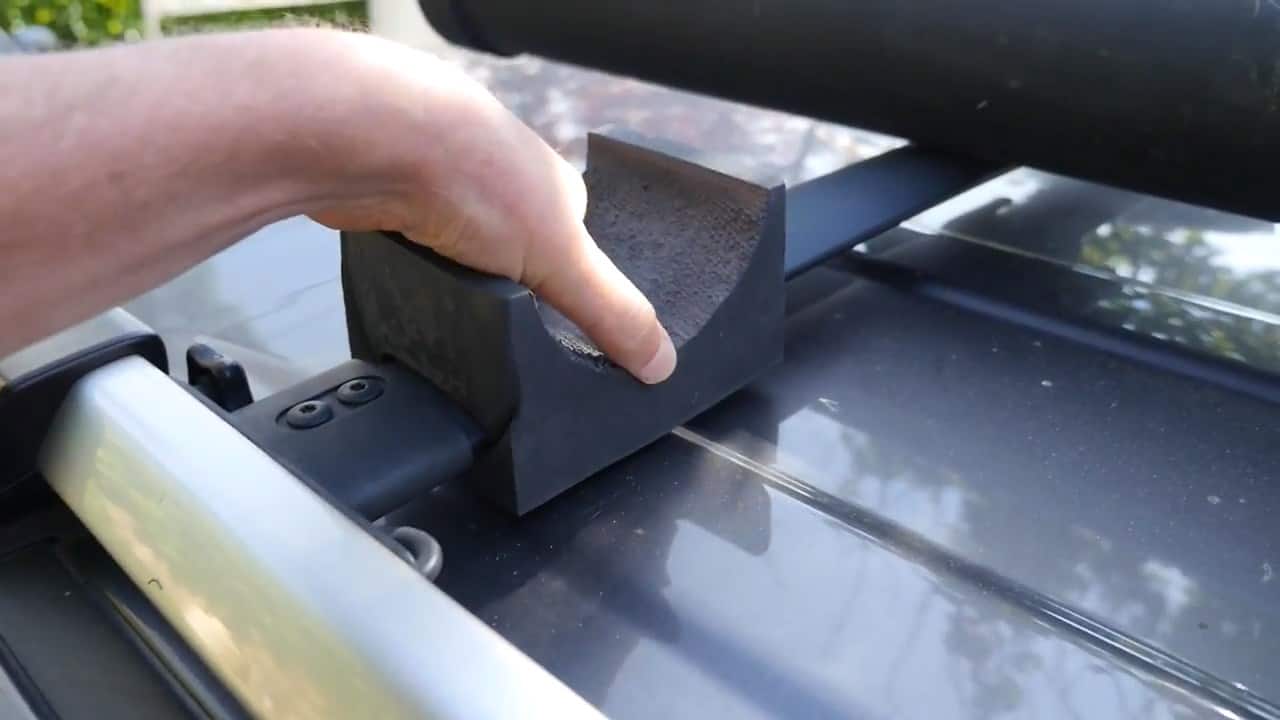
STEP 6 : SECURING THE SHOWER PIPE
Once the shower build is complete, it’s time to mount it onto the roof of your car or truck. To do this, we use a canoe foam block, which provides a stable and secure base for the system.
To mount the foam block onto the roof, start by extending the slots in the foam block to make them fit inside the cross rails.
This will help to ensure a snug and secure fit. Next, cut an arc on the foam block equal to the outside diameter of the pipe. This arc should be positioned such that it leaves half an inch of foam between the mounting slot and the bottom of the arc.
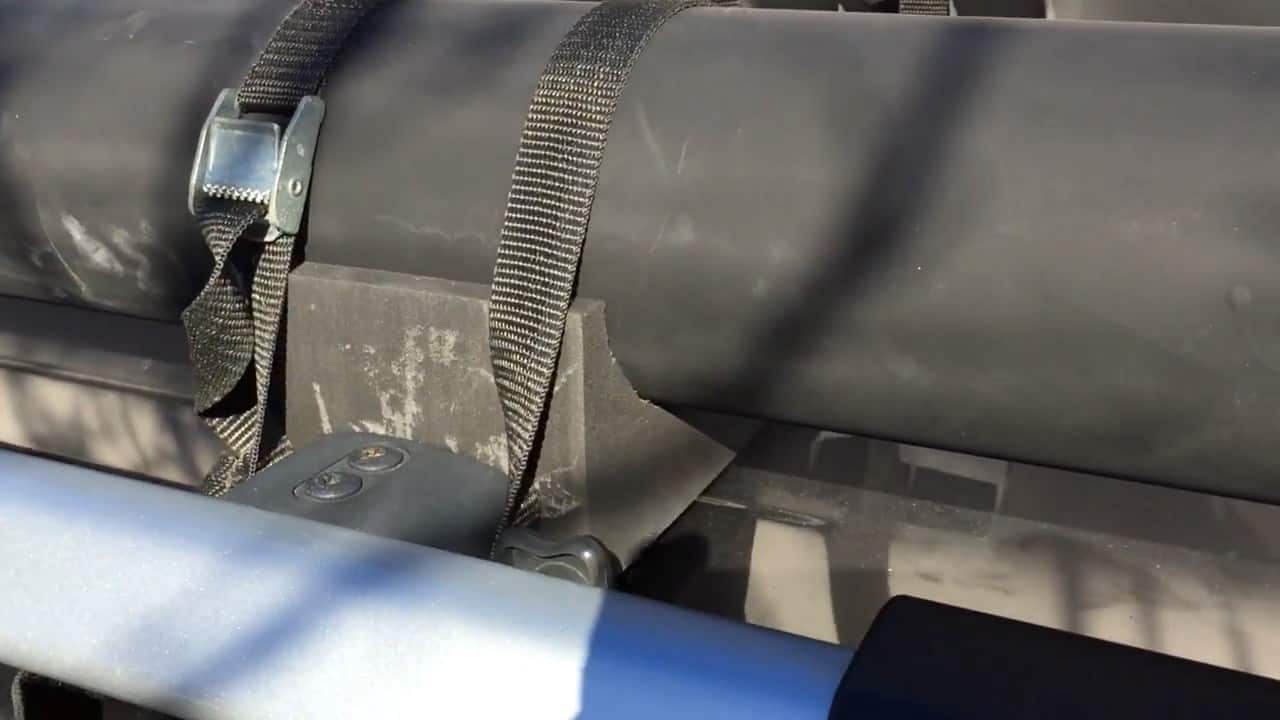
Once the foam block is properly positioned, it’s time to attach the shower to the support pads. One-inch nylon tie-down straps can be used for this purpose.
These straps should be looped through the support pads and around the ABS pipe to hold the system securely in place.
STEP 7 : CONNECTING HOSE AND INSTALLING AN AIR COMPRESSOR
The next step is to connect a hose and an air compressor to the system. For the shower hose, an inexpensive 25-foot-long coiled three-eighths inch hose from a local garden center is an ideal choice.
This type of hose is both affordable and easy to store, making it perfect for outdoor survival and camping trips.
To connect the shower hose to the water heater, you will need to attach a multifunction spray nozzle to the end of the hose. This will allow you to control the flow and pressure of the water as needed.
The other end of the hose can be connected to the water intake opening on the system using a PVC threaded adapter socket and ABS solvent cement.
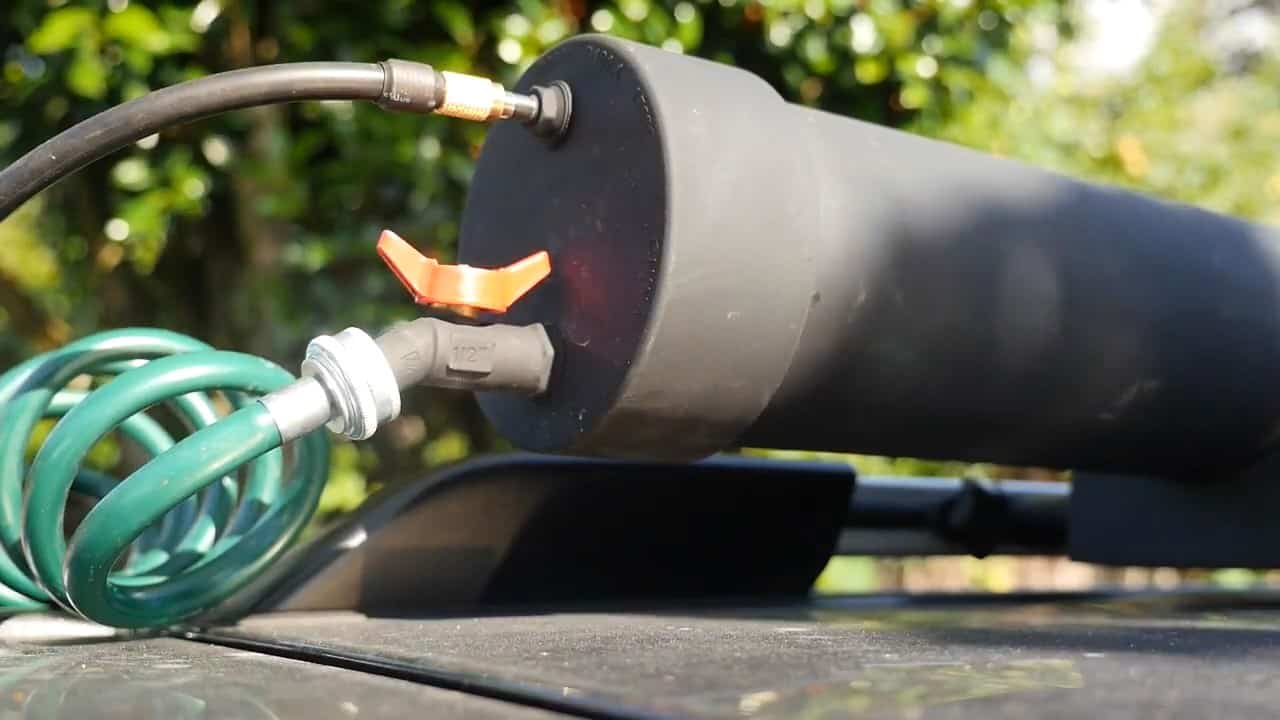
To pressurize the system, an air compressor is required. The air compressor can be connected to the system using a long Schrader valve, which is commonly used for aluminum rim tires.
This valve uses threaded nuts to secure it in place and provides a reliable connection for the air compressor.
Once the air compressor is connected, you can adjust the pressure to your desired level using the multifunction spray nozzle.
It’s important to note that the bursting point of a six-inch ABS pipe is well over 100 psi, so a pressure of 30 psi will provide a safe and ample pressurized shower without causing any long-term expansion fatigue to the pipe or glue connections.
Image Credits : ImaginetMedia