This article provides a comprehensive guide on how to dig a shallow hand pump water well for gardening purposes using simple tools.
By following the steps outlined in this project, you can save a considerable amount of money compared to hiring a professional to do the job for you.
The article highlights the significance of knowing your soil type to ensure that the system works correctly. It also details the materials needed for the project, such as a post-hole auger, extension pipe, and wrenches, among others.
Furthermore, the article explains each step in detail, from digging the hole for the well casing to installing the pitcher pump.
STEP 1 : KNOW YOUR GROUND
The first step in digging a shallow hand pump water well for your garden is to determine the soil type in your chosen location.
This is because different types of soil hold water differently, and some may not be suitable for well digging.
Ideally, silt, clay, sand, or loam soil types are suitable for this project.If your soil matches any of these types, you are good to go.
However, it’s important to note that the soil type can vary depending on the depth you are digging. In some cases, the topsoil may not be the same as the underlying layers.
For instance, in our case,we discovered that it had the first 10 or 12 feet of fine glacial silt, which was ideal for the project. However, below this layer, they found glacial deposits of river gravel.
Therefore, it’s essential to take into account the depth you intend to dig to determine the soil type accurately. This ensures that you have a stable well and a reliable source of water for your garden.
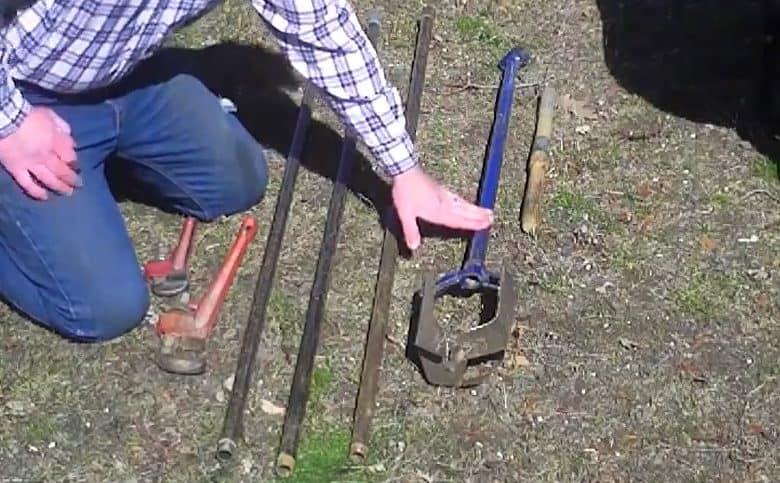
STEP 2 : THE MATERIALS REQUIRED
Once you have determined that your soil is suitable for a well, the next step is to dig a hole for the well casing. This is where the tools required come in handy.
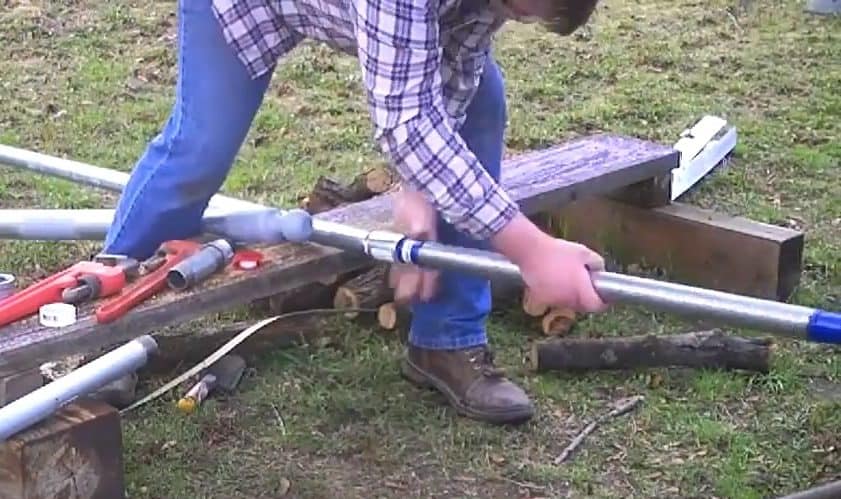
You will need a six-inch post-hole auger, a three-quarter-inch extension pipe with a coupling at the end, and a couple of wrenches to complete this task.
The post-hole auger is a specialized tool designed to dig narrow, deep holes for various purposes, including well digging. You will use this tool to drill the hole to the desired depth.
The extension pipe with a coupling at the end is used to extend the auger’s reach and increase the hole’s depth. The wrenches come in handy for tightening the fittings and securing the extension pipe to the auger.
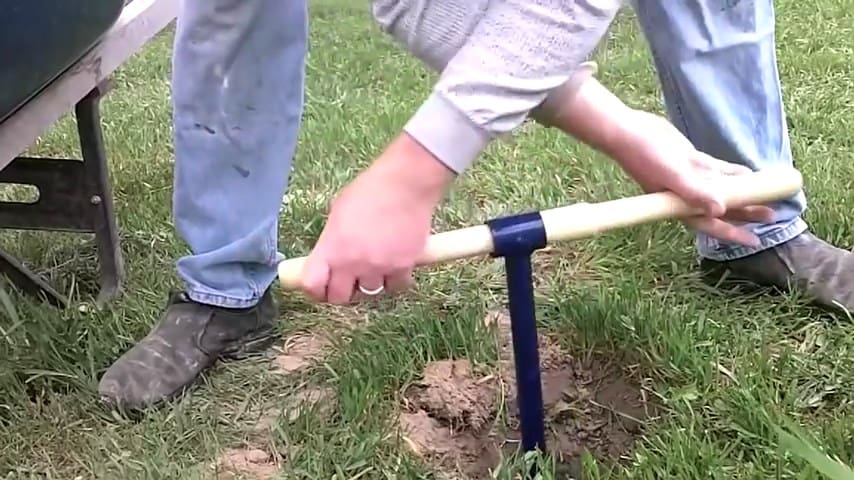
STEP 3 : START DIGGING
Once you have identified the location for your well, the next step is to begin digging. Using the six-inch post-hole auger, you should apply downward pressure on the tool by twisting it.
As you do this, the auger will start to screw itself into the earth, gradually penetrating the soil and creating a narrow, deep hole.
It’s important to maintain consistent downward pressure to ensure that the auger penetrates the soil efficiently and creates a stable hole.
As the auger fills up with soil, you can pick it up and dump the material aside or into a wheelbarrow. It’s essential to dispose of the soil in a safe and appropriate manner to prevent any accidents or injuries.
If you encounter any obstacles such as tree roots, sharpening the auger can help it cut through them.
However, it’s worth noting that the auger’s sharpness may not last long, so it’s essential to monitor it and sharpen it when necessary.
During the digging process, it’s crucial to keep the hole centered to prevent it from becoming crooked or collapsing.
To achieve this, you can use a simple method such as placing a stake or marker at the center of the hole and aligning the auger with it.
Once the auger has reached the desired depth for the well casing, it’s time to remove it from the hole.
To do this, you need to pull the auger out carefully, ensuring that you don’t damage the walls of the hole.
After removing the auger, you need to detach the basket from the handle. This allows you to insert one of the extensions using a pipe wrench.
The extension pipe is used to add extra depth to the hole and ensure that the well casing fits correctly.
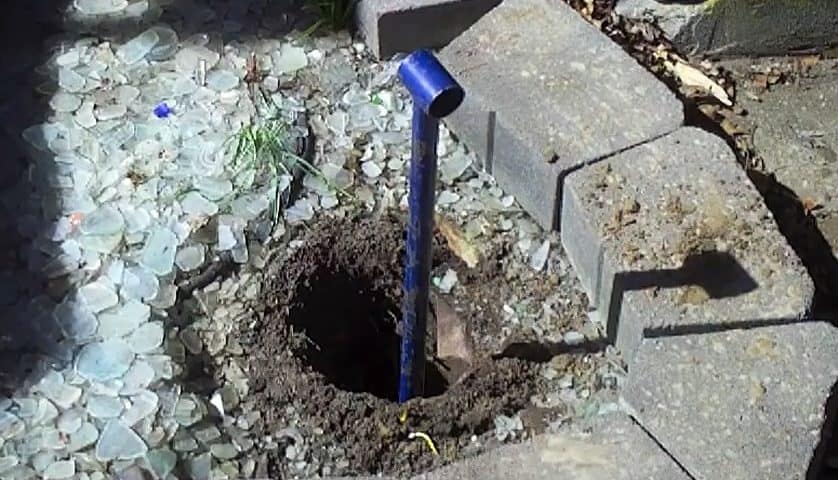
STEP 4 : INSERTING THE CASING PIPE
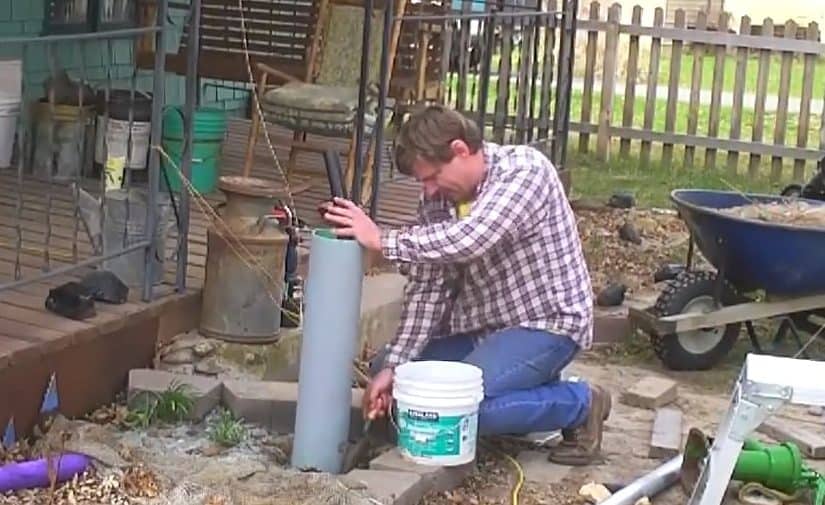
After digging the hole for the well casing, the next step is to insert the casing into the hole. In this project, a six-inch PVC sewer pipe is used for the casing.
This type of pipe is cheap and readily available, making it an ideal option for the project.
Before inserting the pipe, you need to smoothen the end of the pipe using a rasp to ensure that it fits snugly with the cap.
The cap is used to cover the top of the well casing and prevent debris and dirt from entering the well. To create a mounting base for the pitcher pump, a round piece of PVC flat stock is bolted and glued on top of the cap using PVC glue.
This mounting base is essential for supporting the pitcher pump and ensuring that it’s stable and secure.
It’s important to use high-quality PVC glue to attach the flat stock to the cap to prevent any leaks or damage to the well casing.
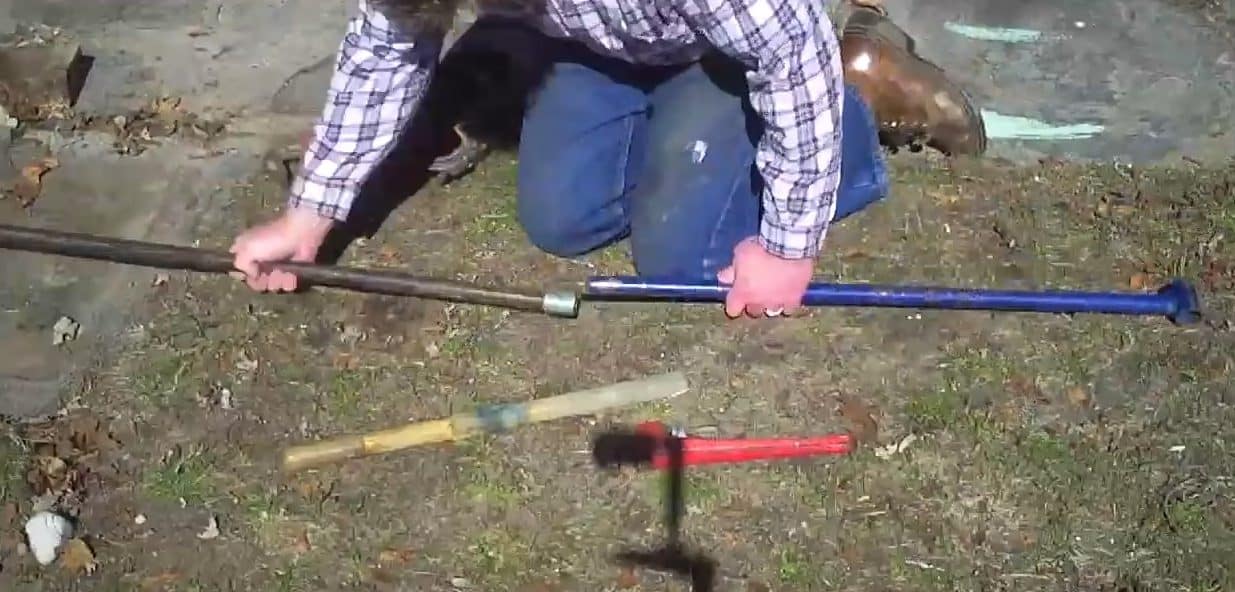
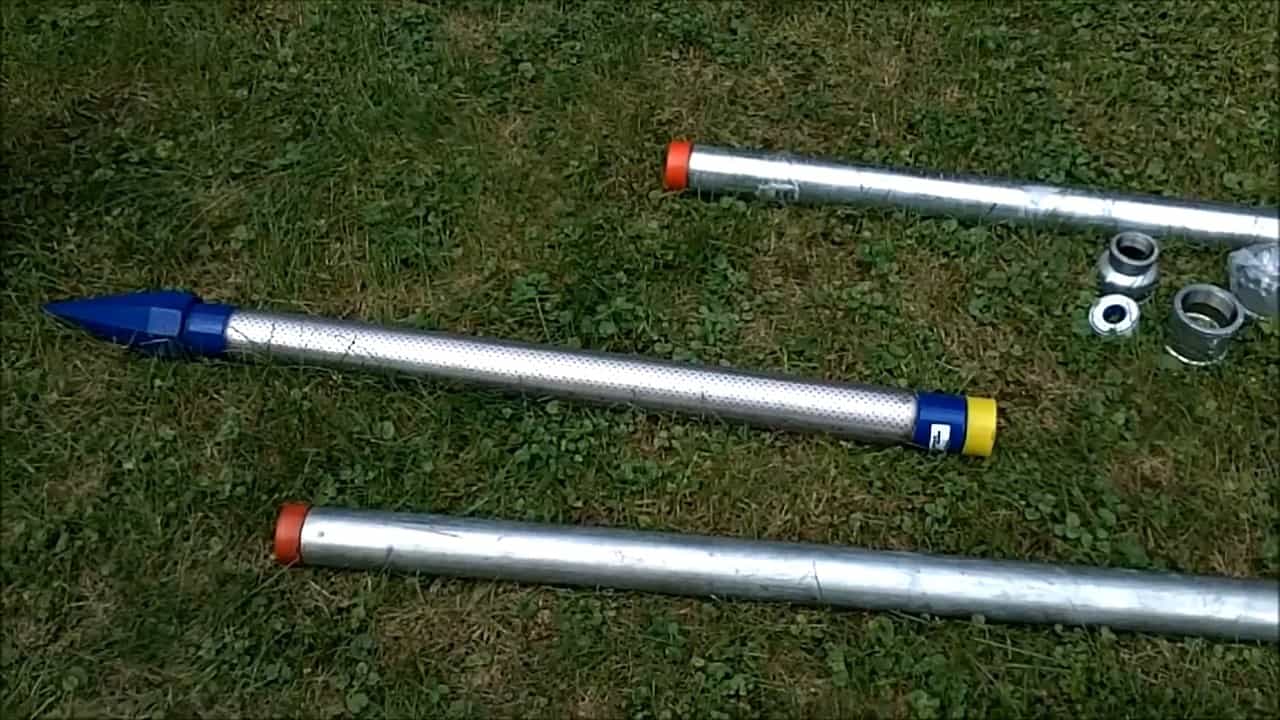
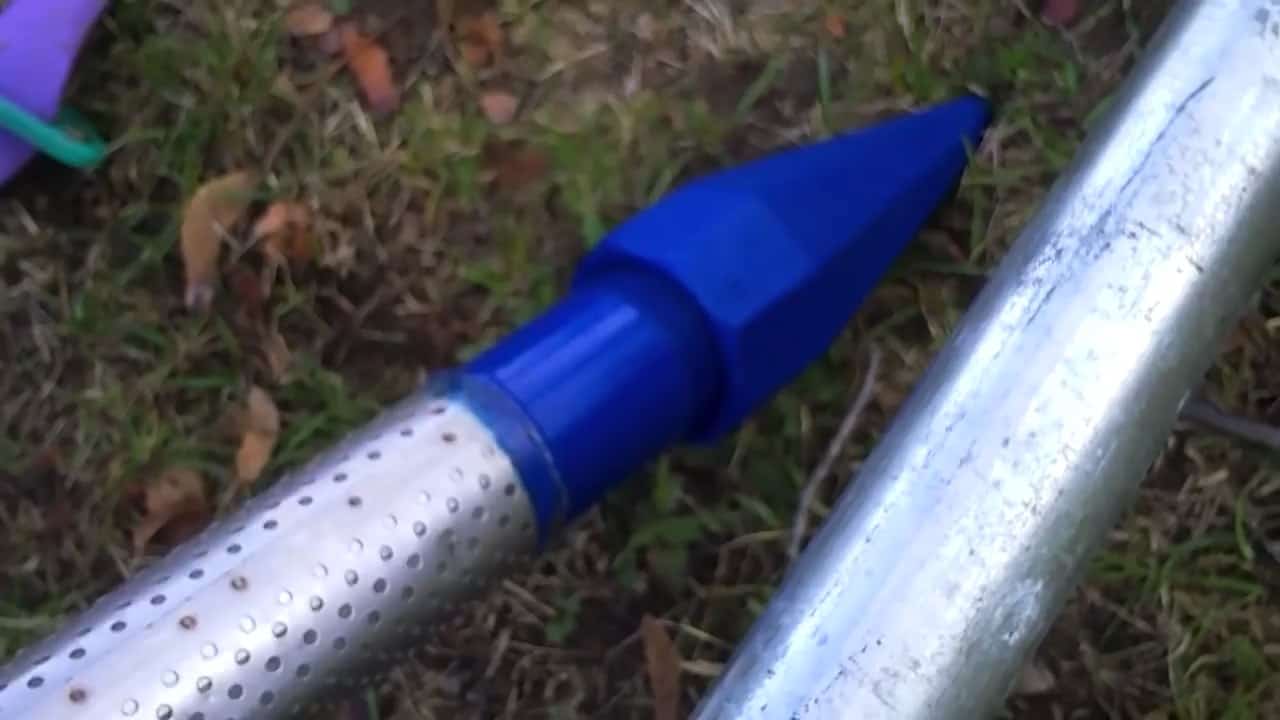
STEP 5 : CONNECTING THE WELL POINT
After installing the well casing, the next step is to install the Sandpoint, which is a perforated stainless steel pipe with a cast-iron point at the bottom.
To do this, you will need a long piece of 10-foot pipe and a Sandpoint, as well as a couple of drive couplings.
The drive couplings are made of steel instead of cast iron, which makes them stronger and more durable. They also have a small diameter that allows them to slip down inside the Sandpoint, making them not much larger than the diameter of the Sandpoint itself.
The 10-foot pipe is used to drive the Sandpoint down into the ground, allowing you to reach the water table and create a reliable source of water for your garden.
To install the Sandpoint, you will need to attach the drive couplings to the top of the Sandpoint and the bottom of the 10-foot pipe.
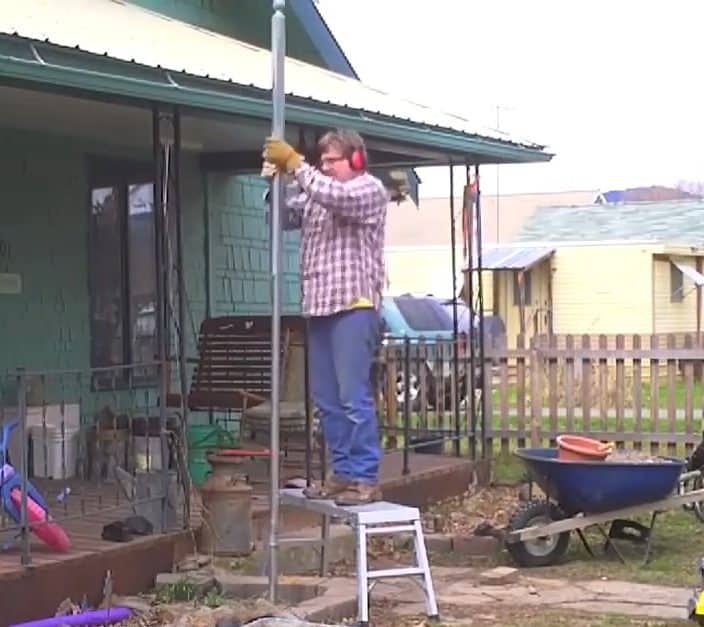
Once the Sandpoint is secured with the drive couplings, you can start drilling it into the ground using the 10-foot pipe.
It’s important to ensure that the Sandpoint is centered and straight during the drilling process to prevent any damage to the well casing or the Sandpoint itself.
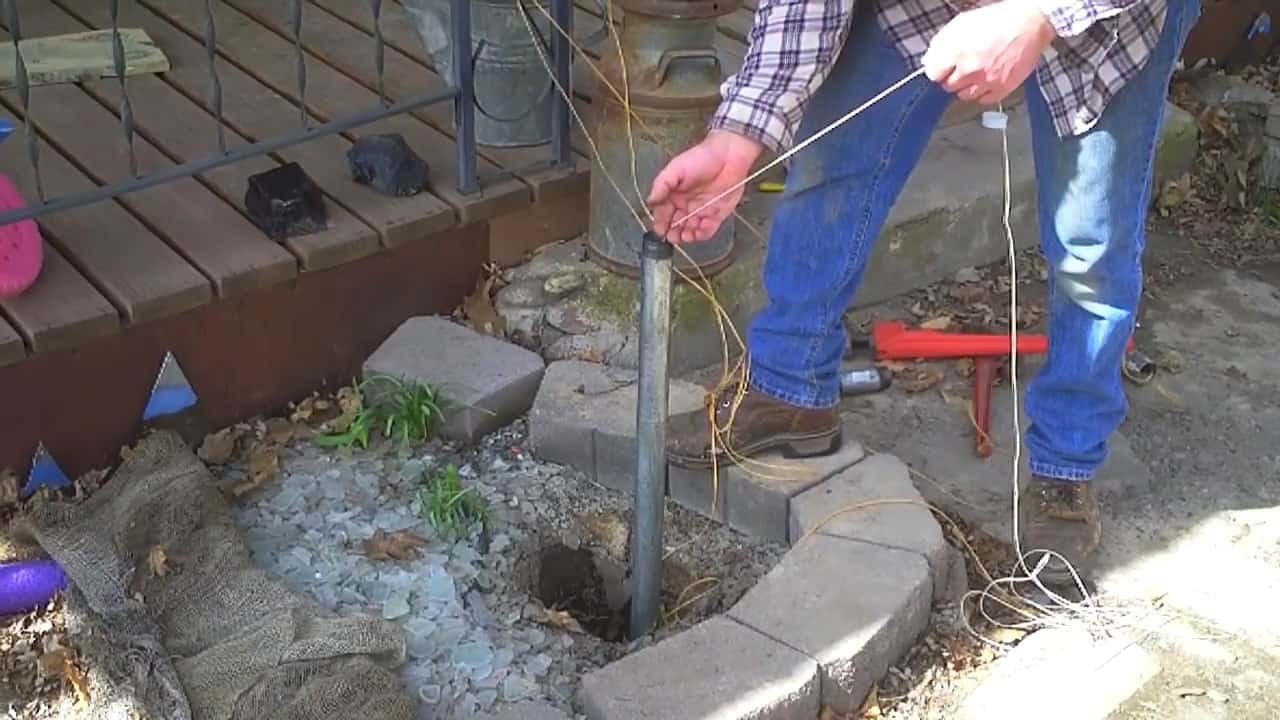
As you drill, you should periodically remove the 10-foot pipe to check how far down the Sandpoint has gone and whether it has reached the water table.
To do this, you can attach a bolt to a string and lower it down into the Sandpoint to measure the water depth.
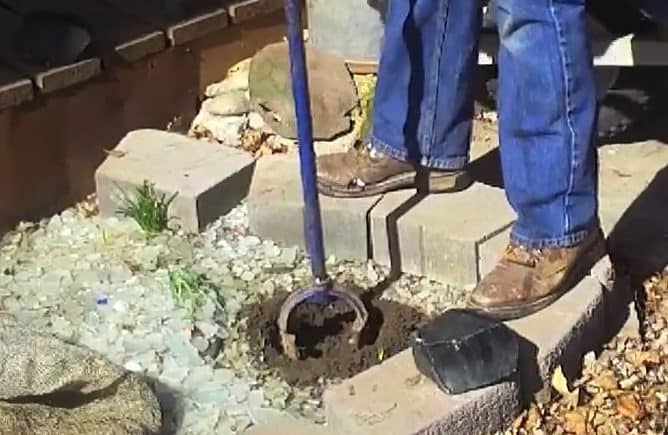
STEP 6 : DRIVING THE SANDPOINT
Once the Sandpoint has been drilled down to the desired depth, the next step is to connect it to the 10-foot pipe. To do this, you will need to use couplers and some Teflon tape to ensure a tight and secure connection.
It’s important to ensure that the fittings are tightened properly, as the extra threads help to spread the load and prevent any damage to the Sandpoint or the well casing.
Hammering on the drive point or fittings without tightening them properly can cause them to loosen over time, leading to leaks and other problems with the well system.
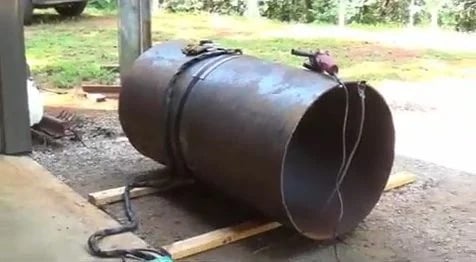
To drive the Sandpoint and 10-foot pipe into the ground, a homemade post-hole pounder can be used. This pounder is made by welding a gooseneck trailer hitch ball into a piece of pipe, creating a sturdy and reliable tool for driving the Sandpoint and pipe into the ground.
After connecting the Sandpoint and 10-foot pipe, the next step is to insert the Sandpoint with the extension into the well casing.
This is done by carefully lowering the Sandpoint into the casing, making sure that it’s centered and straight.
Once the Sandpoint is in place, you can start drilling it into the ground by hand. This is done by manually turning the 10-foot pipe and applying downward pressure, allowing the Sandpoint to drill into the ground and reach the water table.
To determine the depth of the water table, a string with a bolt tied to the end is dropped down into the Sandpoint until it reaches the bottom.
This allows you to measure the distance between the water table and the top of the Sandpoint, giving you an accurate idea of how deep you need to drill.
STEP 7 : ADDING A SUCION HOSE
After drilling the Sandpoint and connecting the 10-foot pipe and well casing, the next step is to attach the suction hose to the well system.
This is done by sliding the black ABS suction hose down into the pipe, making sure that it’s securely attached.
Once the suction hose is in place, the next step is to cover the pipe with the PVC casing. This is done by placing the casing over the pipe and firmly tamping it down to ensure a secure fit.
After the casing is in place, it’s important to pack the area around the casing and tap it into place to ensure that it’s securely anchored in the ground.
This helps to prevent any movement or shifting of the well system, which can cause leaks or other problems.
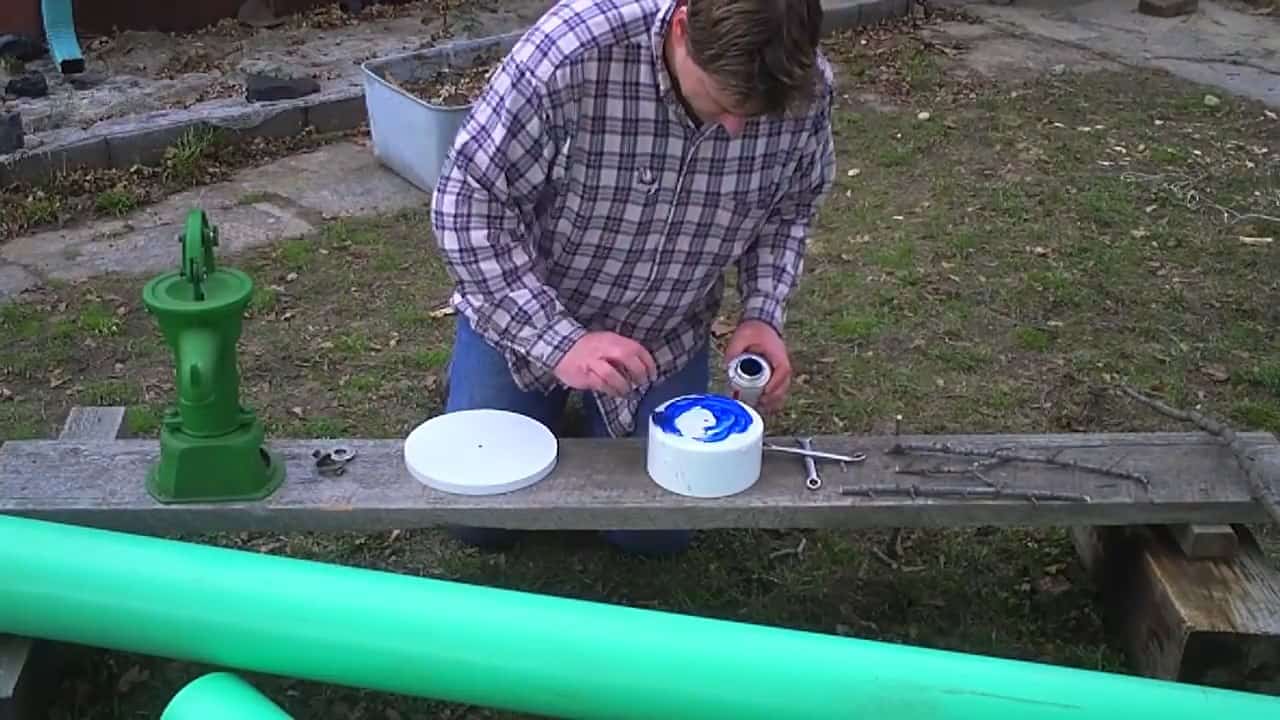
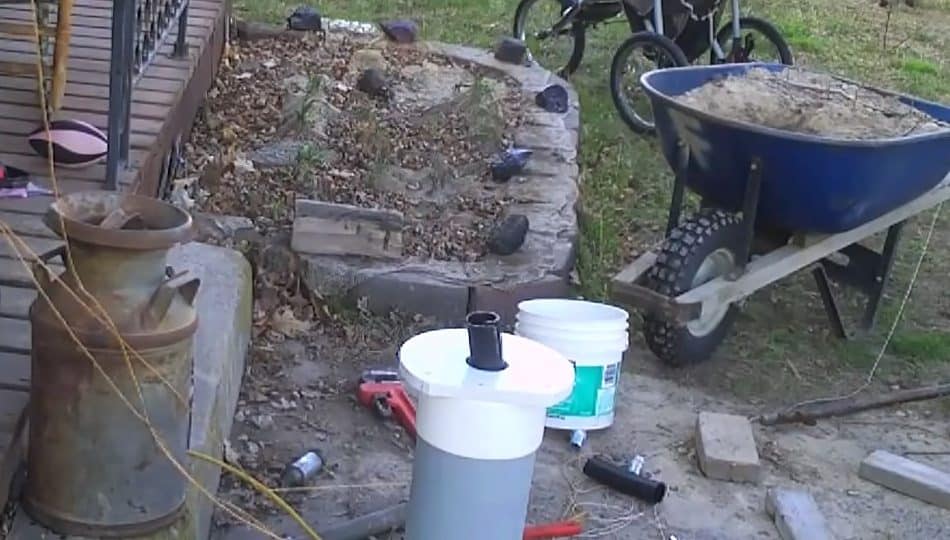
STEP 8 : ADDING A PITCHER PUMP AND PRIMING
After all the components of the well system are in place, the final step is to install the pitcher pump and prime it by adding some water.
The pitcher pump is installed on top of the PVC casing, and the top cap is placed over the casing opening to secure the pump in place.
To install the pitcher pump, it’s important to bolt it securely to the top of the cap to prevent any movement or shifting during use.
Once the pump is installed, the next step is to prime it by adding water to the top basin.
Priming the pump is a simple process that involves pouring a small amount of water into the top basin of the pump.
This helps to create the necessary suction pressure to draw water up from the well and into your garden hose or watering can.
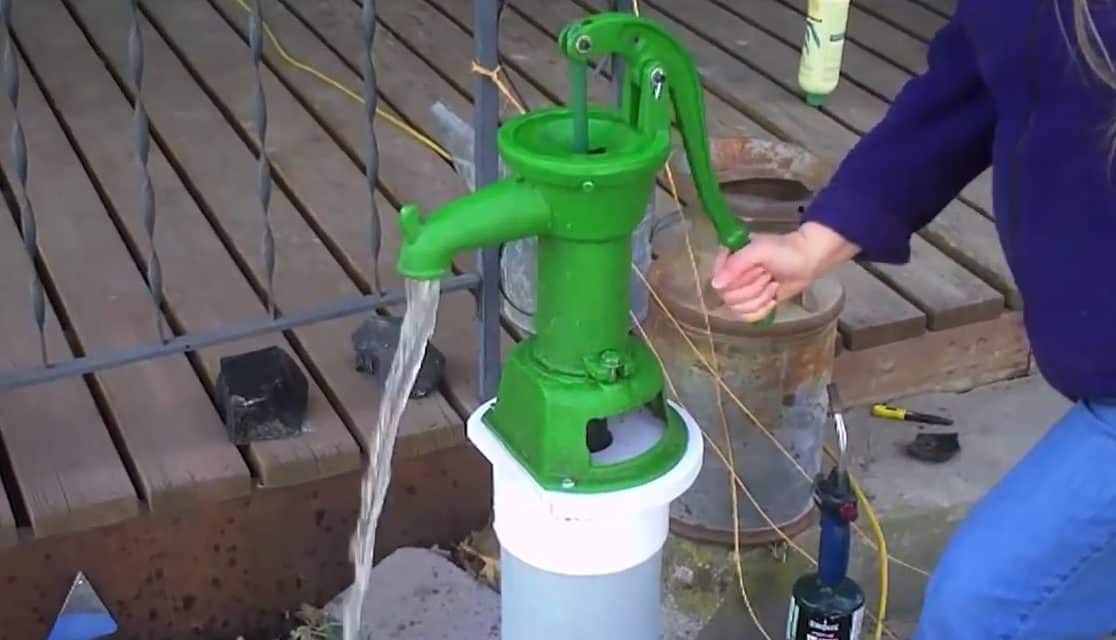
Image Credits : NelsonStudios