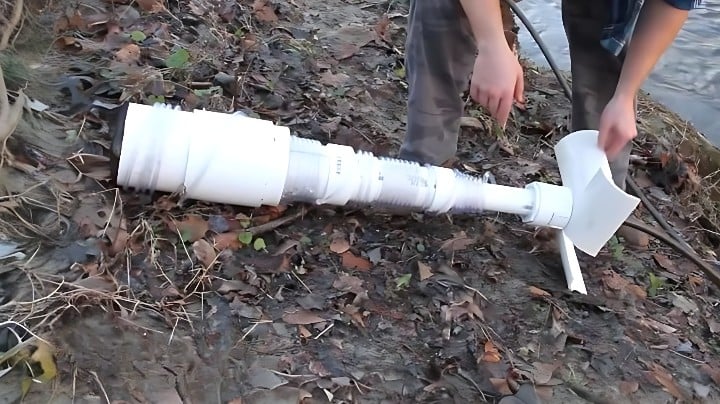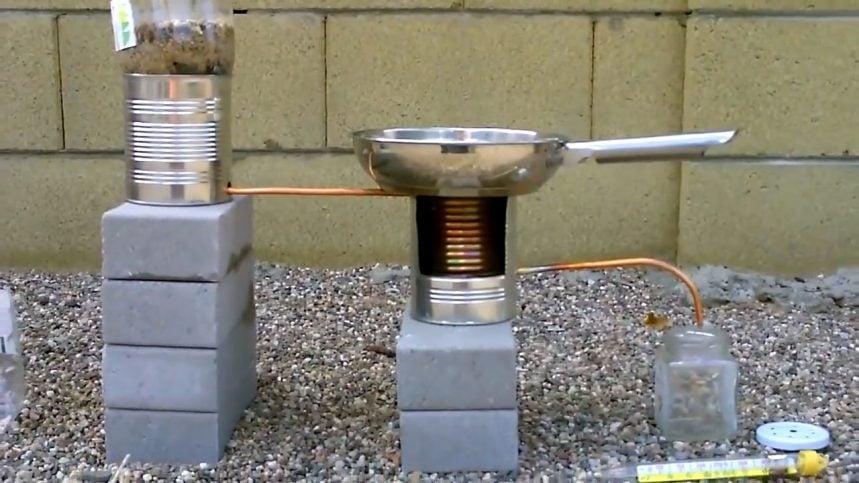
In this project, we will be building a gasification system that can produce wood gas for multiple purposes, such as running a generator, a cooking stove, and lanterns.
The system is designed to operate efficiently by drawing air through the top of the gasifier, where it mixes with wood chips and other materials that are fed through an opening.
The mixture of air and materials then moves through the gasifier, where the air travels downwards and through the wood mass.
This process helps to reduce the amount of oxygen in the system, which is necessary for the gasification process to occur.
The reduction zone is located at the bottom of the tank, where the gases produced are collected and removed through an output pipe.

STEP 1 : MATERIALS REQUIRED
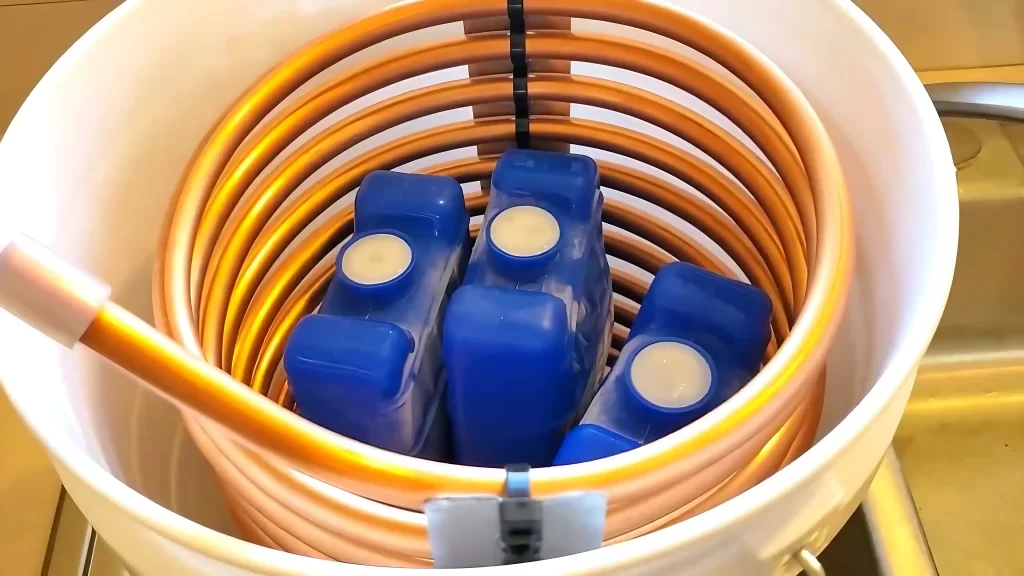
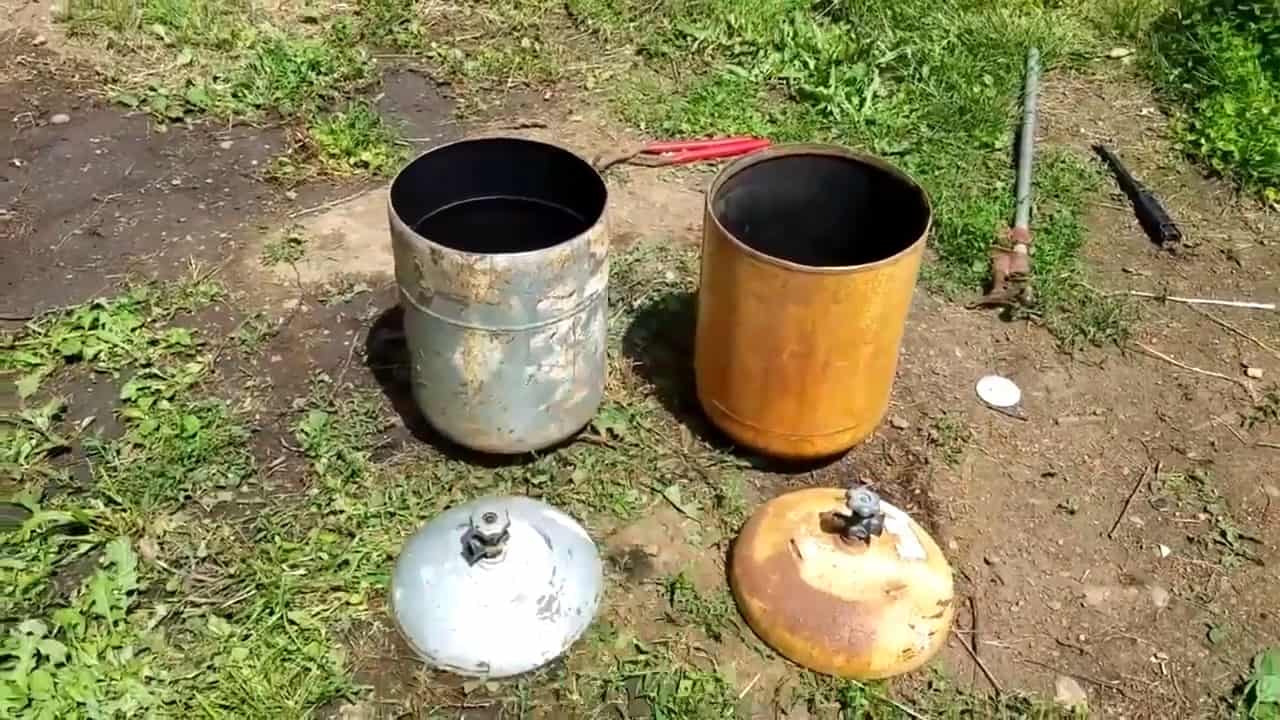
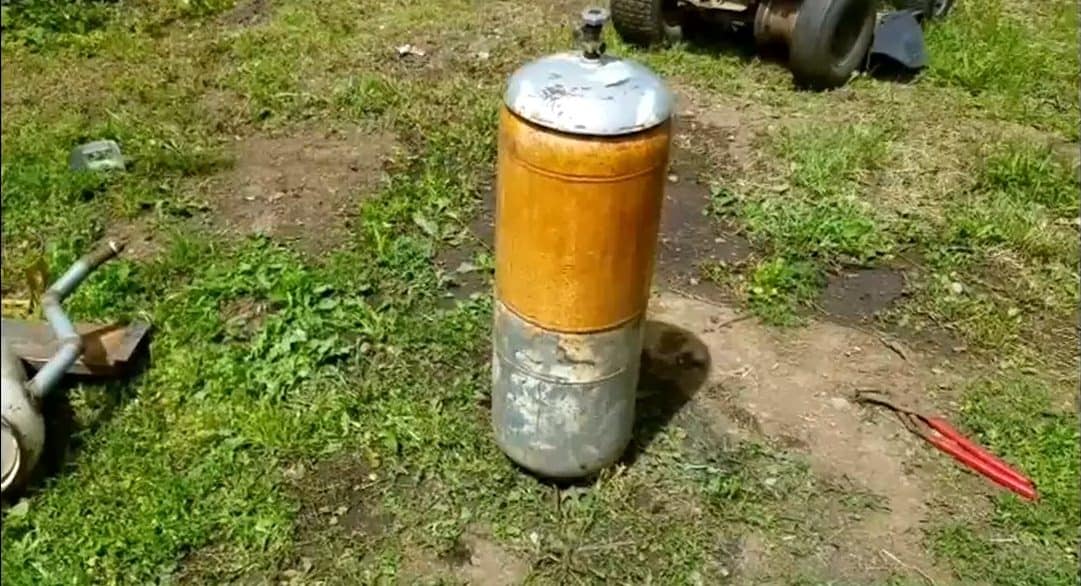
To build this downdraft style gasifier, we will need to gather the necessary materials, which include three old propane tanks, old steel sheets, and wood pellets.
It is important to make sure that the propane tanks are empty before starting the project. To do this, turn off the valves and release any pressure from the tanks.
Once the tanks are empty and safe to handle, we can begin preparing them for use in the gasifier. The first step is to remove the handles from the top of the three propane tanks.
This can be done using a wrench or pliers to unscrew the bolts holding the handles in place.
After removing the handles, the next step is to unthread the valves from the tanks. Again, this can be done using a wrench or pliers to loosen the fittings and remove the valves.
STEP 2 : STACKING THE PROPANE TANKS
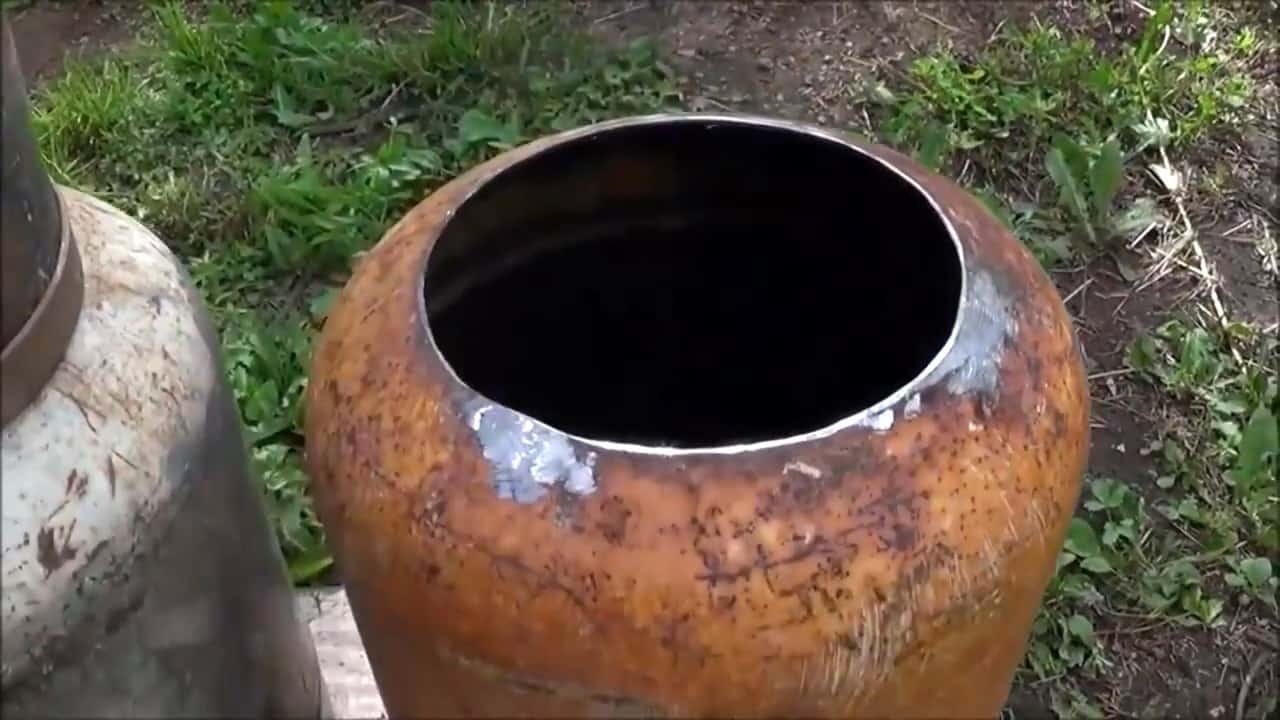
Next, we will need to modify the two propane tanks by cutting the top portion off each tank and stacking the body of the tanks on top of each other.
To do this, we use a cutting tool such as a reciprocating saw or angle grinder to carefully cut along the top edge of each propane tank, removing the top portion of each tank.
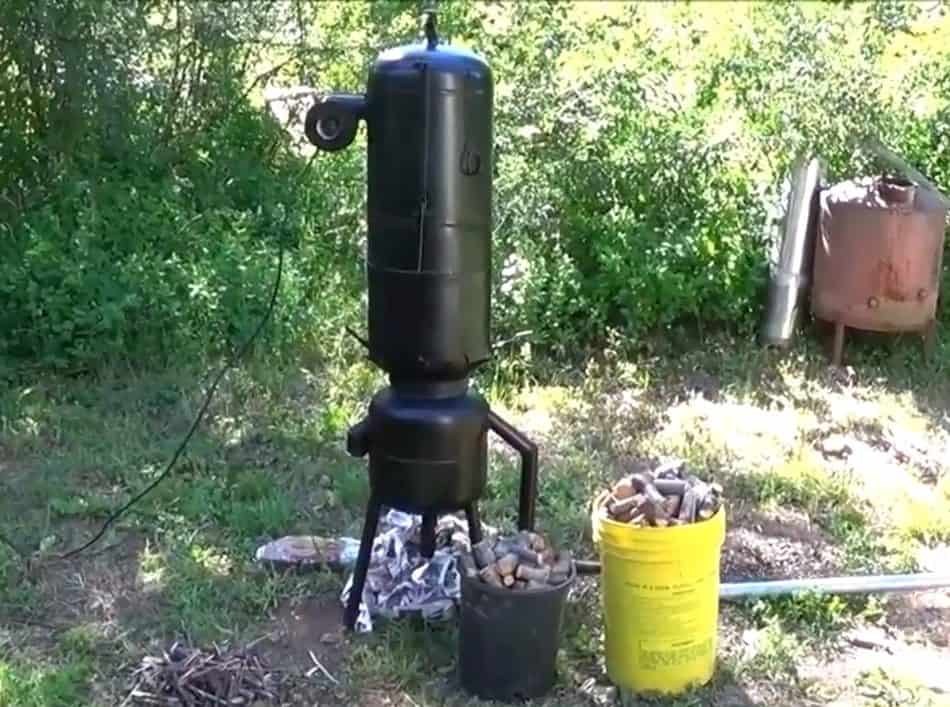
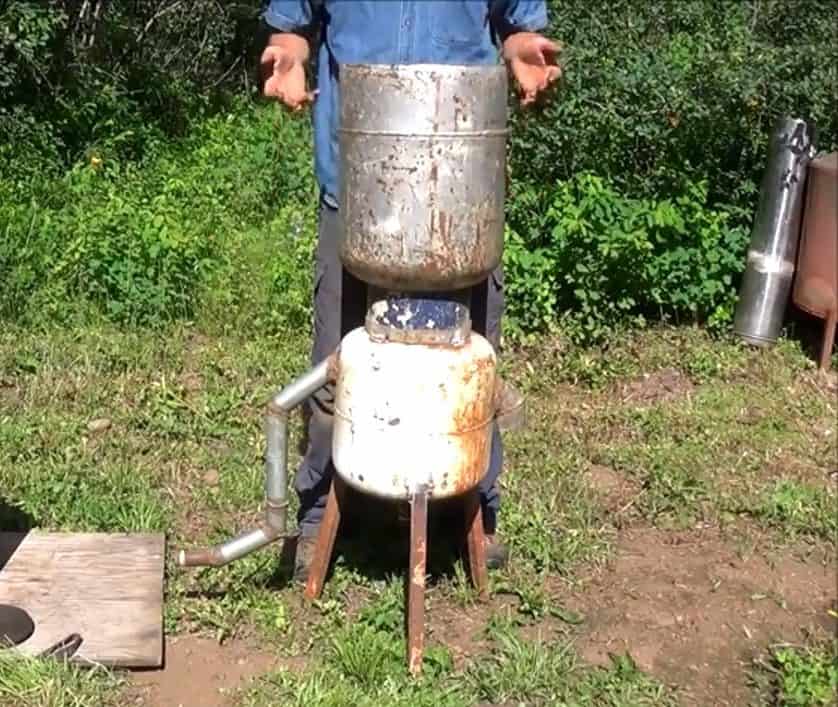
Once the top portions are removed, we can stack the body of the tanks on top of each other, aligning them as accurately as possible to ensure a secure fit.
Next, we will need to weld the tanks together to create a sturdy, leak-proof structure. This can be done using a welder and welding rods or wire, making sure to weld along the edges of each tank to create a solid joint.
Once the tanks are securely welded together, we can use one of the cut-out top pieces as a lid for the gasifier.
This lid can be placed on top of the stacked tanks and secured in place using hinges or latches.
STEP 3 : ADDING REDUCTION ZONE
To create a functional gasifier, it is necessary to create a reduction zone in which wood chips and other materials are converted into wood gas for various uses.
The reduction zone is created by cutting open the bottom portion of the lower propane tank. This opening should be appropriately sized to allow for proper airflow while maintaining the necessary heat and pressure for the gasification process.
To make the reduction point, we recommend using scrap steel sheet to make a five-inch wide small tube.
The purpose of this tube is to concentrate the heat and gases produced during the gasification process, thereby making it more efficient.
Once the tube is shaped, it is welded to the bottom third of the propane tank, creating the reduction point.Creating the reduction zone and point is a critical step in the construction of the gasifier.
When the wood chips and other materials are fed into the gasifier through the top opening, air is drawn in from the top and moves downward through the reduction zone.
During this process, the oxygen in the air is removed, and the gases produced are concentrated, allowing for more efficient combustion.
STEP 4 : BOTTOM OUTLET TANK
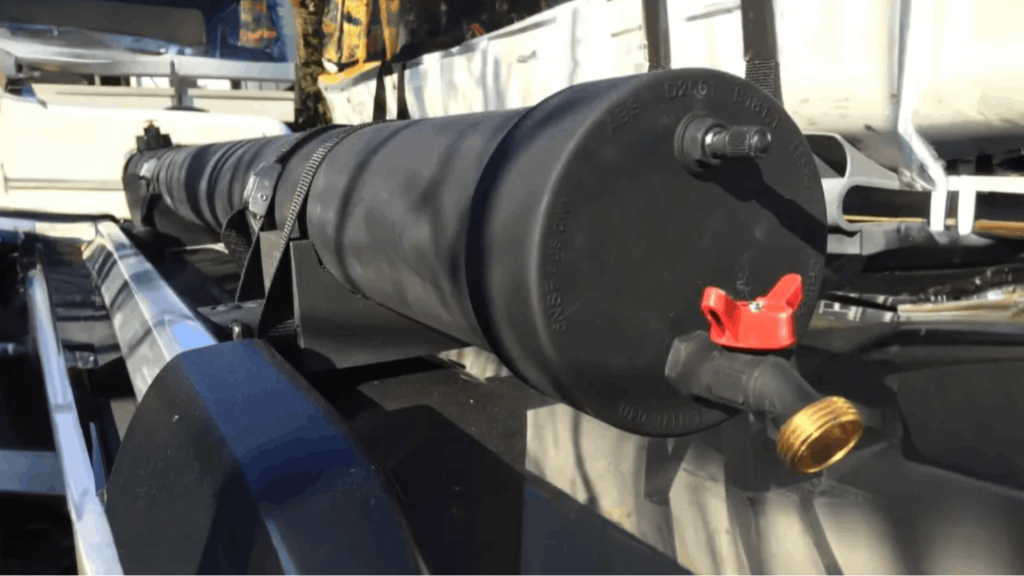
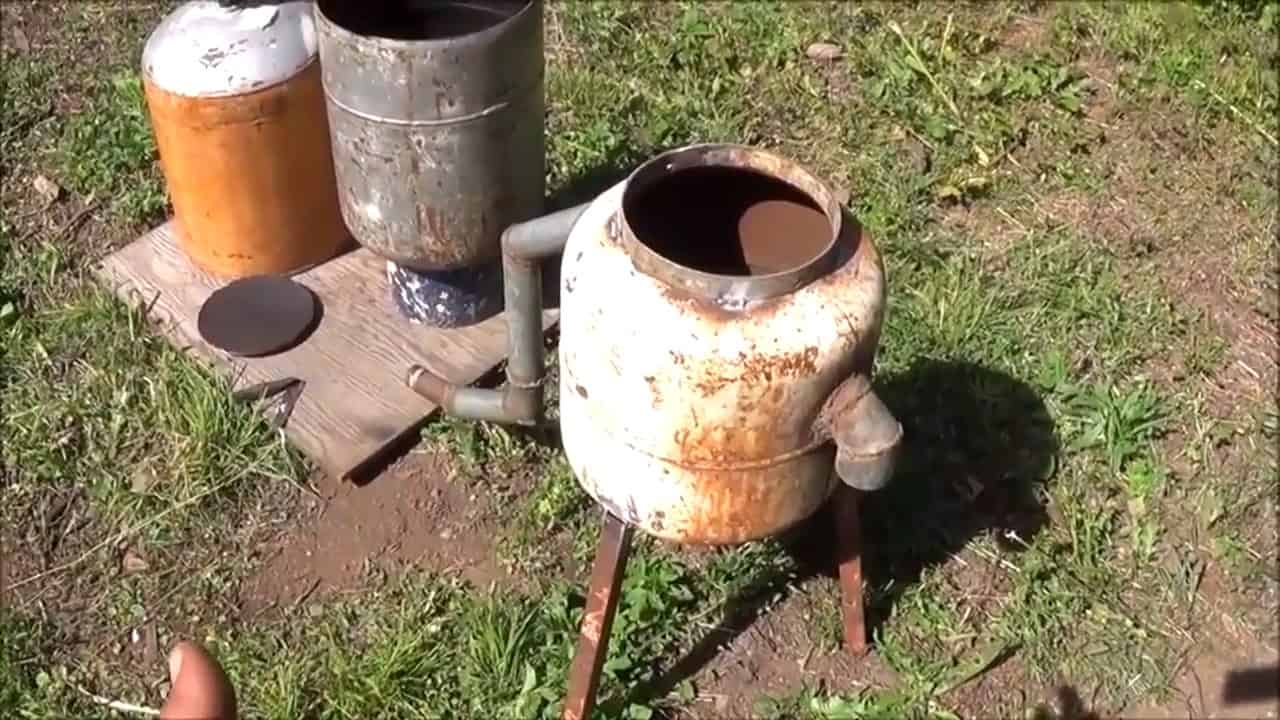
A five-gallon propane tank can be utilized as an effective ash bin and gas outlet in the construction of a gasifier.
The bottom part of the tank catches all the ash generated during the gasification process, keeping it separate from the wood gas to ensure the gas produced is of good quality.
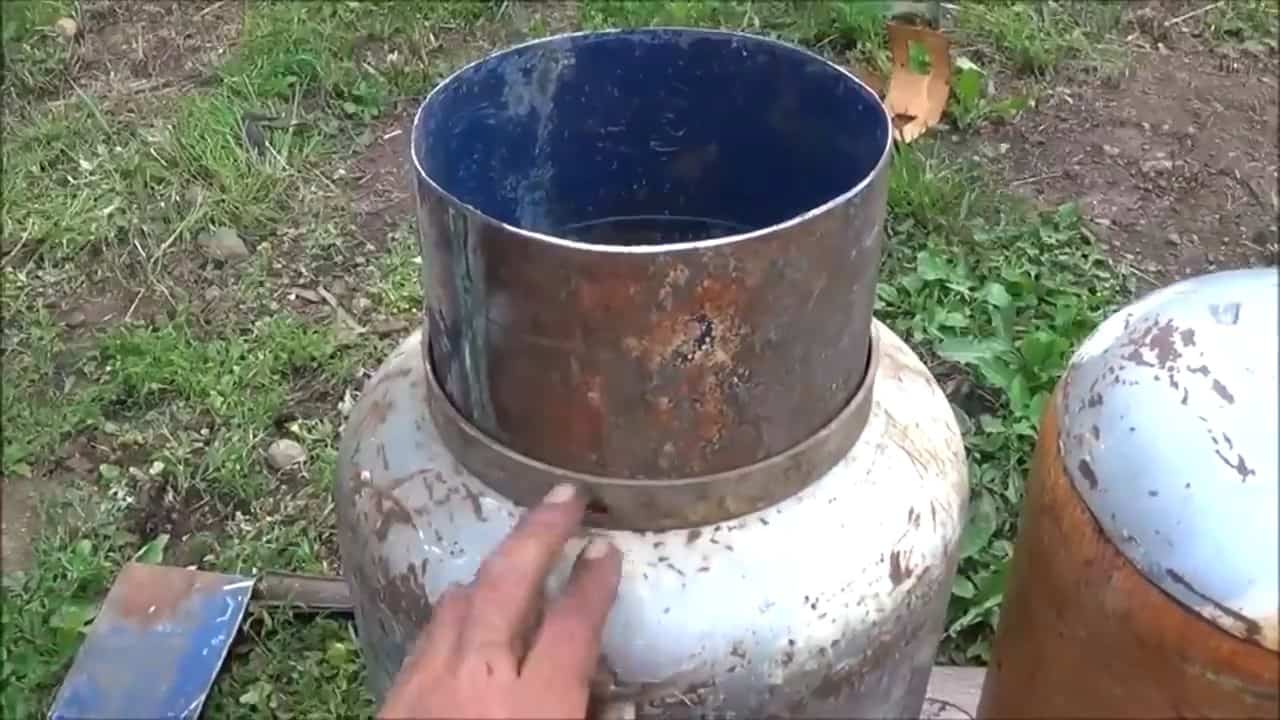
Additionally, the top portion of the tank is cut in such a way that it fits the reduction zone collar of the secondary tank.
This facilitates a smooth flow of gases from the reduction point to the ash bin and output pipe, enabling easy collection and utilization of the wood gas.
It is recommended to ensure a proper fit between both tanks to allow for easy removal of the inner chamber from the bottom ash tank.
This allows collected ash to be conveniently dumped out for reuse and efficient maintenance of the gasifier.
By making sure both tanks fit together nicely, the inner chamber can be effortlessly removed from the bottom ash tank.
This makes it easier to collect the ash without contaminating the wood gas and promotes the sustainability of the system by enabling the ash bin to be reused repeatedly.
To provide a feed area for the wood pieces, the top of the upper tank is cut open. This facilitates the introduction of wood chips and other materials into the gasifier, allowing for the production of wood gas for various purposes.
STEP 5 : ADDING A SCREEN
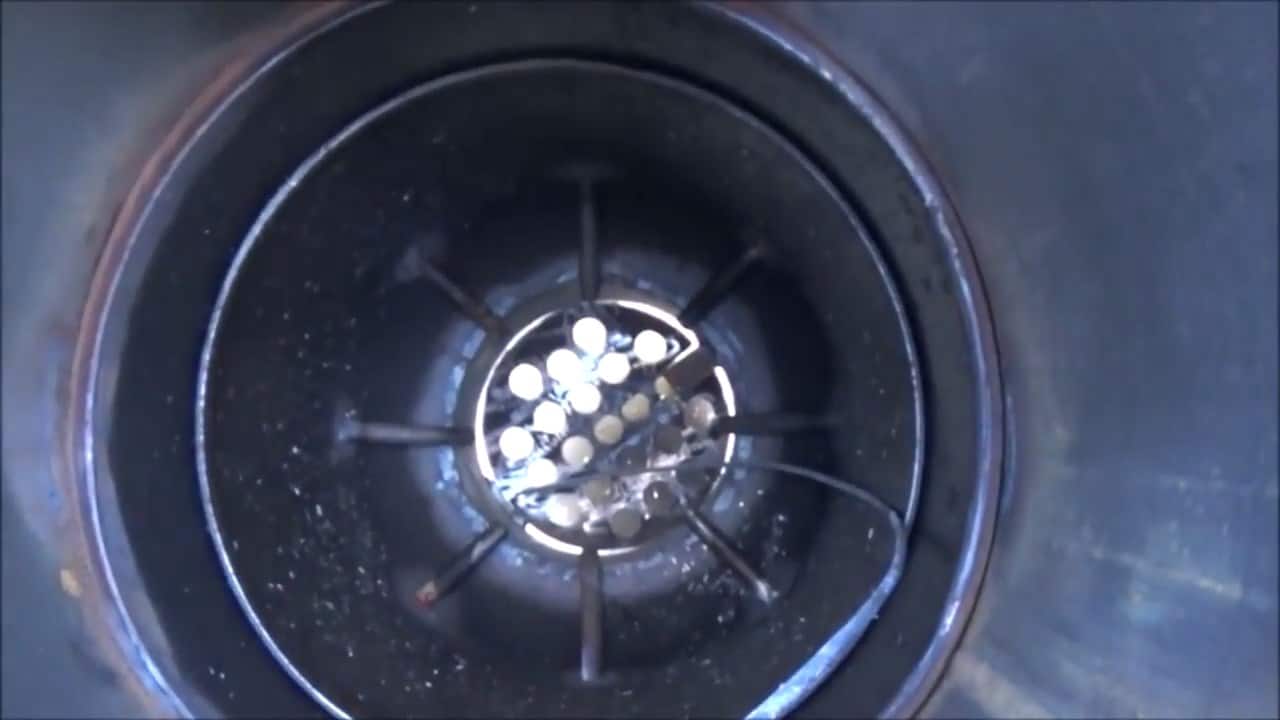
A screen with holes is created by using a 20mm hole saw cutter from the leftover cutouts of the propane tank. This screen is then mounted inside the gasifier’s lower reduction zone.
To facilitate easy cleaning, a hinge and a wire are attached to the screen so it can be opened and closed as needed.
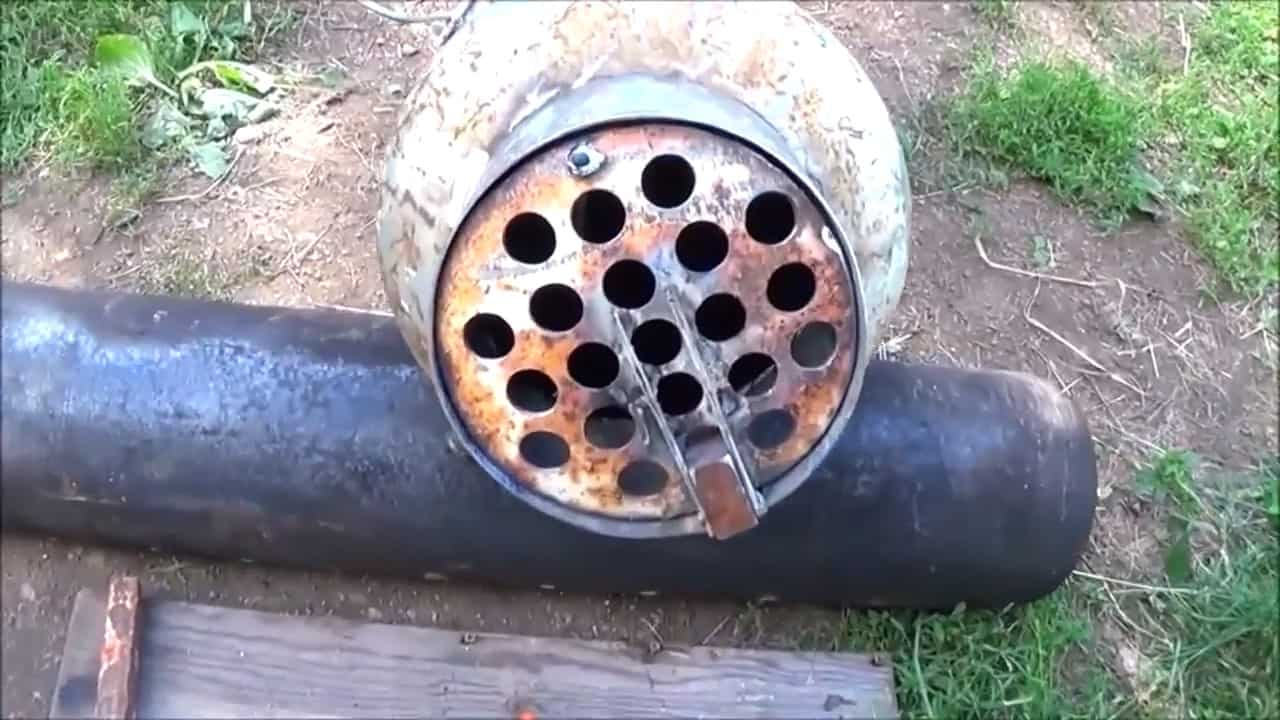
By adding a screen inside the lower reduction zone, the flow of air and gases is optimized, resulting in improved gas quality.
The screen helps to prevent blockages caused by ash or other materials, which can disrupt the gas production process.
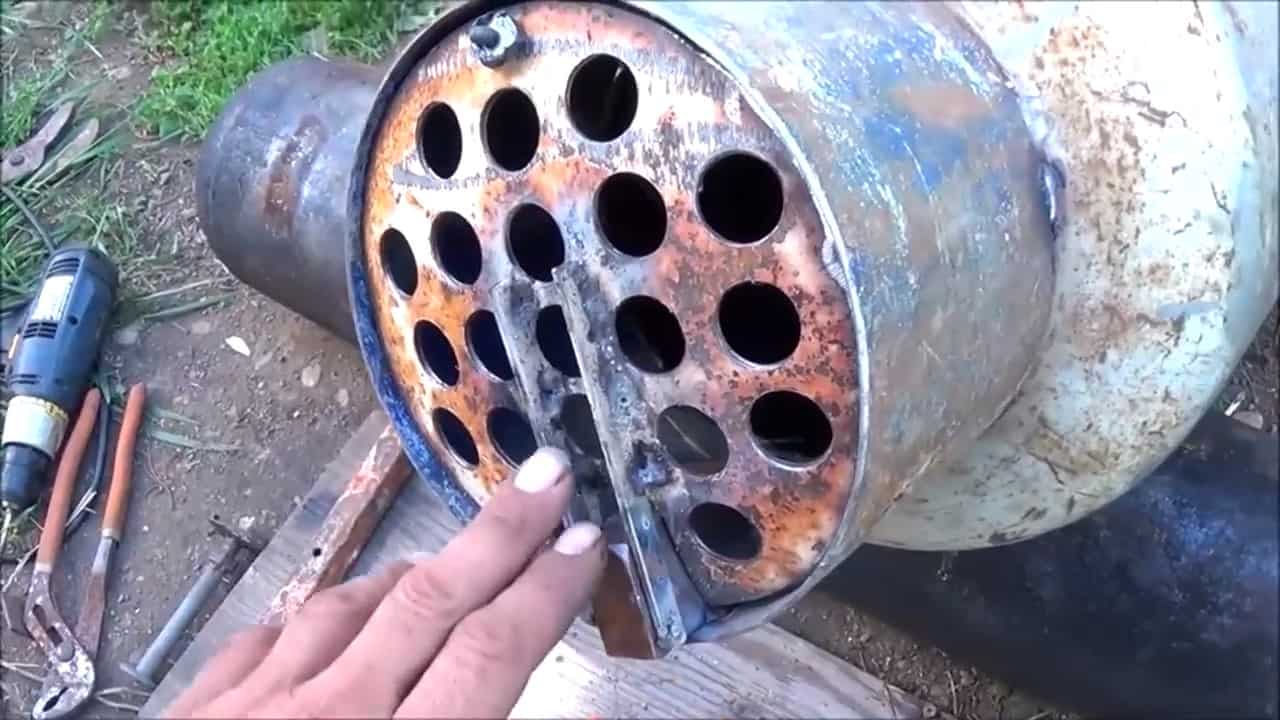
The hinge and wire attached to the screen make it easy to access and clean, ensuring smooth operation of the gasifier.
The wire runs through the reactor up to the top, allowing easy manipulation of the screen from the top of the gasifier.

STEP 6 : ADDING A PRESSURE RELIEF SYSTEM
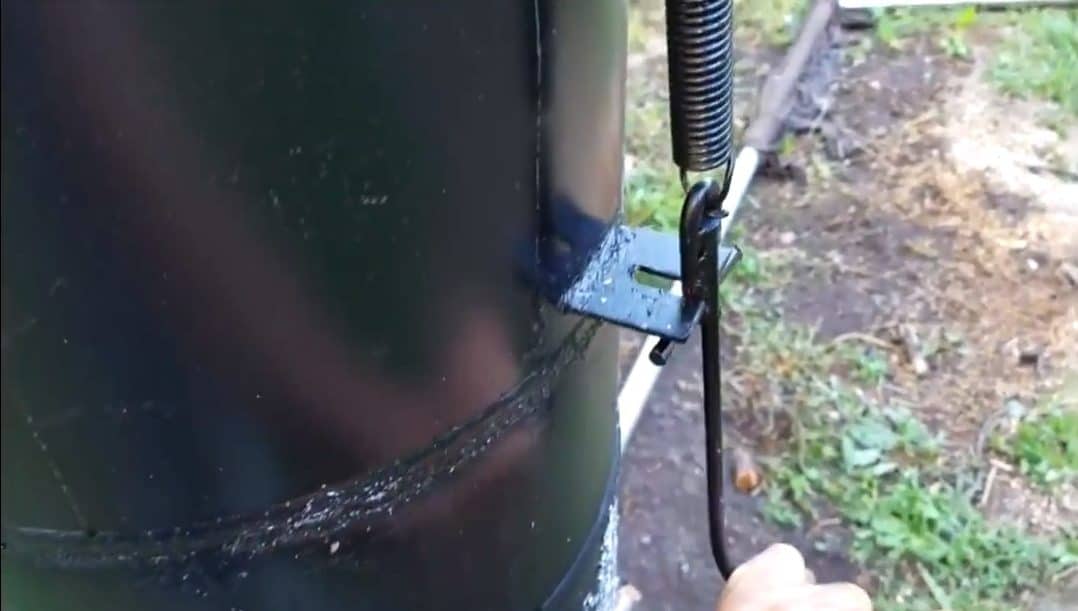
A pressure relief system is installed on the lid of the gasifier to prevent any dangerous build-up of pressure inside. This ensures that the gasifier operates safely and efficiently.The pressure relief system consists of two springs hooked up on both sides of the lid through small loops.
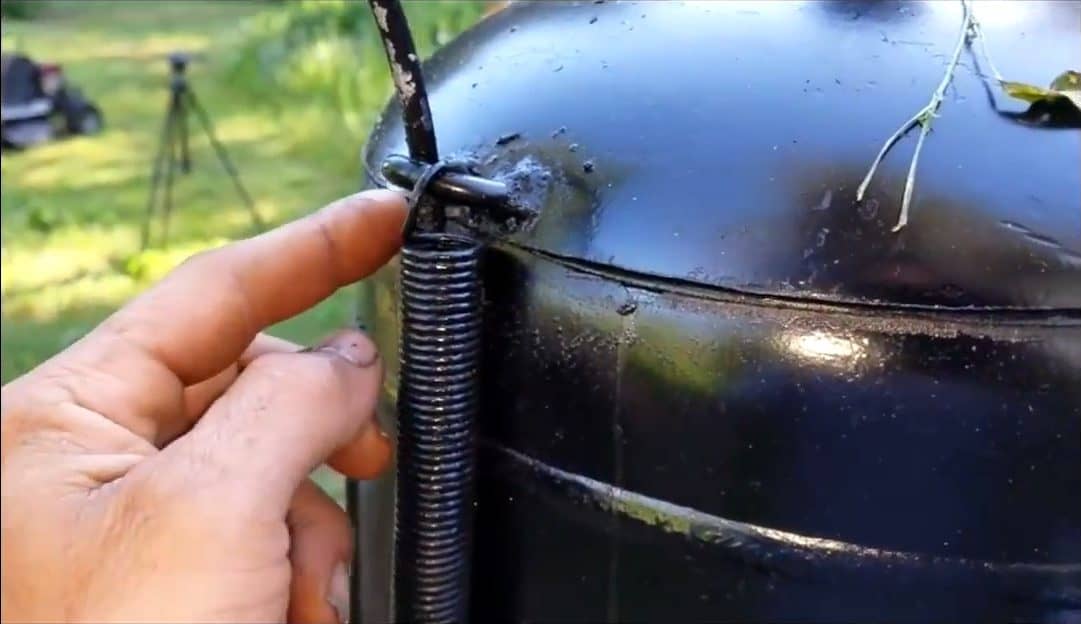
The springs are attached to hand levers, enabling easy manipulation.In the event of any excess pressure inside the gasifier, the pressure relief system allows the pressure to be safely vented through the top lid.
STEP 7 : IMPROVING AIRFLOW
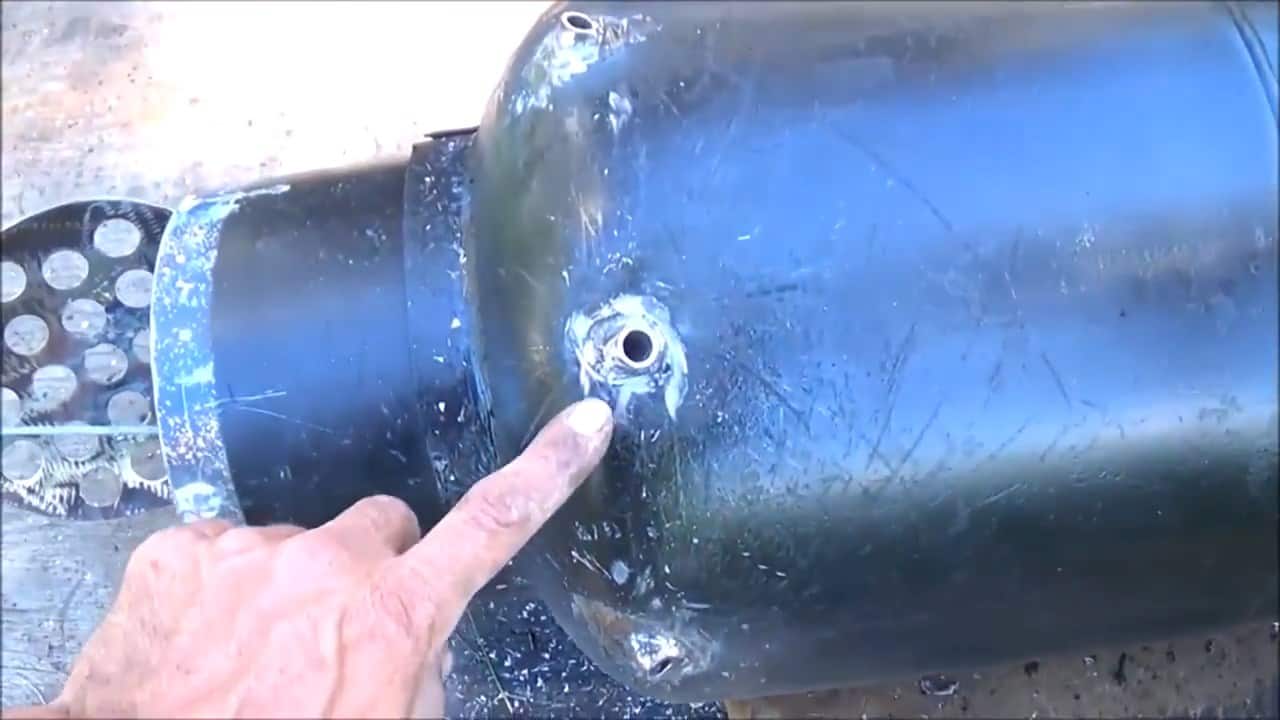
To optimize the gasification process, 8 half-inch diameter holes are drilled just above the reduction zone area. Thick steel tubing is then placed through these holes, reaching the center of the chamber.
This configuration allows the airflow to be drawn down through the center of the reduction zone, resulting in a more efficient burn.
To ensure that the pipes do not interfere with the wood mass as it goes into the reduction zone, they are curved into the chamber. This helps to regulate the flow of air and gases, promoting optimal gas production.
Plugs are added along these 8 tubes to regulate the airflow into the system. This ensures that the gasification process is efficient and stable, with the right amount of air flow.
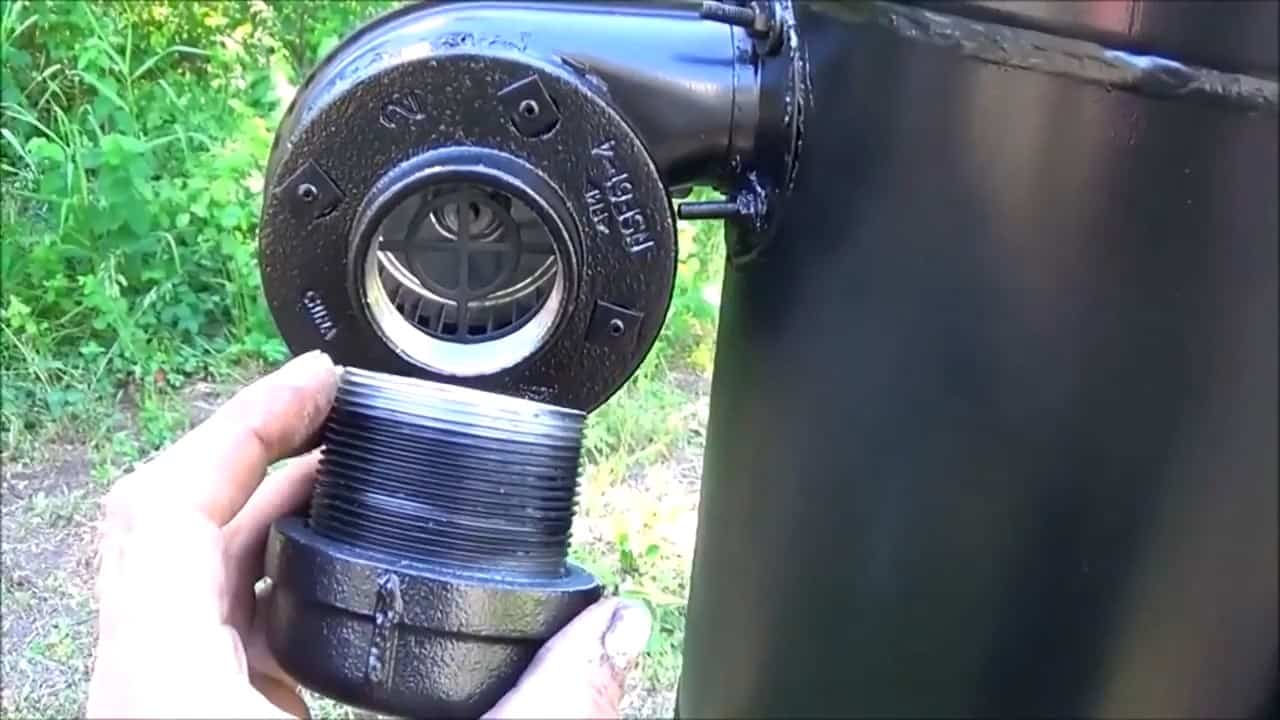
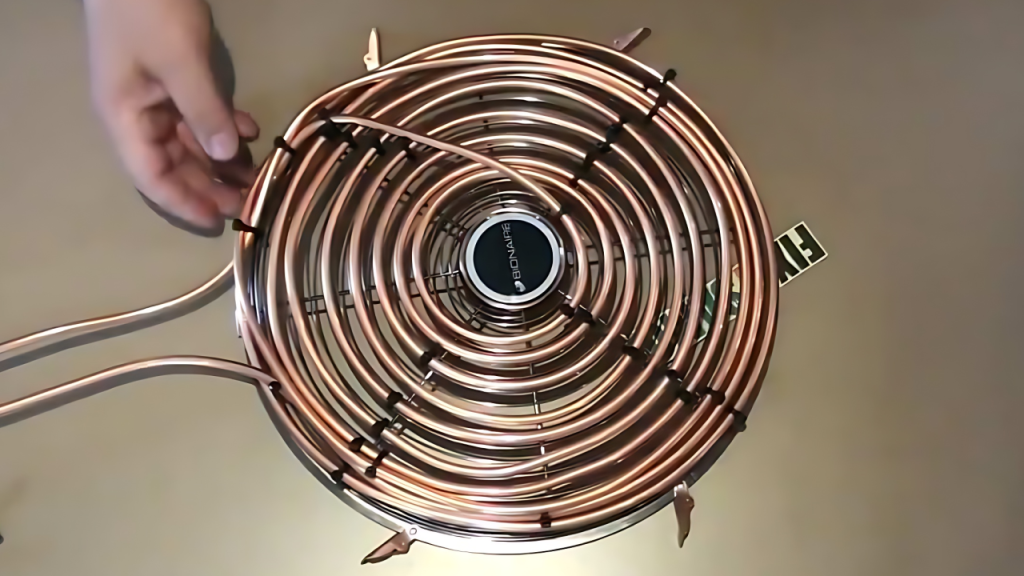
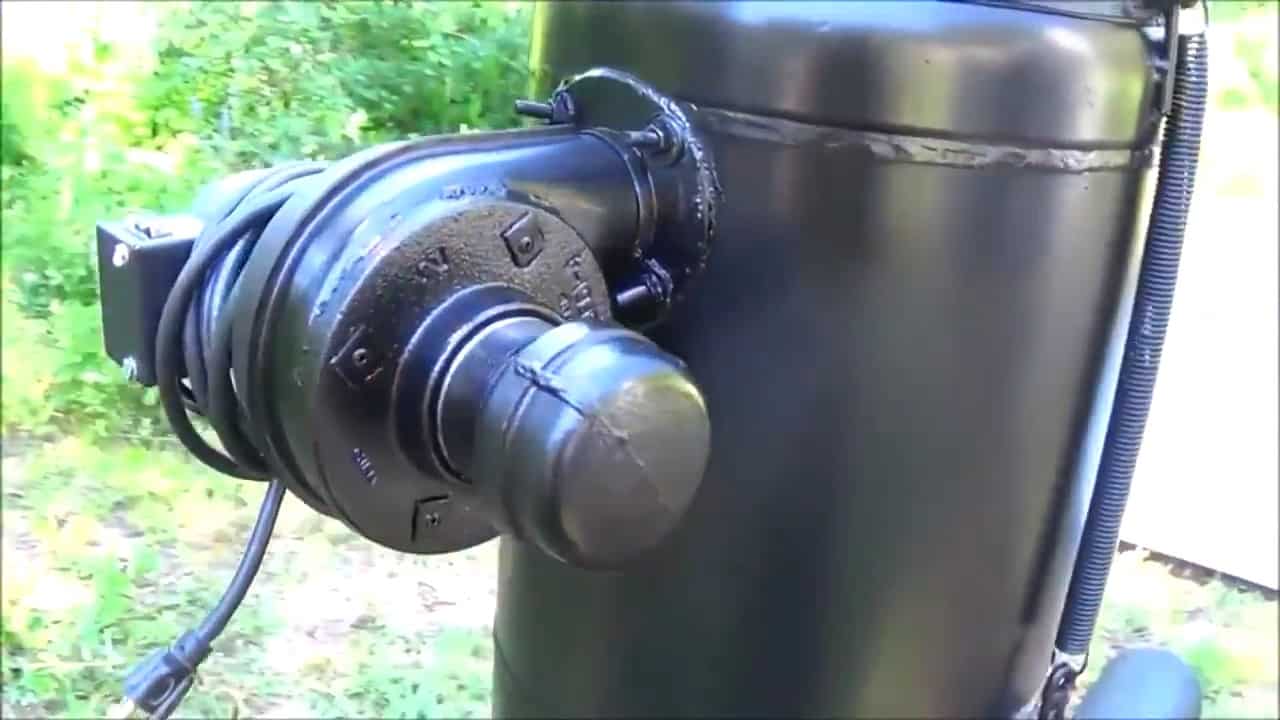
STEP 8 : ADDING A PELLET STOVE FAN
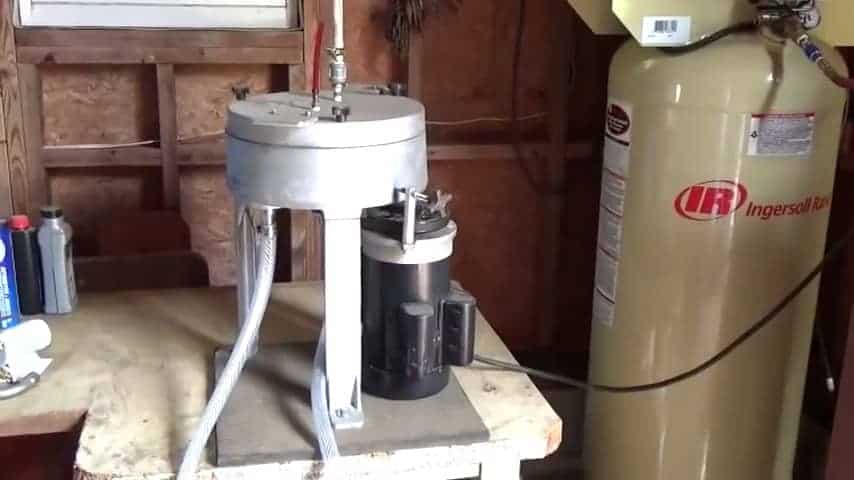
The next step in the process is to add a draw fan to the gasifier, using a pellet stove fan. This helps to increase the efficiency of the gasification process by promoting optimal air flow.
To attach the fan, a 2-inch plate is added over the face of the fan, and a threaded pipe is used to seal any air from going into the gasifier. This ensures that air is drawn into the gasifier only through the designated channels, promoting a more controlled gasification process.
The addition of the draw fan is an important step as it helps to regulate the amount of air that is drawn into the gasifier.
To start up the gasifier, chopped wood is added through the top of the gasifier. The draw fan is then turned on, which helps to promote the flow of air through the gasifier.
This airflow helps to create the optimal conditions for gasification to occur.
As the wood gas is produced, it is drawn out of the gasifier through the bottom outlet pipe. This gas can then be collected and used for a range of purposes, such as powering generators or cooking stoves.
Image Credits : MrTeslonian