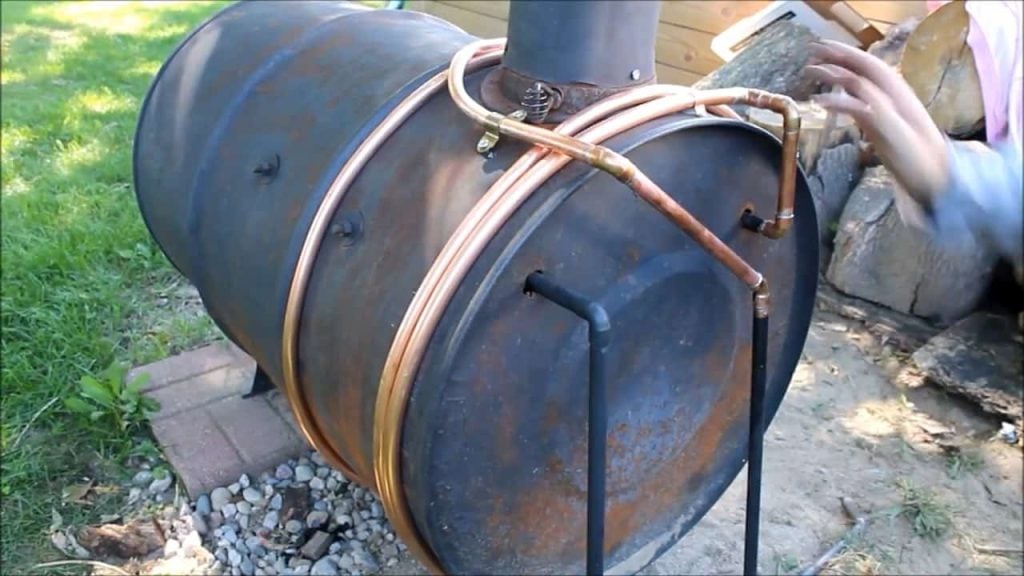
If you’re looking for a cost-effective way to heat your garage or workshop, building your own wood-burning heater can be a great option.
In this project, we’ll walk you through the process of building a homemade wood-burning heater with a heat exchanger using a recycled propane tank.
To complete this project, you’ll need a few essential materials, including a 55-gallon drum, a fan blower, quarter-inch steel plates, eighteen 2-inch steel pipes for the heat exchanger, a welding unit, and a plasma cutter. These materials can be easily found at your local hardware store or online.
STEP 1 : PREPARING THE BODY OF THE STOVE HEATER
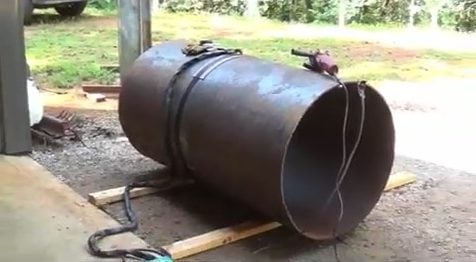
Before beginning the cutting process, it is crucial to ensure that the propane tank is completely emptied and thoroughly cleaned to remove any residual gas or debris.
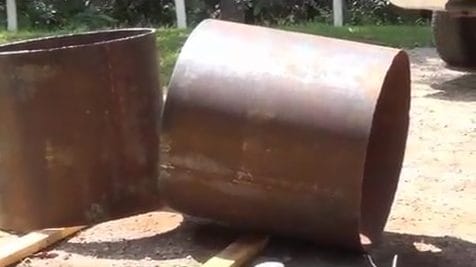
Once the tank is clean and safe, use a plasma cutter to cut both ends of the tank. This will allow you to create an opening on either side of the tank, which will be used as the inlet and outlet for the heater.
Afterward, cut a 30-inch length piece from the tank. This piece will serve as the main body of the wood-burning heater, and it’s where the heat exchanger pipes will be installed. It’s essential to measure and cut the piece accurately to ensure that it fits snugly and securely with the other components of the heater.
STEP 2 : INSTALLING THE HEAT EXCHANGER
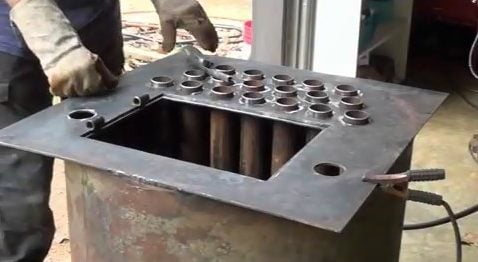
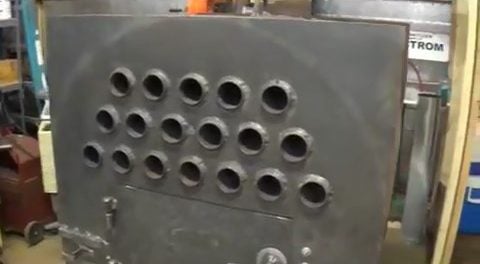
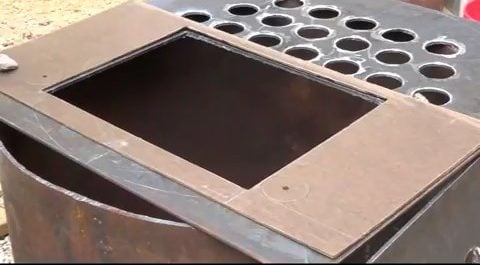
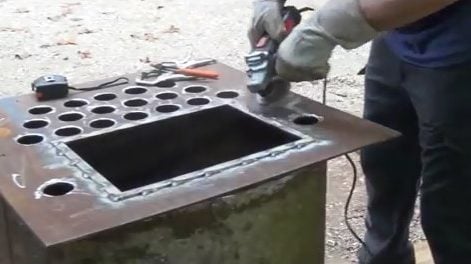
To construct the heat exchanger, we need 18 two-inch pipes that will run along the length of the heater from front to back. To ensure that the pipes are installed securely, we need to weld two quarter-inch steel plates to the ends of the propane tank.
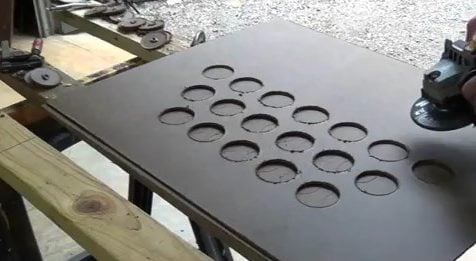
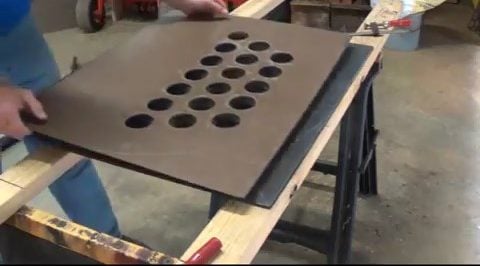
Before welding, we must make 18 holes on each end of the steel plates, where the pipes will be installed.
To make the holes, we use an eighth-inch hardboard as a template. We place the hardboard over the steel endplate and mark the 18 hole positions using a marker or pen.
Then, we use a plasma cutter to cut the holes along the markings. The hardboard acts as a guide, ensuring that the holes are evenly spaced and positioned correctly.
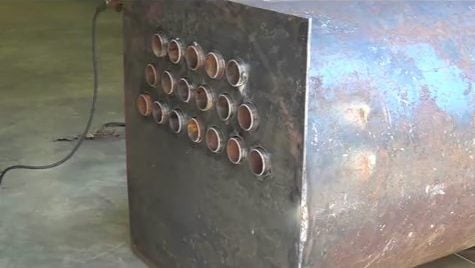
Once the endplates are prepared, we cut the 18 pipes to a length of 31 and a half inches, leaving half an inch sticking out at both ends of the heater.
These pipes are then welded to the steel end plates at both ends, forming the heat exchanger. The placement of the pipes allows for maximum heat transfer from the burning wood to the surrounding.
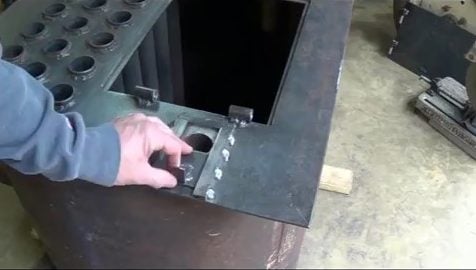
STEP 3 : MAKING THE DOOR FOR THE INTAKE
After the heat exchanger pipes are installed, it’s time to work on the door for wood intake. The door needs to have a dimension of 16 inches by 12 inches, which is a sufficient size to add wood and maintain the fire.
To ensure the door is cut out precisely, we use a template made out of hardboard. The template is placed on the endplate, and the outline is traced onto it. Then, the plasma cutter is used to cut out the opening.
It’s essential to ensure that the door opening is properly positioned on the heater’s endplate. The best location is usually at the bottom of the propane tank, where the firebox is located.
The door should also be located towards the front of the heater so that wood can be added without disturbing the heat exchanger pipes at the back.
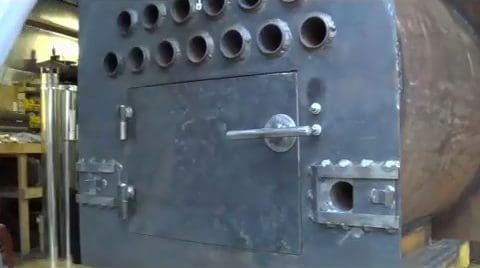
To create the door for the wood intake, a frame is necessary to provide support and a secure closure. For this, a three-quarter inch by three-sixteenths inch flat stock is used to make a frame around the opening.
This will not only provide structure to the door but also give it something to close against.
Once the frame is made, hinges are welded near the door opening. These hinges will allow the door to open and close easily while also ensuring a tight seal to prevent any smoke or heat from escaping.
To ensure that the door stays securely closed, a locking mechanism needs to be installed. This is done by welding a flat stock to the door frame, onto which two bolts are attached.
The bolts will serve as the locking pins that will keep the door in place.
Next, the handle for the door is made by welding a 90-degree round stock to a couple of washers. This will serve as the grip for opening and closing the door.
The washers are then welded to the door itself, sandwiching the door between them.
STEP 4 : INSTALLING THE EXHAUST PIPE AND DAMPER
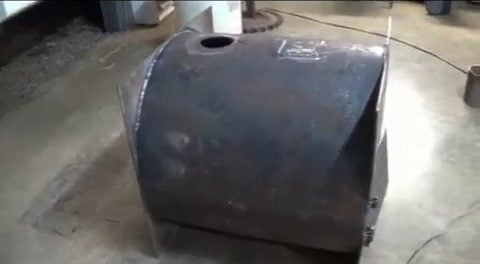
Once the endplates are welded onto the propane tank body at both ends, we proceed to cut a hole at the top of the body to accommodate the flue exhaust pipe.
The flue pipe is then welded onto the top of the heater to ensure that the harmful smoke and gases escape safely through the exhaust.
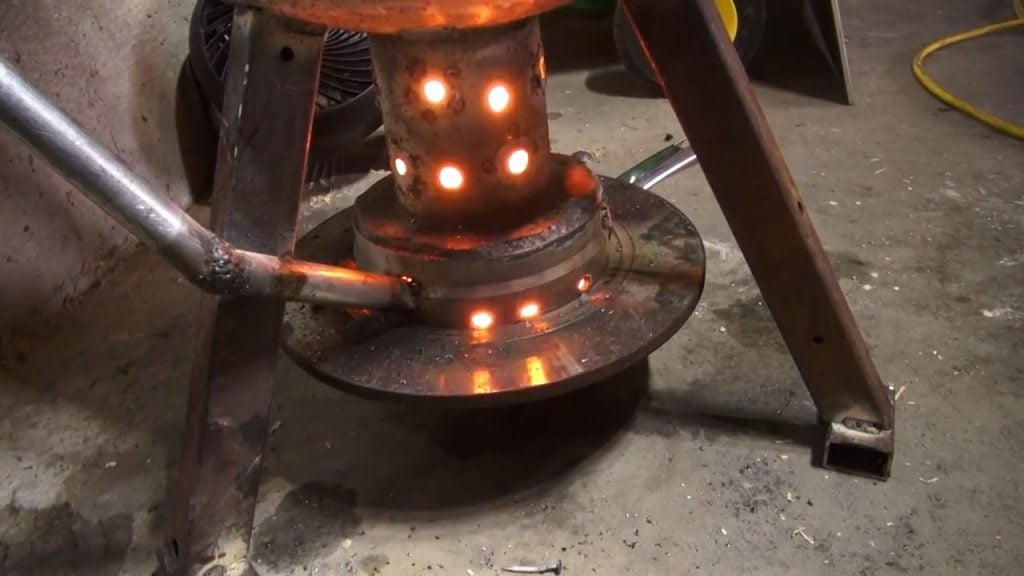
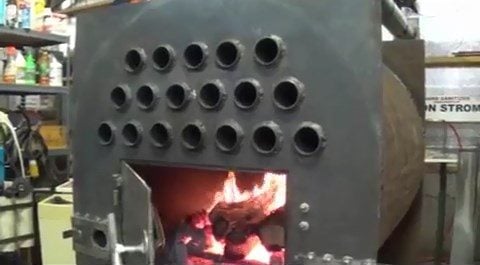
To make the heater operational, we need to install a grate through the door opening and introduce wood pieces inside. Once the wood is in place, we start firing up the heater.
After a few minutes, the fire heats up the heat exchanger pipes, and the heat starts radiating into the surrounding area.
For better control over the airflow into the heater, a small hole is cut near the door. A damper in the form of a simple sliding door is then attached to the hole.
This damper allows us to regulate the airflow into the heater, which in turn, helps us regulate the intensity of the fire and the heat generated.
STEP 5 : ADDING THE FAN BLOWER
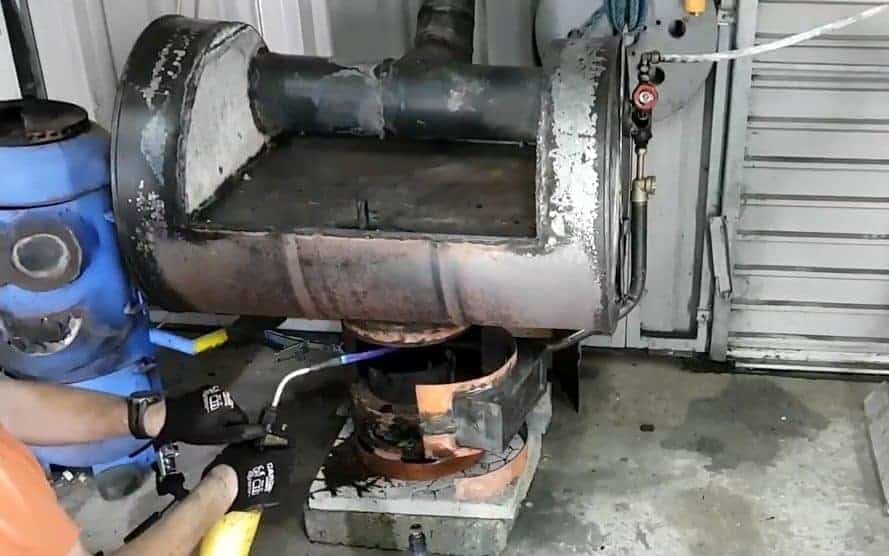
To improve the efficiency of the heater, a 55-gallon steel barrel is repurposed and cut to size. It is then welded onto the backside of the heater.
This drum acts as a plenum chamber to concentrate the air that flows through the heat exchanger pipes. An inexpensive fan blower is attached to the drum using bolts or welding.
The blower motor should be rated to handle the temperature of the air passing through it.
When the fire is lit in the heater and the heat exchanger pipes are heated, the fan blower is turned on. The hot air from the heat exchanger is blown through the pipes and into the plenum chamber.
From there, the air is forced out of the drum through an opening, typically at the top.

It is essential to ensure that the fan blower is adequately sized for the heater and that it can handle the volume of air that needs to be moved.
Also, care must be taken to position the blower in the right place and direction to blow the hot air towards the desired location
In conclusion, building a wood-burning heater with a heat exchanger for your garage is a great DIY project for those who want to save money on heating costs while reducing their carbon footprint.
By repurposing an old propane tank and a 55-gallon drum, and using simple tools like a plasma cutter and welding unit, you can create an efficient and effective heating solution.
With the addition of a fan blower, you can also distribute heat more evenly throughout your garage.
Image Credits : Ron Strom