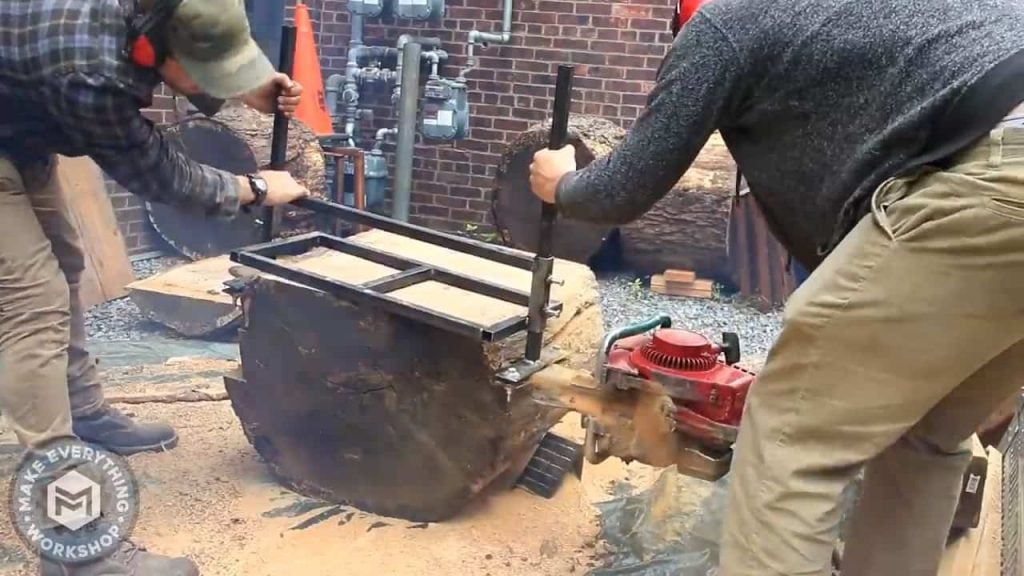
In this DIY project, we will be constructing an affordable and efficient homemade lumber mill using easily accessible materials found around your home.
Our lumber mill is equipped with a 12-inch saw blade which was obtained from Home Depot, and it has the capability of making both cross cuts and longitudinal rip cuts.
Specifically, in this project, we will be focusing on making longitudinal rip cuts by running the saw blade parallel to the wood grain to create long planks.
STEP 1 : BUILDING THE ROLLERS
To begin constructing our homemade lumber mill, the first step is to build the rollers. We will be using scrap materials lying around to construct four rollers that will serve as the foundation for our mill.
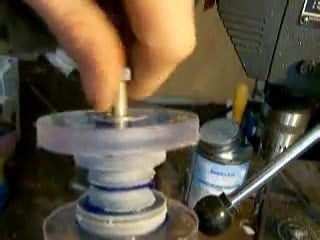
The wheels for our rollers will be made from durable polycarbonate material, ensuring their longevity and smooth rolling on the pipes.
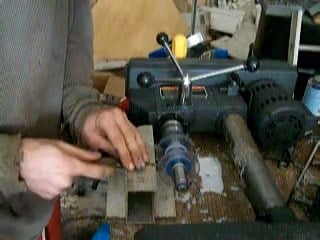
To create the rollers, we will need to adjust the wheels on a drill to ensure they rotate smoothly on the pipes.
This will involve measuring the diameter of the pipes and the width of the wheels, ensuring that the wheels are aligned and centered on the pipes.
Once the wheels are in position, we will use the drill to rotate them and ensure that they move freely without any obstructions or bumps.

STEP 2 : BUILDING THE TRACKS
After building the rollers, the next step in constructing our homemade lumber mill is to create the tracks.
For this, we will use two old steel pipes and weld them together to create a single long pipe that will serve as the base for our tracks.
To ensure stability, we will then weld three more pipes horizontally on top of the two long pipes. It is essential to ensure that all the pipes are correctly aligned and straight, as any slight deviation could result in irregular cuts.
Once completed, the tracks will provide a stable platform for the rollers to move along, guiding the wood through the cutting process.

STEP 3 : ROLLING CARTS
After building the tracks, the next step in constructing our homemade lumber mill is to create the rolling carts that will glide along the tracks.
For this, we will use leftover pipes to construct two rolling carts that will be positioned parallel to each other.
We will then bolt four sliding pipes onto these carts. These sliding pipes will move horizontally and will be guided by the tracks.
To create the mechanism that will move the sliding pipes back and forth, we will weld four pieces of pipes onto the rolling pipes.
These pieces of pipes will be parallel to the horizontal pipes below and will act as a crank that can pull the sliding pipes.

To create a mechanism that will move the sliding pipes vertically up and down, we will put threaded holes along the pipe that connects the sliding pipes.
Two cables will then be connected in opposite ways to a small spring pulley system.

This spring pulley system will be attached to the top crank, which will provide the necessary force to move the sliding pipes.
When the top crank is rotated, the cables will pull the sliding pipes upwards or downwards, depending on the direction of rotation.

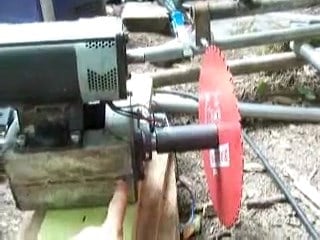
STEP 4 : SECURING THE BLADE
The next step in constructing our homemade lumber mill is to attach the saw blade to a steel rod. To attach the saw blade to the steel rod, we will use bolts or screws to secure the blade onto the rod.
We will also attach a washer on the other side of the blade to prevent it from flying off during operation.

After attaching the saw blade to the steel rod, the next step is to pass the axle through a square metal box that will hold the blade and allow it to rotate smoothly.
To ensure stability and smooth rotation, we will bolt the square metal box using a bearing on both sides. The bearing will help to reduce friction and allow the blade to rotate freely without any resistance or wear on the axle.

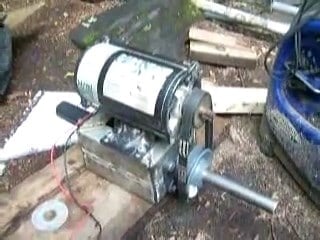
STEP 5 : CONNECTING THE MOTOR
The next step is to attach the motors to the top of the box mount. To attach the motors to the box mount, we will use bolts or screws to secure them in place.
Once the motors are securely attached, we will attach a pulley to the metal rod from each motor using a small wheel.
After attaching the motors and pulley system to the box mount, the next step in constructing our homemade lumber mill is to attach the entire side assembly to the rolling cart so that it can pivot.
To do this, we will position the side assembly on top of the rolling cart and use bolts or screws to attach it securely.
The rolling cart will provide the necessary mobility for the entire assembly to move back and forth along the tracks.
STEP 6 : ADDING BALL BEARINGS
In order to ensure precise and clean cuts, ball bearings are attached to the box on both sides of the blade.
It is important to position the ball bearings at a specific distance away from the blade to ensure that the blade cuts cleanly without cutting too deep into the wood or leaving it still attached.
When the blade is flipped, the edge of the blade will line up perfectly with the ball bearings, providing the necessary support and guidance for the cutting process.
When the blade is swiveled, the ball bearings allow it to pivot smoothly and effortlessly, ensuring accurate and consistent cuts.

After attaching the ball bearings to the box and ensuring that they are properly aligned, the next step is to attach the entire motor and blade assembly to the rails so that it can slide and rotate.
To do this, we will position the motor and blade assembly on top of the rails and use bolts or screws to attach it securely.
Once the assembly is attached to the rails, we will test the sliding and rotating mechanisms to ensure that they are functioning correctly.

To ensure that our homemade lumber mill can make precise and accurate cuts both horizontally and vertically, we need to attach two pieces on both sides of the rotor blade assembly.
These pieces provide additional stability to the blade assembly, keeping it perfectly straight during the cutting process.
This is particularly important when making vertical cuts, as any misalignment or instability could result in uneven or angled cuts.
To attach the pieces, we will use bolts or screws to secure them to the sides of the rotor blade assembly.
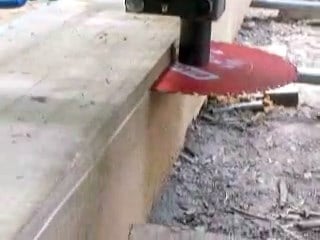
Image Credits : J Mantzel