This article outlines the steps to construct a DIY solar thermal water heater using copper pipes that can quickly generate hot water.
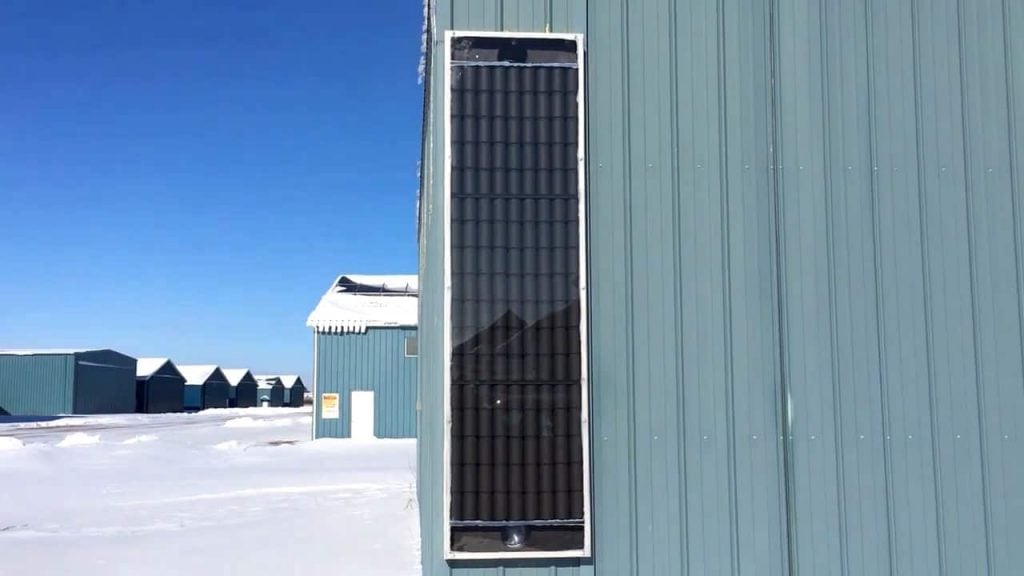
The homemade water heater can produce hot water at a temperature of 150 degrees Fahrenheit or higher, even when the air temperature is in the range of high 40s to low 50s.
STEP 1 : MATERIALS REQUIRED
To construct a homemade copper pipe solar thermal water heater, you will need several specific materials. These materials include two copper pipes, each measuring 10 feet in length and with a half-inch diameter.
It is important to use Type L copper pipes for this project to ensure durability and longevity. Additionally, you will need 16 half-inch 90-degree elbows and 18 tube straps to secure the copper pipes in place.
In addition to the copper pipes and connectors, you will require a few pieces of plywood. You will need a piece of half-inch plywood measuring 23 X 35 inches for the back of the frame, and an 18 X 20 inch piece of half-inch plywood for the pipe support.
To construct the frame, you will also need two pieces of 2 X 2 lumber measuring 20 and 35 inches, respectively, for the sides.
For the glass support, you will require four 3/8 inch square dowel rods, which will provide stability to the glass placed over the copper pipes.
Furthermore, you will need a 1/2 inch threaded pipe adapter, a 3/4 inch to 1/2 inch garden hose PVC adapter, and a 1/2 inch coupler to create the water outlet.
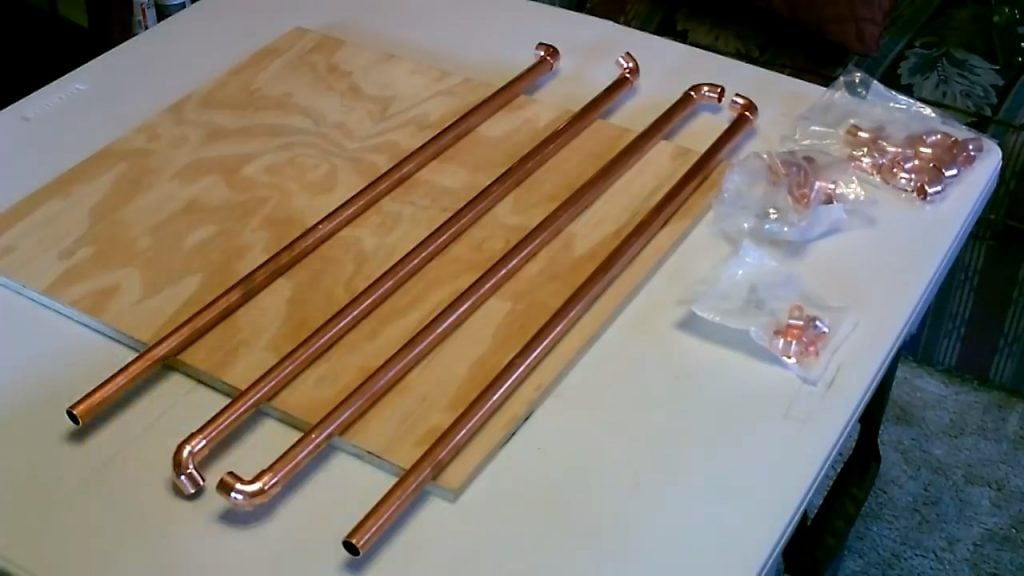
STEP 2 : CUTTING THE COPPER TUBE SECTIONS
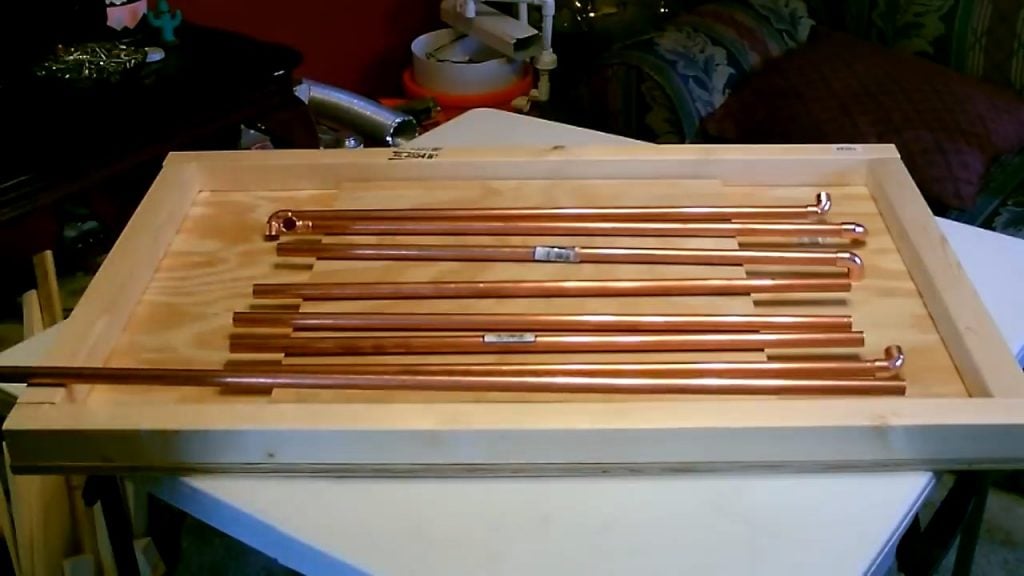
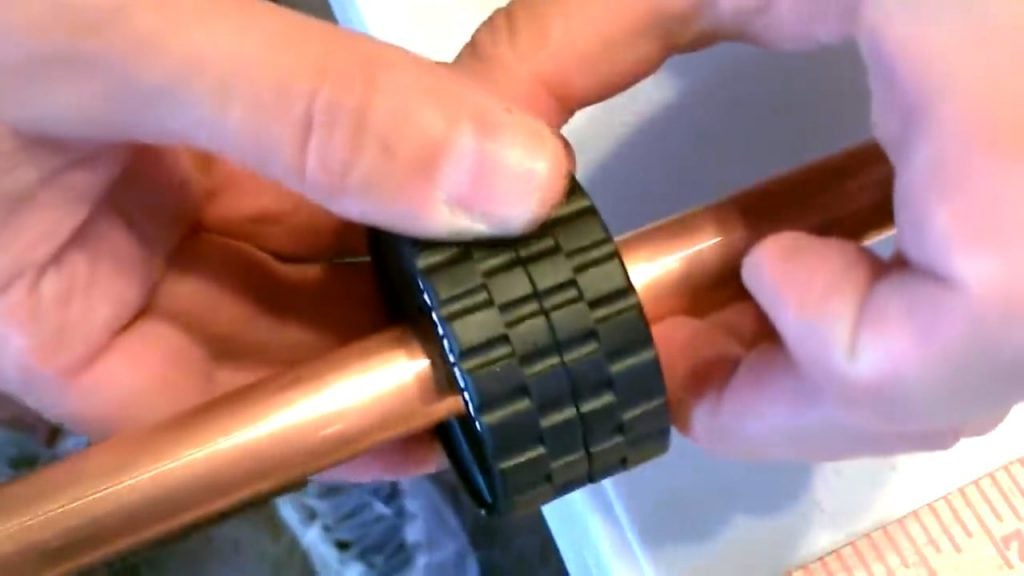
The initial step in constructing a homemade copper pipe solar thermal water heater involves cutting several two-foot sections out of the 10-foot copper pipes using a copper cutter.
For this project, you will need a total of nine two-foot sections. Seven of these sections will be used for the central part of the heater, while the remaining two sections will be cut to a length of 30 inches each, and used for the top and bottom of the heater.
Using a copper cutter, carefully measure and cut each of the sections to ensure accuracy and precision. It is important to use a sharp copper cutter to ensure clean cuts and avoid any damage to the pipes.
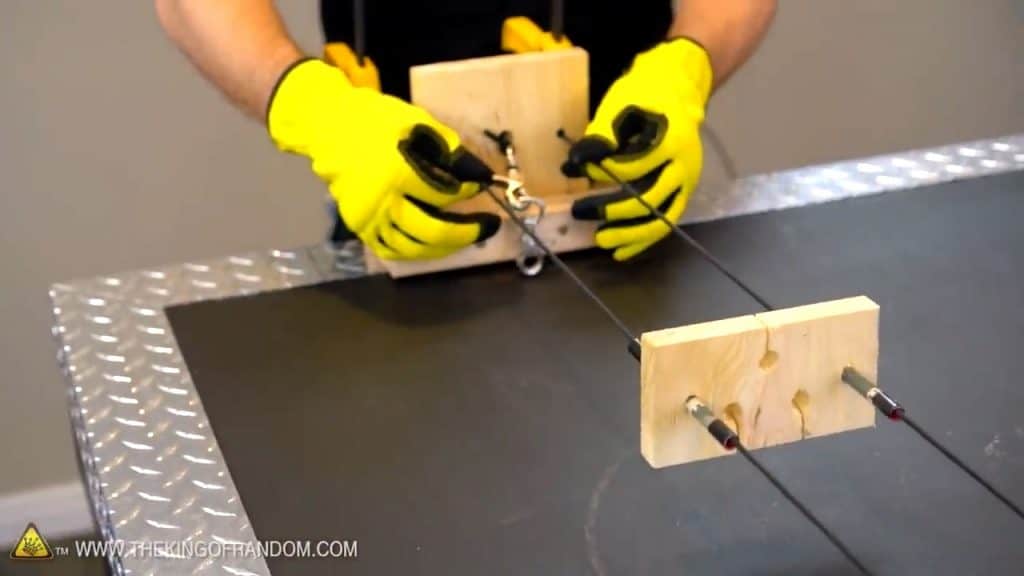
STEP 3 : CUTTING PIECES FOR ELBOW JOINTS
After cutting the two-foot sections of copper pipe, the next step involves cutting eight connector pieces that are 1 1/8 inches long.
These connector pieces are placed between the elbow joints and allow the copper pipes to be spaced exactly two inches apart on the board, evenly all the way up and down.

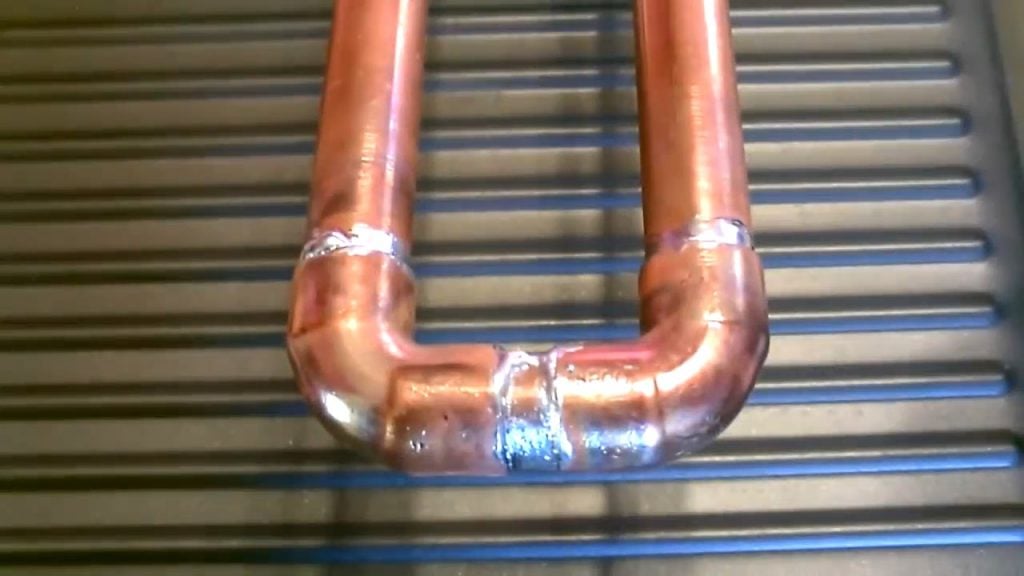
STEP 4 : SOLDERING THE ELBOWS AND THE CONNECTOR
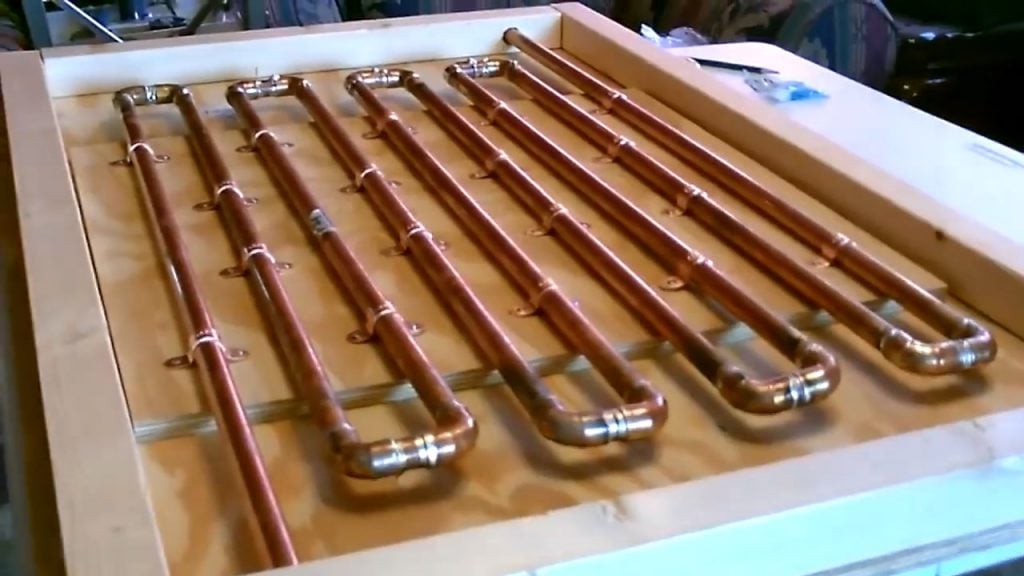
The next step is to connect the copper pipes together using elbow joints and connector pieces. To do this, you will need to attach a couple of elbows and a 2-inch connector piece to each end of a two-foot copper pipe.
This allows the pipes to be connected together at a right angle and create the desired shape of the water heater.Once you have connected the first copper pipe with the elbows and connector piece, you can proceed to attach the other copper pipes using the same method.
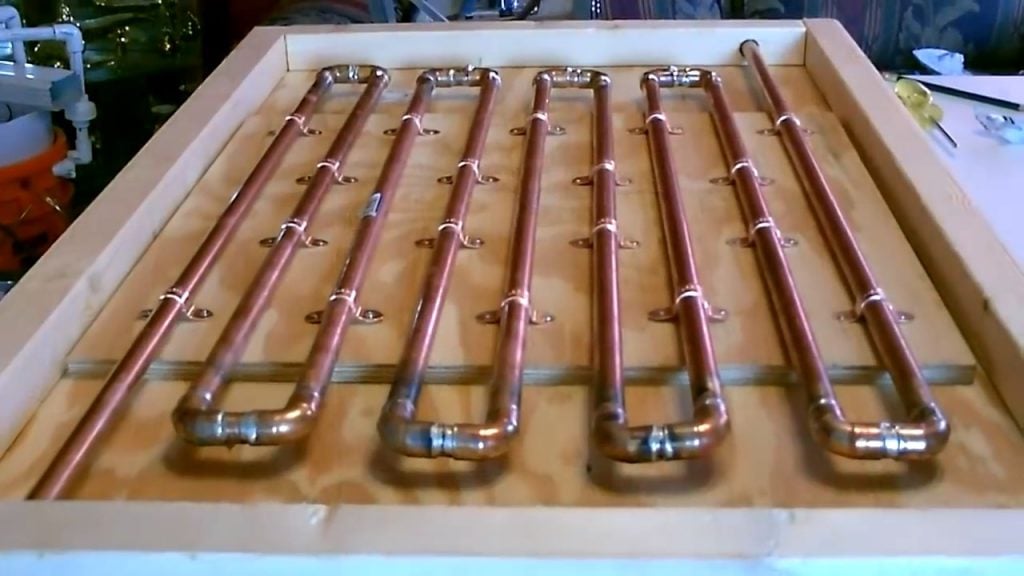
STEP 5 : SECURING THE PIPES ONTO A PLYWOOD FRAME
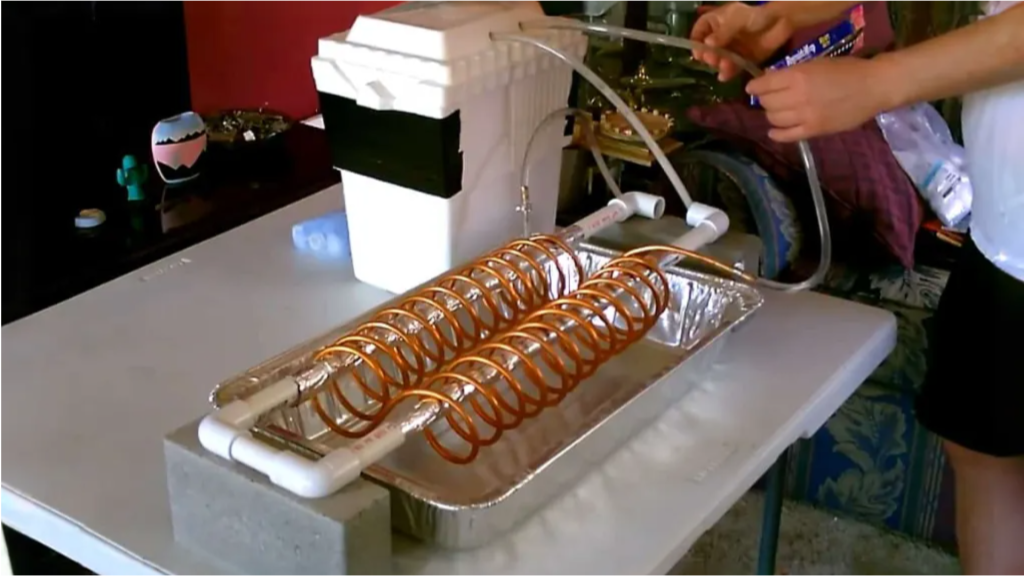
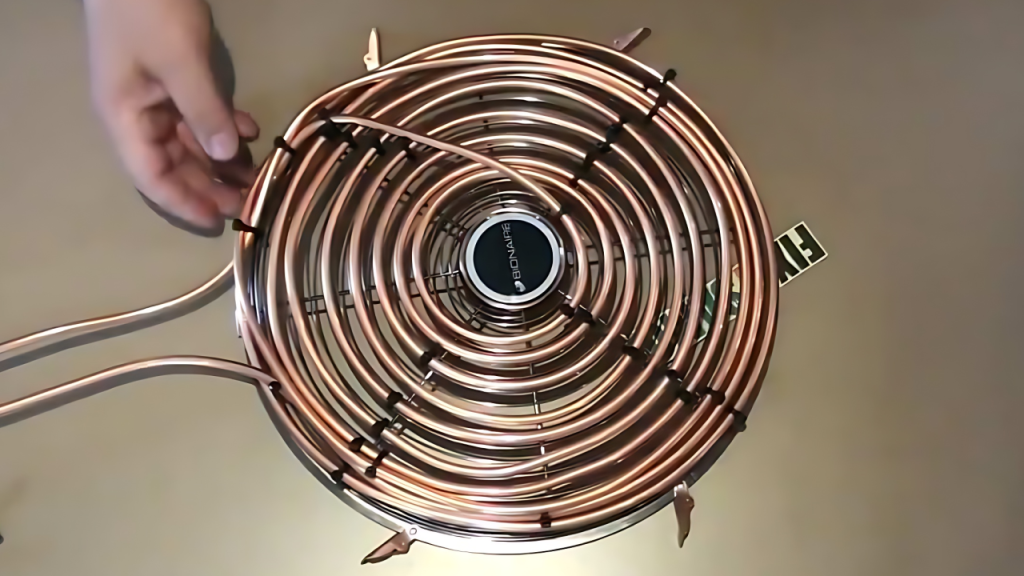
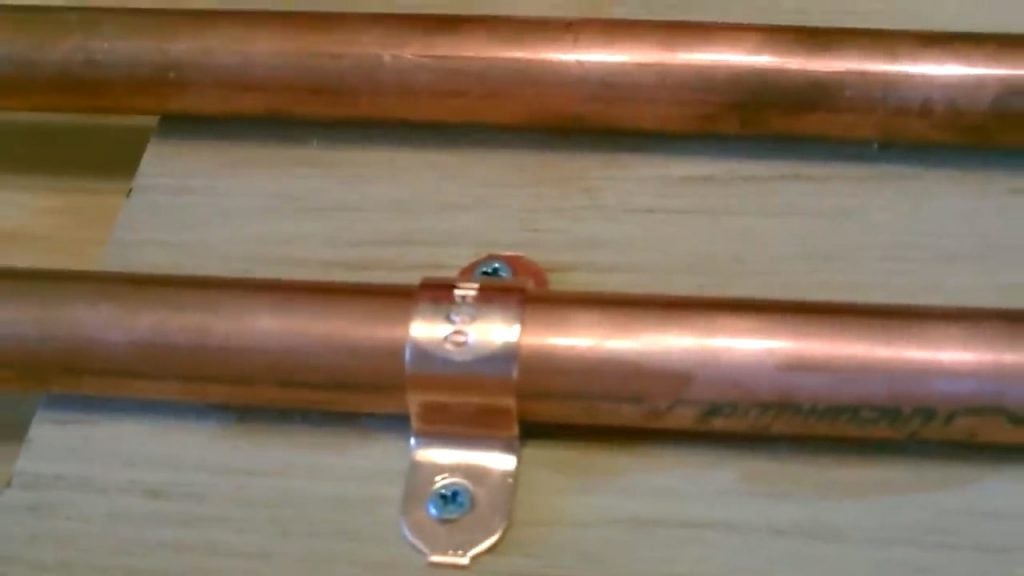
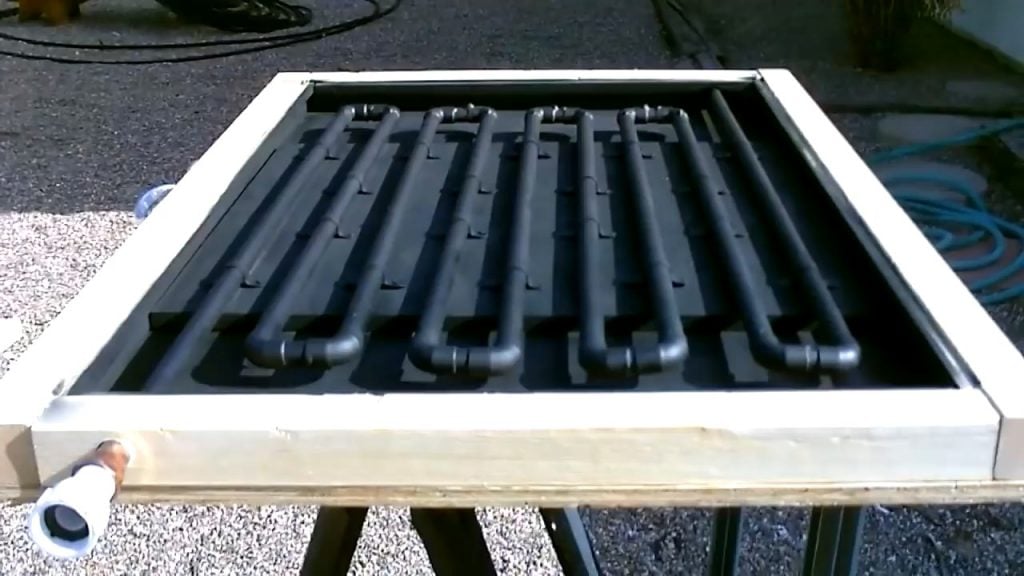
Once all the copper pipes have been connected using elbow joints and connector pieces, the next step is to slide the pipes into the plywood frame collector.
To secure the pipes in place, you will need to fasten them onto the plywood frame collector using 3/8 inch screws. This will make the frame more secure and prevent the pipes from moving around.
After securing the copper pipes to the frame, a small internal board is placed onto the frame to help the pipes lay flat inside. This board also holds the pipes at the correct height so that they exit through the correct holes.
Additionally, it allows the pipes to be easily removed from the collector frame if necessary.
STEP 6 : ADD DOWEL RODS FOR SUPPORT
After securing the copper pipes within the plywood frame collector, the next step is to add wooden dowel rods inside the collector to support the glass.
These dowel rods provide stability to the glass placed over the copper pipes and prevent it from breaking or cracking.
To add the wooden dowel rods, you will need to cut them to the correct length and sand them slightly to ensure that the copper pipes fit back through easily.
Once the wooden dowel rods are ready, you can carefully insert them inside the collector, making sure that they are positioned correctly to support the glass.
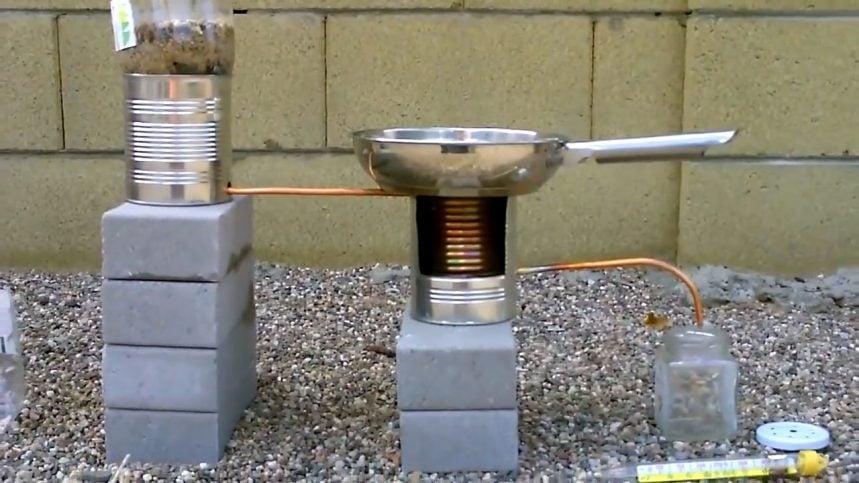
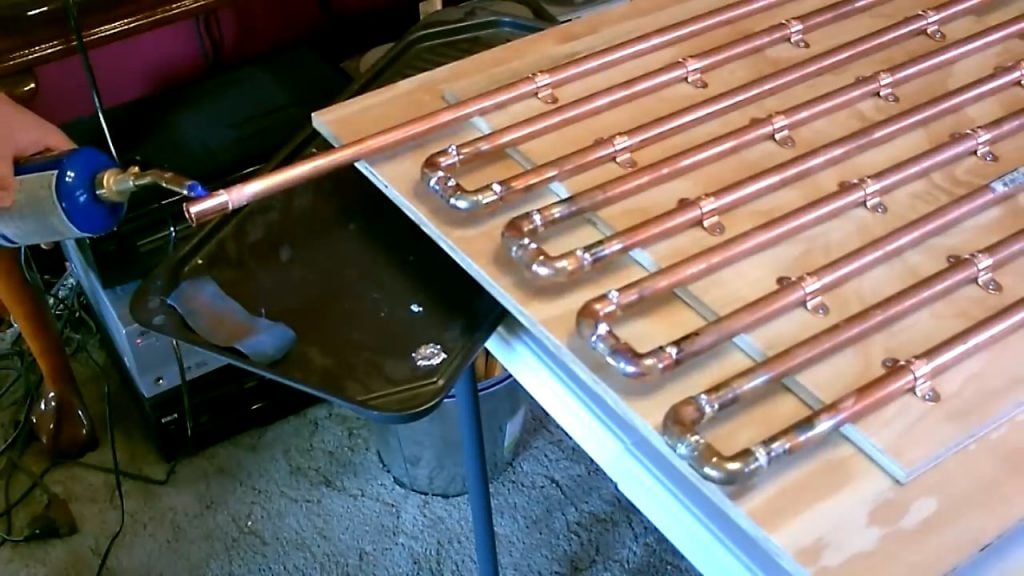
STEP 7 : WELDING A STRAIGHT COUPLER TO THE OUTLET
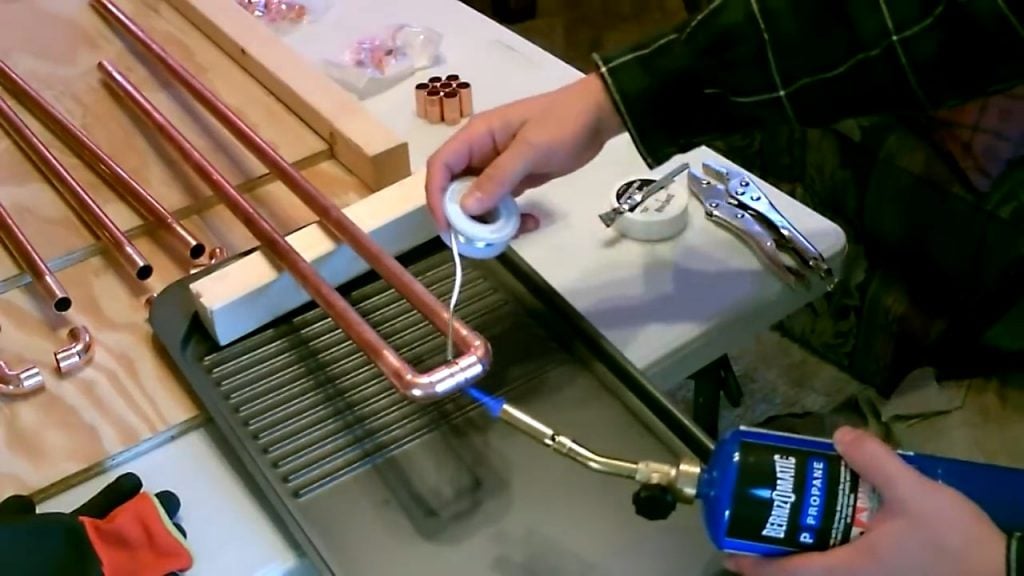
After adding the wooden dowel rods to support the glass, the next step in building the homemade copper pipe solar thermal water heater is to weld a straight coupler onto the end of the outlet.
This coupler will allow you to connect any pipe or connector to direct the water flow to where it is needed.
To weld the coupler onto the end of the outlet, you will need to use a welding torch and ensure that the coupler is securely fastened to the outlet.
This will ensure that there are no leaks or loose connections within the system. Once the coupler is welded onto the outlet, you can connect any additional pipes or connectors to direct the flow of water.
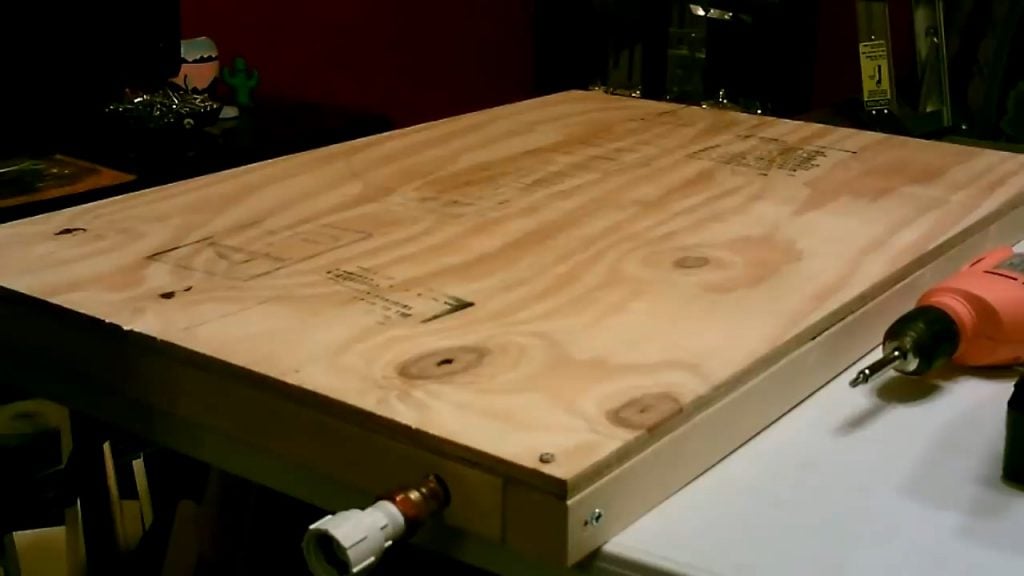
STEP 8 : SECURING A BACK BOARD
The next step is to secure the inner board to the backboard using three-quarter-inch screws. This board provides additional support to the copper pipes within the collector frame.
To secure the inner board, you will need to use screws that are appropriate in size and strength. Additionally, the corners of the 2 X 2 wood frame are secured using 2 and a half-inch wood screws, while the corners of the backboard are secured using one and a half-inch screws.
STEP 9 : ADDING A GLASS FRAME
The placement of a 20 X 32-inch glass on the frame is the next step in constructing the homemade copper pipe solar thermal water heater.
Silicone caulk is applied around the edge of the glass to secure it in place and prevent leaks.
Ensuring that the highest piece of copper within the collector frame is an eighth of an inch away from the glass is important to optimize the absorption of heat from the sun’s rays.
Painting the copper pipes black enhances this effect, as black absorbs more heat from the sun than other colors.
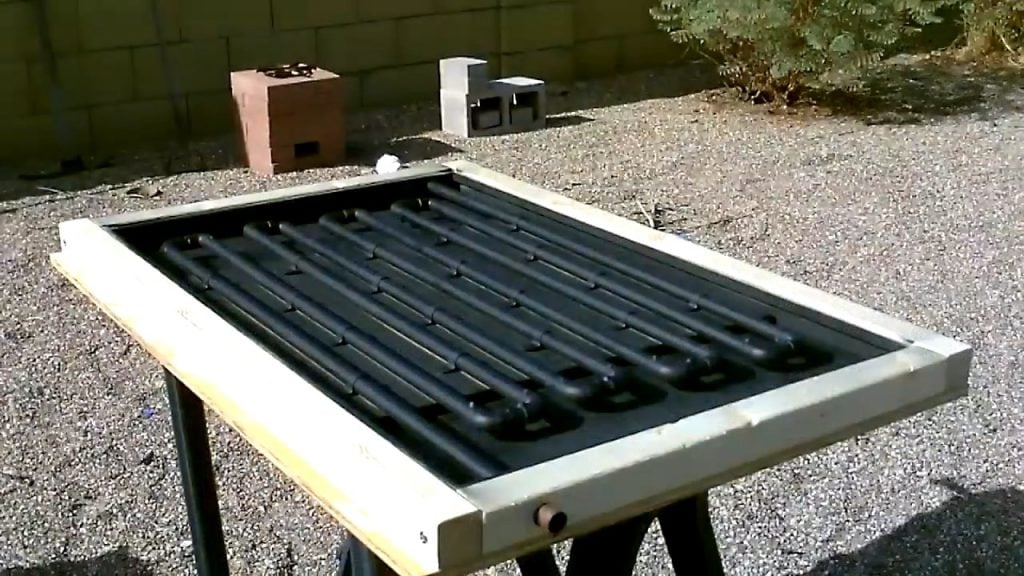
Image Credits : desertsun02