If you’re a DIY enthusiast looking to build a sustainable and economical hot water heater for your home, this waste oil-powered project is for you.
By converting an old domestic water heater to run on waste oil, engine oil, or cooking oil, you can create a reliable source of heat that doesn’t rely on traditional energy sources.
With just one liter of waste oil, this system can produce twice the heat output as a domestic electric-powered water heater, making it a cost-effective and eco-friendly option.
STEP 1 : THE SETUP
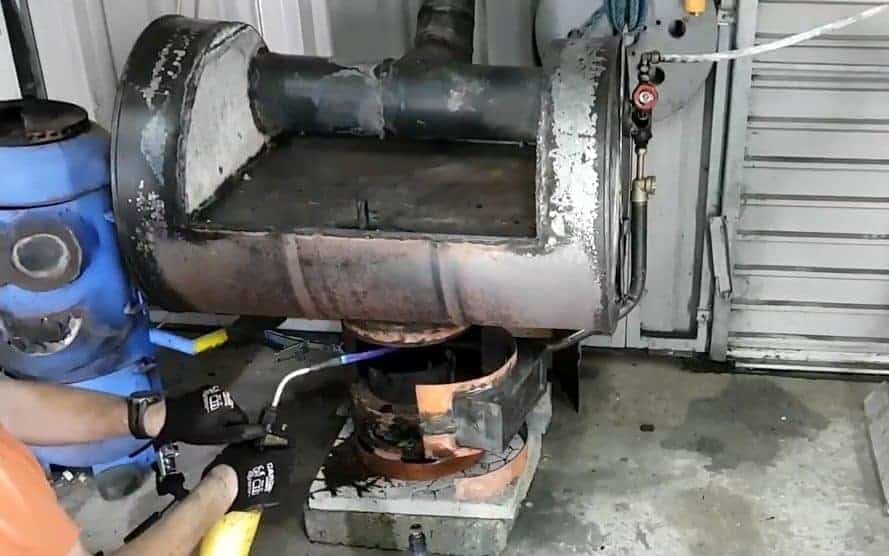
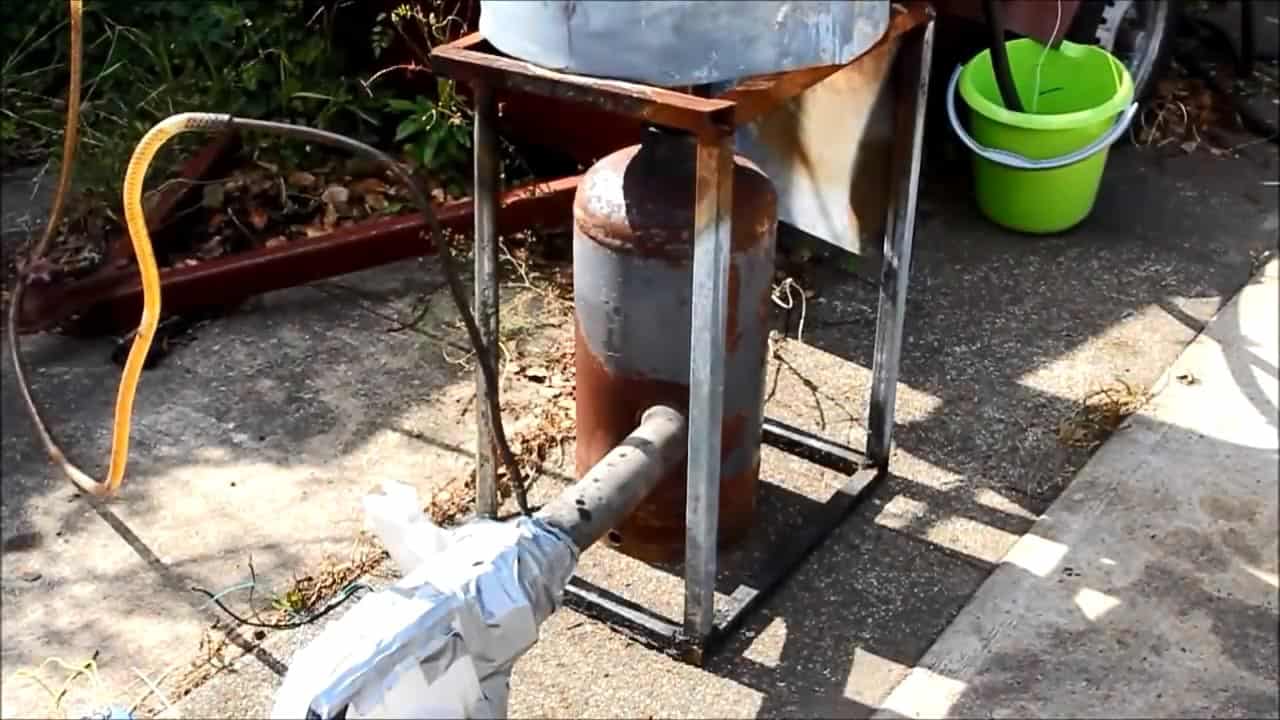
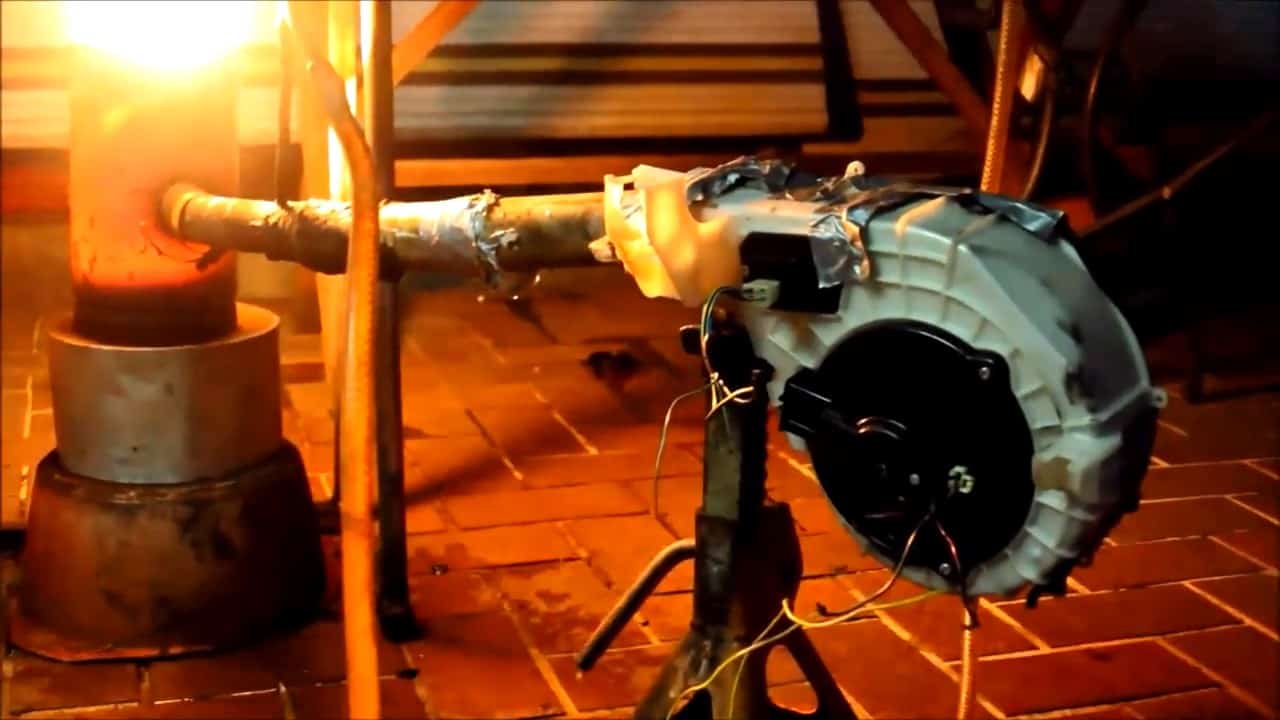
To begin, position the waste oil burner under the domestic water heater, ensuring it is in good condition and can handle the heat output.
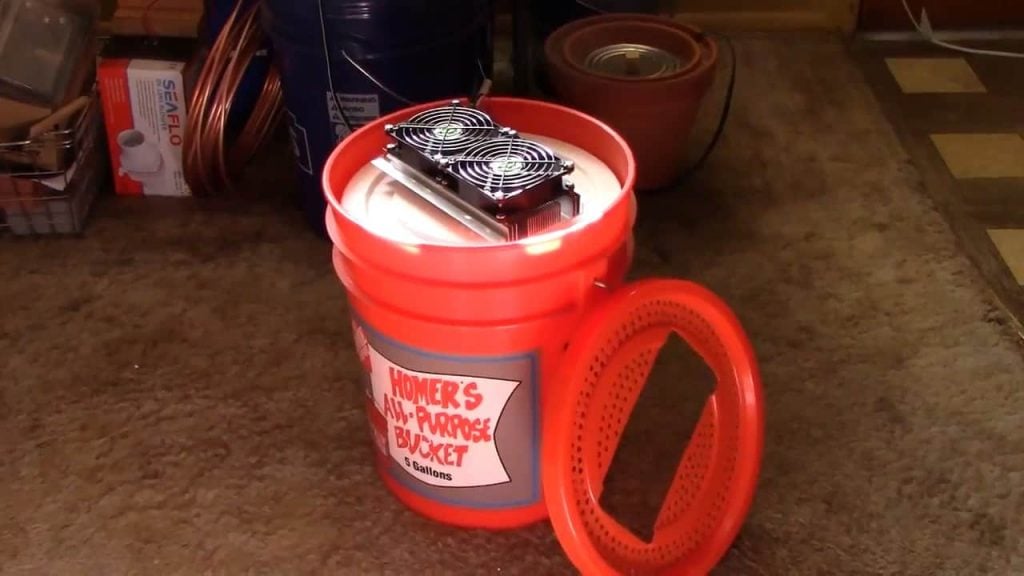
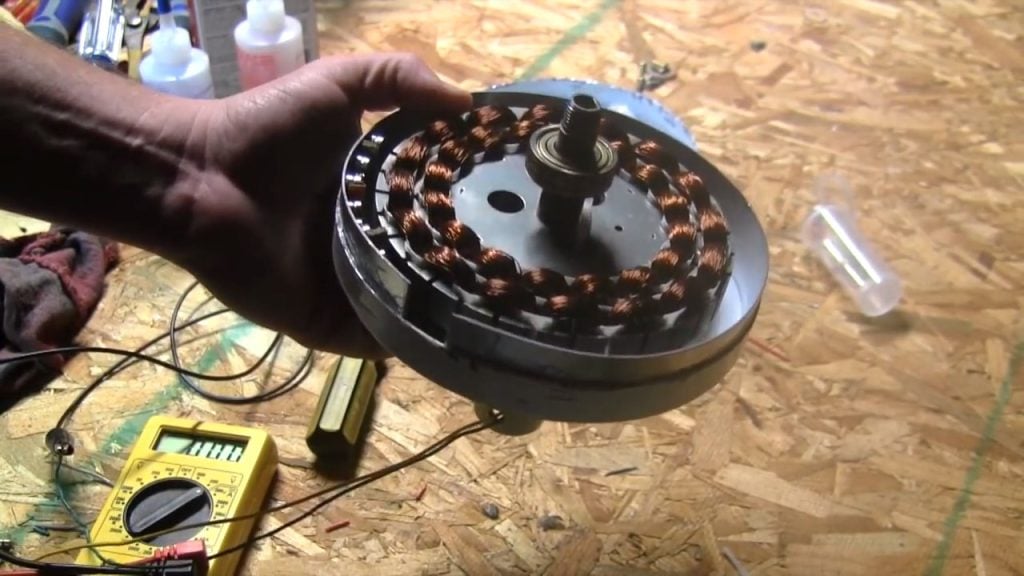
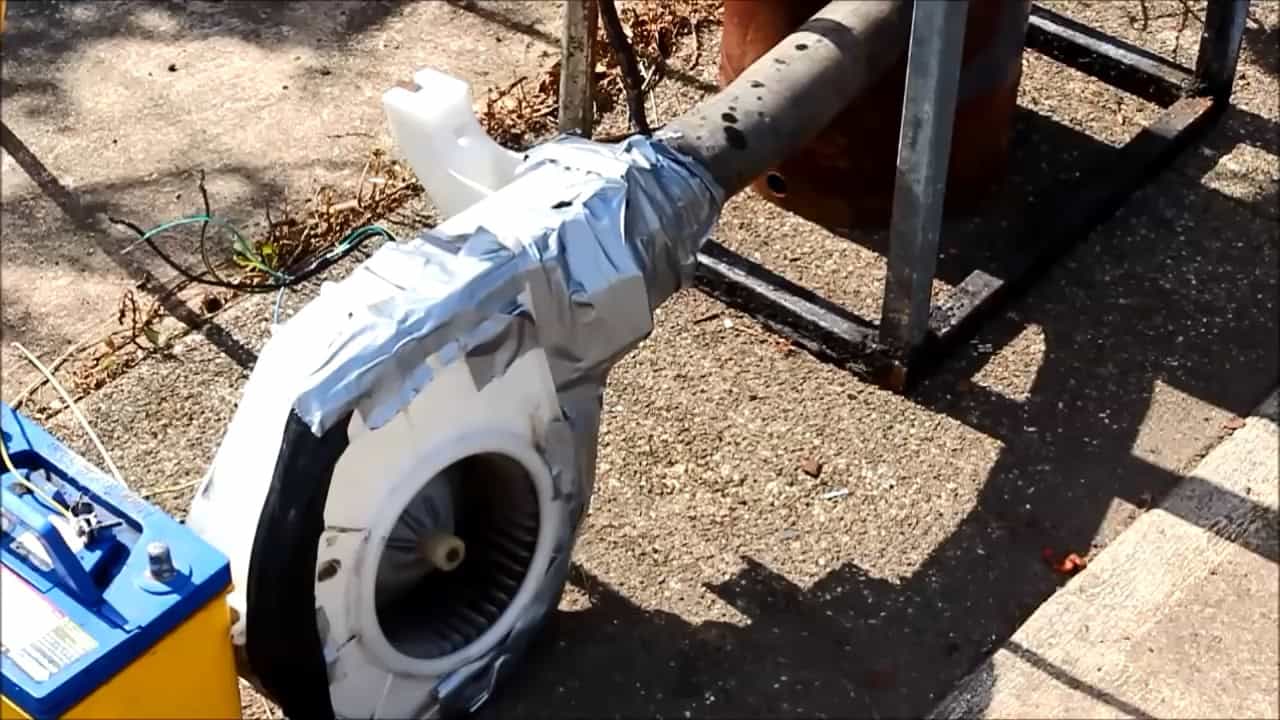
Connect the burner to a blower sourced from a car and power it with a 12V battery charger to ensure sufficient airflow, which is essential for efficient combustion of the waste oil.
Additionally, connect a drip-feed waste oil pipe to the burner through a small pipe, allowing for precise control over the amount of waste oil that is fed to the burner.
This regulation of the oil flow ensures control over the heat output, producing hot water at the desired temperature.
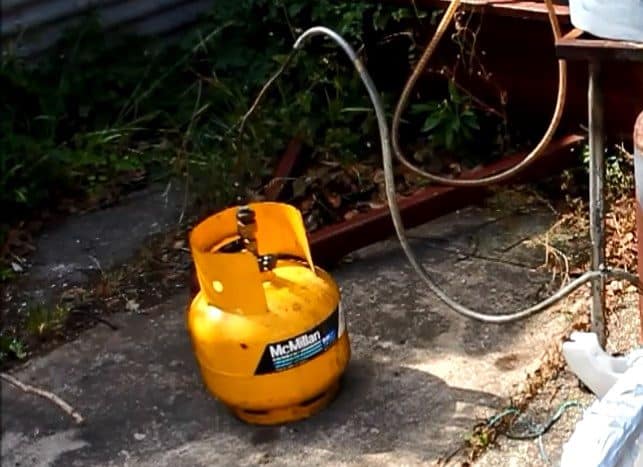
STEP 2 : GRAVITY FED OIL INTAKE
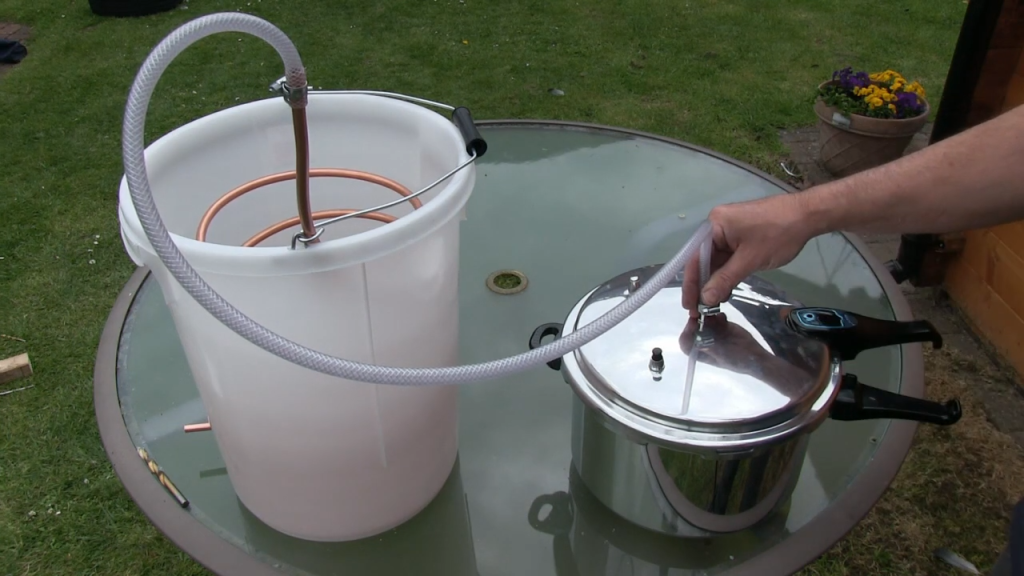
The gravity-fed oil intake is an essential component of the waste oil-powered hot water heater. It involves suspending a tank above the waste oil burner to allow for a gravity feed of the oil into the inlet pipe.
This process enables the oil to flow at a steady pace, with a valve on the oil tank providing control over the oil flow.
Once the oil enters the inlet pipe, it is propelled into the burner by the force of the air from the blower. The proper regulation of the oil flow is critical to ensure the efficient and clean combustion of the waste oil, which is essential for producing hot water at the desired temperature.
STEP 3 : CONNECTING THE WATER TANK
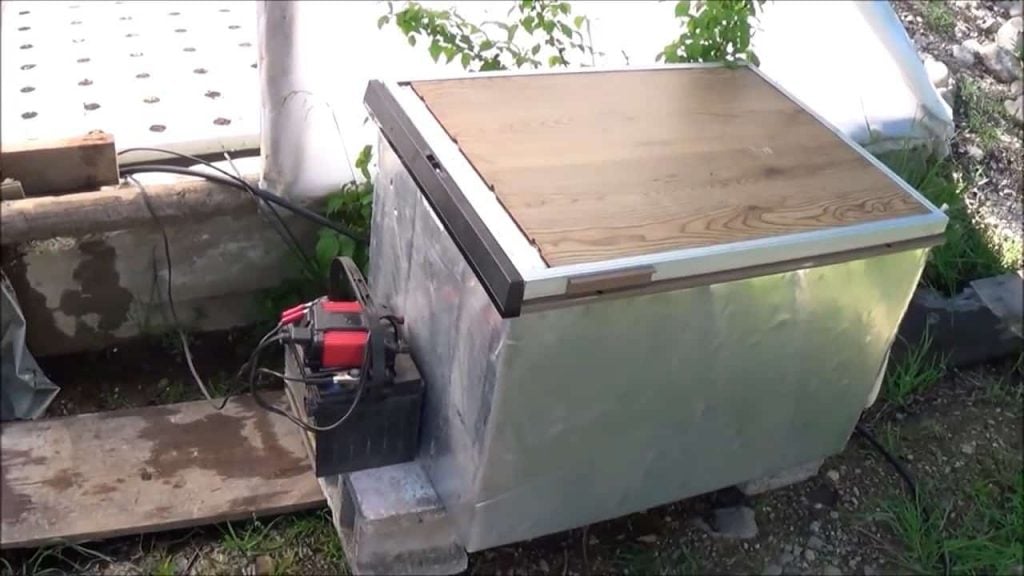
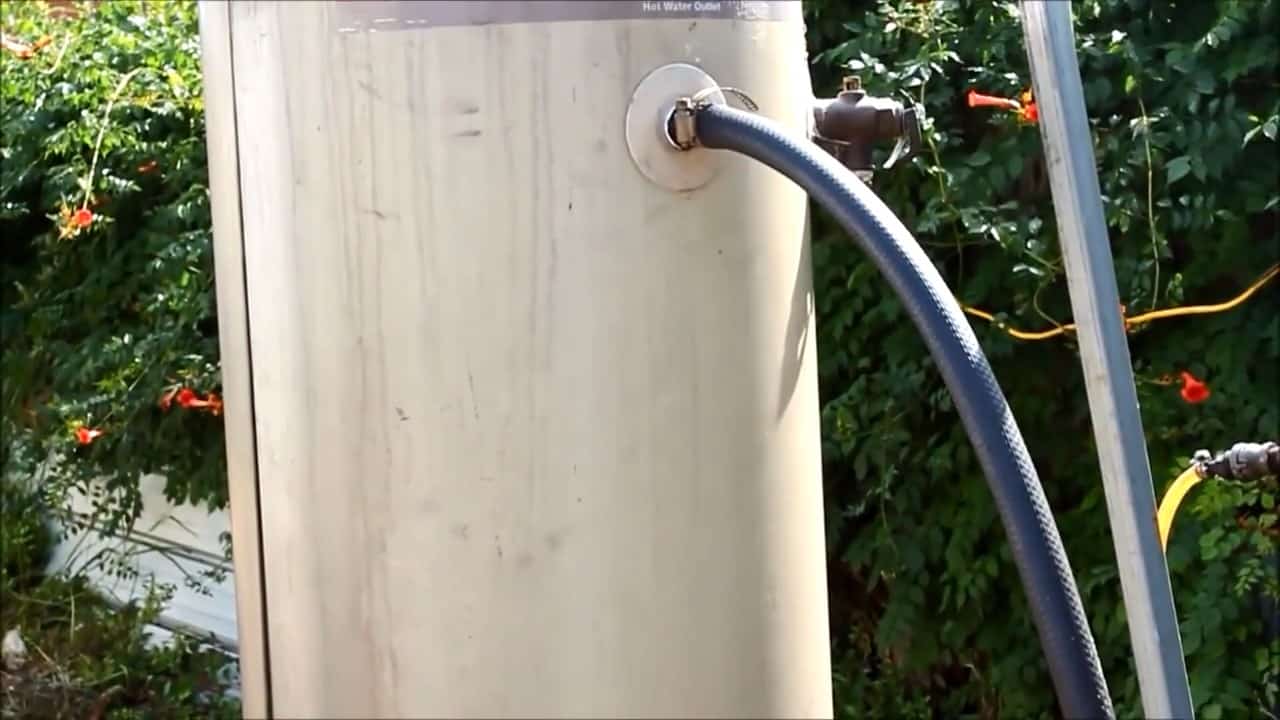
Once the waste oil burner is set up and running, the next step is to connect the water tank to the system. The cold water enters through the inlet hose, located at the bottom of the tank.
From here, the waste oil burner fires up, heating the water as it passes through the center of the heater, just as it would in a gas-powered system.
The heat generated by the waste oil burner is twice as much as what an electric-powered water heater can produce, making this an efficient and cost-effective system.
Finally, the heated water exits the tank through the outlet hose, which is situated at the top of the tank.
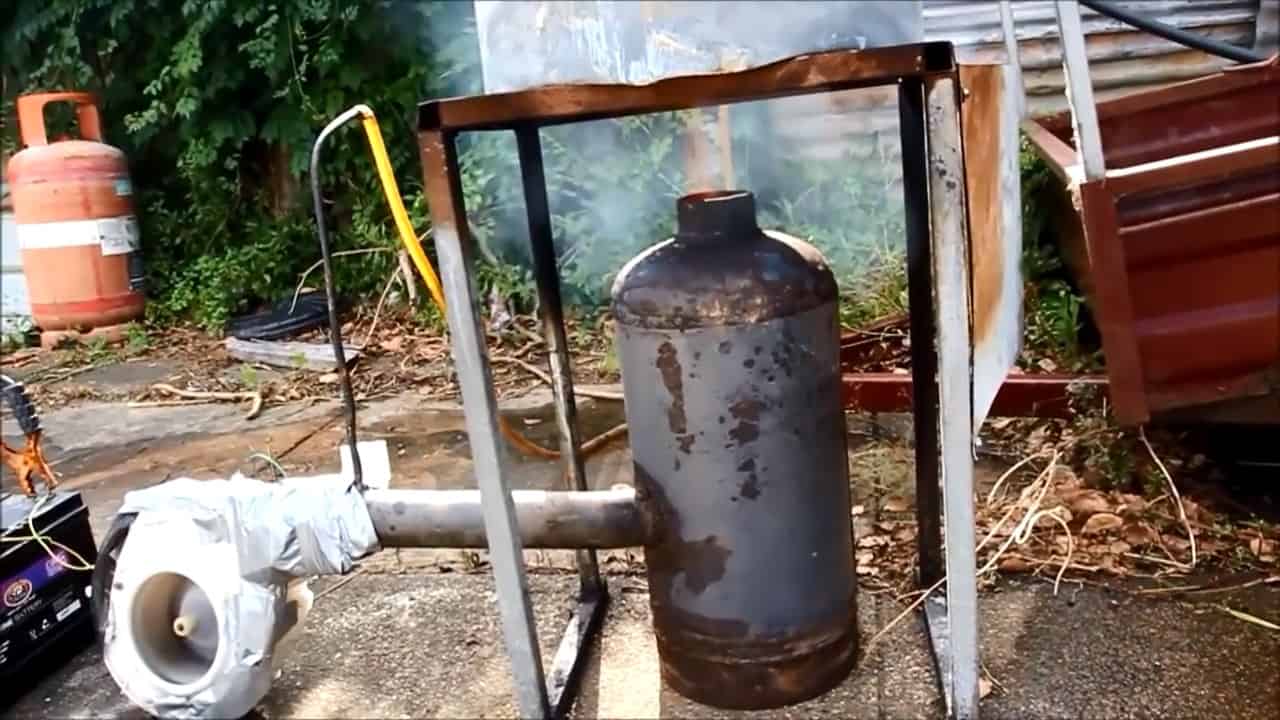
STEP 4 : WASTE OIL BURNER BUILD
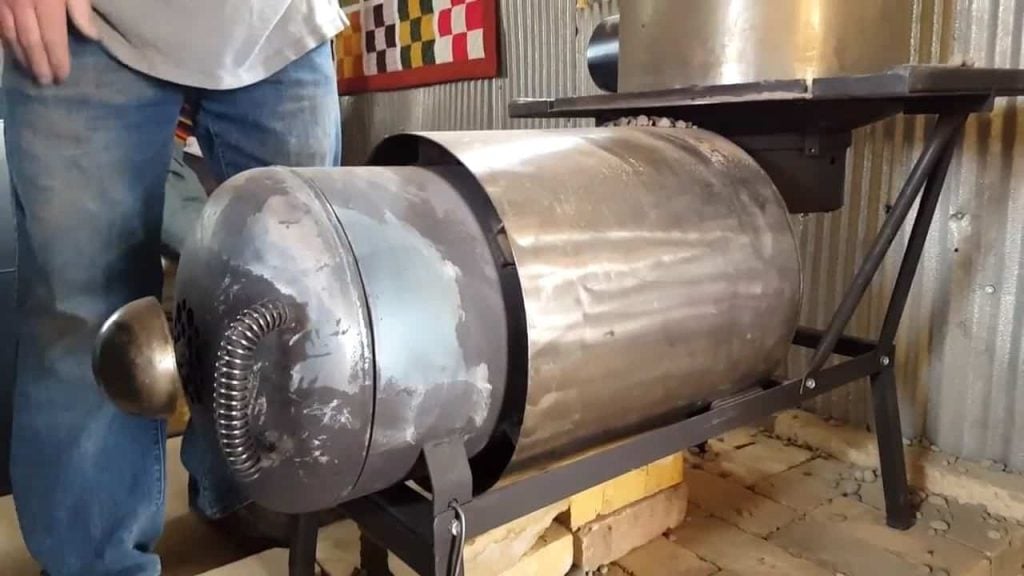
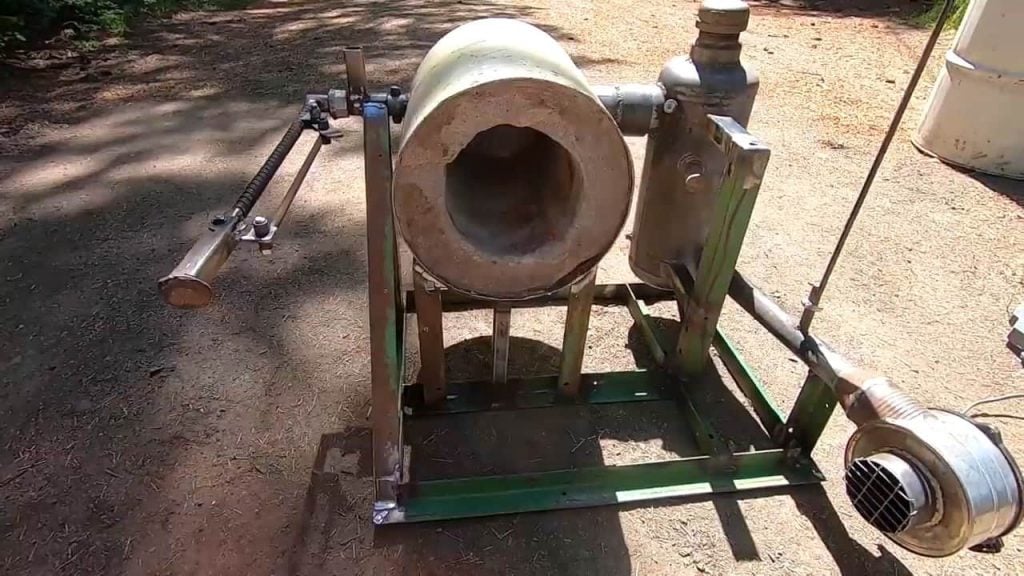
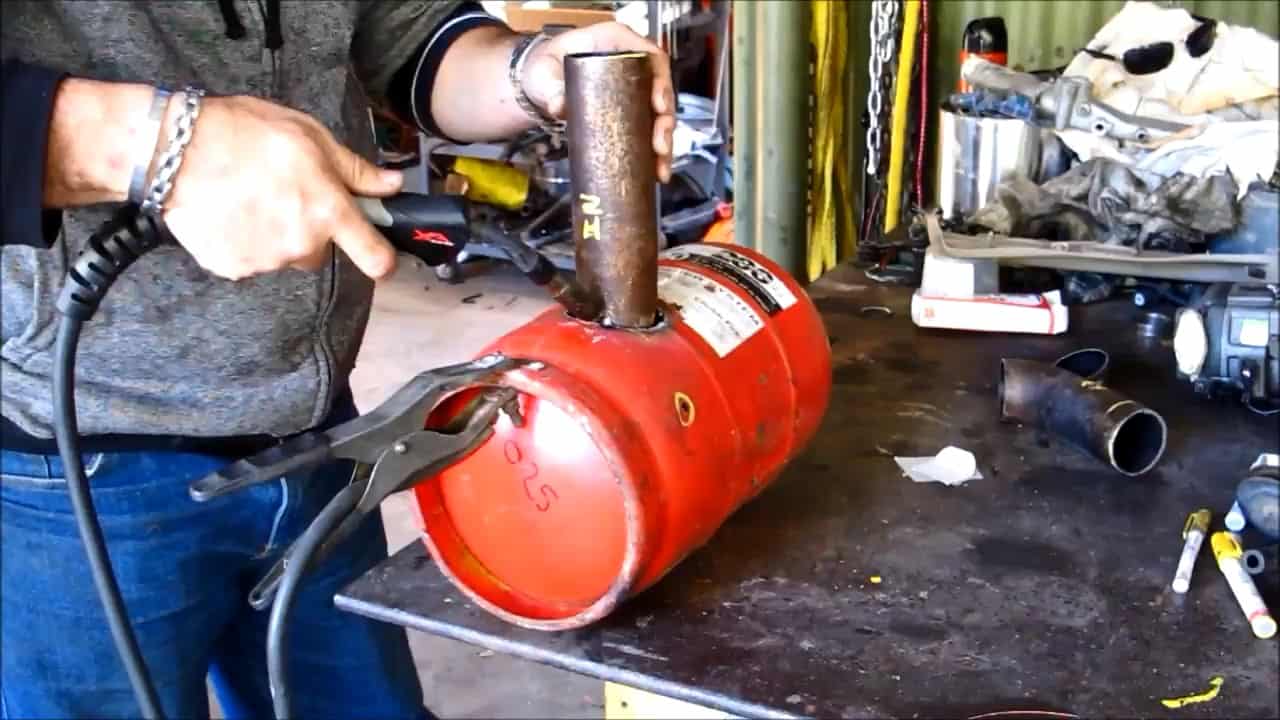
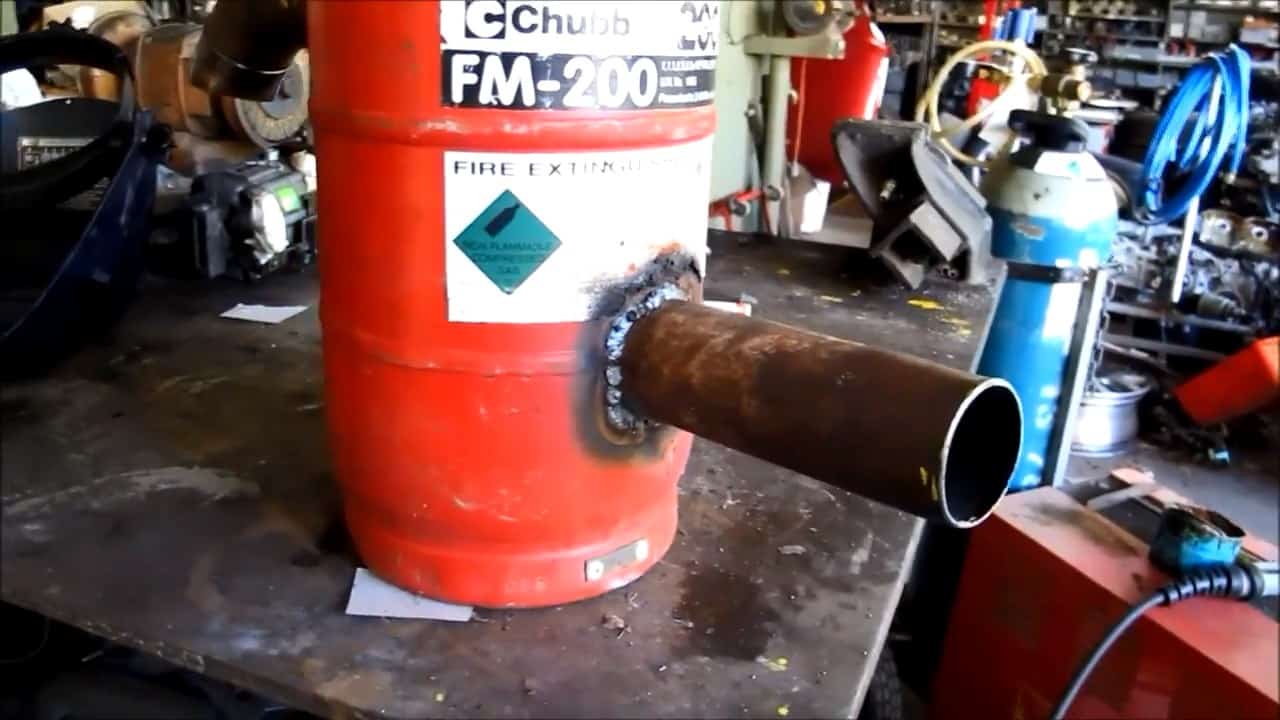
Building a waste oil burner is an essential step in any DIY project involving heating or melting. To construct a durable and efficient waste oil burner, you will need an old fire extinguisher bottle.
There are several advantages to using an extinguisher bottle for this purpose.
Firstly, the extinguisher bottle’s metal body is sturdy and can withstand high temperatures, making it ideal for burning waste oil.
This sturdiness ensures the longevity of your waste oil burner, and it will last for several DIY projects to come.
Secondly, using an extinguisher bottle eliminates the risk of any flammable gases being present. This is because fire extinguisher bottles are designed to contain gases and liquids that can fuel fires.
It is important to ensure that the air and fuel are introduced into the fire extinguisher bottle at a slight angle. This angle promotes the creation of a swirling motion, which facilitates complete combustion of the fuel-air mixture.
It is also crucial to maintain the temperature of the bottle to a certain level, so that the liquid oil can vaporize and the gas can burn efficiently.
When setting up the waste oil burner, it’s crucial to position the inlet pipe for the waste oil and the blower correctly.
We recommend positioning it between 25 to 35% of the way up to the bottle to ensure optimal performance.
The inlet pipe should have a small bend in it to promote swirling within the bottle, which helps keep it hot and self-sustaining. This is important as it ensures the fuel vaporizes completely, producing a clean burn with almost no smoke.
Controlling the output of the waste oil burner is essential to ensure efficient and safe operation. This can be achieved by regulating the amount of waste oil that is dripped into the burner and the volume of air that is blown into it.
It is worth noting that the power output of this waste oil burner is significantly higher than that of a traditional gas burner. As a result, the heat produced can easily exceed the heat sink threshold of the water heater, leading to potential safety hazards.
Therefore, a vent line should be installed to release any build-up pressure and avoid potential risks.
Apart from its primary function of heating water, this setup can also be used for other heating purposes. For instance, it can be employed as a space heater, pool heater, or garage heater.
Such versatility makes this waste oil-powered heater an excellent investment for those who seek to reduce their reliance on conventional energy sources and save money in the long run.
.
Image Credits : Oil Burner | https://www.youtube.com/@glumpy10