As a DIY survivalist, you understand the importance of being self-sufficient and having the skills and tools to thrive in any situation.
Building your own equipment and tools is a great way to ensure you’re always prepared for whatever challenges may come your way.
That’s why we’ve got a unique project for you today: building a simple bandsaw from old car wheels.
Not only are car wheels readily available and cost-effective, but they also offer numerous advantages for survivalists.
Their sturdy rubber tires provide excellent traction and stability for the blade, making them ideal for cutting through a variety of materials, including wood, metal, and plastic.
Plus, the high-quality bearings in car wheels are built to withstand extreme conditions, making them a reliable option for a survivalist tool.
In this project, we’ll walk you through the process of building your own bandsaw using old car wheels, including step-by-step instructions and detailed images to guide you along the way.
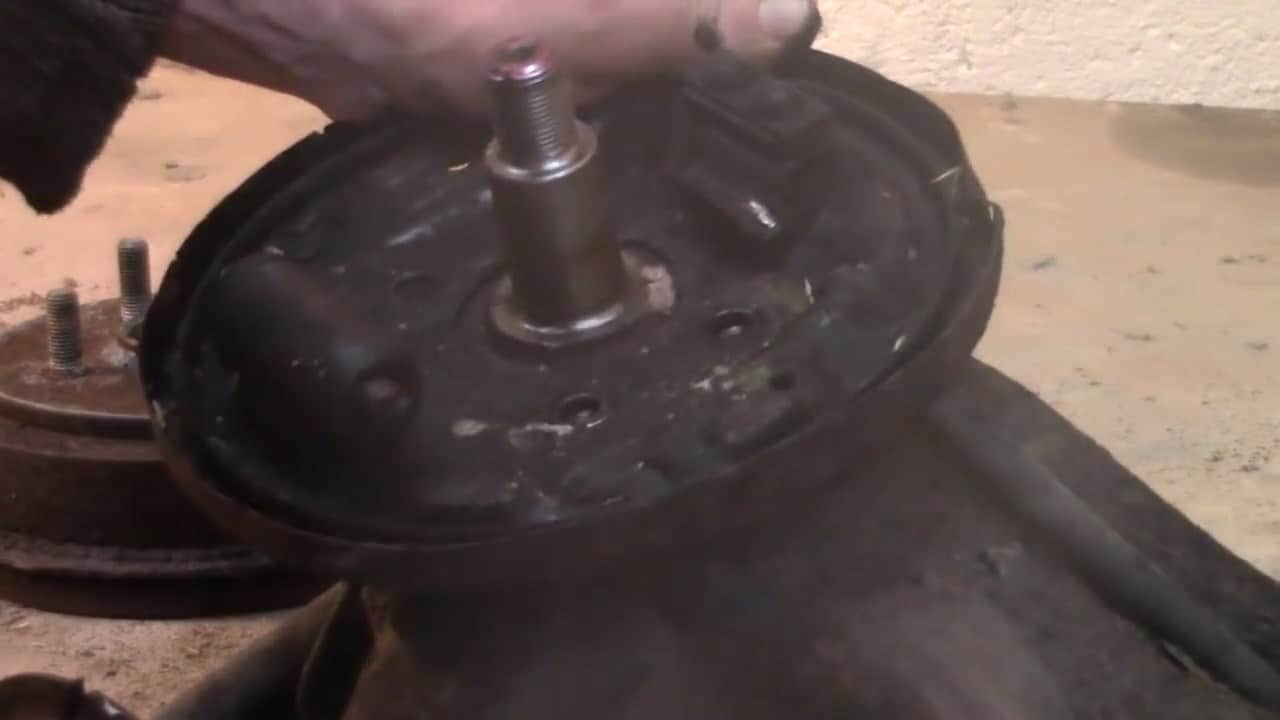
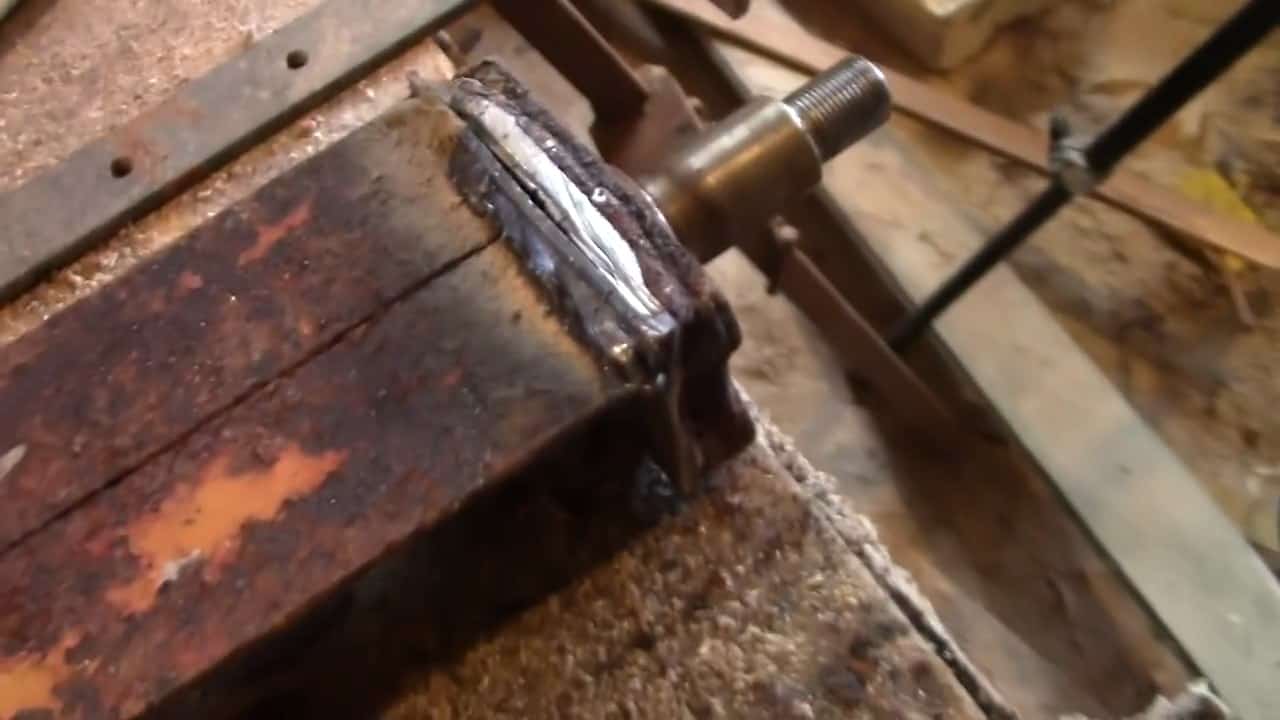
STEP 1 : REMOVING THE COMPONENTS AND WELD THE STUB AXLE
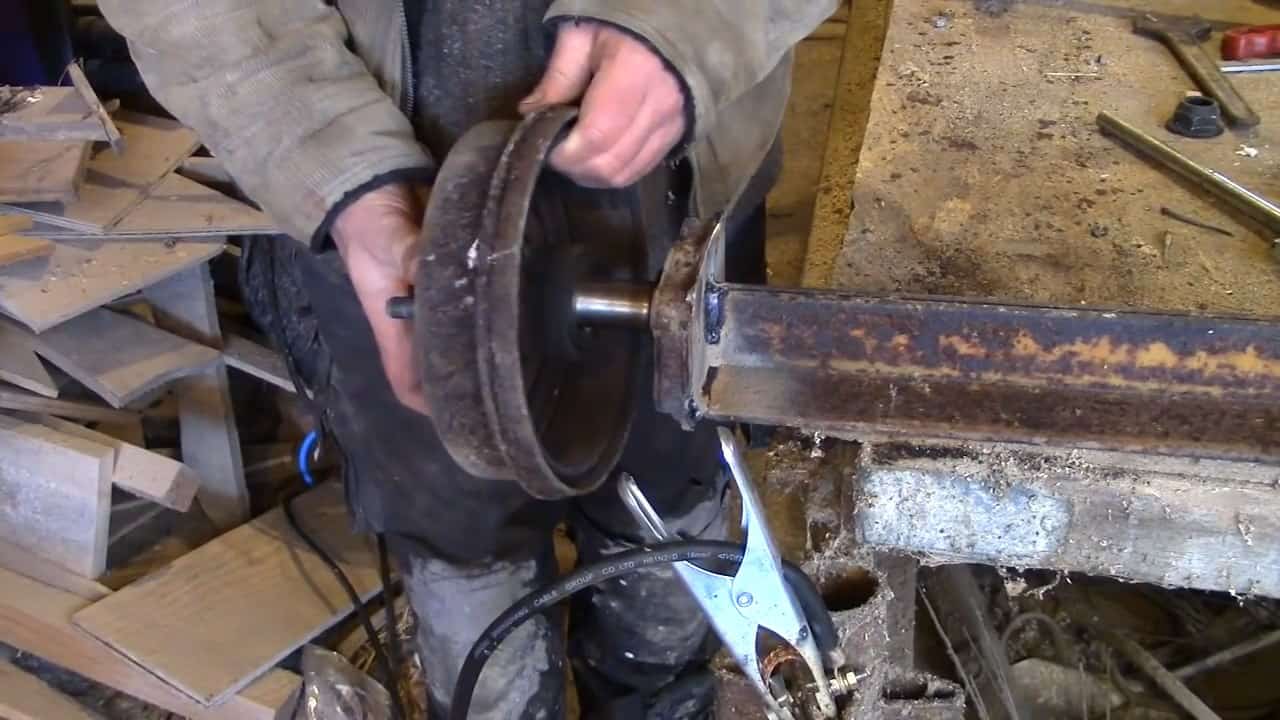
The first step in constructing a bandsaw from old car wheels is to carefully disassemble the necessary components.
This involves removing the brakes, backplate, bearings, and stub axle from the housing.
To ensure the process is done correctly, it’s crucial to use specialized tools and equipment designed for disassembling these components.
Additionally, it’s important to inspect each part for any wear or damage that could affect the performance of the bandsaw.
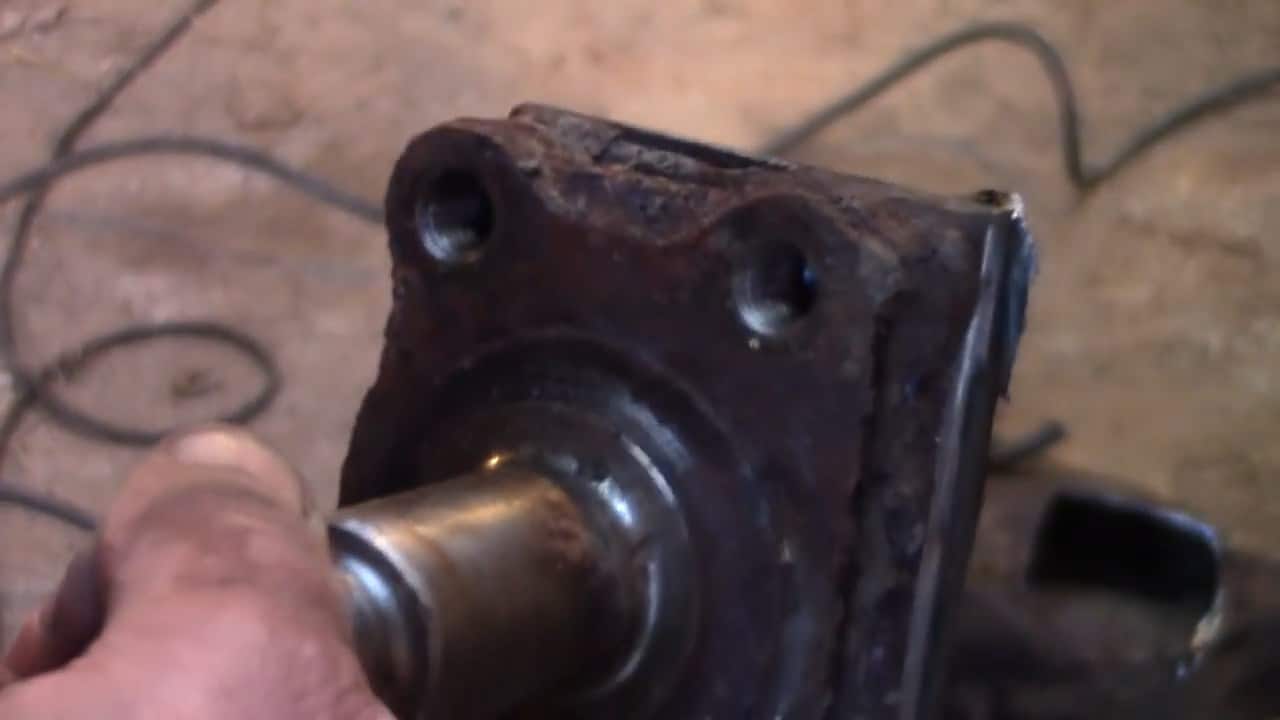
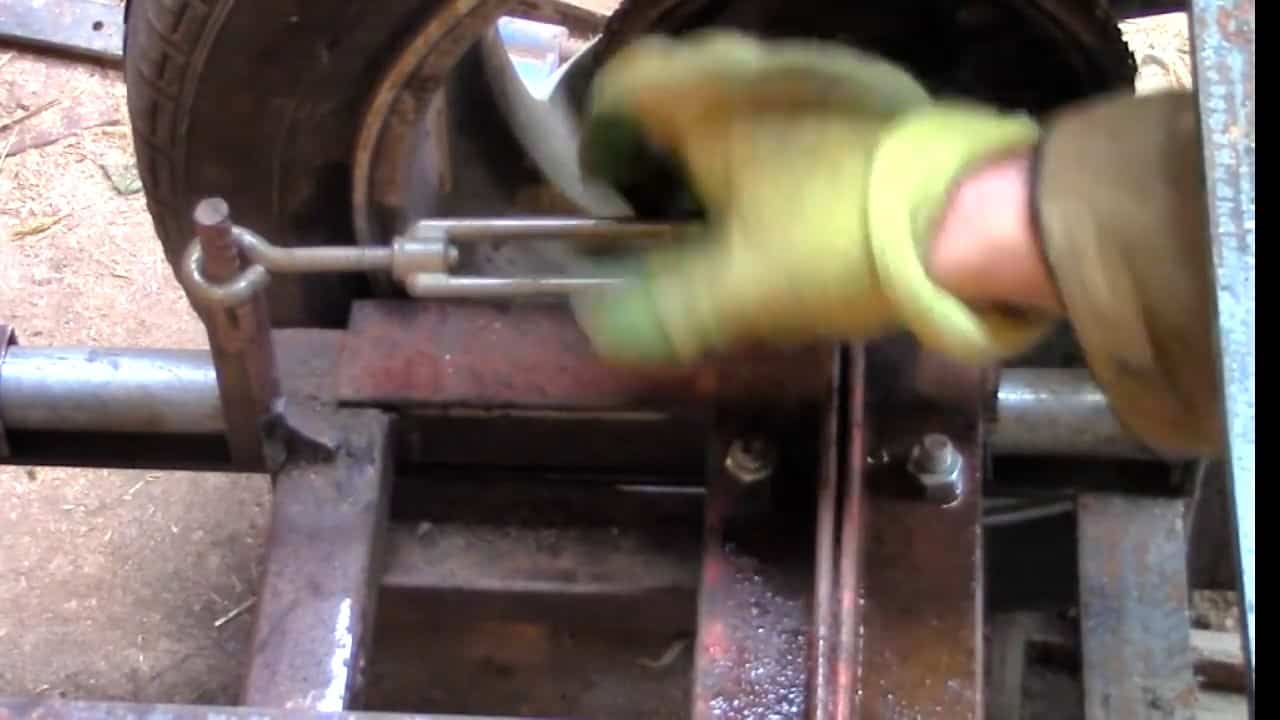
Once the components are removed, the next step is to weld the stub axle onto an off-cut of scaffolding. This is a critical step, as the stability and safety of the bandsaw depend on the quality of the weld.
To ensure the best results, it’s recommended to use high-quality welding equipment and techniques. This includes choosing the appropriate welding method, such as MIG or TIG, and ensuring that the weld is strong, uniform, and free of any defects.
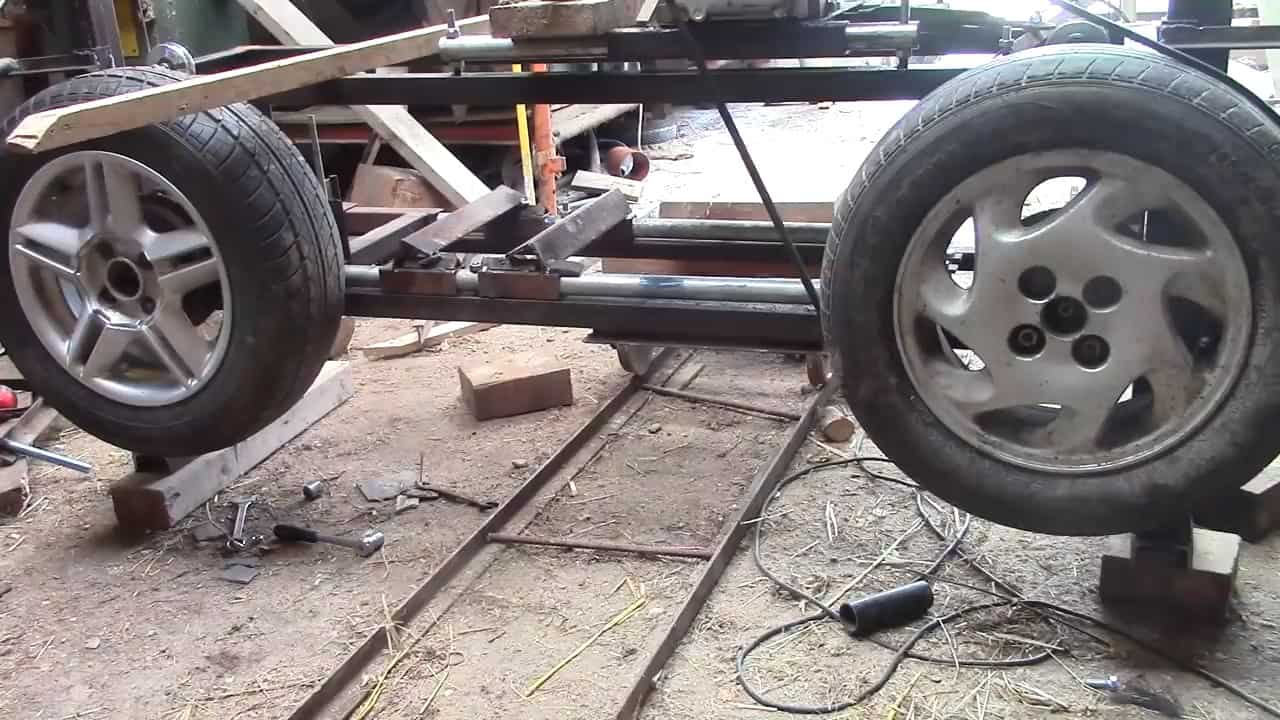
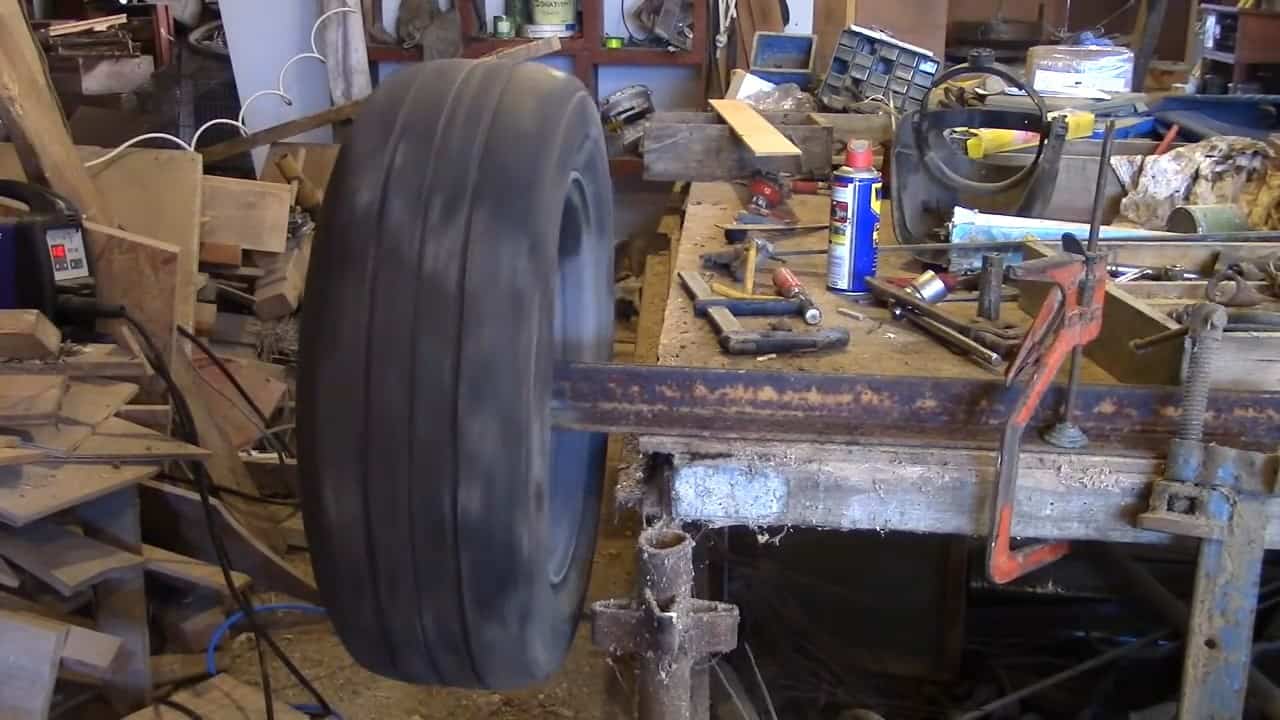
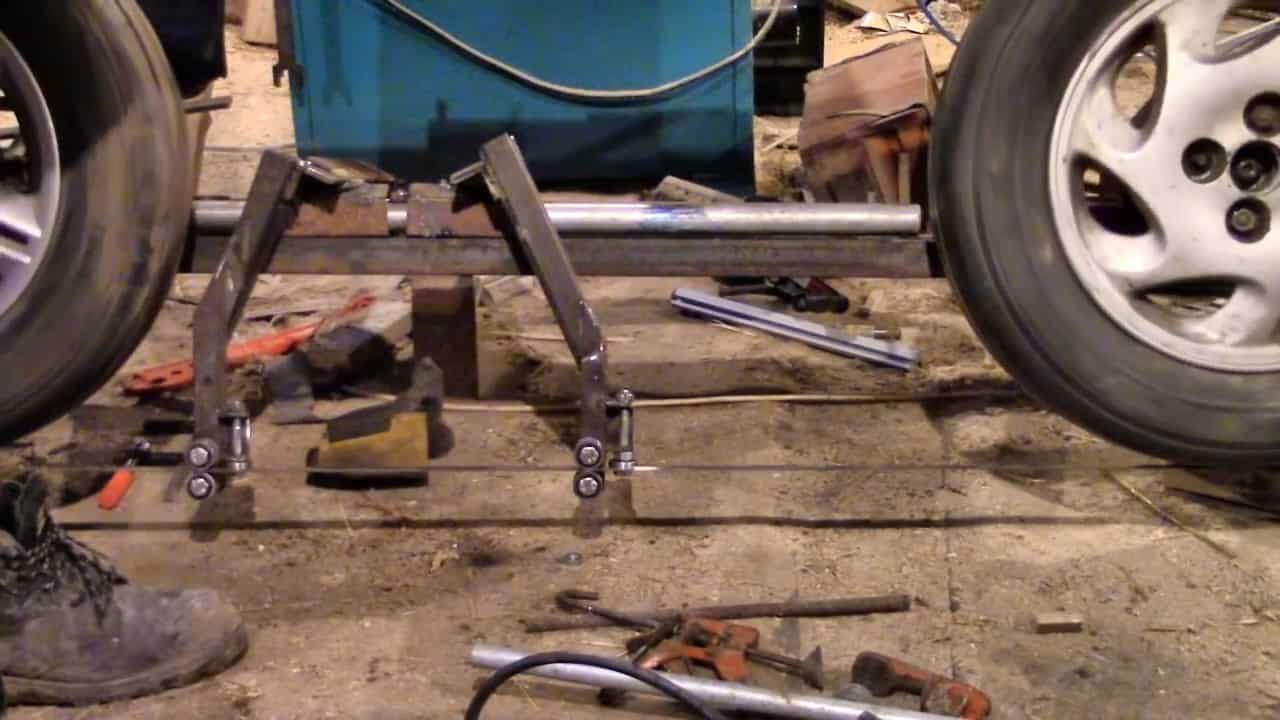
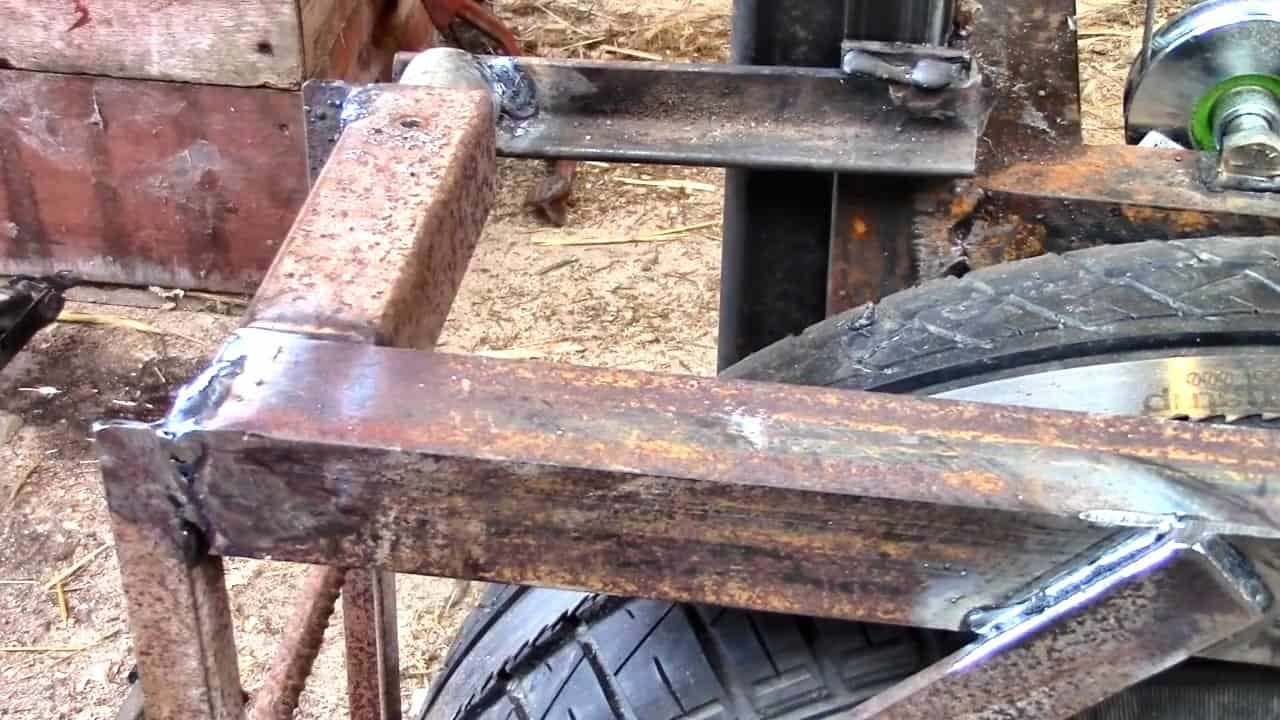
STEP 2 : TWO WHEELS ON ENDS OF A STEEL SCAFFOLDING
After disassembling the necessary components and welding the stub axle onto an off-cut of scaffolding, the next step in constructing a bandsaw from old car wheels is to attach the wheels to the frame.
To achieve this, two straight lengths of steel are used to support the wheels. The wheels are secured to the ends of these steel bars and will spin freely once mounted on the frame.
It’s important to ensure that the wheels are level and aligned properly with each other, as any misalignment can affect the functionality and safety of the bandsaw.
To achieve this, precise measurements should be taken and any necessary adjustments made before mounting the wheels to the frame.
Once the wheels are properly secured to the steel bars, it’s important to test their functionality and ensure they spin smoothly without any wobbling or shaking.
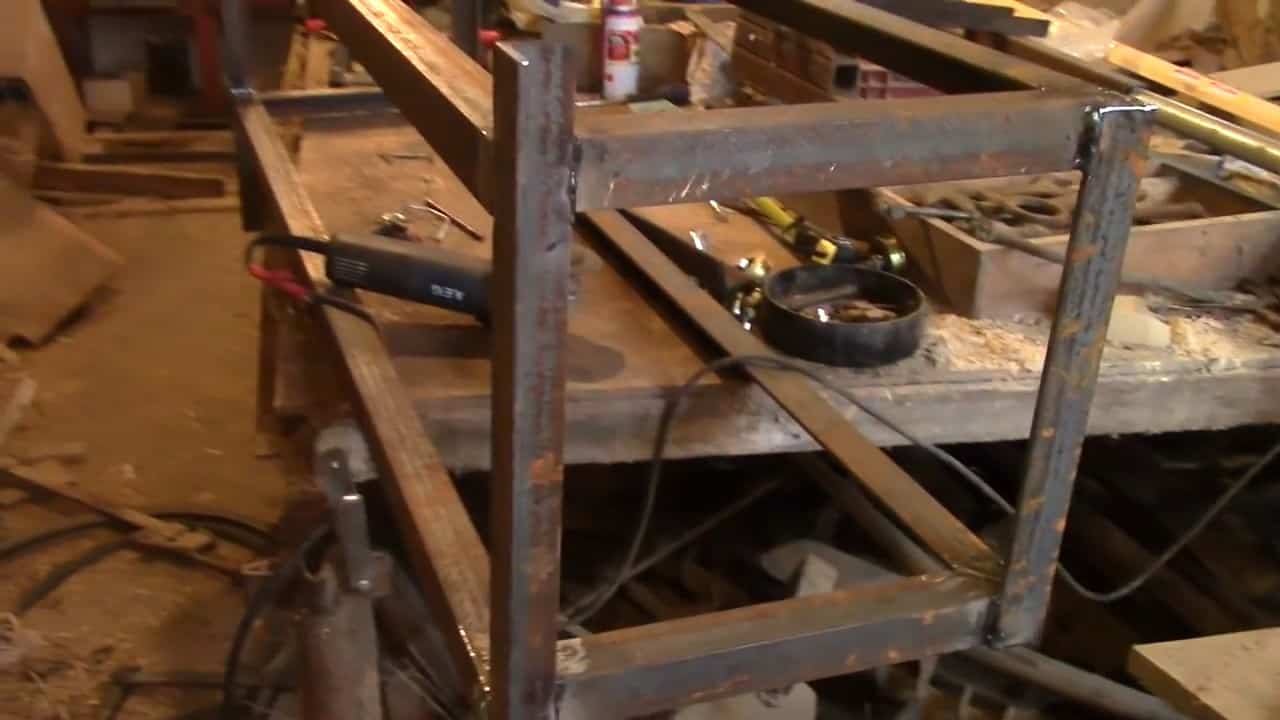
STEP 3 : MAKING THE FRAME
After securing the wheels to the steel bars, the next step in constructing a bandsaw from old car wheels is to create a rectangular frame using scrap-angle iron pieces.
This frame will serve as the base of the mill and provide support for the rest of the components.
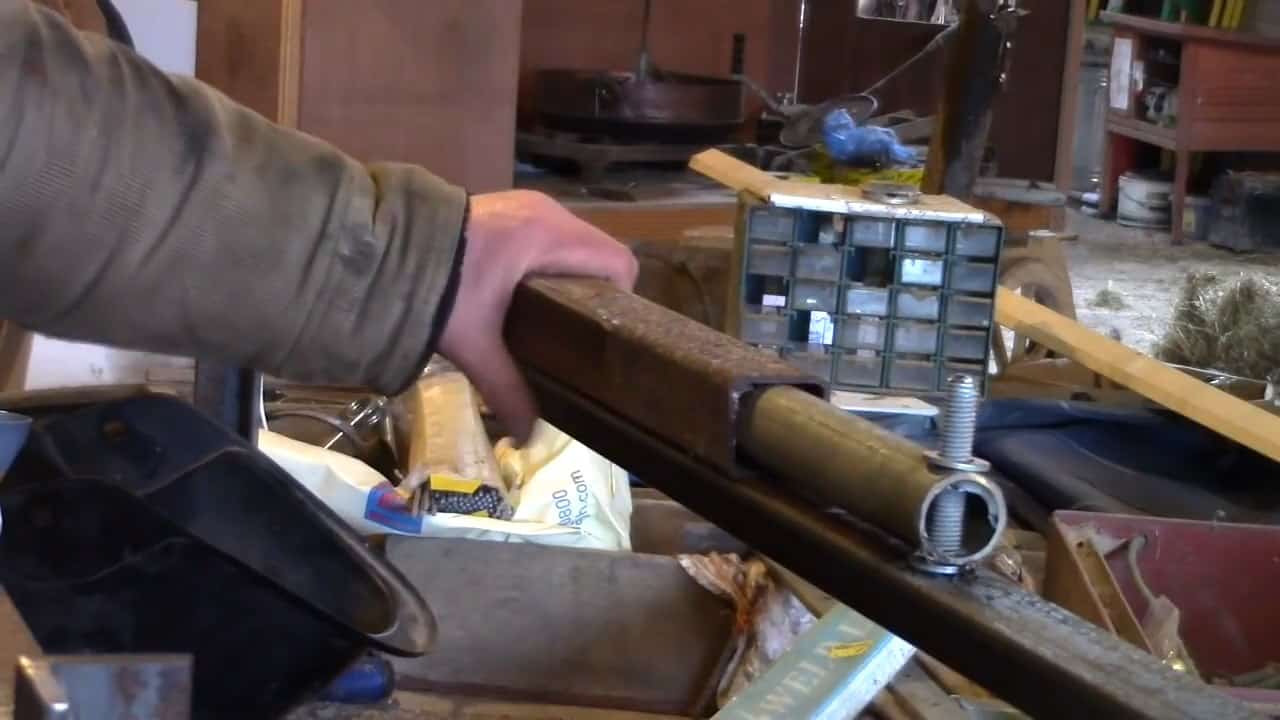
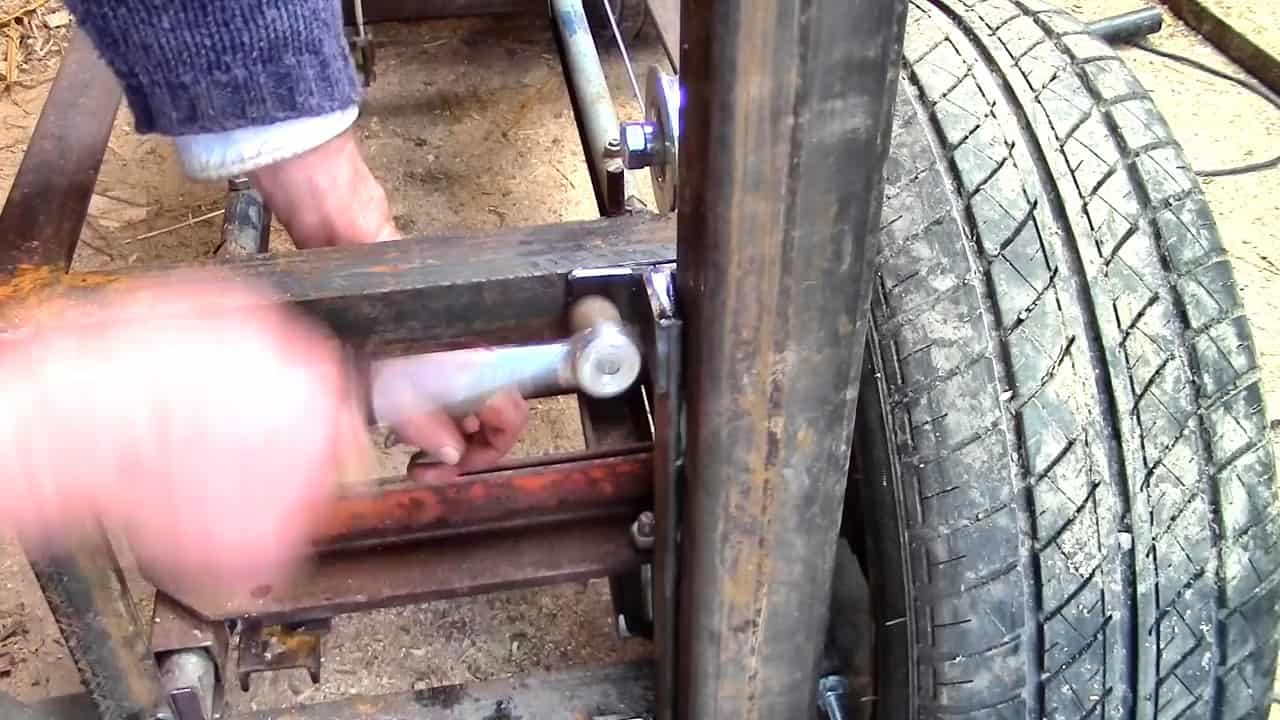
STEP 4 : ADDING A SLIDING MECHANISM
To create the sliding mechanism for the bandsaw, a scrap pipe is used and fitted onto a square iron pipe. This allows for smooth sliding in and out during adjustments.
The sliding mechanism is then welded onto the frame, ensuring a secure attachment.
Attention to detail is important during the construction process to ensure that the sliding mechanism operates smoothly and accurately.
Precision welding is essential to prevent any instability or misalignment that could affect the performance of the bandsaw.
After welding, the sliding mechanism should be tested to confirm smooth and precise sliding. Any issues should be addressed before proceeding with the construction of the bandsaw.
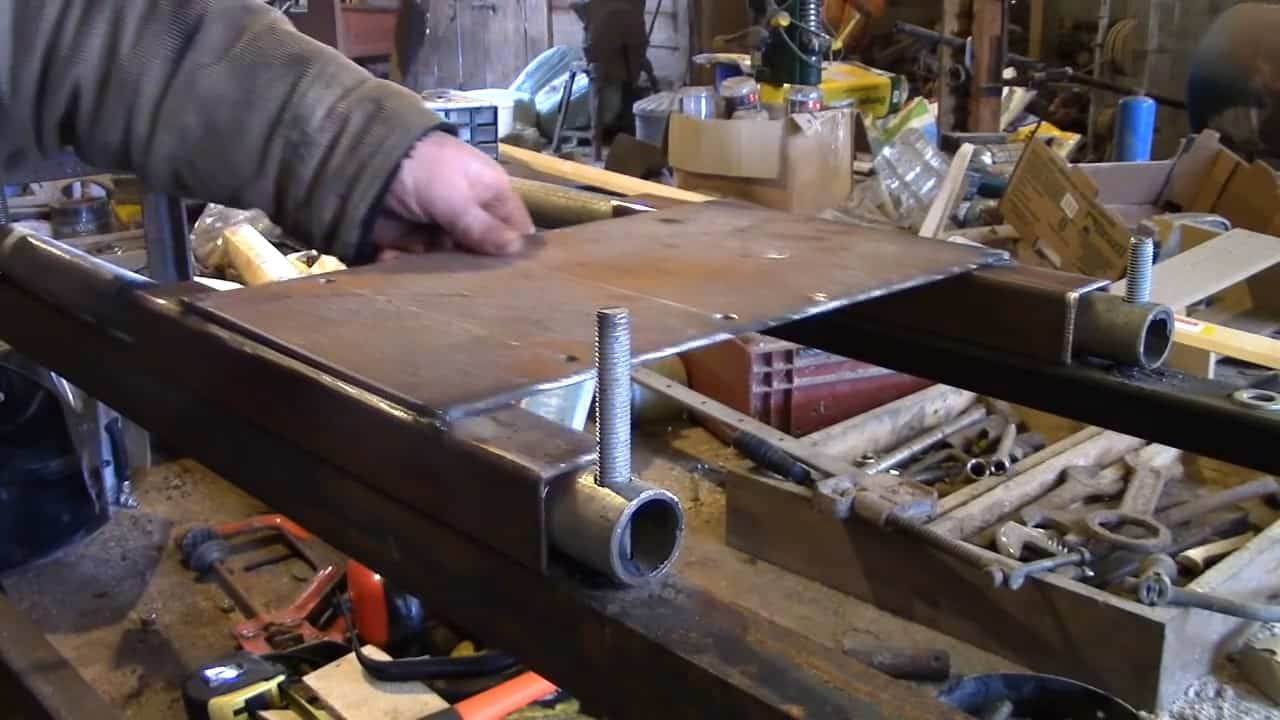
After the sliding mechanism is securely attached to the frame, the next step in constructing the bandsaw involves welding a steel plate onto the sliding bars. This steel plate will serve as the platform for the engine to sit on.
The engine will drive one of the car wheels, making the bandsaw operational.
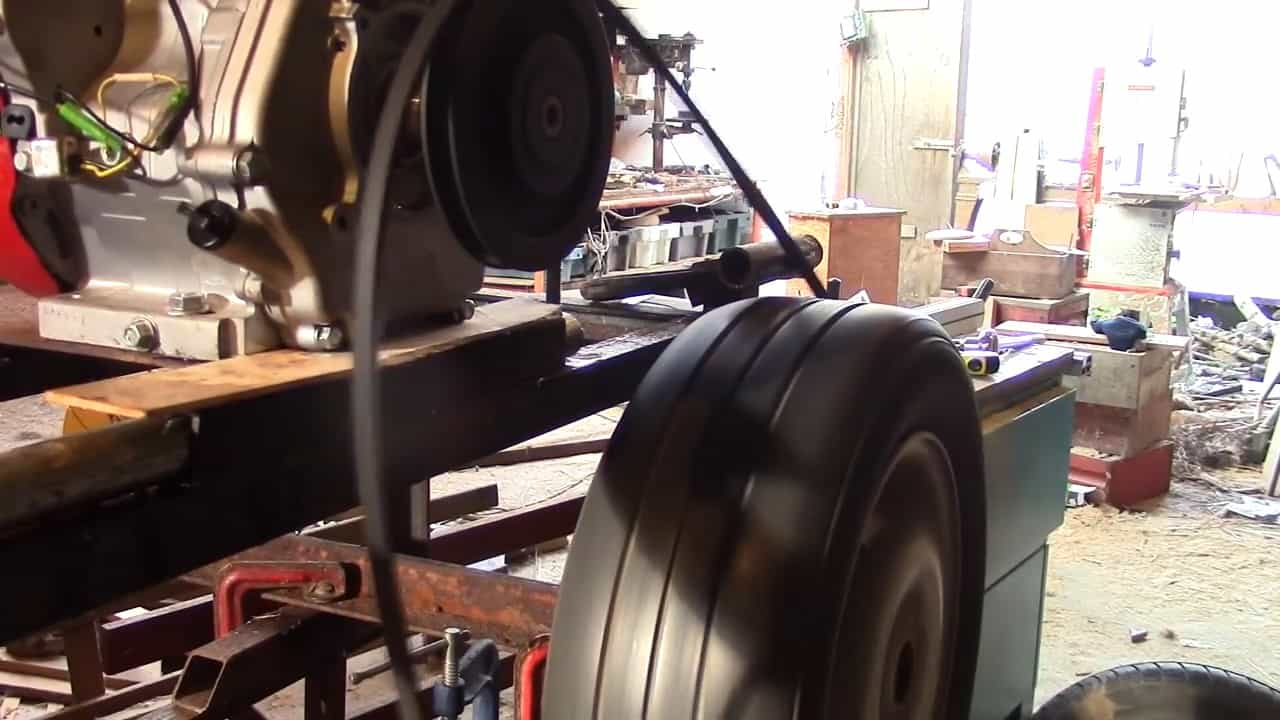
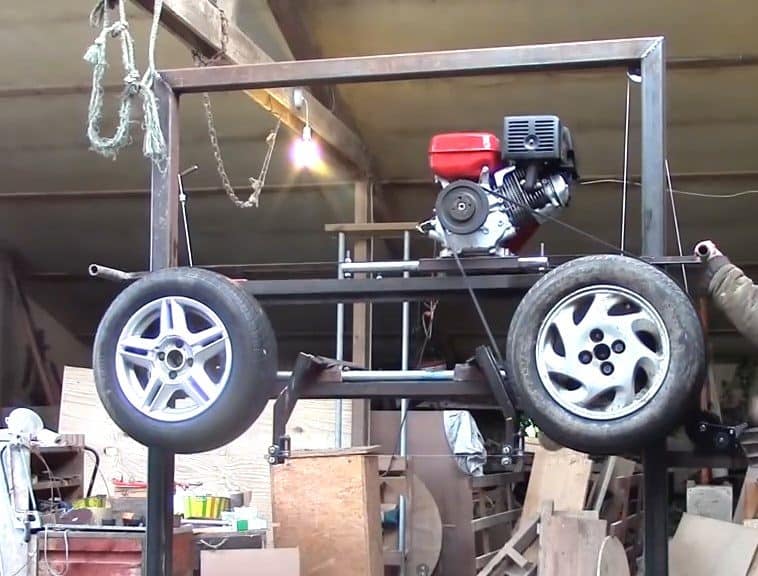
STEP 5 : MOUNTING THE CAR ENGINE
The next step in constructing the bandsaw involves mounting the 11 HP petrol engine onto the steel plate that was welded onto the sliding bars in the previous step.
Once the engine is securely mounted, a drive belt is used to connect the tire to the engine shaft.

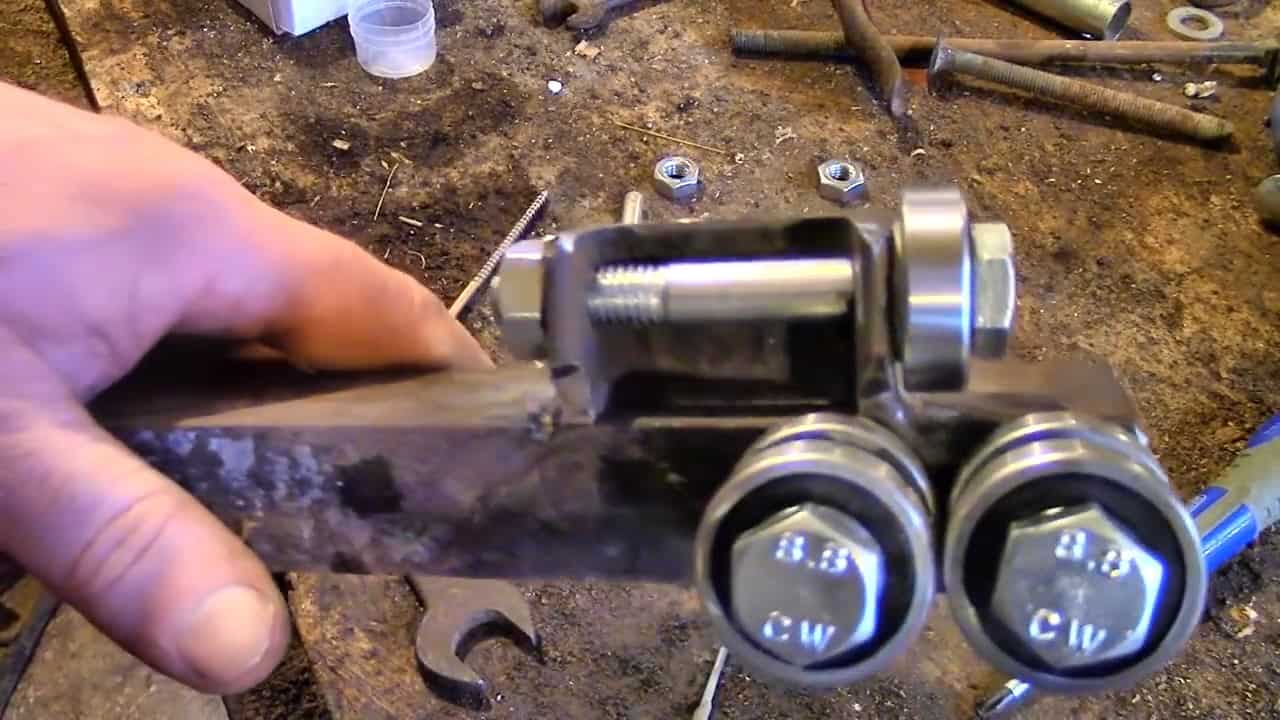
STEP 6 : CONNECTING A DRIVE WHEEL AND LEVER
After connecting the tire to the engine shaft with a drive belt, the next step in building the bandsaw is to bolt the drive wheel onto the frame.
This is a critical step, as the drive wheel ensures that the blade runs smoothly and accurately during operation.

In addition to bolting the drive wheel onto the frame, a lever is added for the engine mount. This lever acts as a clutch and enables the user to adjust the tension of the drive belt as needed.
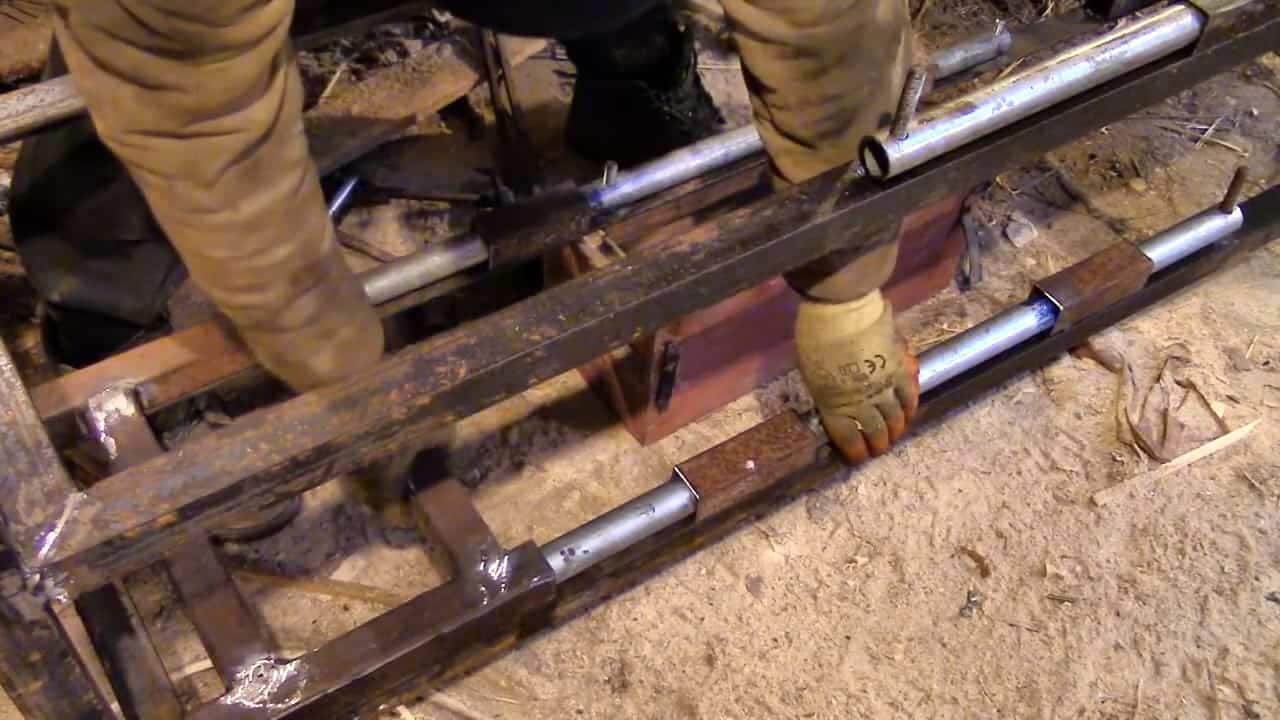
STEP 7 :ADDING SUPPORT
The next step involves adding two pipes to the bottom of the frame, which will provide support for the second wheel.
These pipes are slid onto a support platform made from the same square box iron as the frame, along with some short sections that will be used as part of the blade guide.
STEP 8 : ADJUSTING THE BLADE TENSION
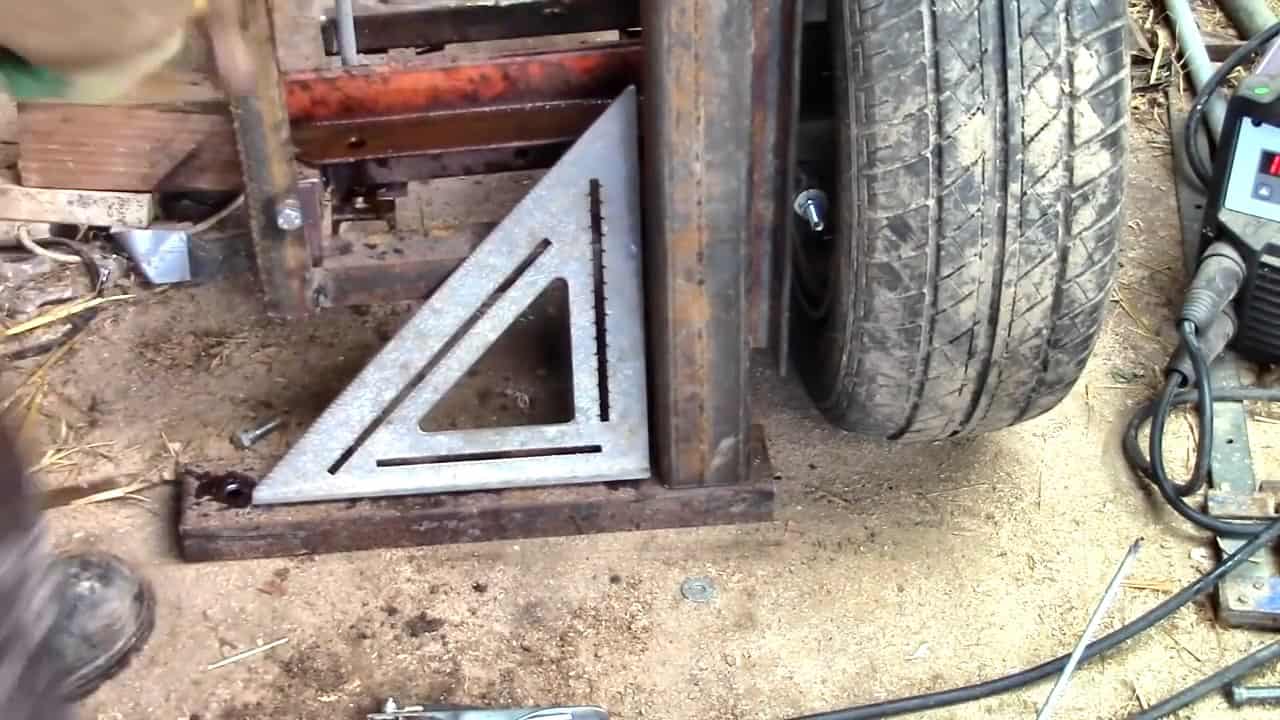
The proper alignment and tensioning of the blade and wheels are crucial for achieving the best performance of a bandsaw mill. In this step, we focus on adjusting the second wheel to maintain proper alignment and tension.
The second wheel must be adjustable in multiple directions, such as side-to-side, forward-and-backward, and up-and-down, to ensure that it aligns correctly with the first wheel.
This alignment ensures that the blade sits on both wheels without running off the tire.
To adjust the blade tension, we use a bottle screw, which is a type of turnbuckle that can lengthen or shorten the distance between the two wheels.
By turning the bottle screw, we can move the second wheel away from the first one, creating a wider gap between the wheels that increases the tension on the blade.
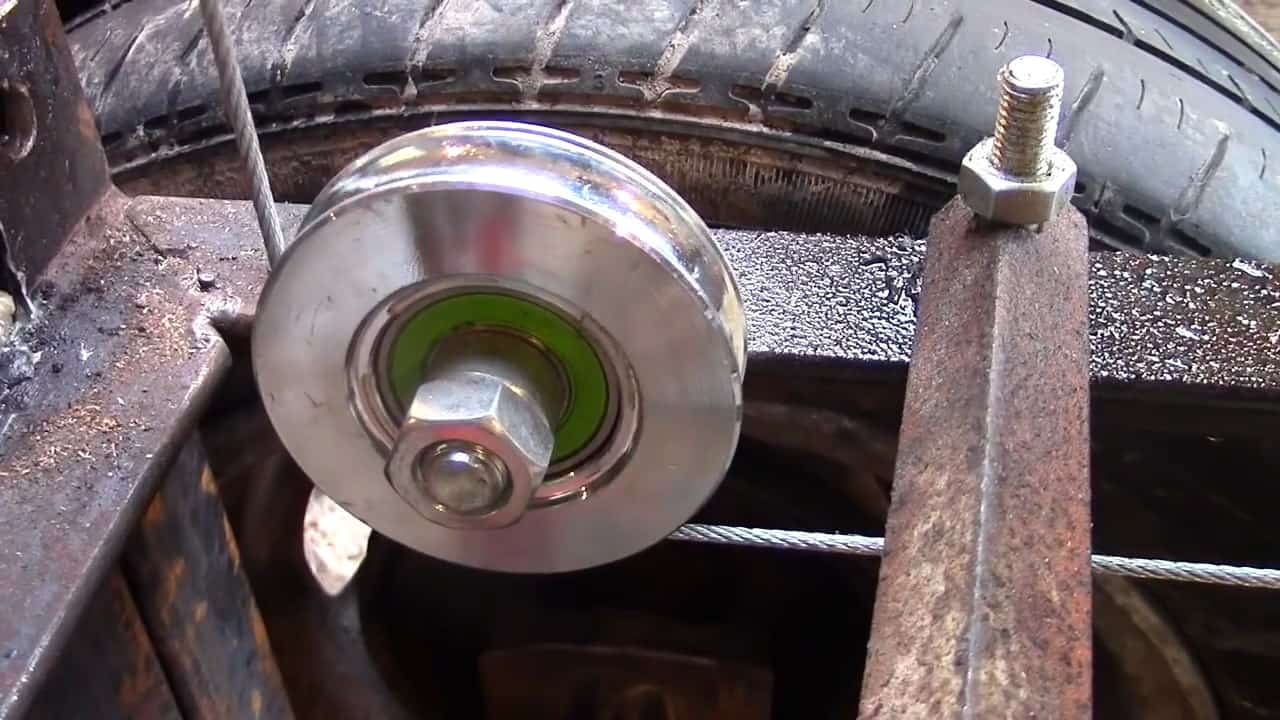
The blade guides serve an important function in ensuring a clean and accurate cut. For this bandsaw, the blade guides are constructed from low-cost bearings that are easily adjustable to accommodate logs of varying sizes.
Their adjustability allows for precise alignment of the blade, ensuring that it remains straight as it passes through the log. Additionally, the blade guides prevent the blade from being pushed off the wheels.
STEP 9 : BUILDING THE FRAME AND PULLEY
In order to enable the band saw to move up and down to cut planks from a log, a sturdy frame is constructed to securely hold it.
This frame is specifically designed to fit snugly within the vertical pieces of angle iron on the saw. To ensure stability and precision during operation, the support frame is bolted onto the saw using a bracket that tightly grips the upright.
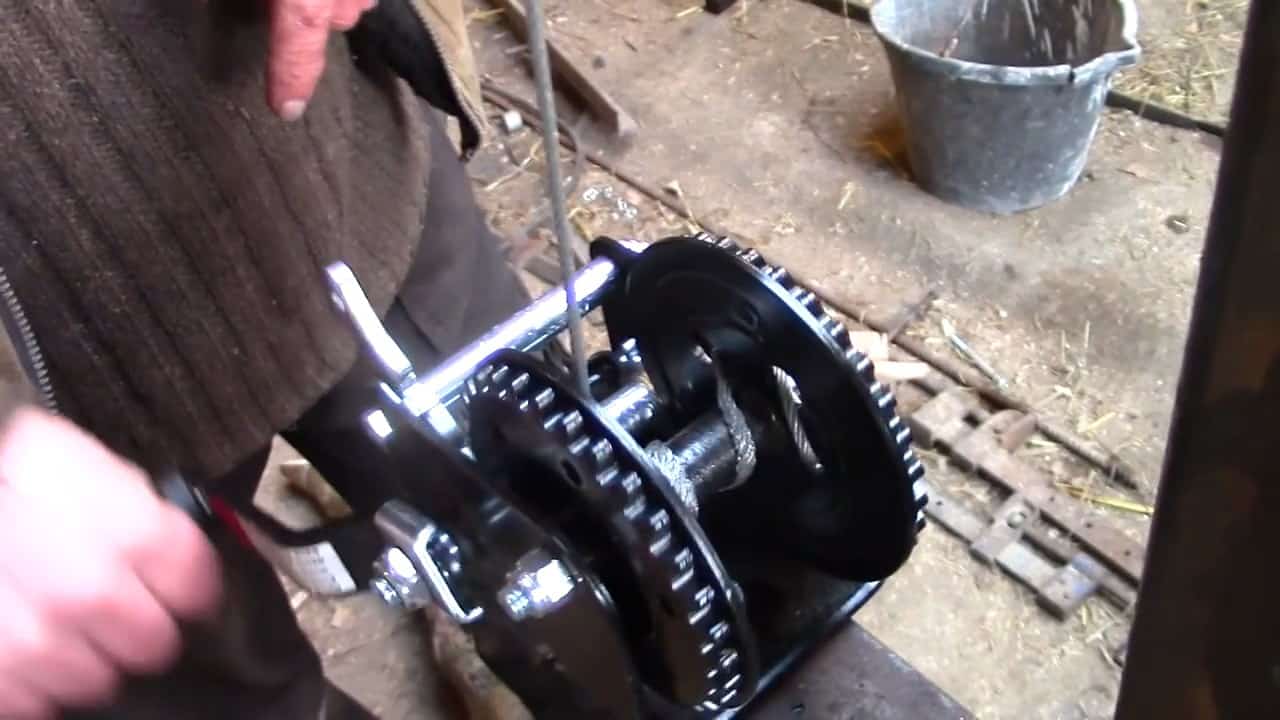
Barn door pulleys are securely bolted onto the top of both the support frame and the mill frame. A trailer winch is bolted onto the middle of the support frame.
With the use of a 3mm wire and winch-pulley system, the wheel frame can be effortlessly adjusted up and down as necessary.
To ensure safe operation, two short pipes are attached to the front of the band saw frame to support a protective guard. This guard can be easily removed when necessary for maintenance access to the belt or blade.
In the event of a blade breakage, the side guards are designed to prevent the blade from flying upwards and instead direct it downwards towards the ground for increased safety.
One way to use the bandsaw is to keep it stationary and move the log through it using dolly trailers or rails. This method requires building a sturdy and level surface to place the saw on, such as a workbench or a custom stand.
Dolly trailers or rails can be made from various materials, such as metal pipes or wooden planks. They should be sized to fit the width of the saw and allow for smooth movement of the log through the blade.
Image Credits : WAY OUT WEST with Sandra and Tim