This article details a comprehensive guide on how to build a highly efficient multi-purpose foundry/forge from recycled materials, using waste oil as its primary fuel source.
With the ability to burn waste oil at high temperatures, this foundry is ideal for melting down aluminum, which has a melting point of approximately 660.3 degrees Celsius.
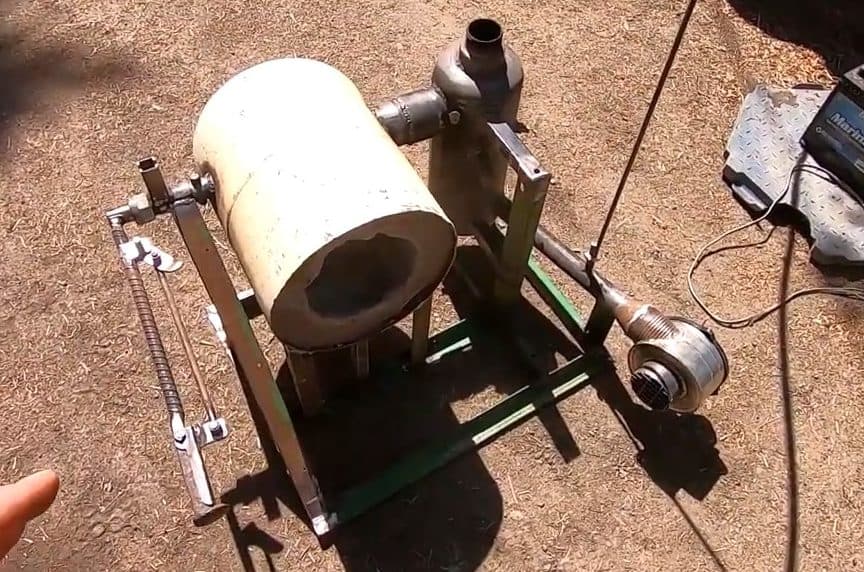
By repurposing old 10-gallon propane tanks, air compressor tanks, and a blower from a car, along with a few other materials such as hose and brake lines, you can create a versatile and cost-effective foundry that will prove valuable in a range of DIY and metalworking projects.
STEP 1 : MATERIALS REQUIRED
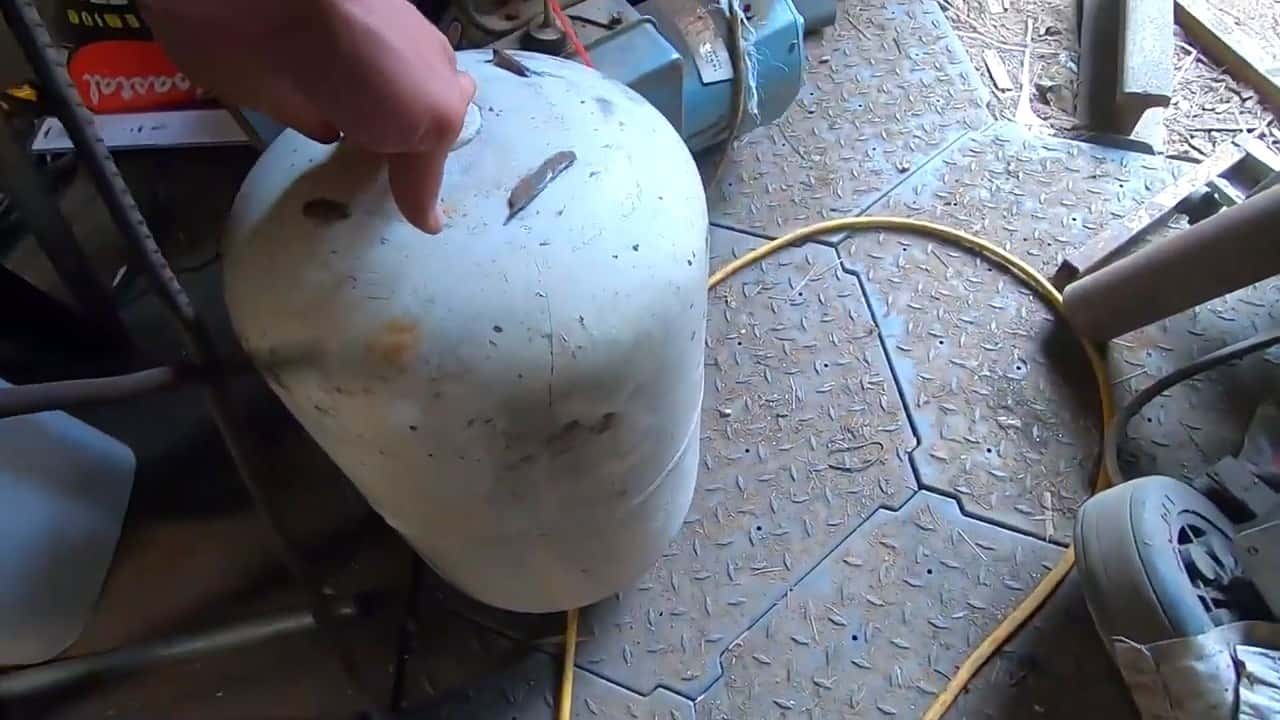
To successfully build the waste oil-powered aluminum foundry/forge, it is necessary to gather a few essential materials. These materials include an old 10-gallon propane tank, which will serve as the main body of the foundry.
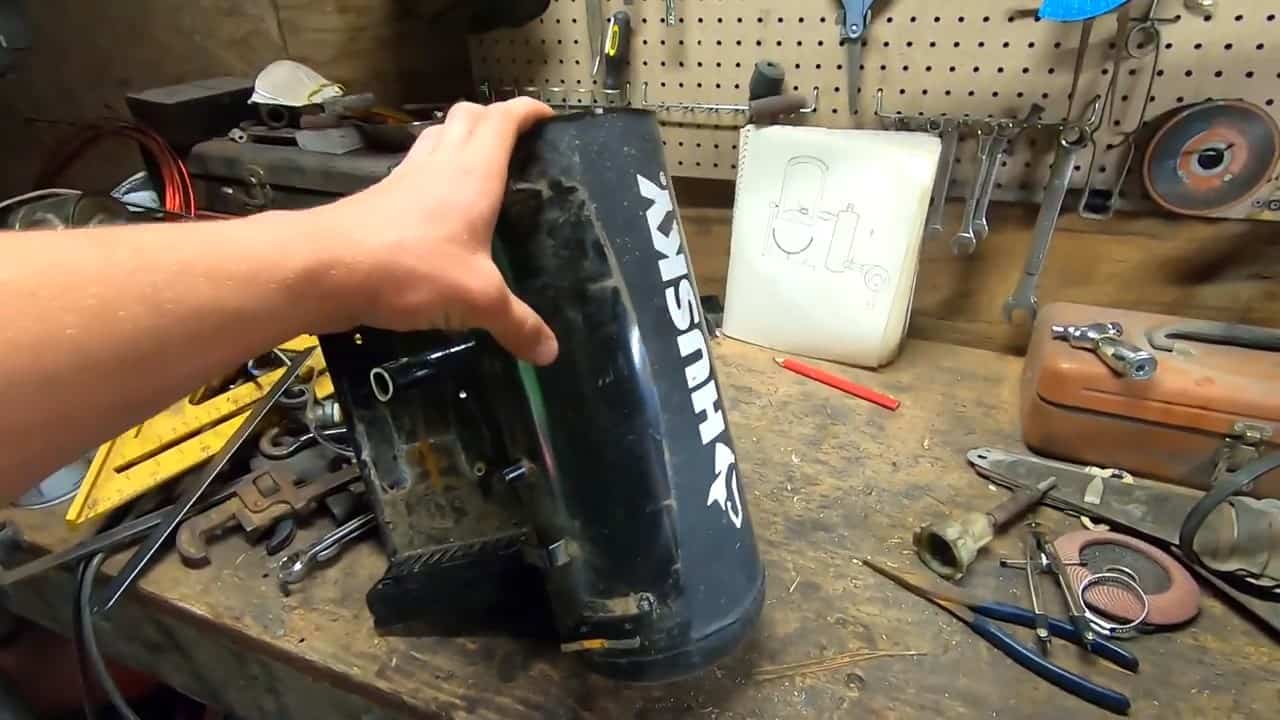
You will also need an air compressor tank, which will be converted into a waste oil burner, a blower from a car, a three-eighths inch hose, and a brake line that will be used to feed waste oil from a bucket.
Additionally, a 12V marine battery will be needed to power the blower, which will provide the necessary airflow for combustion.
STEP 2 : THE AIR INTAKE
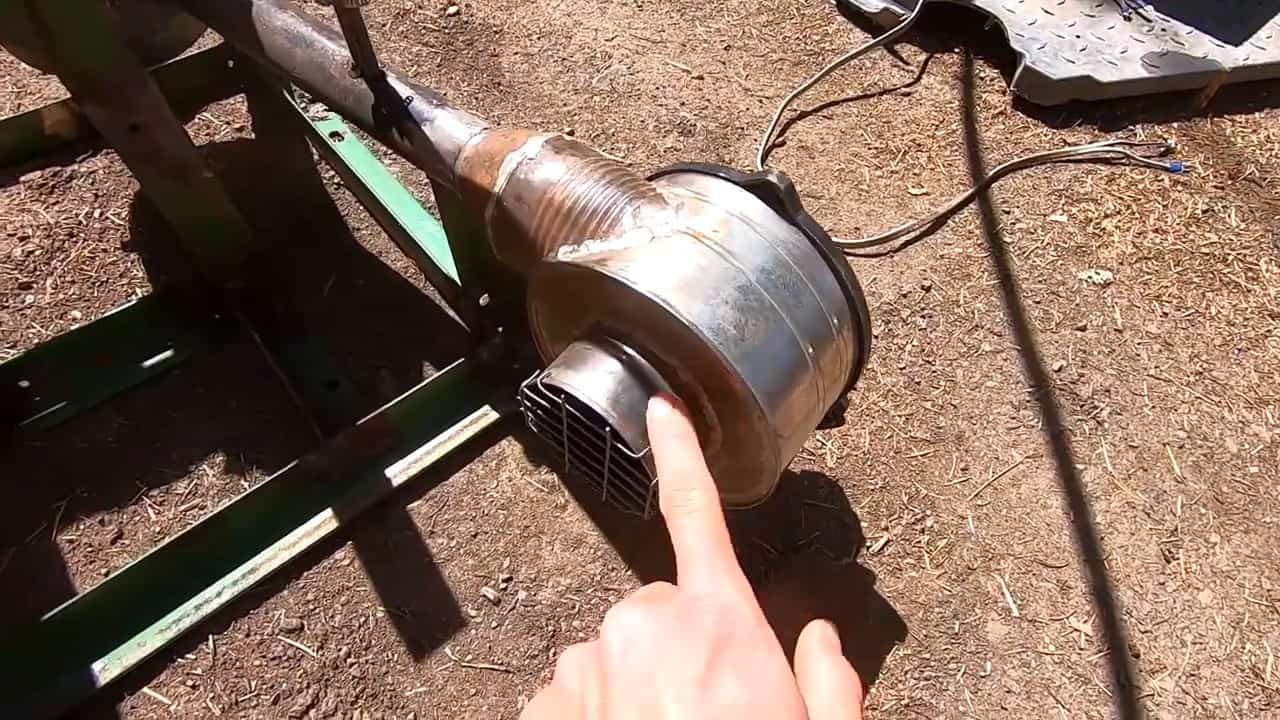
To create the air intake for the waste oil burner, we repurpose a car heater blower by housing it inside an old tin can.
This tin can is then soldered to a soup can and a quarter-inch schedule 80 pipe, which functions as the air delivery system for the burner vessel.
The use of a blower is essential for the waste oil to combust effectively, as it ensures that air is forced into the burner at a high velocity, creating a turbulent airflow that promotes optimal mixing of the waste oil and air.
STEP 3 : DRIP FED FUEL SOURCE
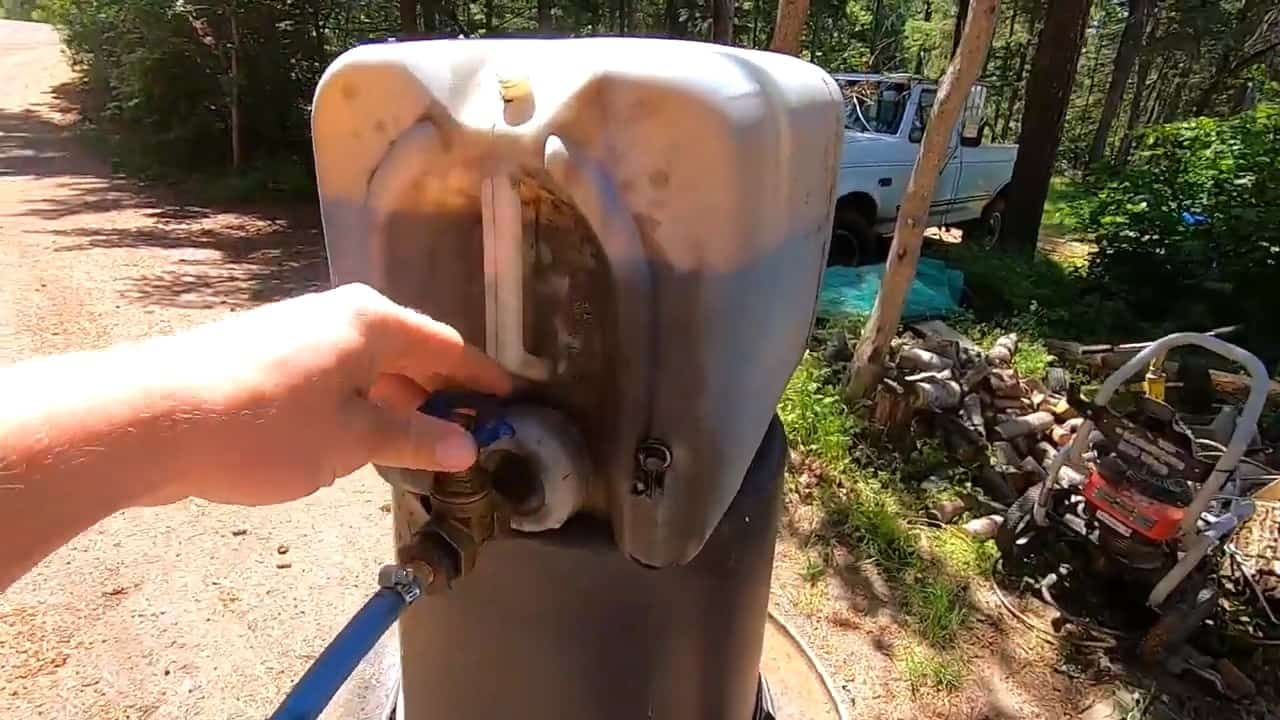
To supply the waste oil to the burner, a five-gallon jug with a brass gate valve is used. The waste oil is drip-fed from this jug and connected to the blower pipe using a three-eighth inch hose and a metal brake line.
This ensures a steady and controlled supply of fuel to the burner, which is crucial for its efficient functioning.
The brass gate valve allows for easy regulation of the fuel flow and helps in preventing any potential leakages. It is important to ensure that the waste oil used is clean and filtered properly to prevent any clogs.
STEP 4 : BUILDING THE OIL BURNER
The waste oil burner used in this project is made from an old air compressor tank with a two-inch cap on top. To start the ignition, we light the system by introducing a source of heat.
The blower pipe is connected to the burner, and it goes half an inch inside at an angle, which generates a cyclone vortex effect.
The objective is to ensure that the waste oil and air are well mixed together, which is necessary to sustain combustion on a difficult-to-ignite material like waste oil.
When the oil is atomized and turned into a vapor, it can burn easily and effectively. This is achieved through the use of a source of heat, which helps to atomize the waste oil and create the necessary conditions for combustion.

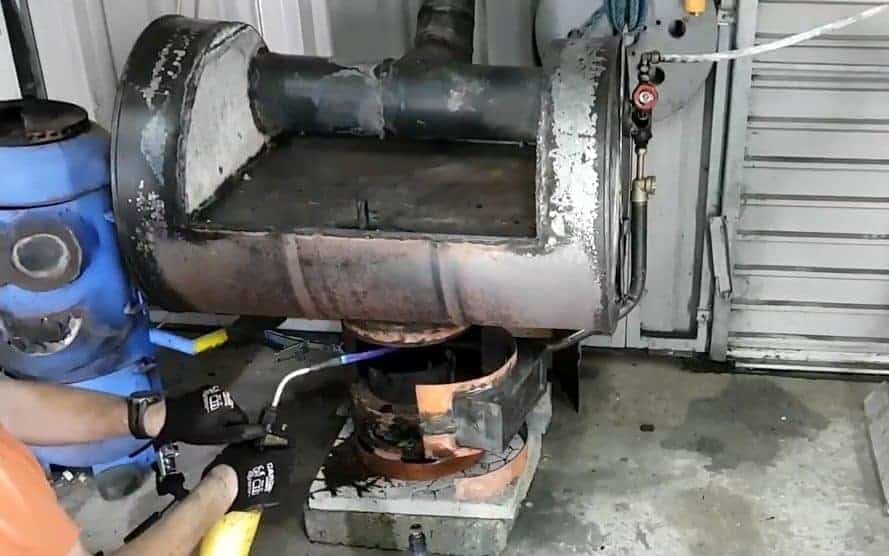
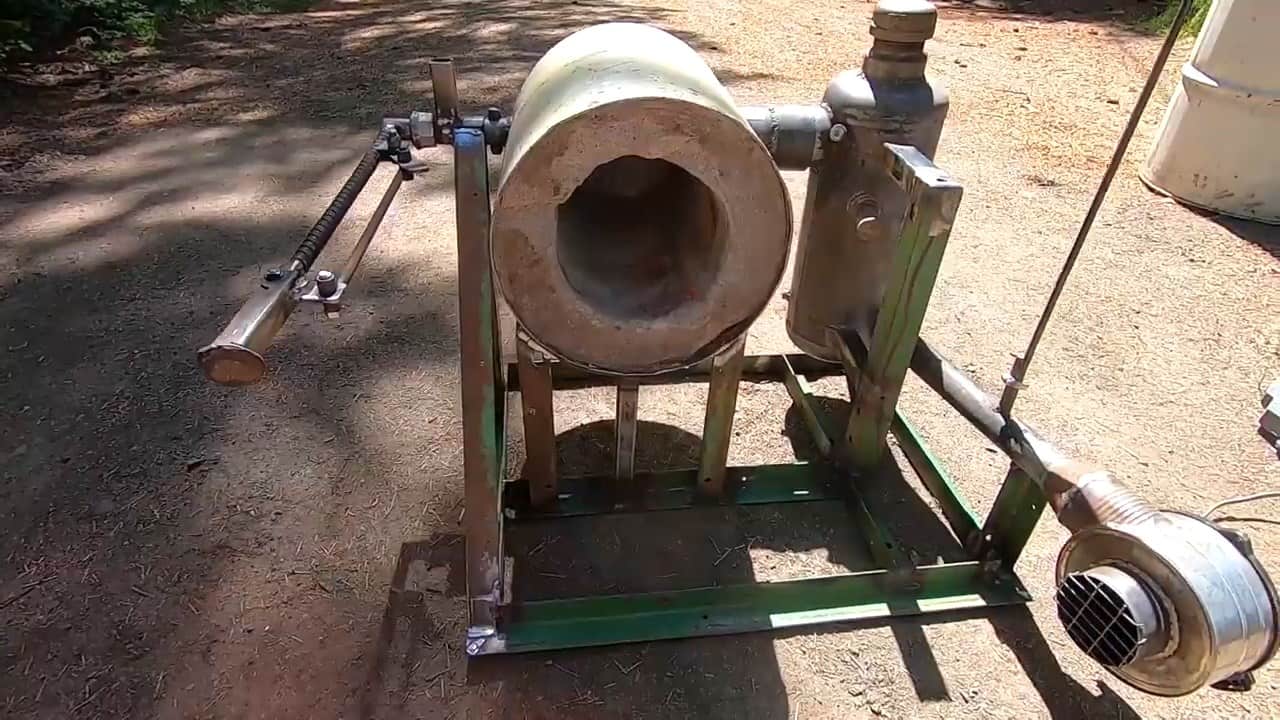
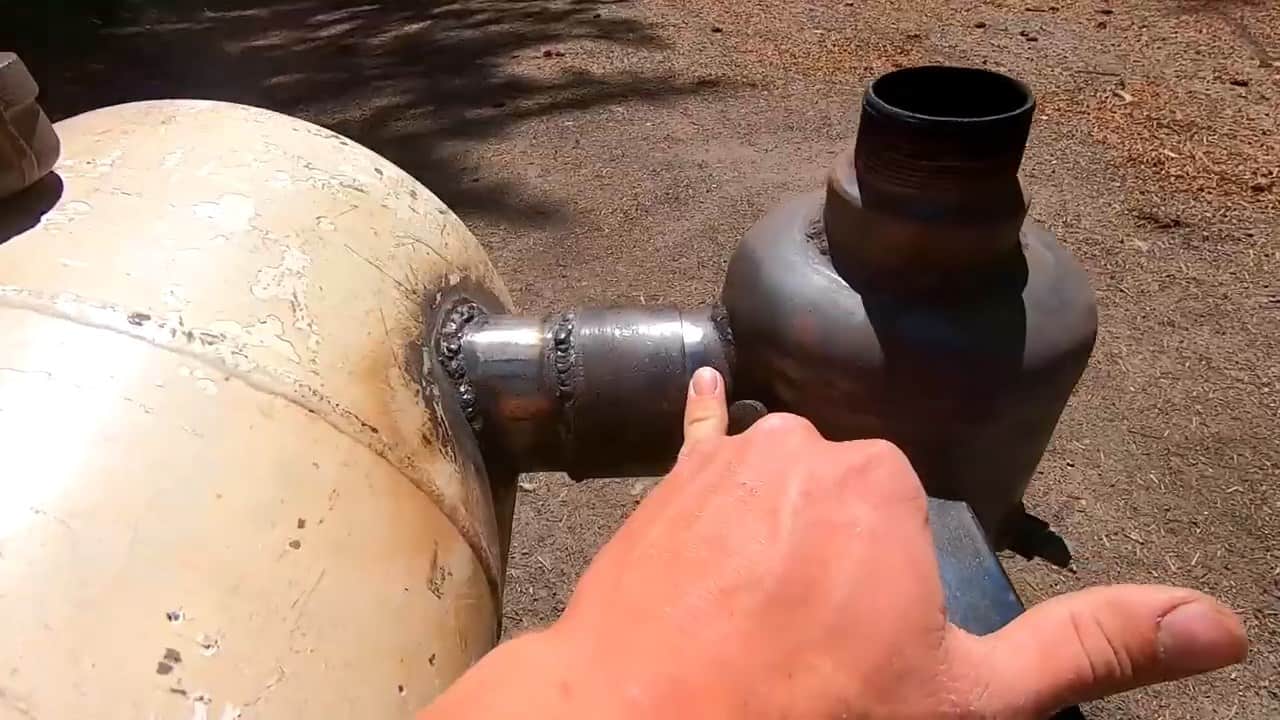
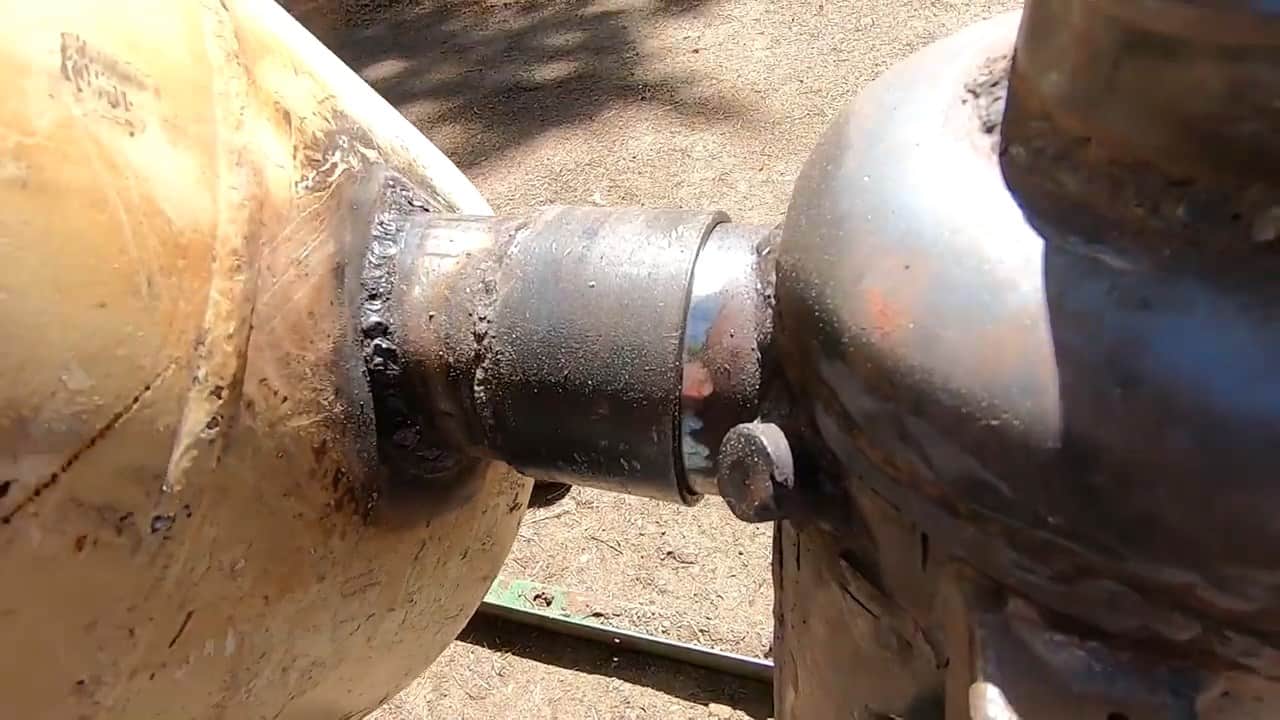
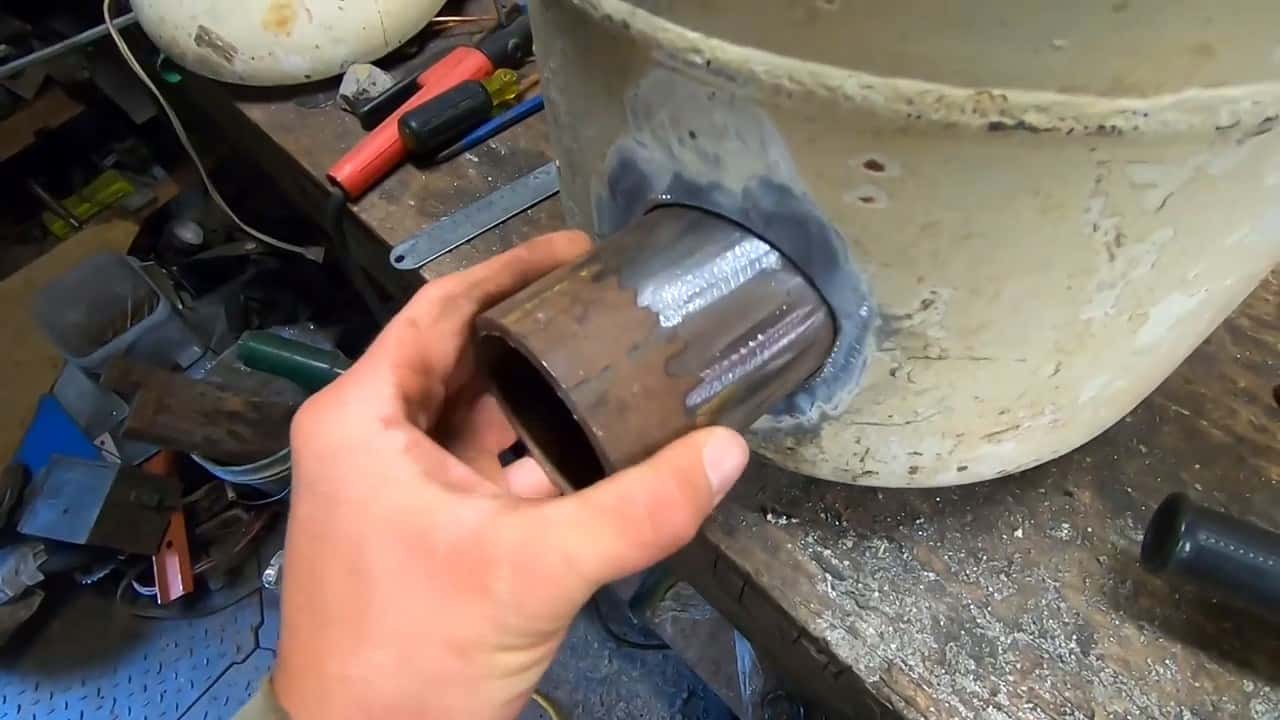
To connect the waste oil burner to the foundry, we use a three-inch piece of axle that is welded with a rotating coupling piece. This piece is then connected to the propane tank that serves as the body of the foundry.
The rotating coupling piece can be rotated independently using a lever, which allows us to switch the foundry from its standard mode to forge mode.
In the standard mode, the foundry can be used to melt aluminum by using waste oil as the fuel source. On the other hand, the forge mode is designed for heating and shaping metals.
By rotating the coupling piece, we can redirect the heat output from the burner towards the forge area, which enables us to heat metals to a high temperature, making them malleable and easy to work with.
This makes the foundry versatile, as it can be used for both melting and forging metals, depending on our needs.
STEP 5 : THE PROPANE TANK FOUNDRY BUILD
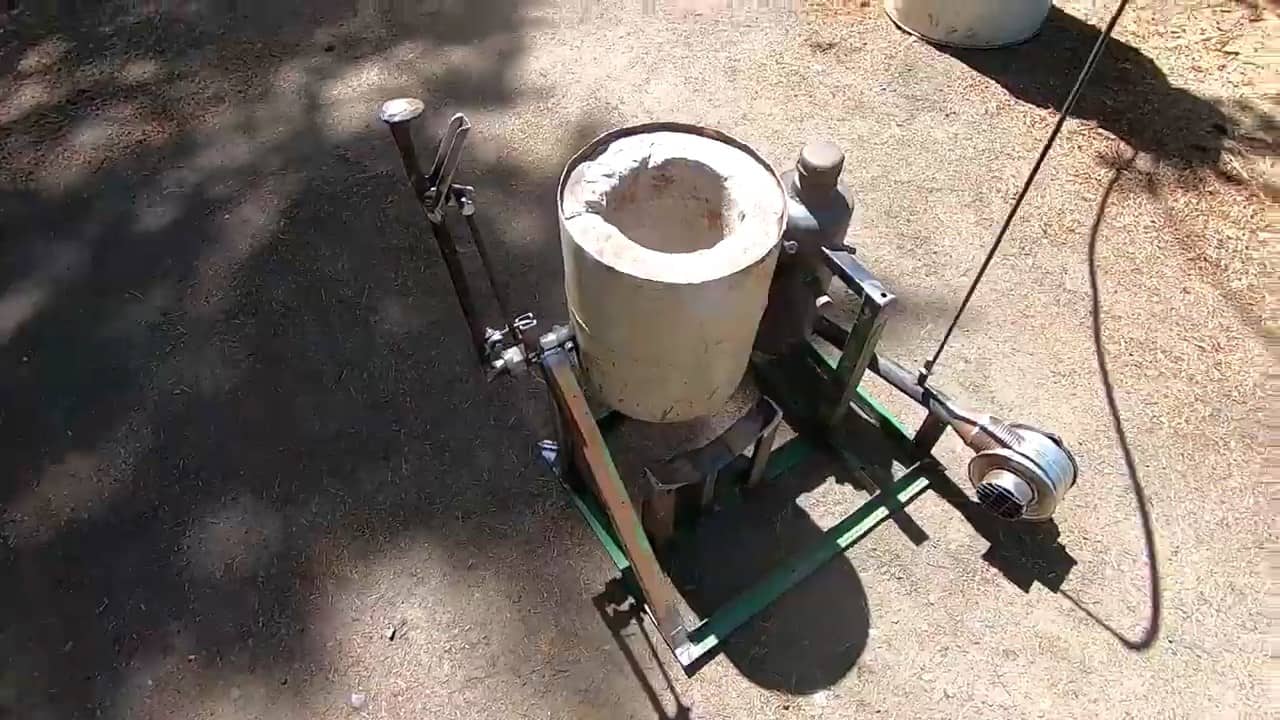
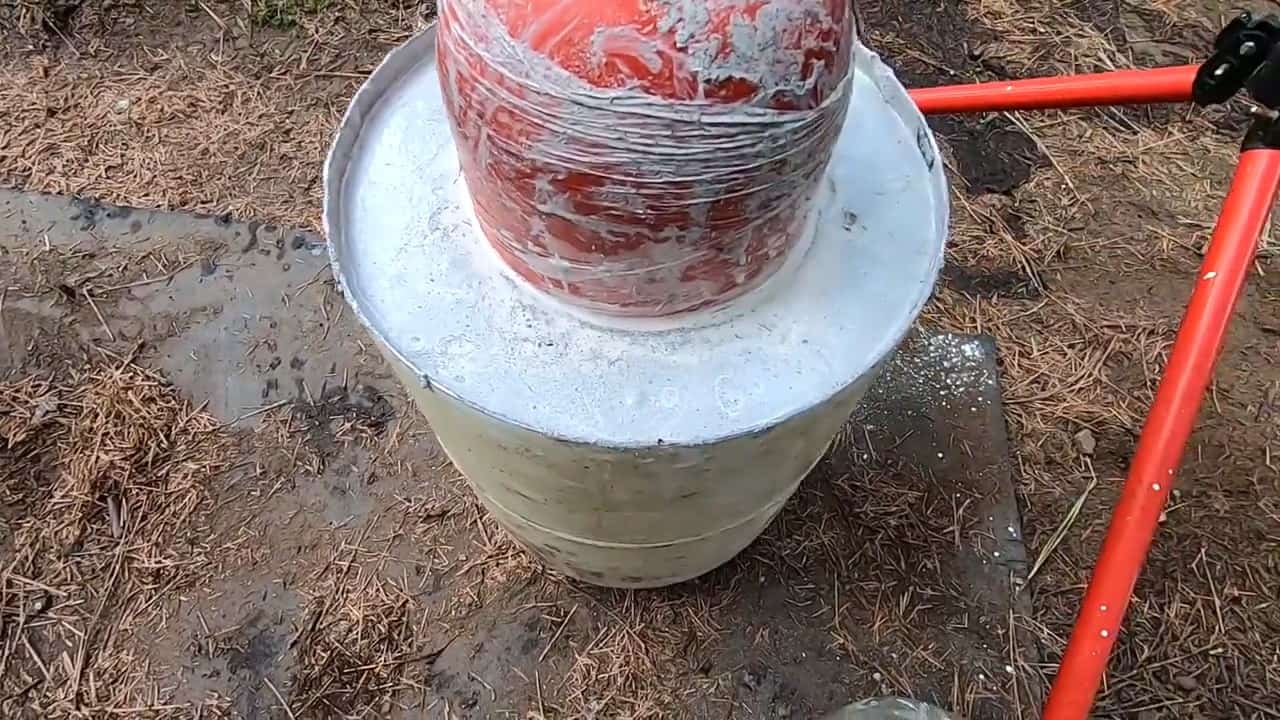
To start building the foundry, we mark and cut the top of the propane tank to form the body of the foundry. Next, we need to create an insulating layer on the inside of the tank.
For this, we use a 50% mix of plaster of Paris and play sand, which is a cost-effective and readily available solution.
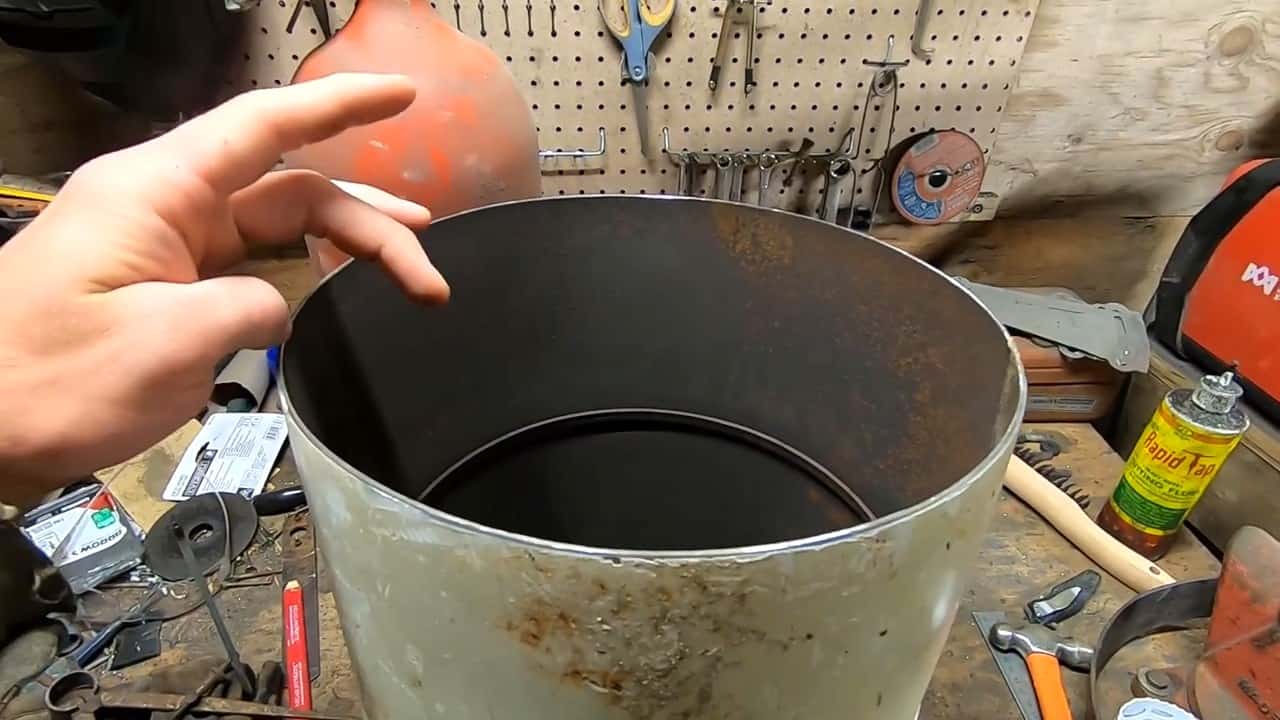
The propane tank is then filled with the mixture, and the air compressor tank is submerged in the center to form a mold.
The mold is essential as it provides the shape to the foundry and ensures that the molten aluminum does not escape from the foundry.
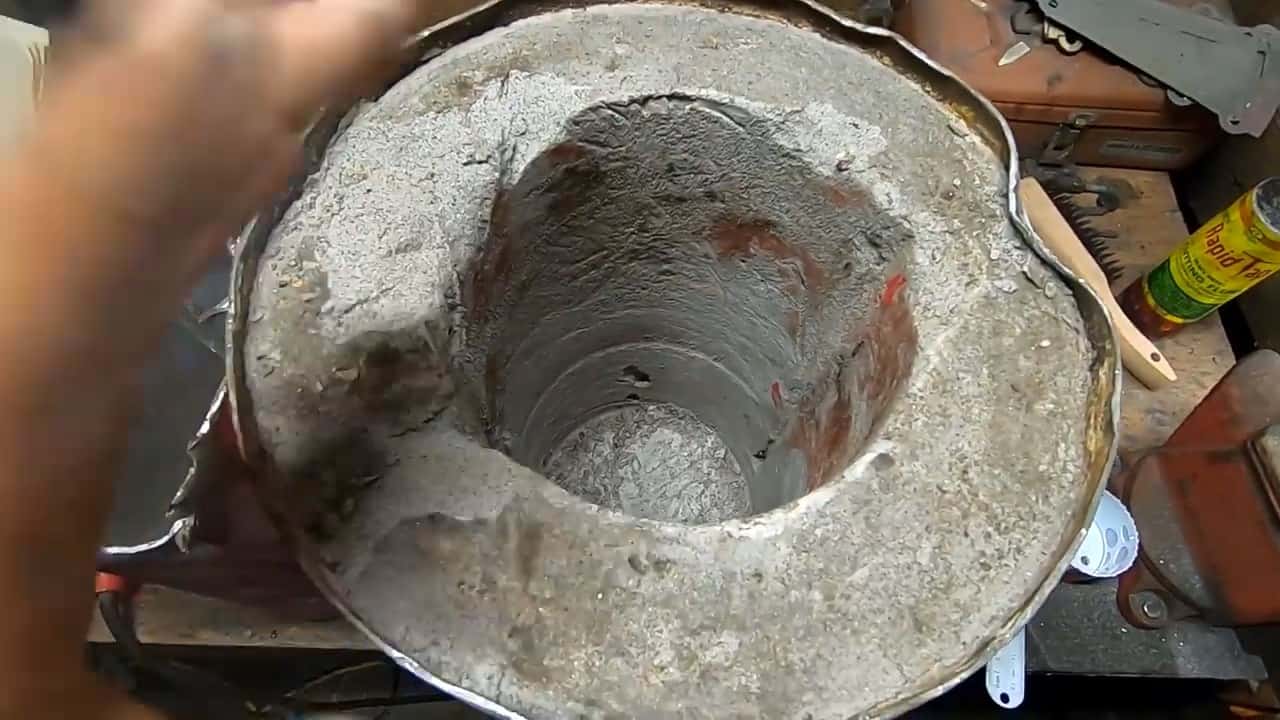
We let the tank sit for 24 hours so that the plaster of Paris and play sand mix can cure properly. Once the mixture has hardened, we remove the air compressor tank from the mold, leaving behind a perfectly shaped foundry.
The thickness of the insulating layer should be around two and a quarter inches, which will provide enough insulation to keep the heat.
To continue building our waste oil-powered aluminum foundry/forge, the next step is to create an outlet for the waste oil burner.
We mark and cut a hole in the side of the propane tank at a height that prevents the molten aluminum from flowing back into the burner tank.
Next, we insert a three-inch axle through the hole and weld it to a rotating coupling. This coupling is then attached to the outlet of the oil burner, allowing us to control the flow of waste oil into the foundry.
The rotating coupling can be adjusted independently with the help of a lever, allowing us to rotate the foundry to a forge mode.
It’s important to ensure that the axle and the coupling are firmly welded to prevent any leakage or malfunction. With this step completed, we now have a functional outlet for the waste oil burner that can be controlled easily during the melting process.
STEP 6 : CONVERTING INTO A FORGE
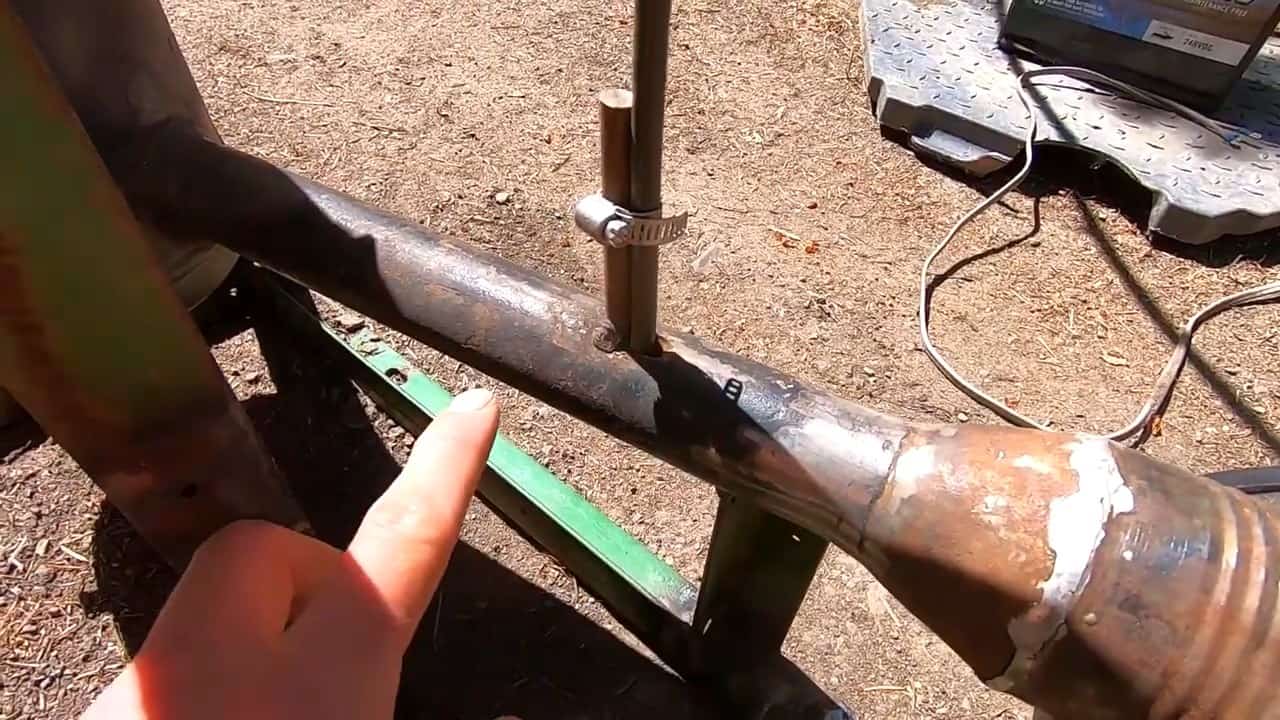
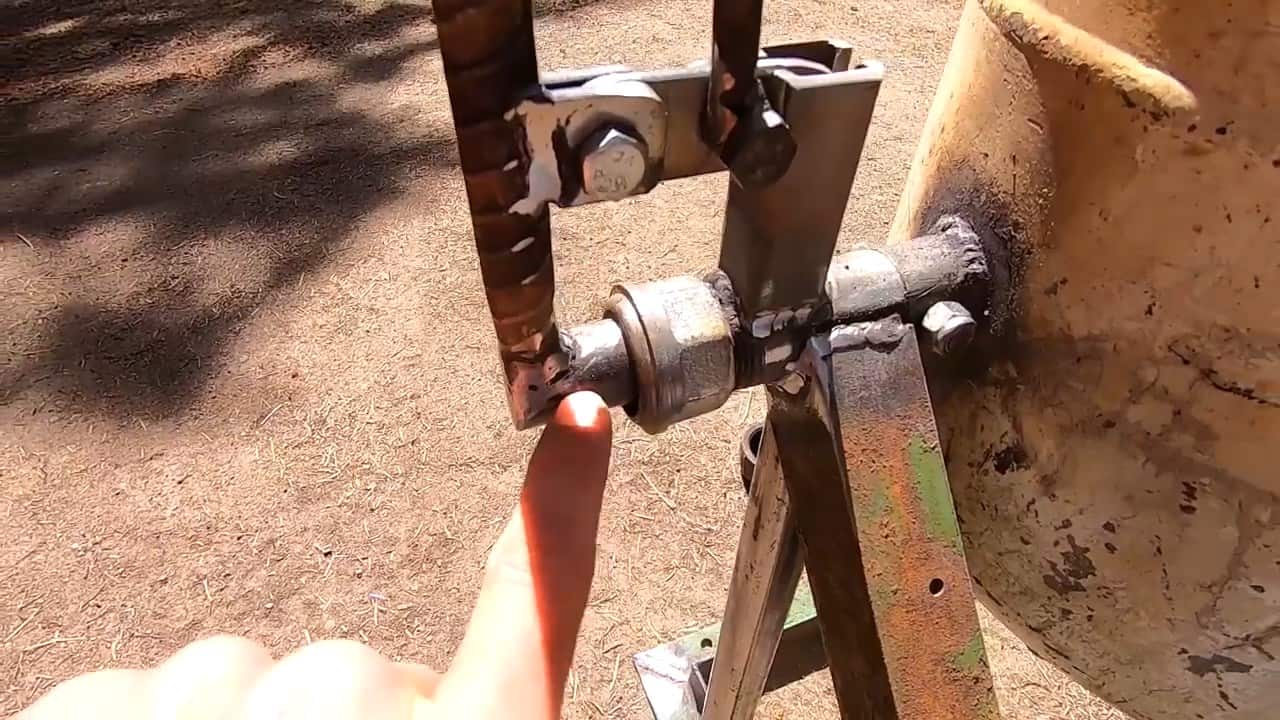
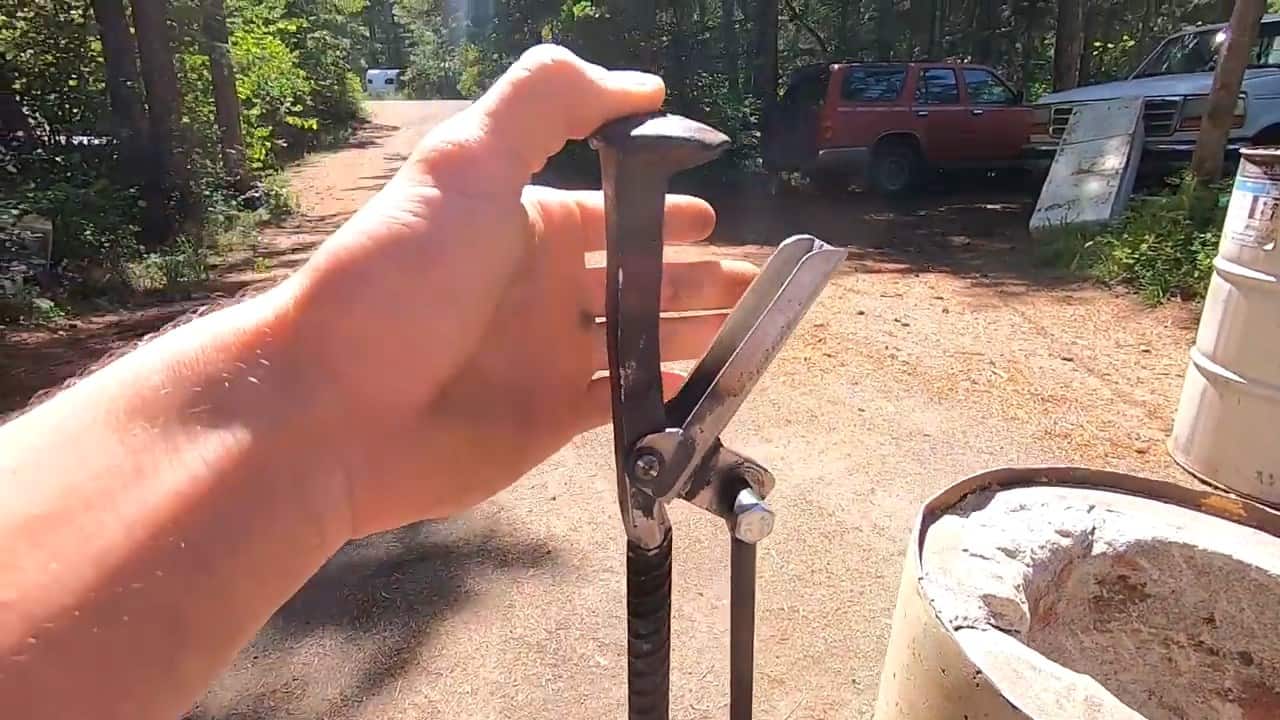
To convert the propane tank foundry into a forge, we add a small lever system with a latch on the opposite side of the tank. This lever allows us to manually rotate the foundry into the forge mode.
To make the lever system, we connect a one-inch water pipe to the tank. Inside the water pipe, we insert a one-inch shaft with a hole drilled in it to accept a three-eighths inch bolt.
We then weld rebar vertically to the water pipe, creating a latch mechanism.
When the latch is pulled, the foundry rotates into forge mode, allowing for more versatile use. The foundry sits on a cradle during the forge mode, which is made of two-inch flat bar.
The frame is constructed from one and a half inches by one and a half-inch angle iron.
During the forge mode, the foundry is supported by a cradle made out of a two-inch flat bar, which provides a stable base for the foundry.
The frame for the cradle is constructed from one and a half inches by one and a half-inch angle iron, which adds to the overall stability of the structure.
The cradle provides support to the foundry during the forge mode, which involves rotating the foundry to a horizontal position. This allows the foundry to function as a forge, where metal can be shaped and worked upon.

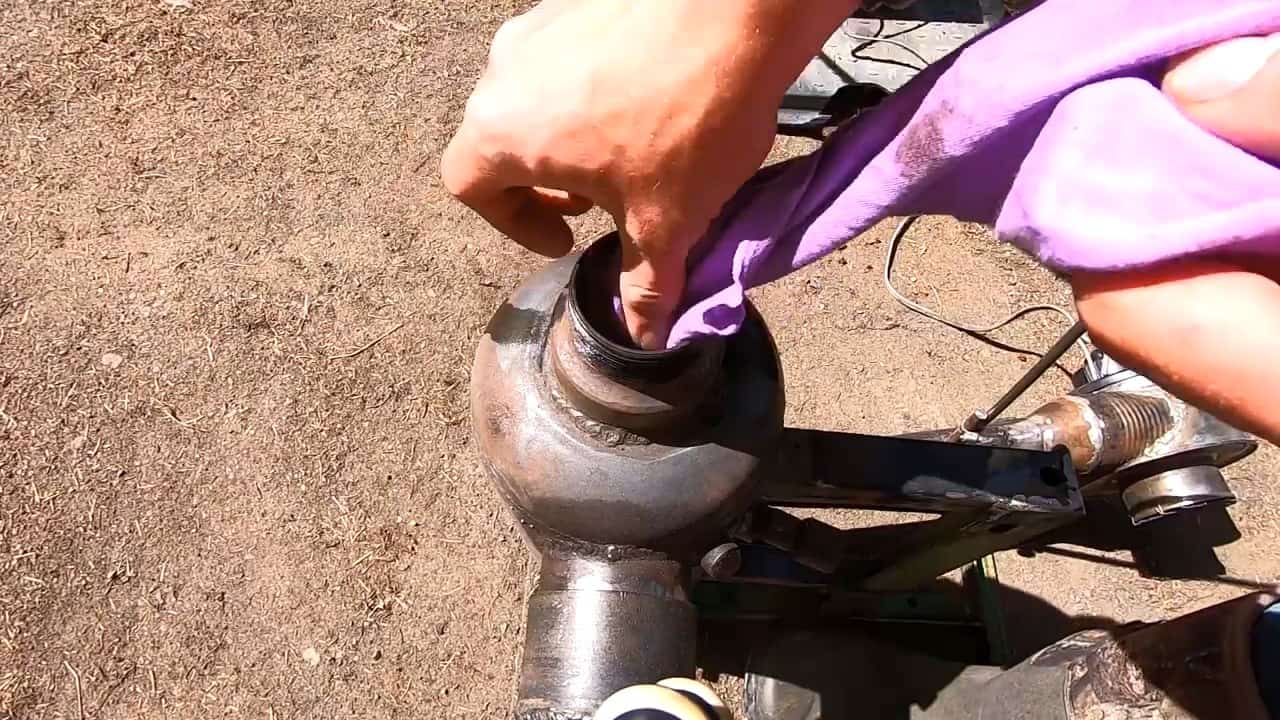
To ignite the system, we take a small piece of cloth and insert it into the inlet of the ignition port of the oil burner. Then, we apply a small amount of waste motor oil on the cloth to act as a source of ignition.Once everything is set, we light up the cloth to start the ignition process.
After ignition, we allow the system to run for a short period to ensure that the flame is stable and burning as intended. Once we are confident that the flame is stable, we connect the 12V marine battery to the blower motor to increase airflow to the burner and sustain combustion.
Image Credits : Randomn |