If you’re looking for an easy and cheap way to beat the heat this summer, look no further than your old table fan! With a few simple materials and some basic DIY skills, you can transform your fan into a homemade air conditioner (AC) that will keep you cool and comfortable all season long.
Not only is this DIY project a great way to save money on expensive AC units, but it’s also a fun and satisfying way to repurpose an old item that might otherwise go to waste.
Plus, by using environmentally friendly materials like copper tubing and a water-filled cooler bag, you can reduce your carbon footprint while staying cool.
In this tutorial, we’ll guide you through each step of the process, from unlocking the screen and winding the copper coil around the fan to connecting PVC pipes and adding a fountain pump and cooler bag.
And if you want to make your homemade AC even more portable, we’ll show you how to connect it to a solar generator for off-grid use.
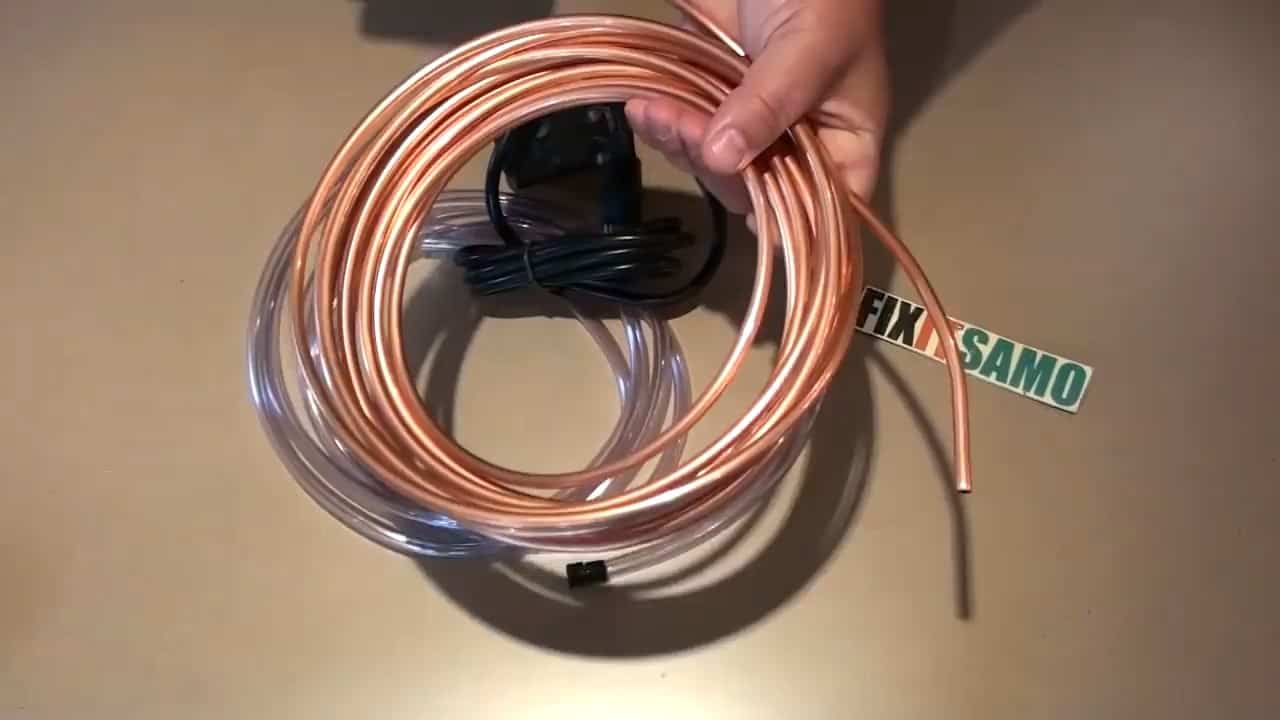
STEP 1 : THE MATERIALS REQUIRED
Before starting this DIY project, you’ll need to gather a few essential materials.
These include a table fan, a 75 gallon per hour fountain pump with a valve to control water flow, multi-purpose zip ties, two 3/8th inch transparent PVC Pipe tubes, a 15 foot quarter inch copper tube, and two hose clamps.
The table fan can be an old one that you have lying around, or you can purchase a new one from a hardware store.
The fountain pump can also be found at most hardware or home improvement stores, and it’s important to choose one with the correct flow rate for your project.
The PVC Pipe tubes should be transparent so that you can see the water flow, and they should be 3/8th inch in diameter to match the size of the copper tube.
The copper tube should be 15 feet long and a quarter inch in diameter, and you can find it at a hardware store or online.
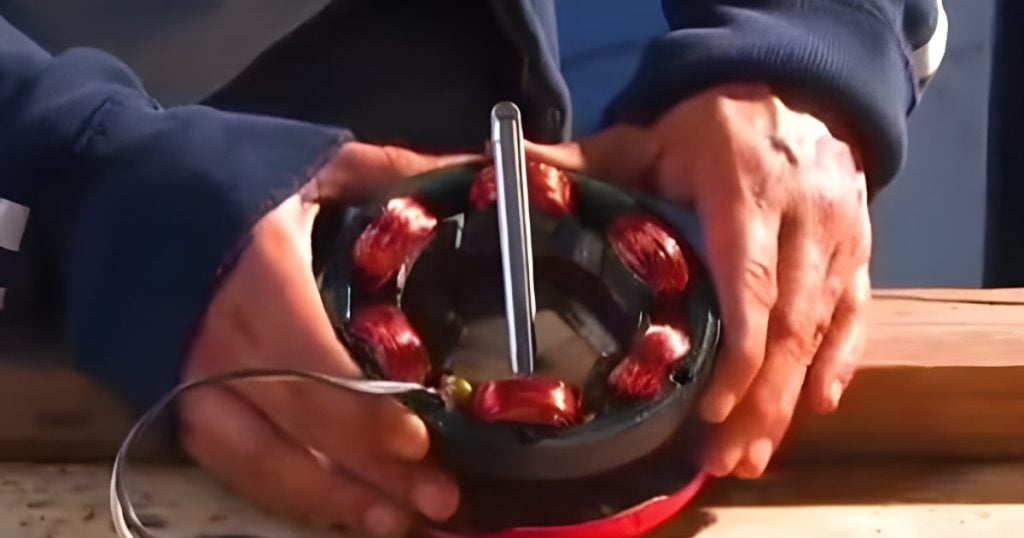
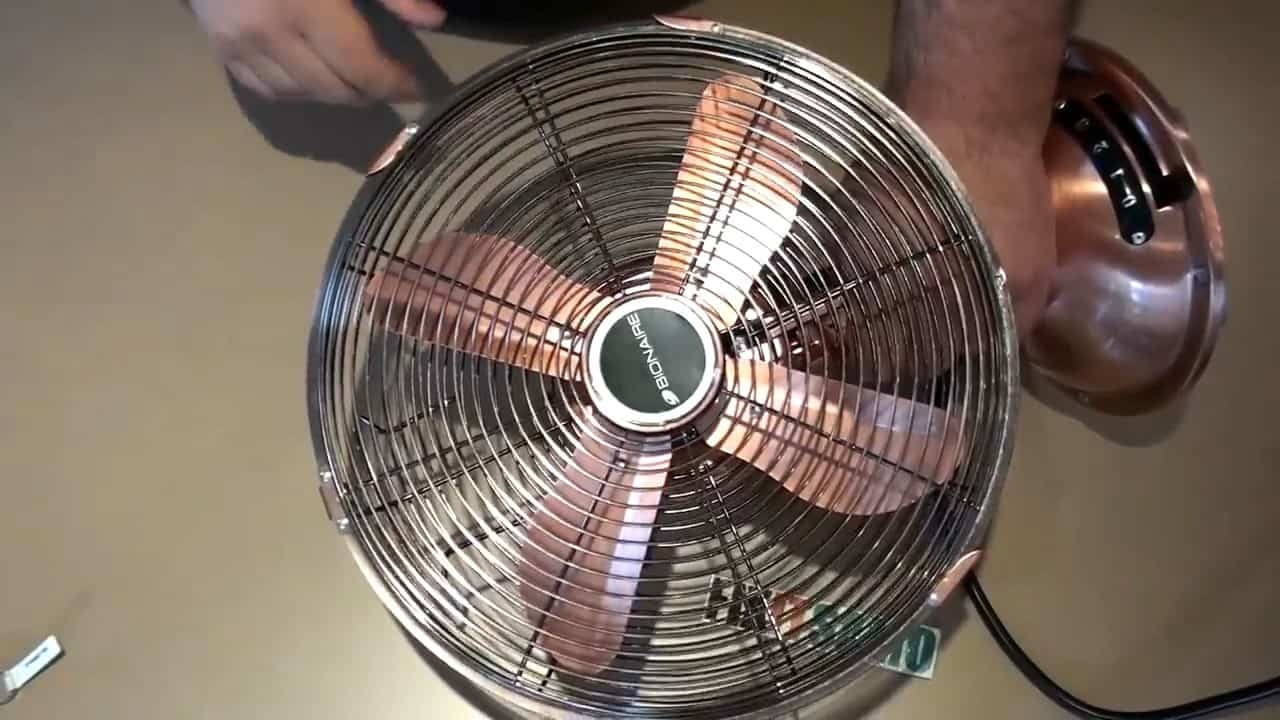
STEP 2 : UNLOCKING THE SCREEN AND WINDING THE COIL
The next step is to remove the screen from the fan. This will allow you to access the area where the copper coil will be installed.
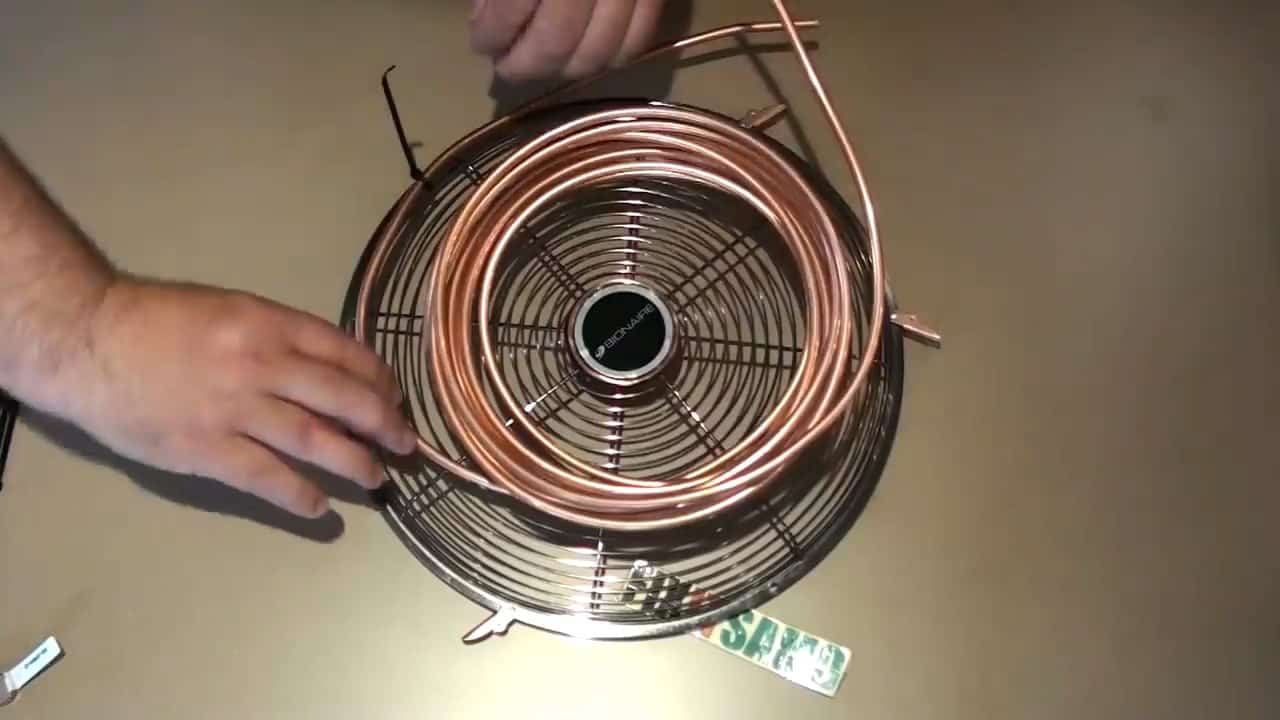
If there are any locks holding the screen in place, you’ll need to unhook them before removing the screen. Once the screen is removed, take the 15-foot quarter inch copper tube and wind it tightly around the rims of the fan.
This may take a bit of patience and skill, so be sure to take your time and ensure that the copper coil is wrapped tightly and securely.
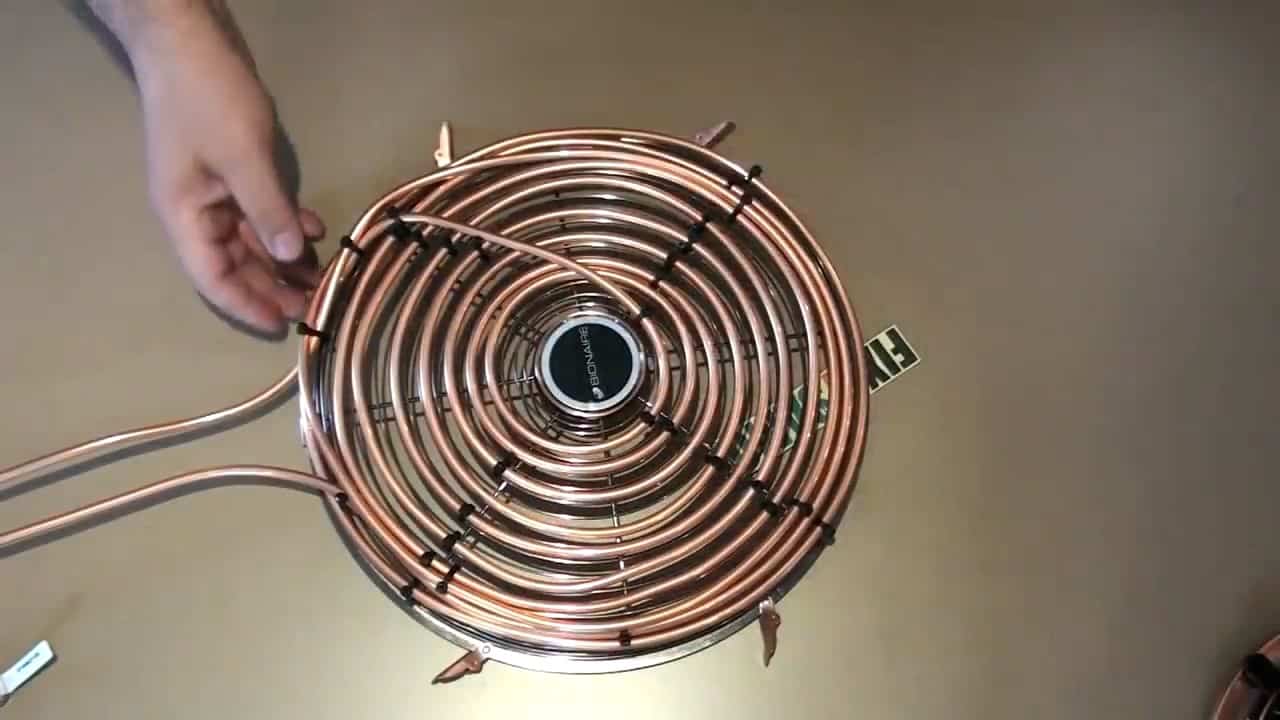
To keep the copper coil in place, use multi-purpose zip ties to secure it tightly to the screen. Make sure to use enough zip ties to hold the coil in place, as the weight of the water-filled PVC pipes can put pressure on the coil and cause it to shift or come loose.
STEP 3 : ADDING THE SCREEN BACK
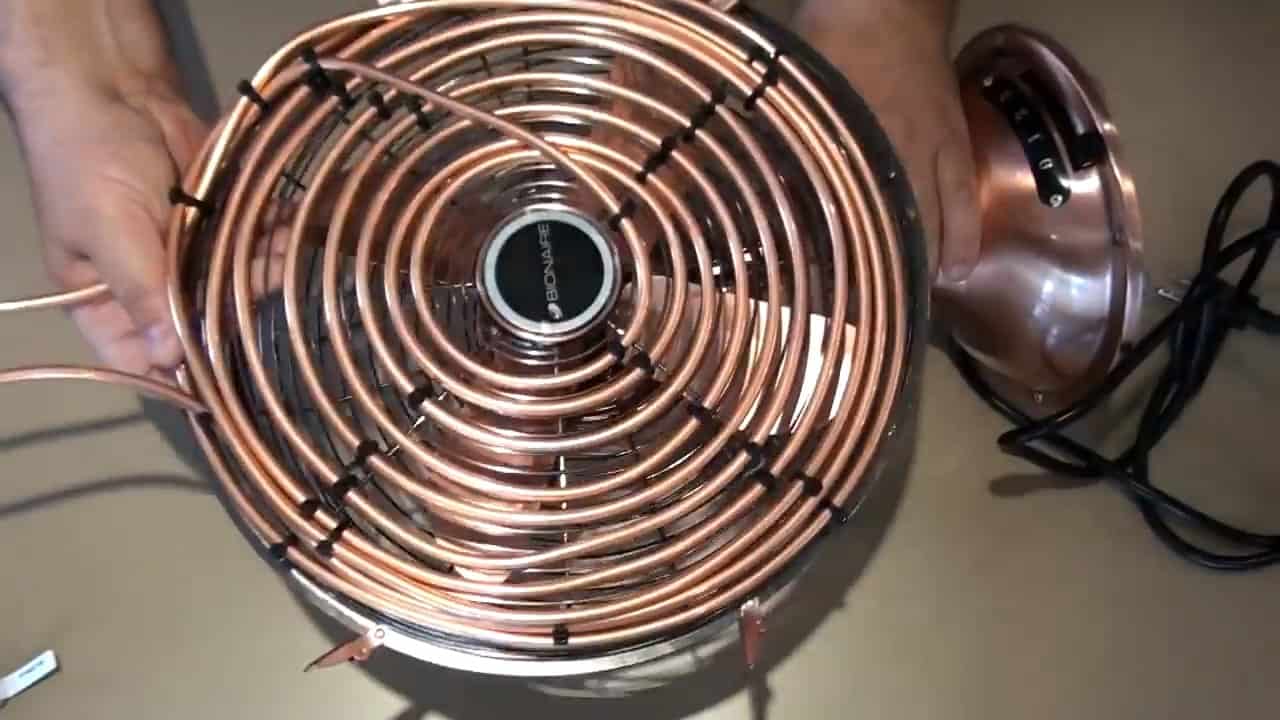
Now that you’ve installed the copper coil onto the fan screen, it’s time to reattach the screen to the fan body. Make sure the screen is securely in place before moving on to the next step.
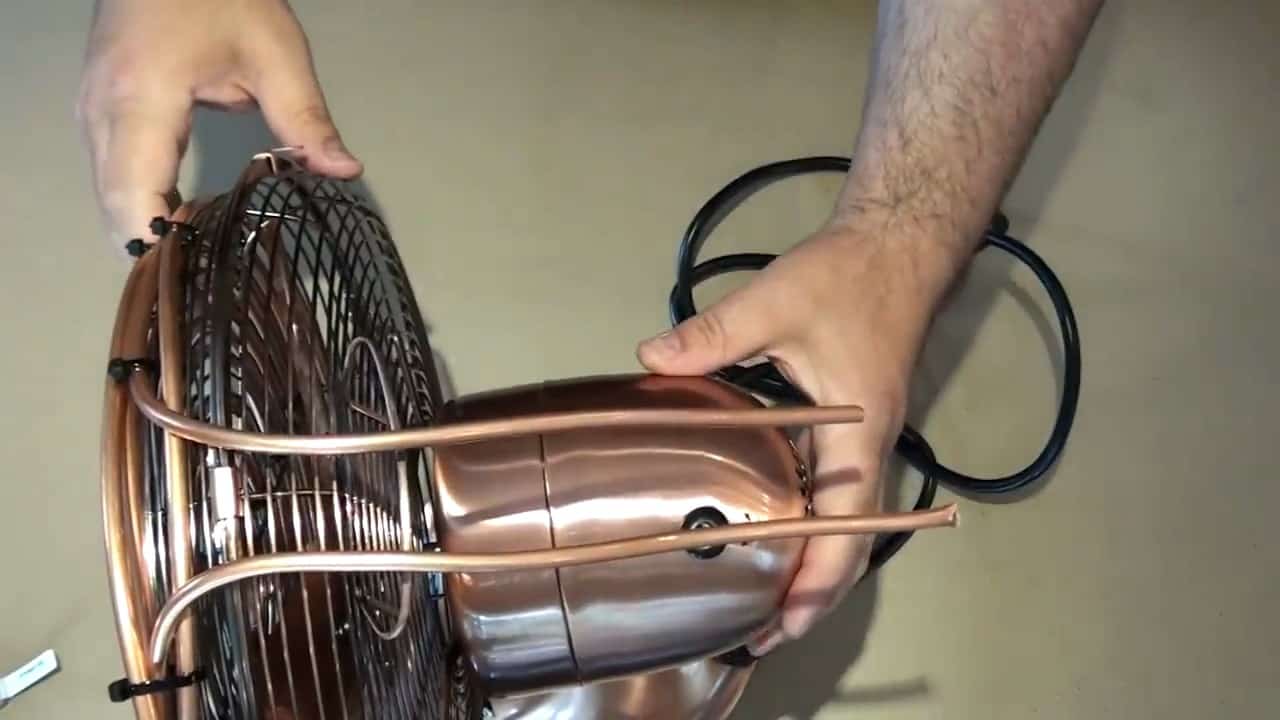
Once the screen is reattached, adjust the two ends of the copper coil by bending them to face the back of the fan.
This will ensure that the water flows in the correct direction and maximizes the efficiency of the homemade air conditioner.
After you’ve bent the copper coil ends, use multi-purpose zip ties to secure them in place. Be sure to check that the coil is tightly secured and won’t shift or come loose during operation.
STEP 4 : CONNECTING PVC PIPES
In the next step, you’ll need to connect two 3/8th inch transparent vinyl PVC pipes to the ends of the copper tube using hose clamps.
To begin, slip the hose clamps over the ends of the copper tube, leaving enough room for the PVC pipes to be inserted. Next, insert one end of each PVC pipe onto the copper tube, making sure they fit securely.
Once the PVC pipes are in place, use the hose clamps to tighten them onto the copper tube.

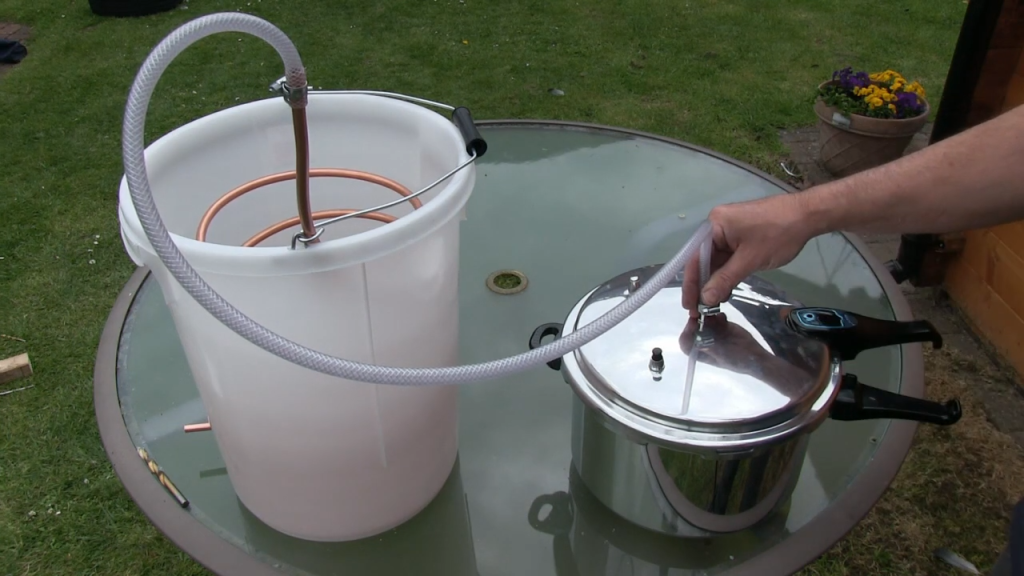
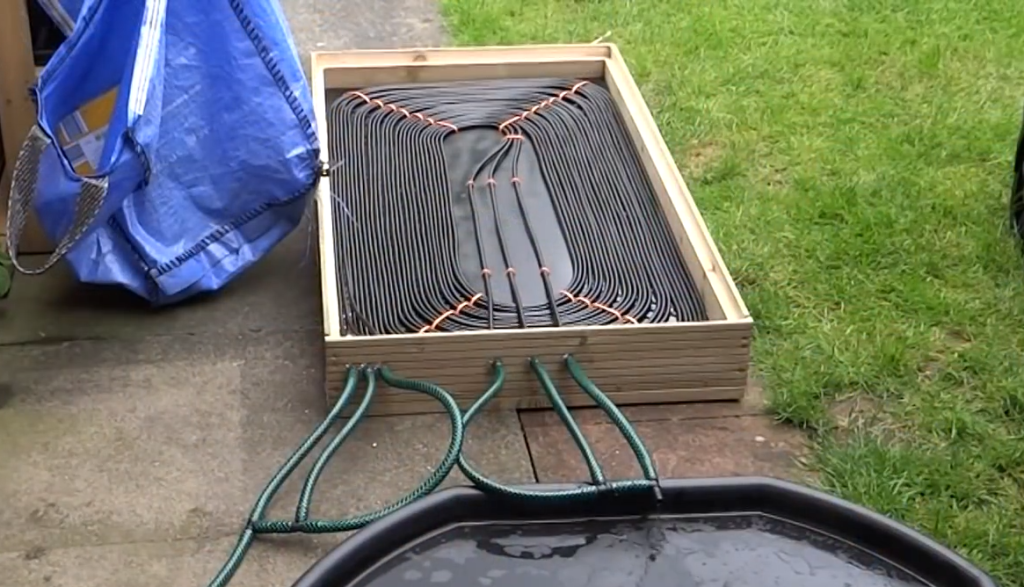
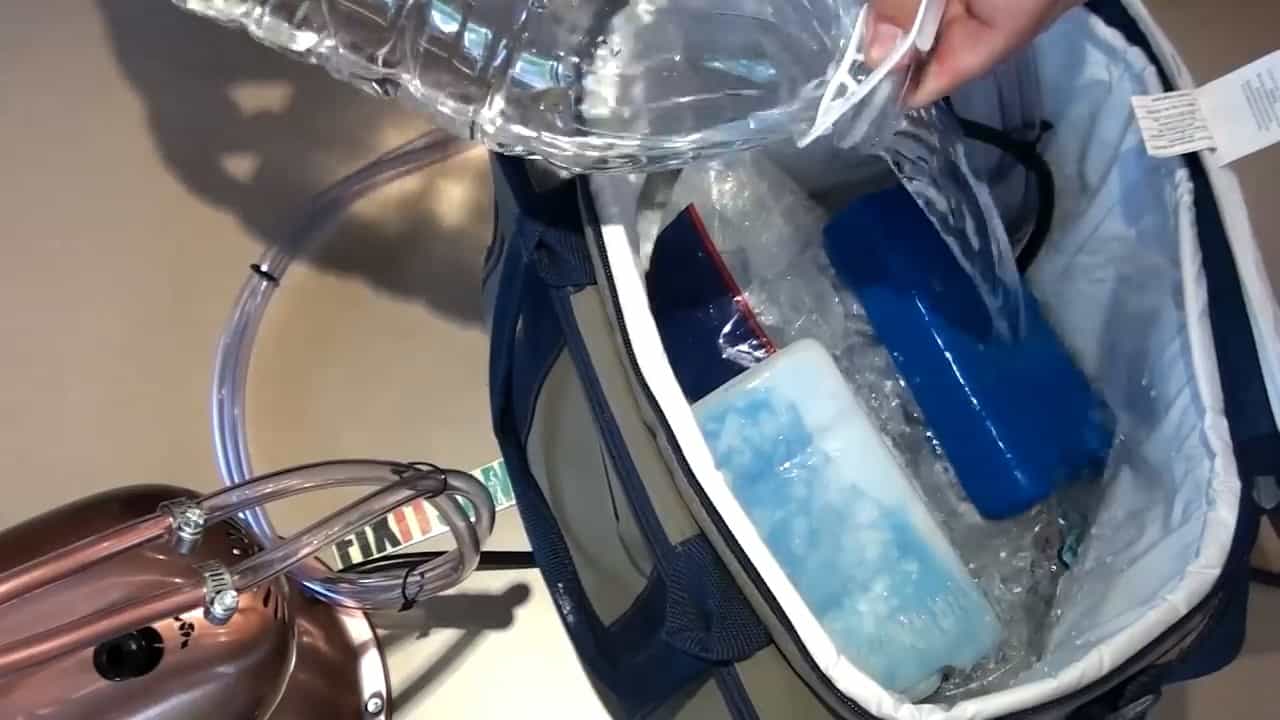
STEP 5 : FOUNTAIN PUMP AND COOLER BAG
In this next step, you’ll need to attach the fountain pump to one end of the vinyl PVC tube, which will be inserted into the cooler.
The recirculated water will then flow from the other end of the tube and back into the cooler bag, where it will be cooled by the ice packs and water.
To start, insert one end of the vinyl PVC tube into the cooler bag, making sure it’s positioned towards the bottom. Next, attach the fountain pump to the other end of the tube using a hose clamp.
Be sure to tighten the clamp securely to prevent water leakage.
Once the pump is attached to the tube, submerge it into the bottom of the cooler bag with ice and water over it.
This will ensure that the water is cooled before it circulates through the system, resulting in more effective cooling.
It’s important to regularly monitor the water level in the cooler bag and refill it with ice and water as necessary to ensure that the cooling process continues.
STEP 6 : RECYCLING AND PORTABILITY
As you run the fountain pump, it will circulate the water through the vinyl and copper pipes, which will cool the air and then flow back into the cooler bag.
This means that you won’t need to add more water to the system, as it will continue to recirculate the same water over and over again.
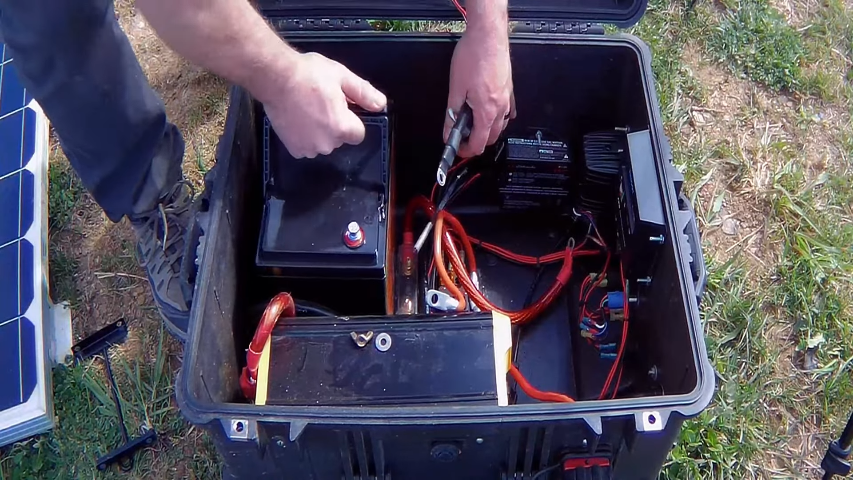
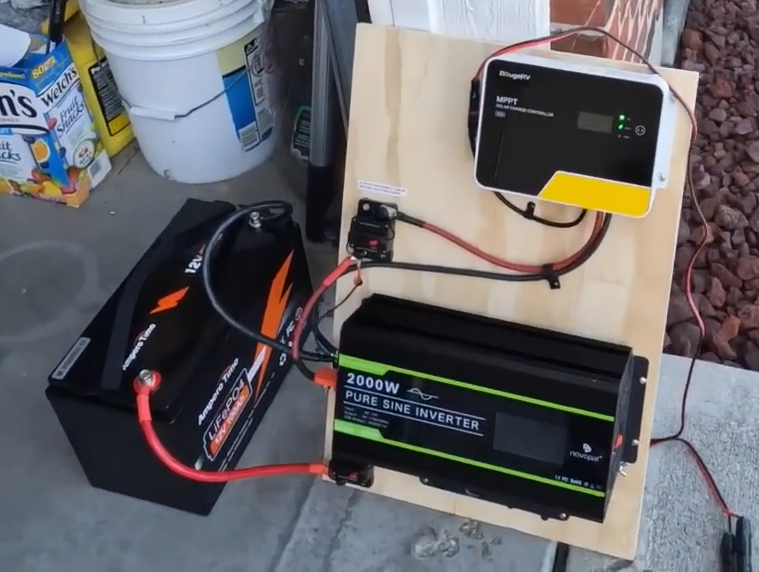
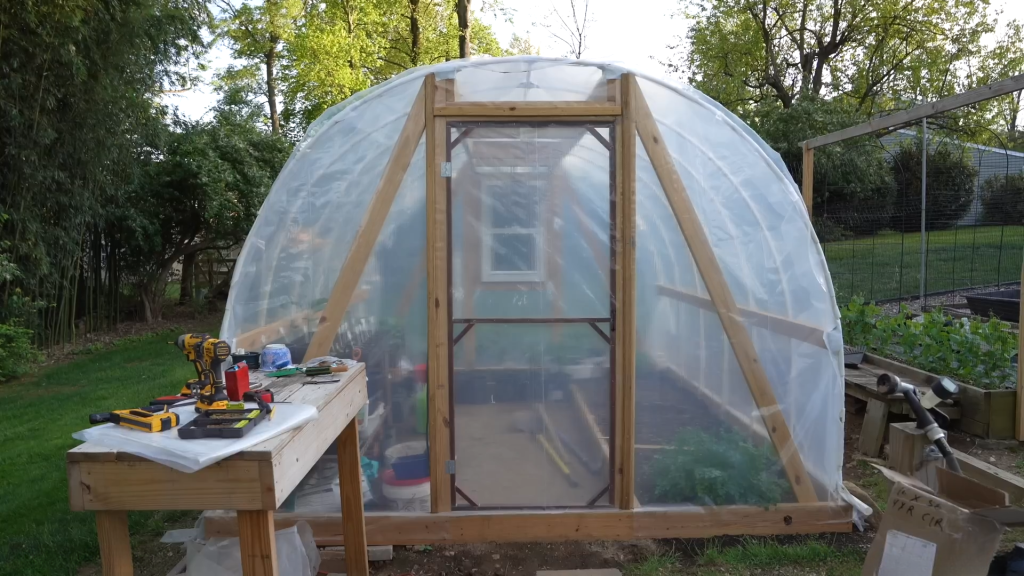
Additionally, if you want to make your homemade air conditioner portable, you can connect both the pump and fan to a solar generator.
This will allow you to power the system using the sun’s energy, making it a convenient and environmentally friendly option for outdoor use.
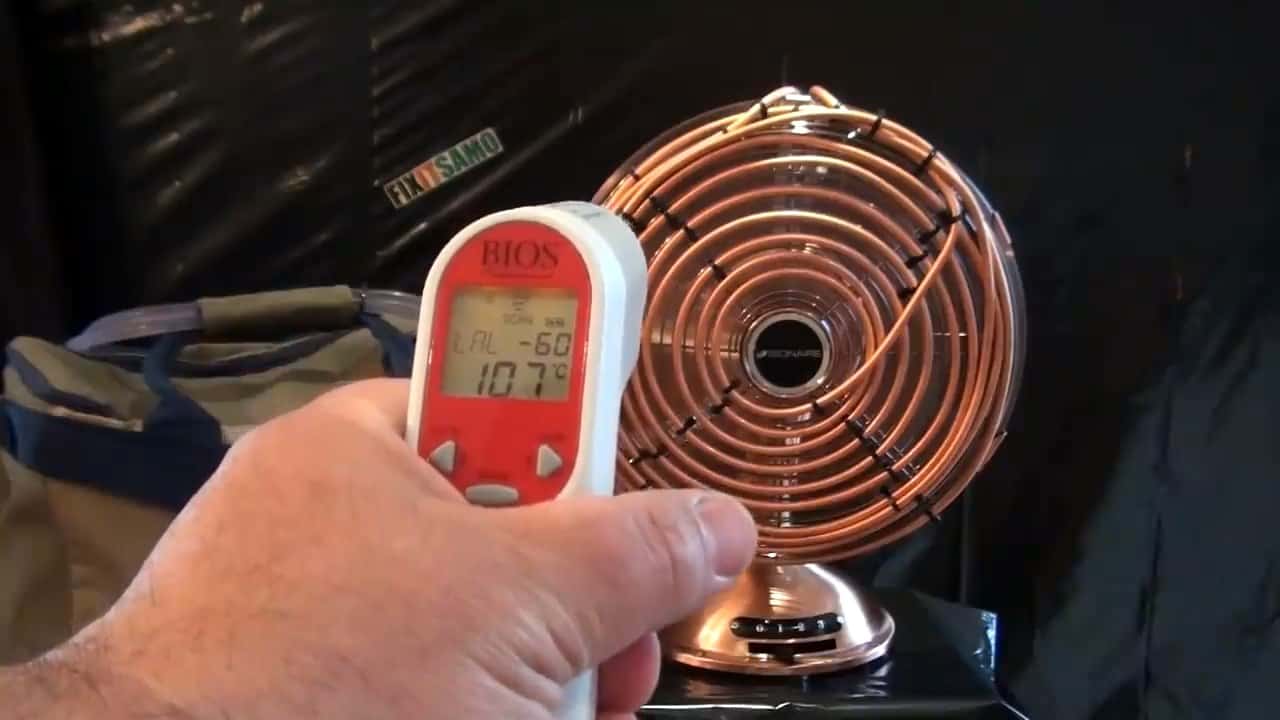
Image Credits : fixitsamo