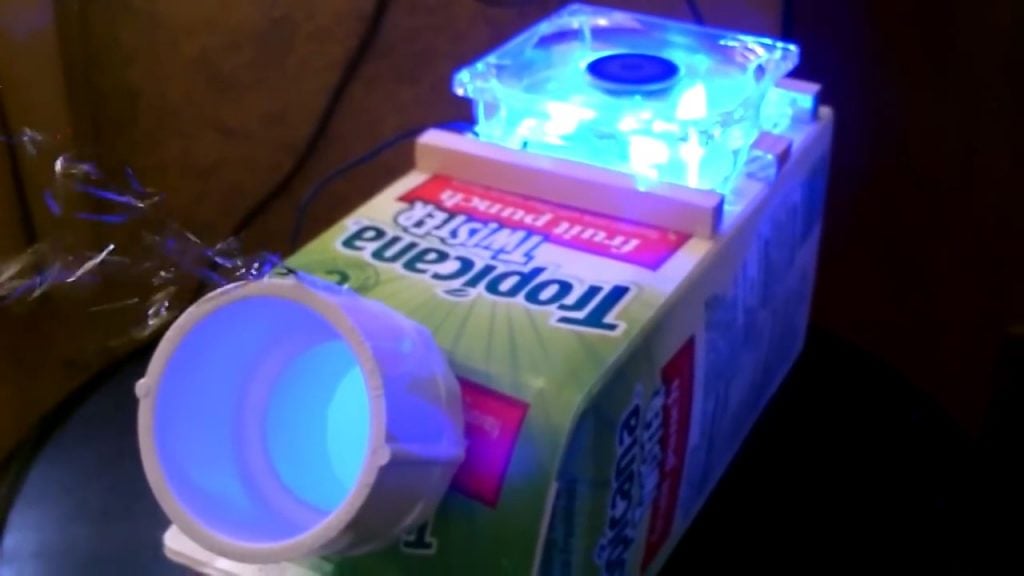
In this project, we will be constructing a budget-friendly and straightforward air cooler using an old juice carton and some readily available materials from Home Depot.
The primary source of power for this air cooler is solar energy, which makes it an environmentally friendly solution for cooling your space during hot weather conditions.
The total cost to build this DIY air cooler is only $8.50, which includes a 1/2 gallon container, 3/8 inch square wooden dowel, 1 1/2 inch PVC pipe coupler threaded on one end, an 80mm case fan, and ice cubes.
The drink bottle needed for the project can be purchased for a dollar at any store, and the PVC pipe costs around $1.50. The DC fan can be bought for $4.99, and the square dowels will only set you back 98 cents.
To build this DIY air cooler, you will need a few materials that are readily available at Home Depot or any hardware store. These materials include:
- A 1/2 gallon container: This container will serve as the body of the air cooler and hold the ice and fan.
- 3/8 inch square wooden dowel: These dowels will be used to create the support structure for the fan.
- 1 1/2 inch PVC pipe coupler threaded on one end: This coupler will serve as the air outlet for the cooler.
- 80mm case fan: This fan will be used to circulate the cool air generated by the ice.
- Solar panel: This will serve as the power source for the air cooler and convert sunlight into electricity.
- Ice cubes: These will be used to cool the air as they melt.
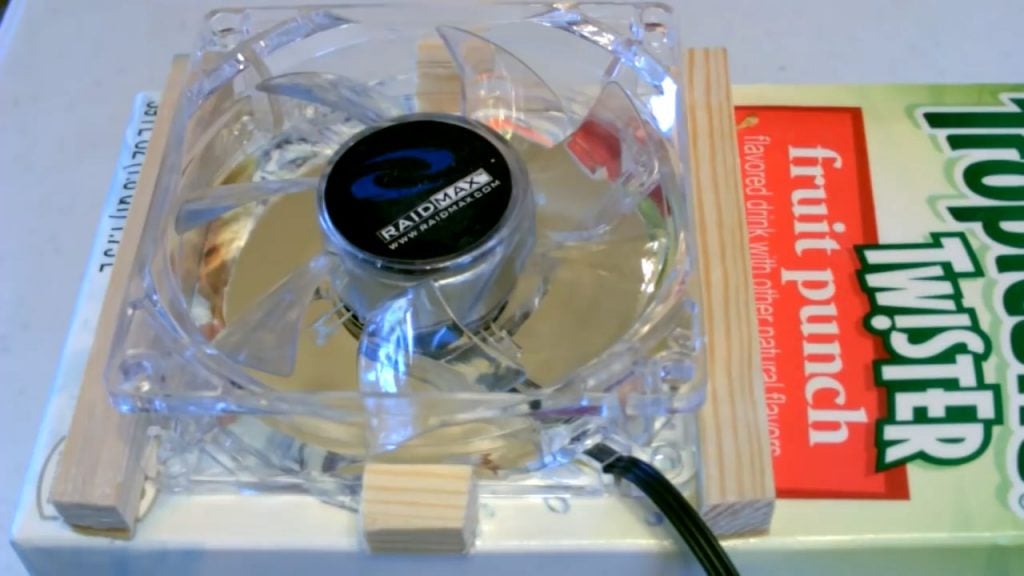
To create the support structure for the fan in this DIY air cooler project, you will need to follow a few simple steps. First, take the 80mm fan and place it on the side of the container.
This placement will determine the position of the support structure that you will build.
Next, you will need to cut three eighth inch square dowels to the width of the container. These dowels will serve as the support structure for the fan.
Once you have cut the dowels, you can glue them onto the container, with the fan resting on top of them.
To ensure that the fan is secure, it is essential to glue the dowels on both the sides and middle ones.
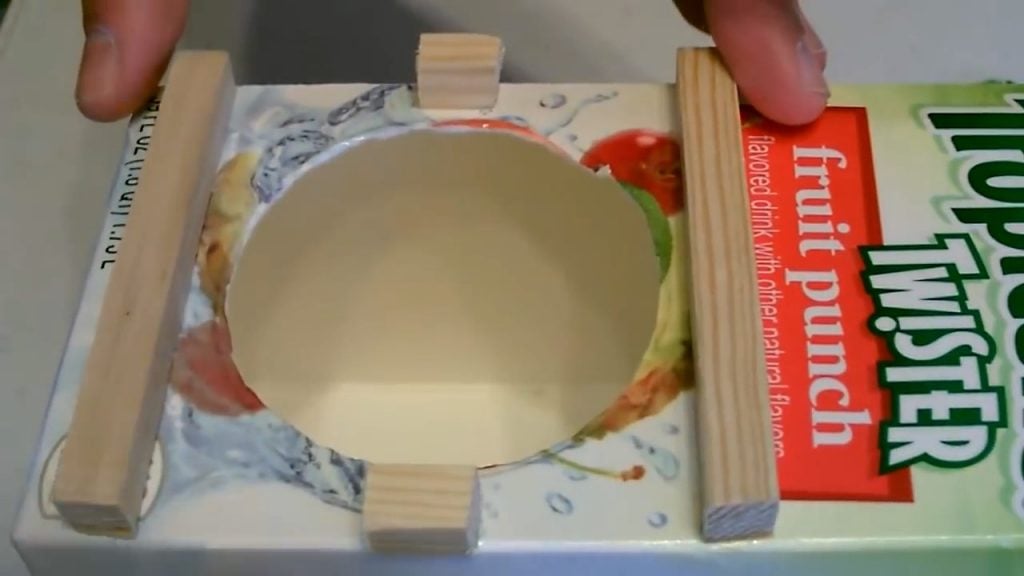
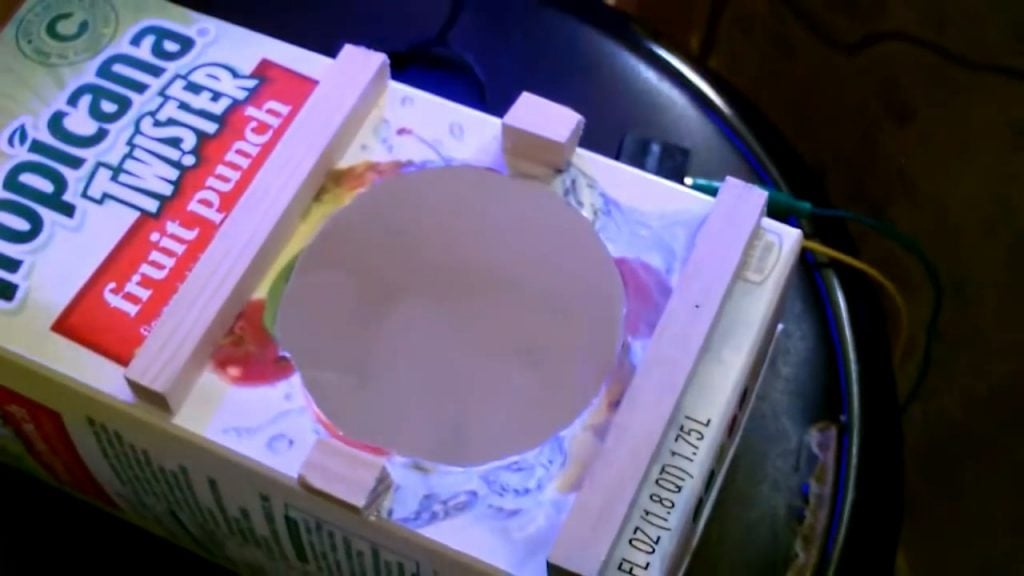
After assembling the support structure for the fan, the next step in this DIY air cooler project is to create an opening on the top of the container to allow air to flow through.
To do this, you will need to follow a few simple steps.
First, take a pencil and mark a circle around the inside of the top of the container. This circle will serve as the outline for the opening that you will cut out.
The size of the circle will depend on the size of the fan and the amount of air you want to circulate.
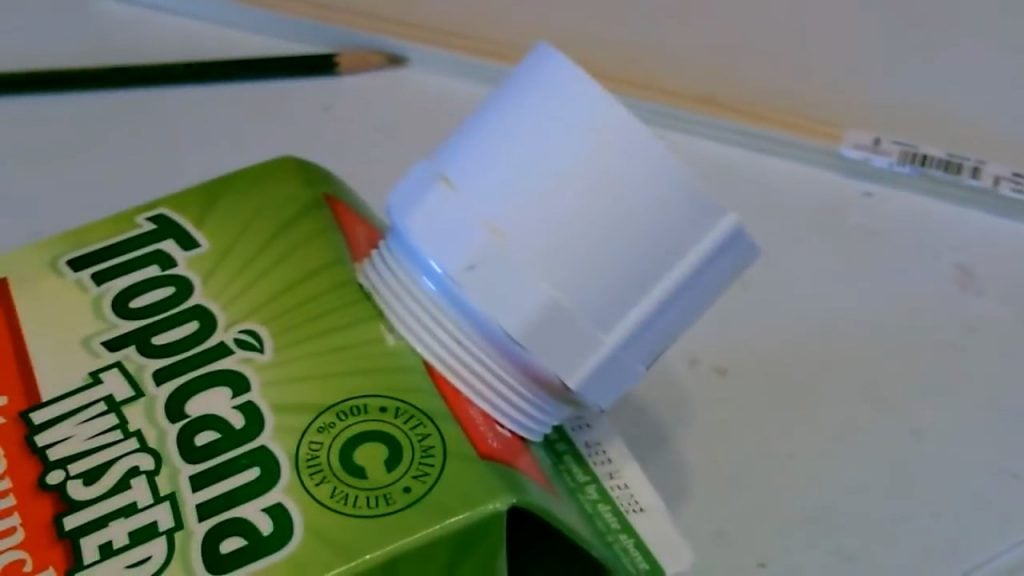
The PVC pipe coupler is an essential component of this DIY air cooler project as it serves as the outlet for the cool air generated by the ice cubes.
To attach the coupler to the container, you will need to follow a few simple steps.
First, place the PVC coupler against the container where you want it to be installed. Mark a small circle around it using a pencil.
This circle will serve as the outline for the opening that you will cut out to accommodate the coupler.
Next, using a small knife, carefully cut along the circle that you marked on the container. Be sure to cut smoothly and cleanly to avoid damaging the container.
Once you have cut out the circle, you will need to widen the hole using sandpaper so that the PVC pipe coupler fits in properly.
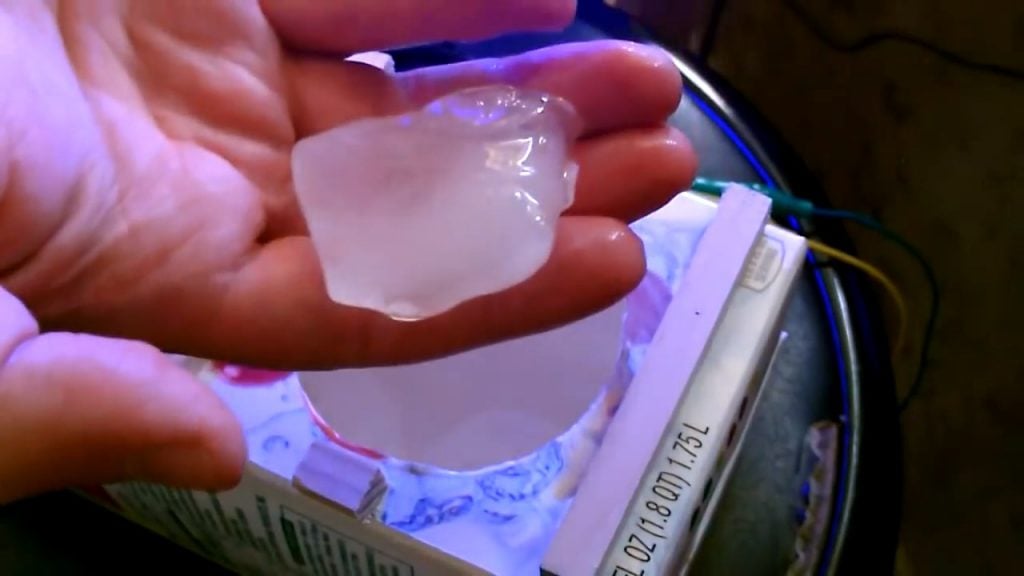
Now that you have assembled the support structure for the fan and installed the PVC pipe coupler, it’s time to add the ice cubes and test the air cooler.
To do this, first, turn off the fan and remove it from the support structure. Then, take some pieces of ice cubes and put them into the container through the opening that you cut out.
The amount of ice you use will depend on the size of the container and the amount of cool air you want to circulate.
Once you have added the ice, put the fan back onto the support structure and turn it back on. The fan will now circulate the cool air generated by the melting ice cubes and push it out through the PVC pipe coupler.
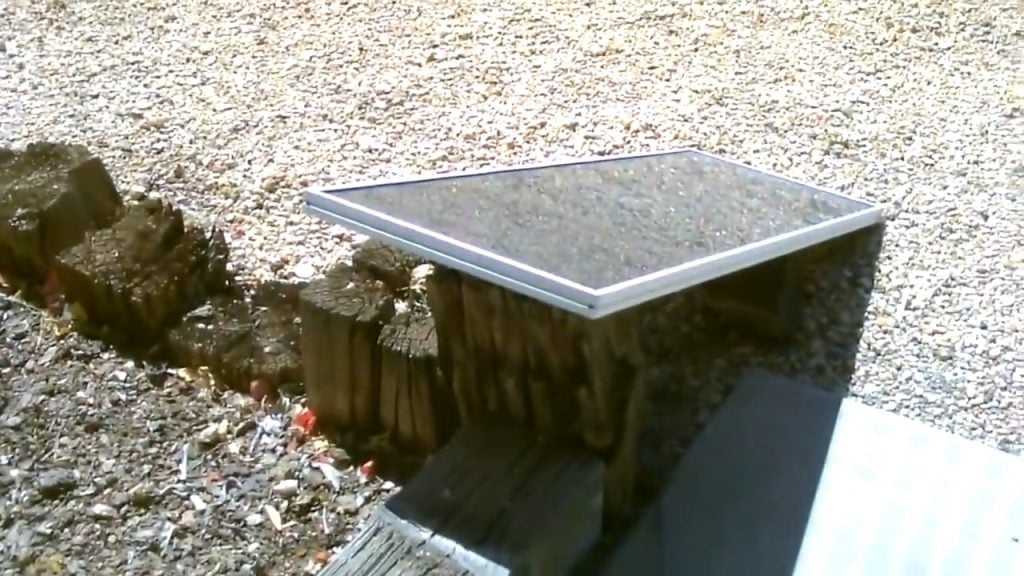
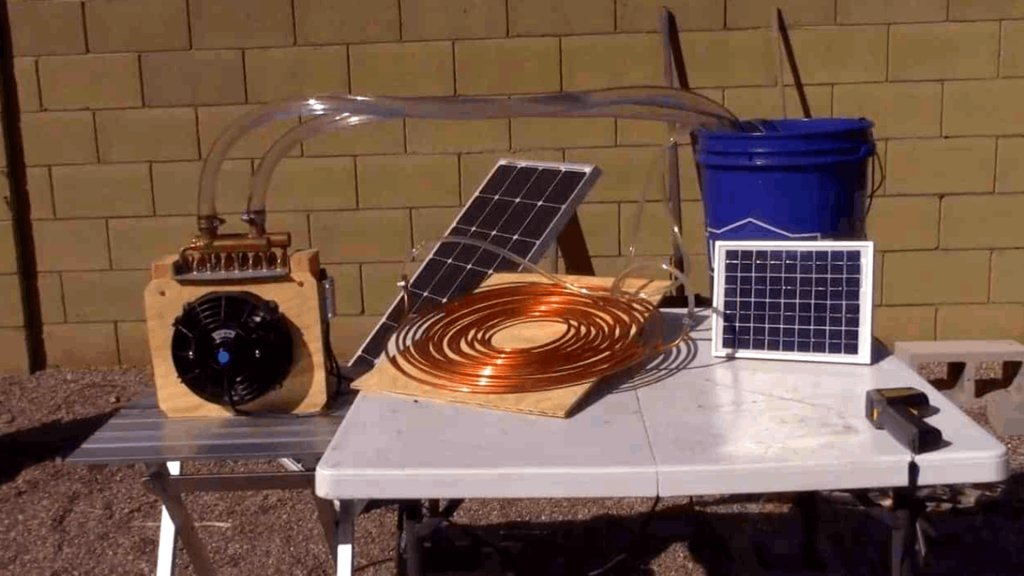
In this DIY air cooler project, the fan is powered by a solar panel, which makes it an eco-friendly and cost-effective solution for cooling your living space during hot weather conditions.
The fan is connected to the solar panel, which converts sunlight into electricity and provides the power needed to operate the fan.
The fan requires only 100 milliamps of 12V power, which means that it is energy-efficient and won’t consume too much power.
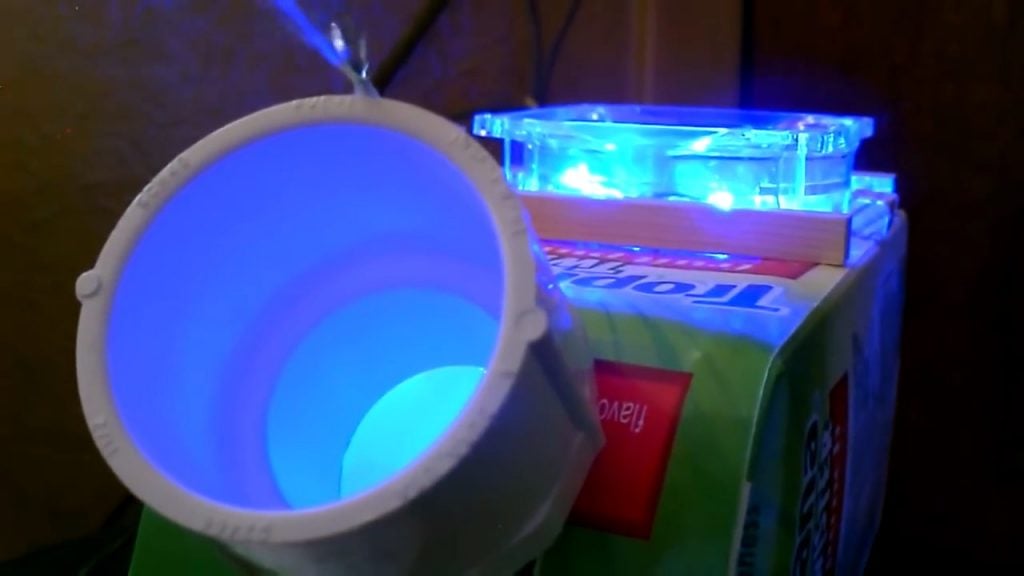
The juice carton’s opening can serve as a drain pipe to remove any excess water created by the melted ice cubes in the DIY air cooler.
This feature is practical as it prevents water from collecting inside the container and causing a mess.To use the opening as a drain pipe, simply place a glass or container underneath it to collect the water as it flows out. You can drink this water as it is cold and refreshing, thanks to the ice cubes.
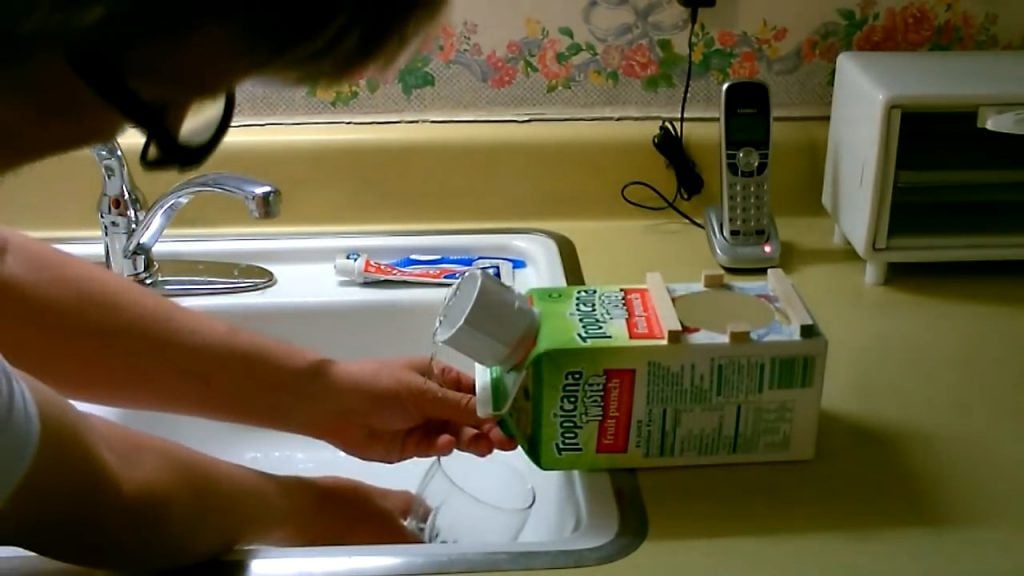
Image Credits : desertsun02 | Youtube

