This project aims to provide a detailed guide on how to construct an efficient and reliable water pump that utilizes the natural flow of water to pump water uphill without the need for an external power source.
The hydraulic ram pump works on the principle of water hammer, which utilizes the kinetic energy of flowing water to create a pressure wave that pumps water uphill.This process involves two one-way check valves, the waste valve, and the delivery valve.
When water flows into the pump, it immediately flows out of the waste valve until it gains enough momentum to slam the waste valve shut, converting kinetic energy into pressure.
The sudden increase in pressure opens the delivery valve, forcing the water into the delivery pipe, and up to the desired location.
However, these sharp pressure spikes can cause significant wear and tear on the pump components, making it necessary to incorporate a pressure tank into the system.
The pressure tank acts as a buffer, smoothing out the pressure spikes and providing a more even flow rate out of the delivery pipe.
The pressure tank works by absorbing and storing excess water pressure during the spike and releasing it gradually, thus reducing the risk of damage to the pump components.
In the construction of a hydraulic ram pump system, the pressure tank is an essential component that helps to regulate the flow of water and reduce the wear and tear on the pump components.
One common material used to construct the pressure tank is PVC, due to its durability and affordability.
As water flows into the pressure tank, it compresses the air inside, creating a cushion of pressure that helps to regulate the flow rate and prevent pressure spikes.
The delivery pipe is connected to the pressure tank, allowing a constant flow of water as the pressure builds up. This ensures a steady supply of water to the desired location without fluctuations in pressure or flow rate.

The delivery pipe should be appropriately sized to match the flow rate and volume of water being transported. In this system, a garden hose is being used as the delivery pipe.
STEP 1 : MATERIALS REQUIRED
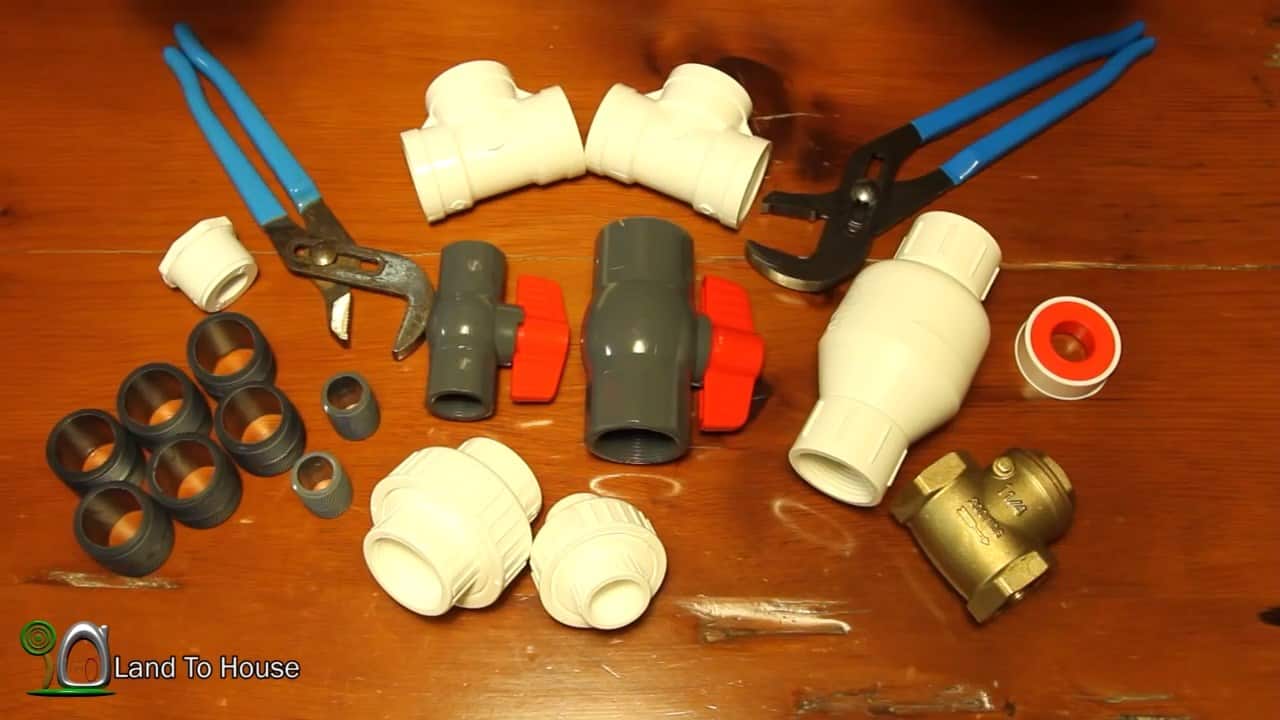
To assemble a one and a quarter-inch hydraulic ram pump, you will need to gather the following materials:
- Six one quarter close pipe nipples: These components are crucial for securely connecting the different parts of the pump. They allow for a tight and compact assembly without any extra gap between the parts.
- Two three quarter pipe nipples: These components are needed to connect the larger parts of the pump together.
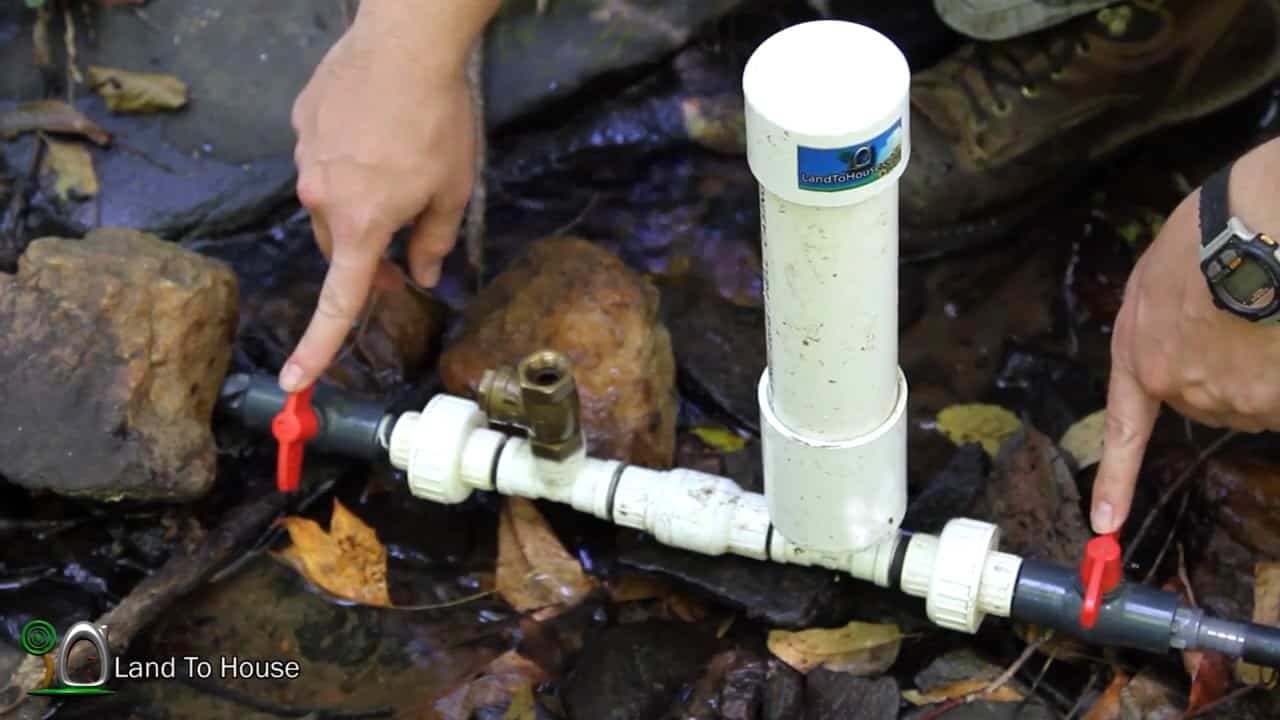
- Two one and a quarter ball valves: These valves are used to control the flow of water through the pump. They ensure that water is flowing in the correct direction and help regulate the pressure within the pump.
- Three quarter threaded union: This component is used to connect the pump to the drive pipe and provides a reliable and sturdy connection.
- Two one and a quarter PVC unions: These unions are used to connect the different parts of the pump together and ensure a leak-free connection.
- Two threaded PVC tees: These tees are threaded on all three sides and are used to connect different components together.
- A threaded spring check valve: This component has a spring inside that allows water to flow in one direction and not the other. It is an essential part of the pump as it ensures that water is flowing in the correct direction through the pump.
- A bushing that goes from one and a quarter down to three quarters: This component is used to connect the larger parts of the pump to the smaller parts.
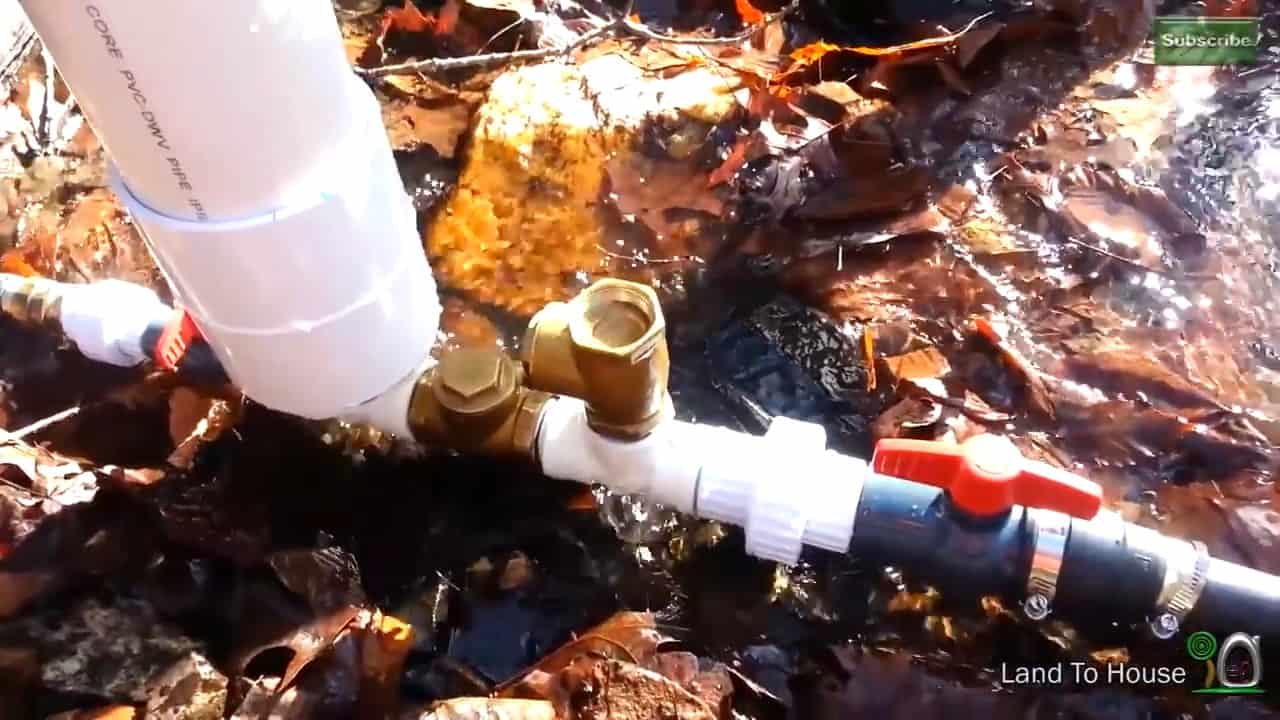
- Brass or stainless steel swing check valve: This valve is threaded on both ends and has a little lever that closes on a swing motion. It is another important component of the pump as it helps regulate the pressure and ensures that water is flowing in the correct direction.
- Teflon pipe tape: This tape is used to ensure that all the components are tightened up properly and to prevent any leaks.
- A couple of wrenches: These tools are essential for tightening and securing the different components of the pump together.
STEP 2 : SEALING THE PIPE NIPPLES
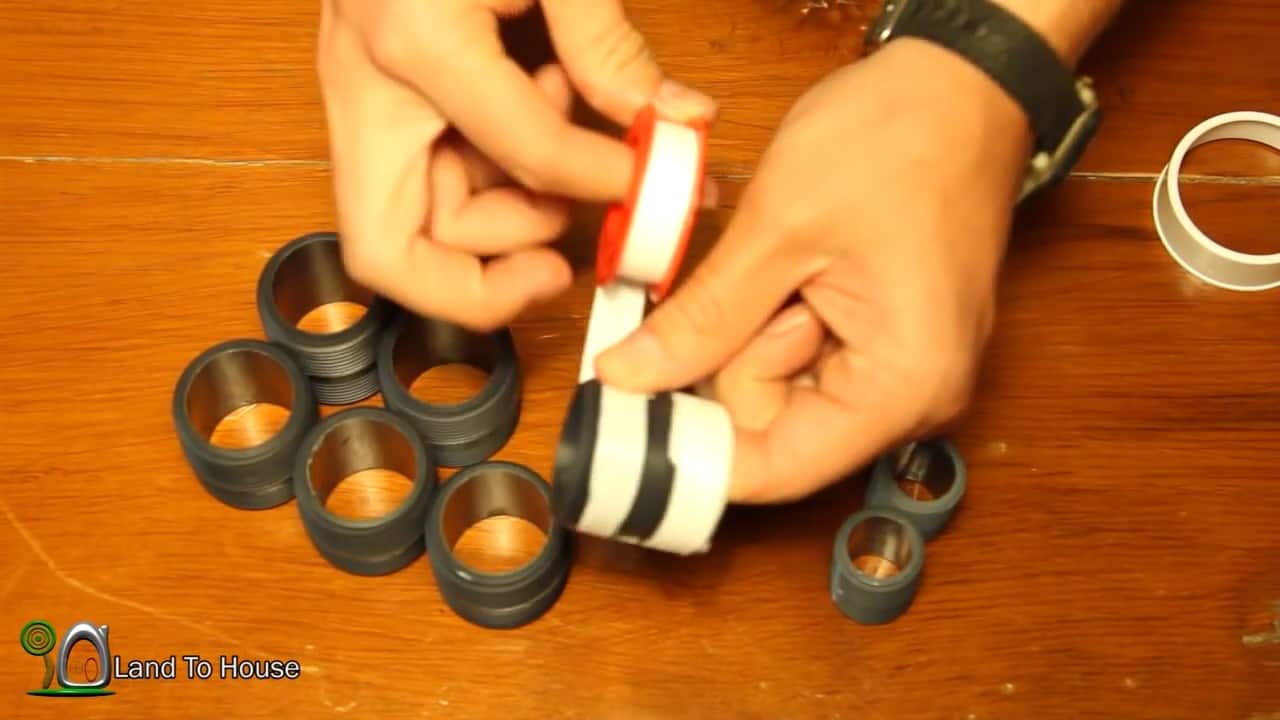
After gathering all the required materials, the next step in assembling the hydraulic ram pump is to prepare the pipe nipples by applying Teflon pipe tape.
Begin by taking the Teflon tape and wrapping it clockwise around the one-inch and three-quarter pipe nipples.
Ensure that the tape is wrapped tightly and evenly around the threads to create a smooth, even seal. This step is important to ensure that the components do not unscrew or loosen during operation, and to prevent leaks.
The Teflon tape allows the components to be screwed together in a more fluid manner and helps to create a better seal.
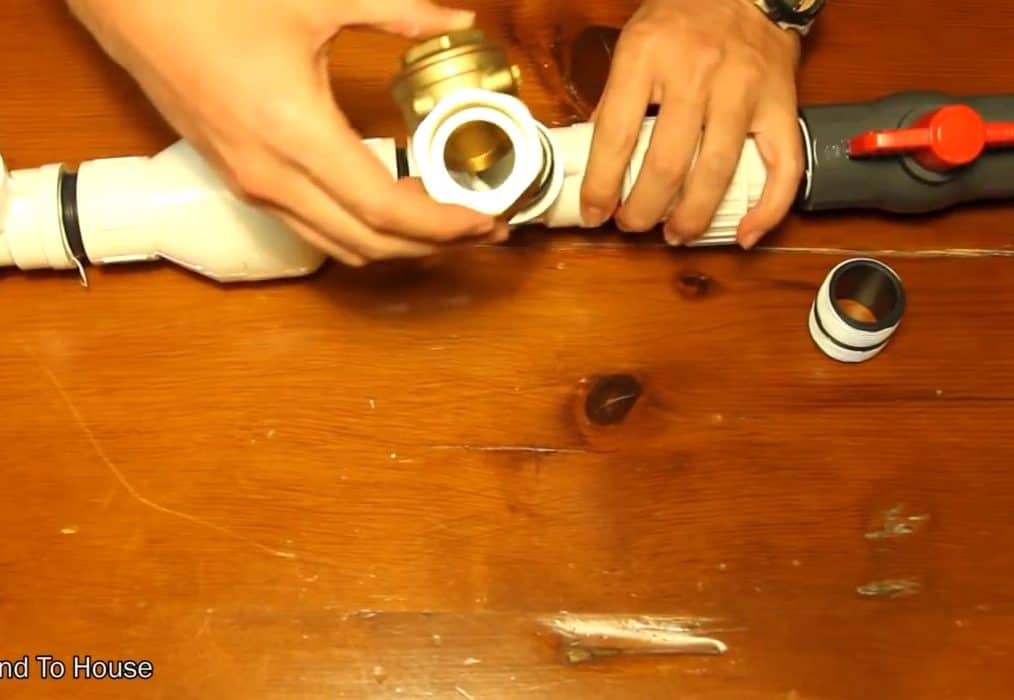
STEP 3 : ASSEMBLING THE HYDRAULIC PUMP
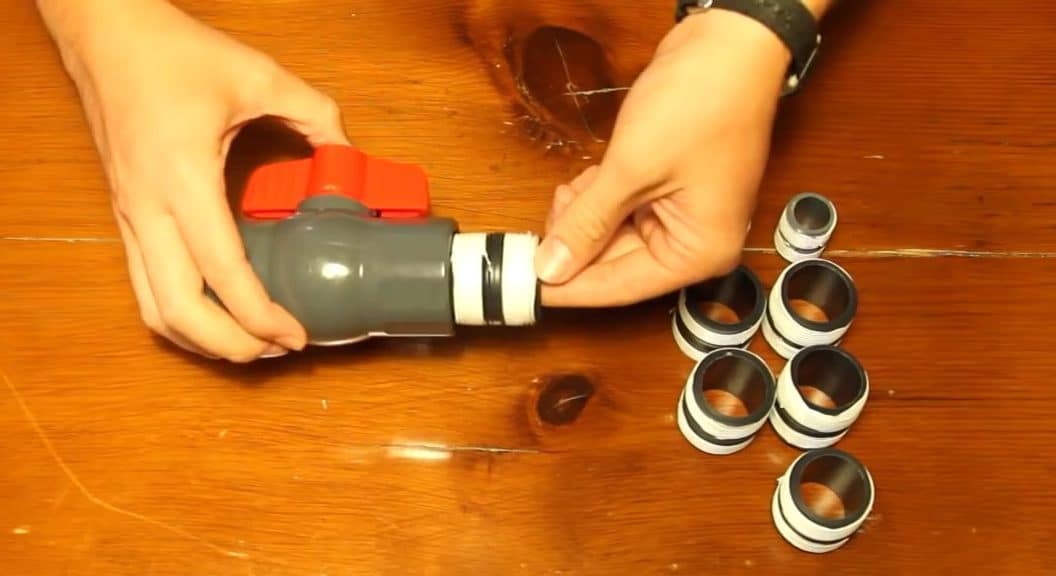
To proceed with the pump assembly, take your one and a quarter ball valve and a pipe nipple and screw them together tightly.
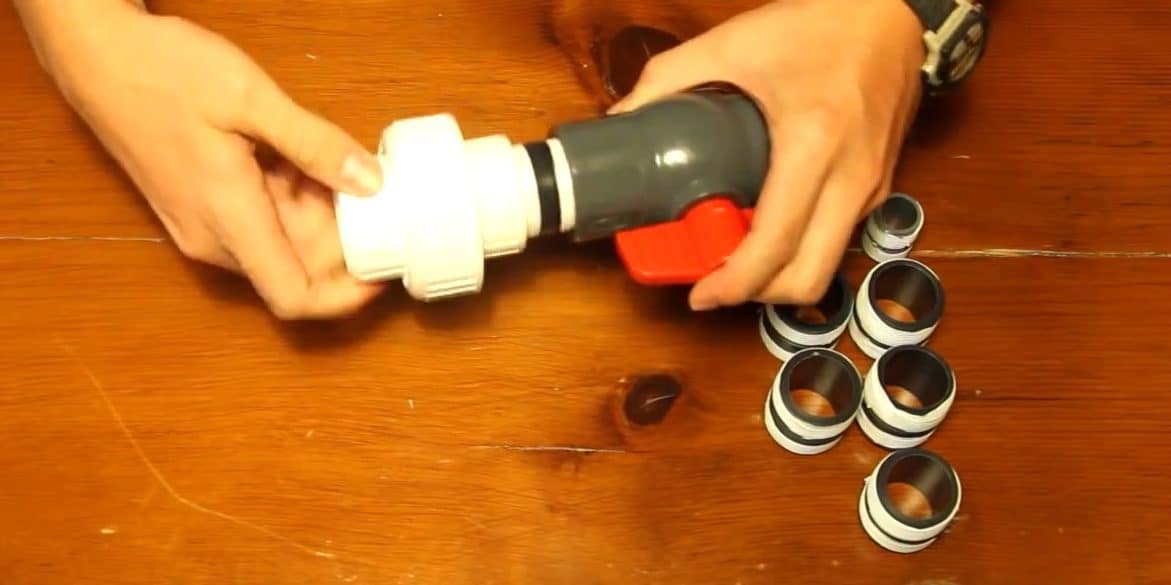
Then, connect the one and a quarter union to the other end of the taped nipples using another pipe nipple.
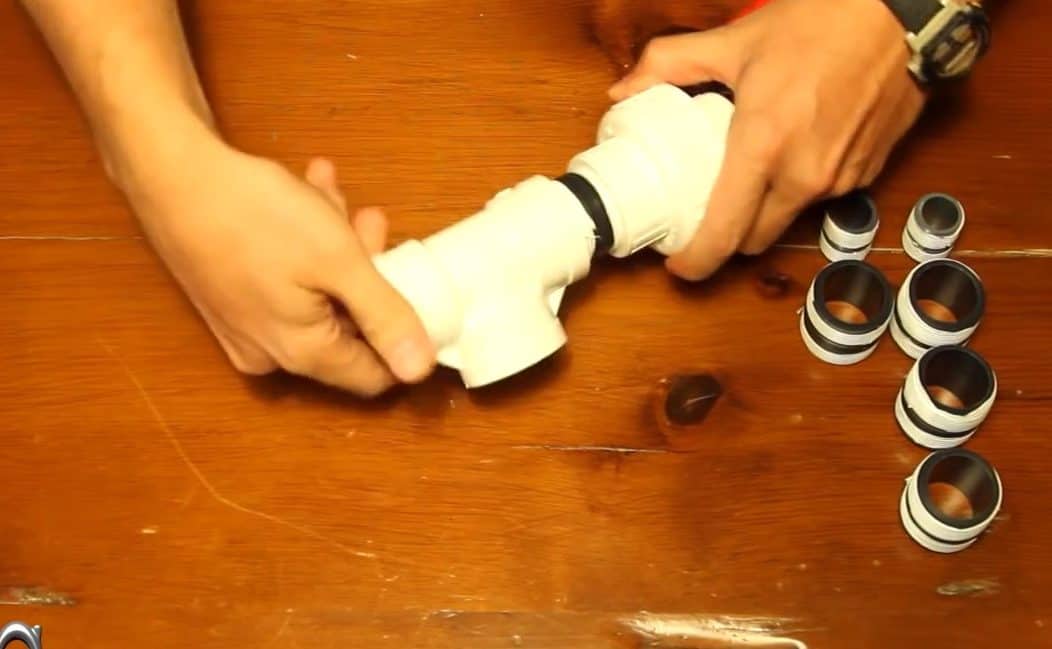
The next step is to attach a spring check valve to this unit, making sure that the flow is pointing away from the components we just put together. Note that there is an arrow on these valves that indicates the flow direction.
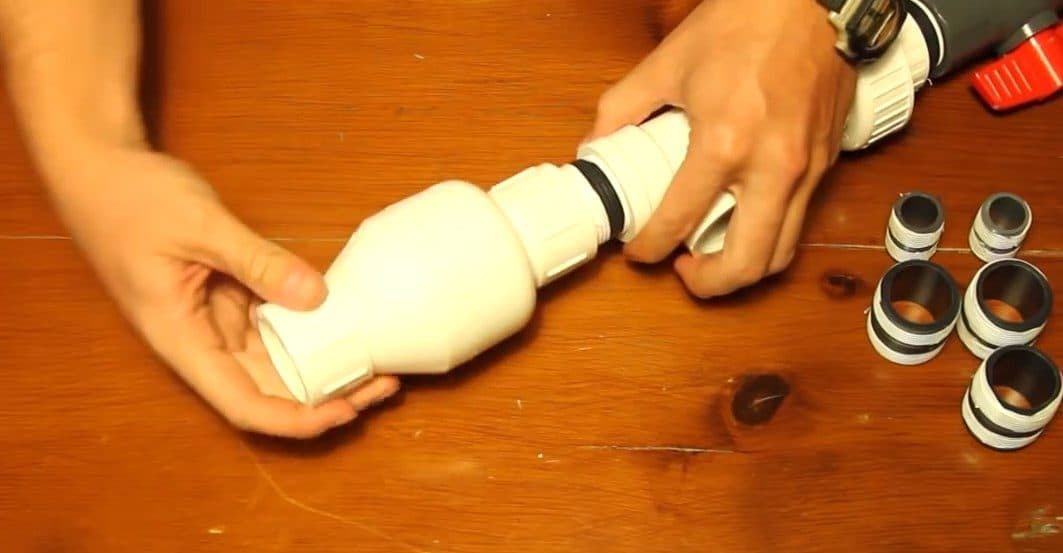
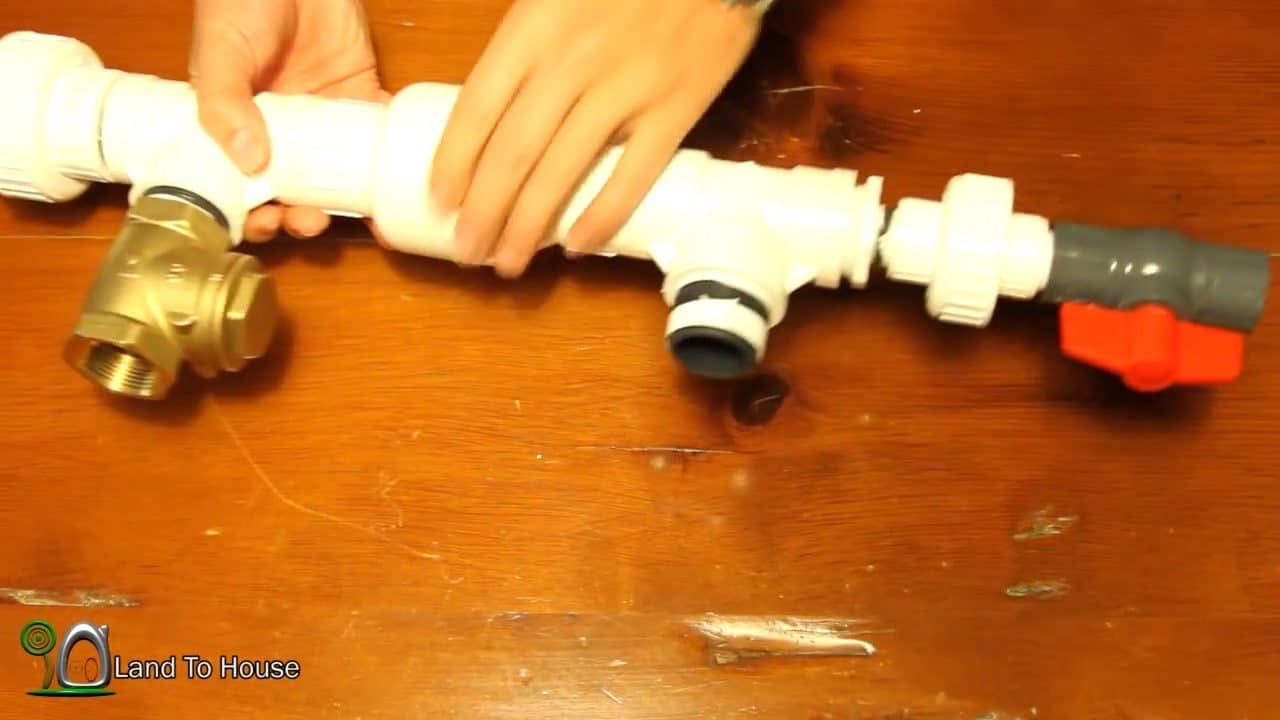
Connect another PVC tee to the valve through a nipple, and then attach a threaded bushing to the end of that second tee.
Repeat this step by connecting another PVC tee to the valve through a nipple and attaching another threaded bushing to the end of the tee.
On the three-quarter bushing, put one of the three-quarter pipe nipples. From that pipe nipple, attach the other three-quarter-inch union.
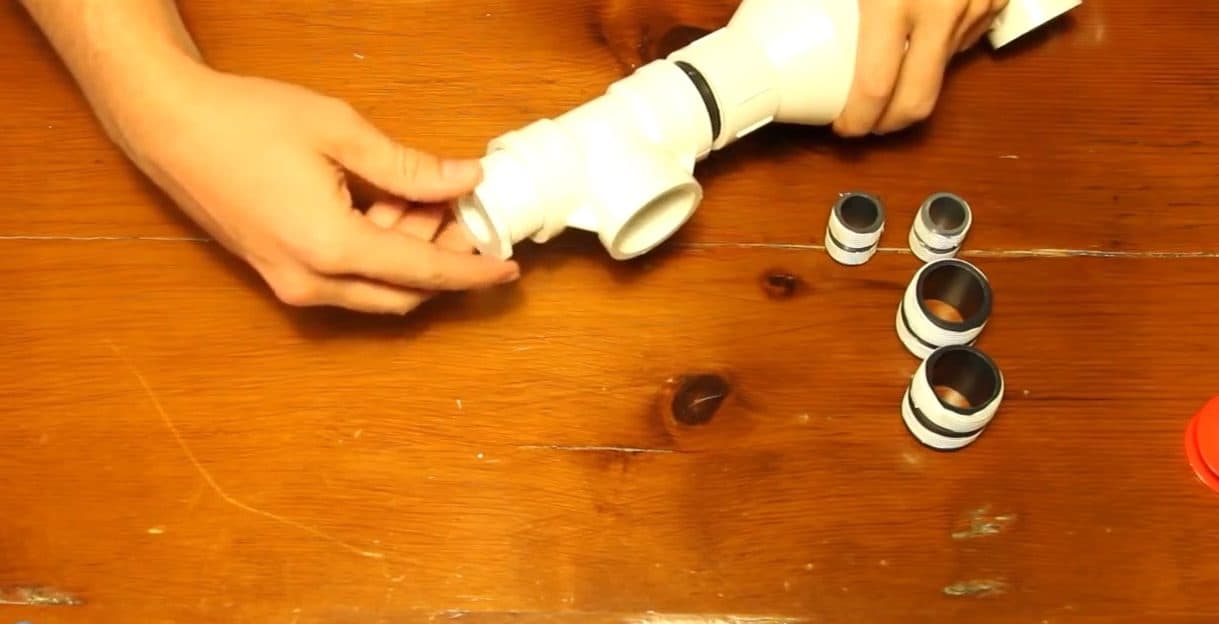
Then, connect a three-quarter ball valve to this end using another pipe nipple.

A three quarter ball valve is connected to this end through another pipe nipple.

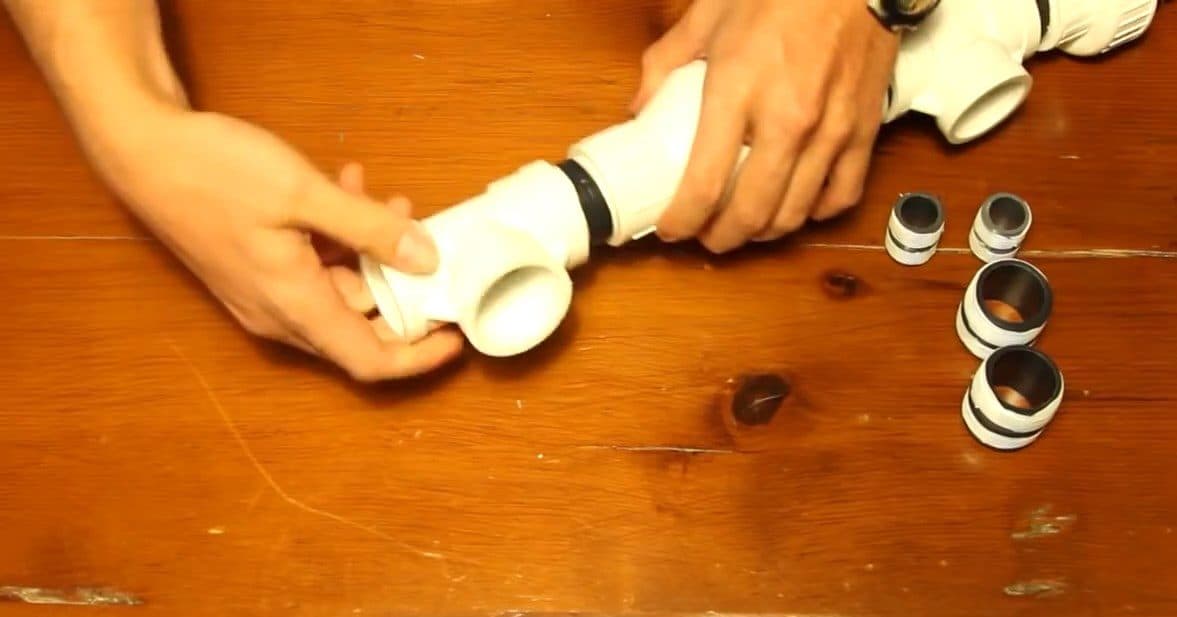
Attach the swing brass/stainless steel check valve to the first PVC tee with the help of another pipe nipple. When connecting the check valve, make sure that the door or flapper is going to fall open from gravity. So, screw it onto this pipe nipple with the door hanging open.
Finally, connect the second PVC tee to the pressure tank using another pipe nipple. Ensure that both tees are facing in the same direction
STEP 4 : BUIDLING THE PRESSURE TANK
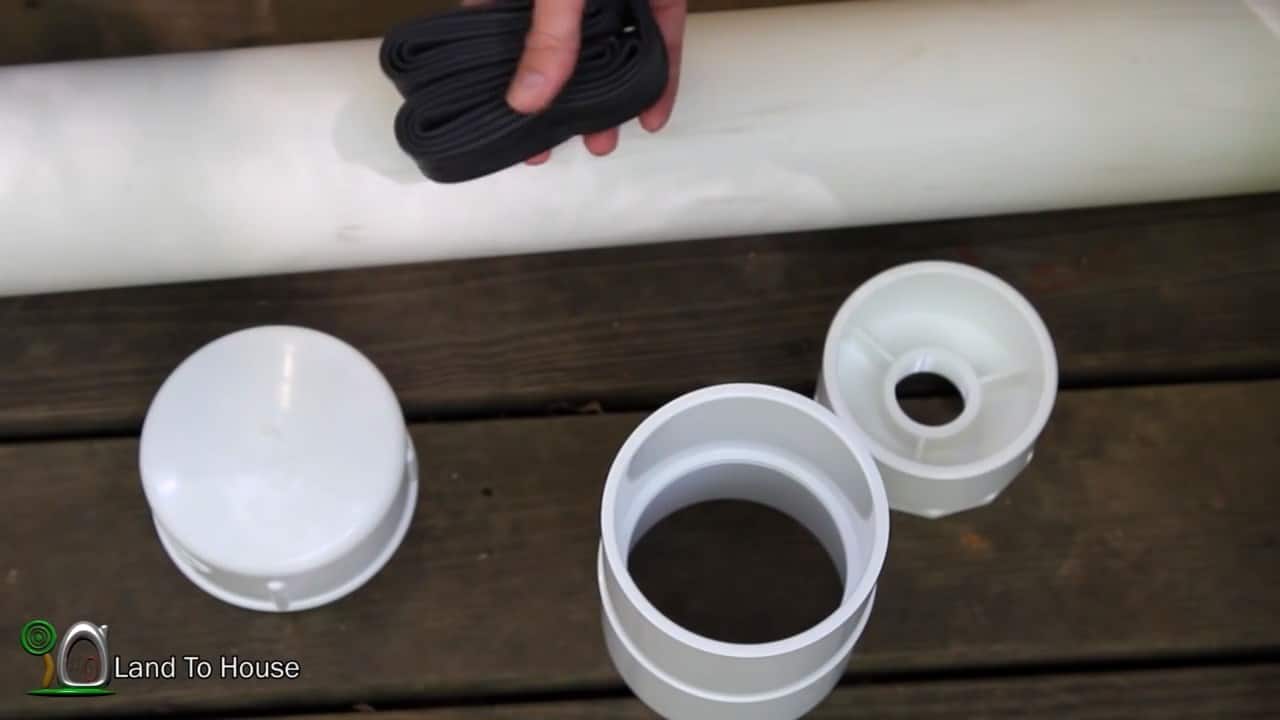
The pressure tank is a crucial component of the one and a quarter-inch hydraulic ram pump. To construct the pressure tank, you’ll need a few materials: a four-inch PVC schedule 40 pipe, a four-inch coupling, a four-inch socket to one and a quarter threaded bushing, a four-inch cap, and a bicycle inner tube.
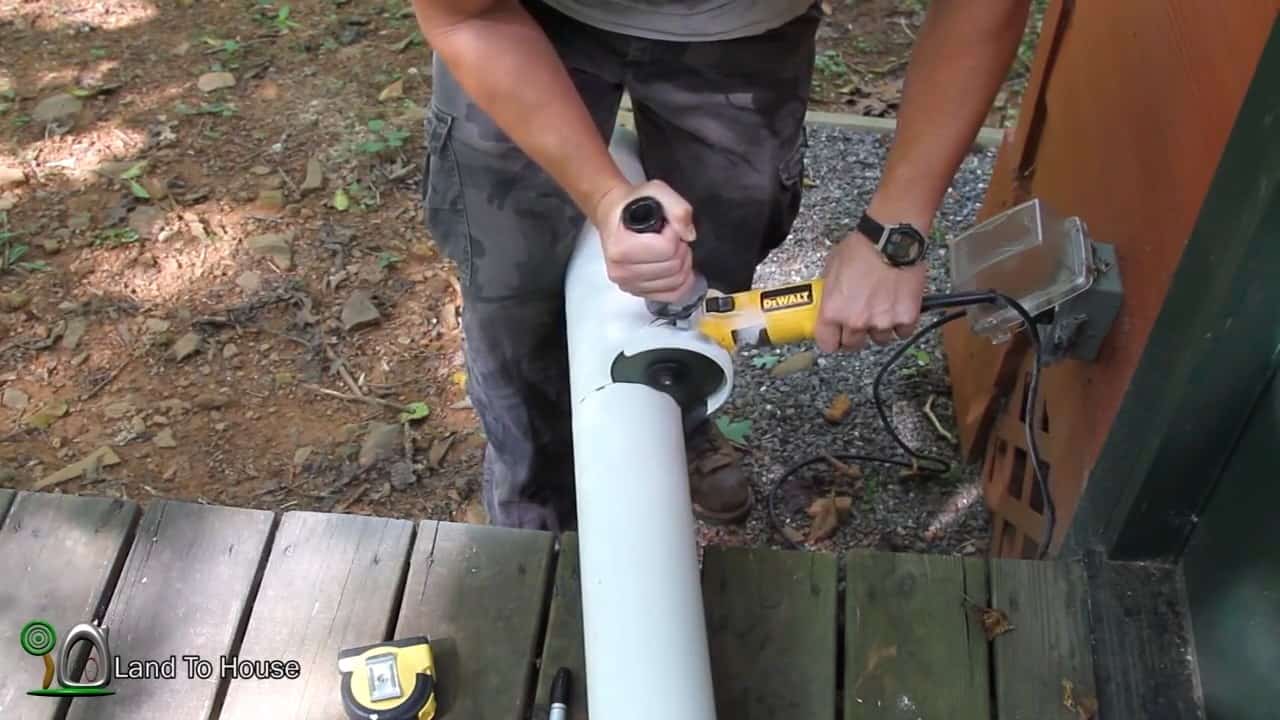
Using an angle grinder, cut a 17-inch long section from the four-inch PVC schedule 40 pipe. It is important to ensure that the cut is clean and straight for the optimal functioning of the pump.
Once you have the pipe section, you can proceed to assemble the pressure tank.
To assemble the pressure tank for the one and a quarter-inch pump, first, apply PVC cement to the inside of the coupling. Then, insert the 17-inch PVC schedule 40 pipe into the coupling.
It is important to make sure that the pipe fits tightly into the coupling, so that it does not come loose during use.
Next, attach the threaded bushing to the other end of the coupling. This threaded bushing will allow the tank to connect to the pump assembly.
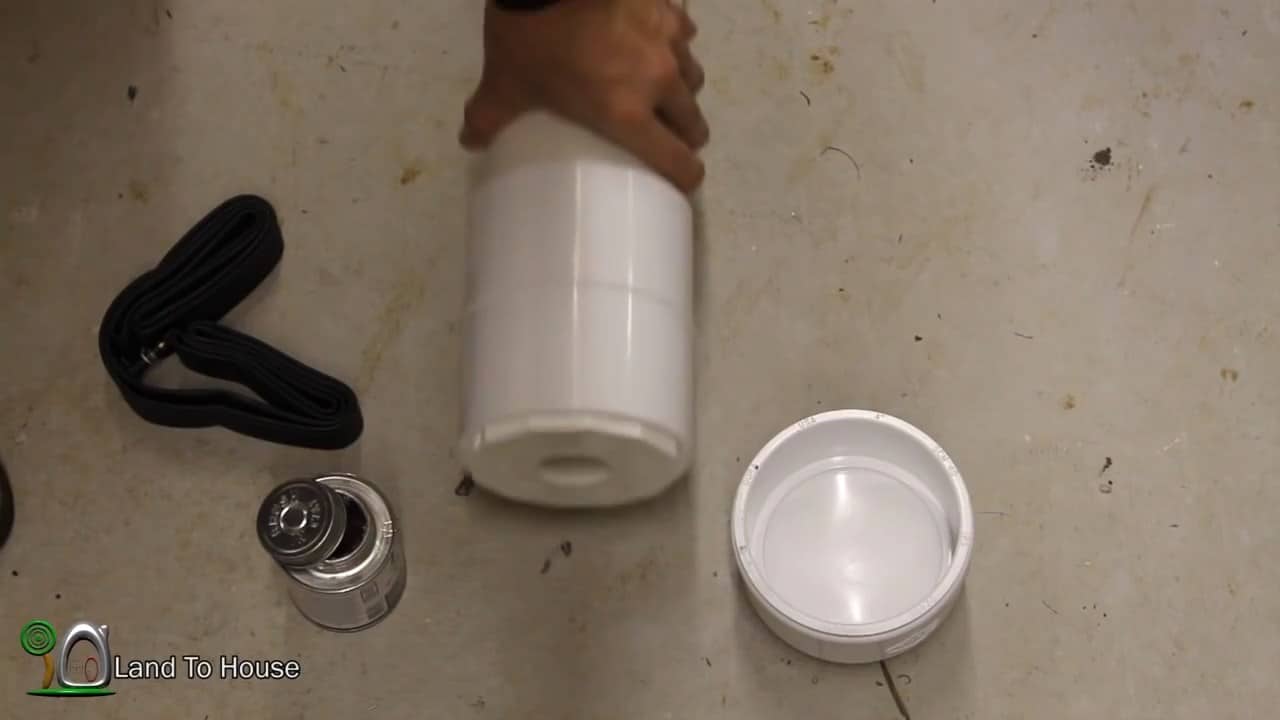
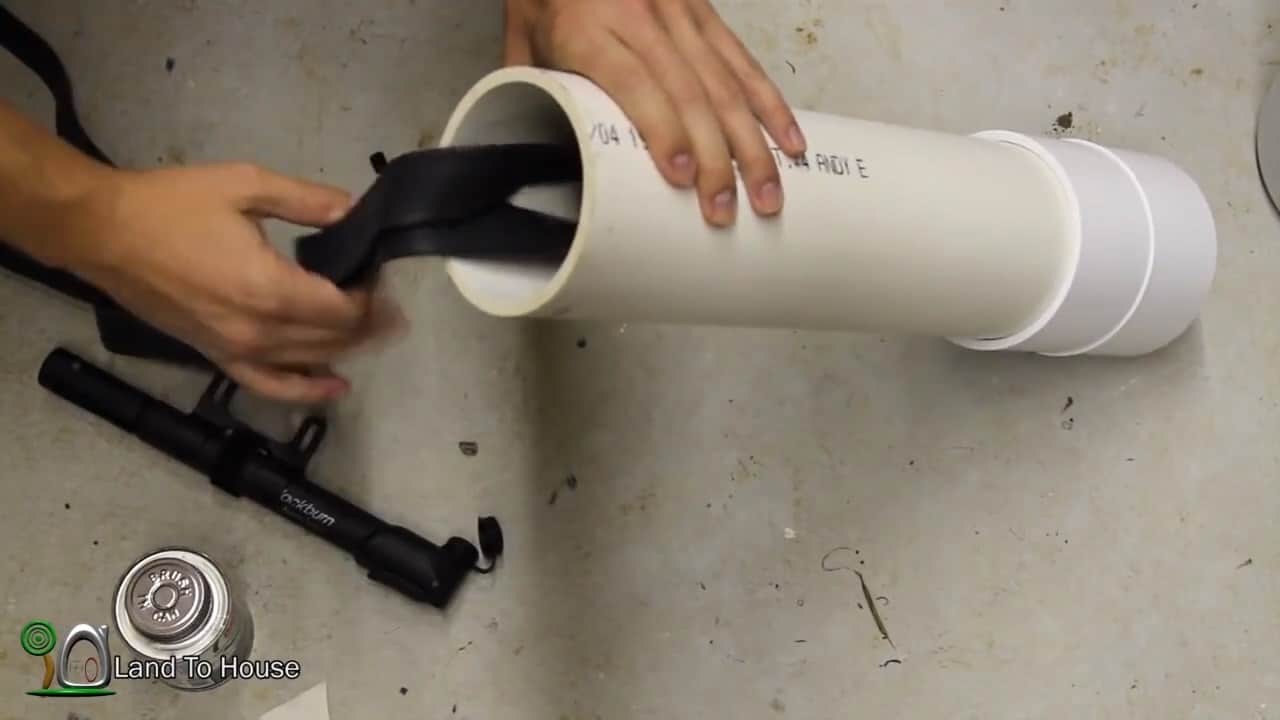
After assembling the pressure tank, the next step is to insert the bike’s inner tube. This is done by stretching the inner tube over the open end of the coupling and securing it in place with a zip tie.
Make sure that the inner tube is stretched tight and without any wrinkles or folds.Once the inner tube is securely in place, it’s time to attach the pump to it.
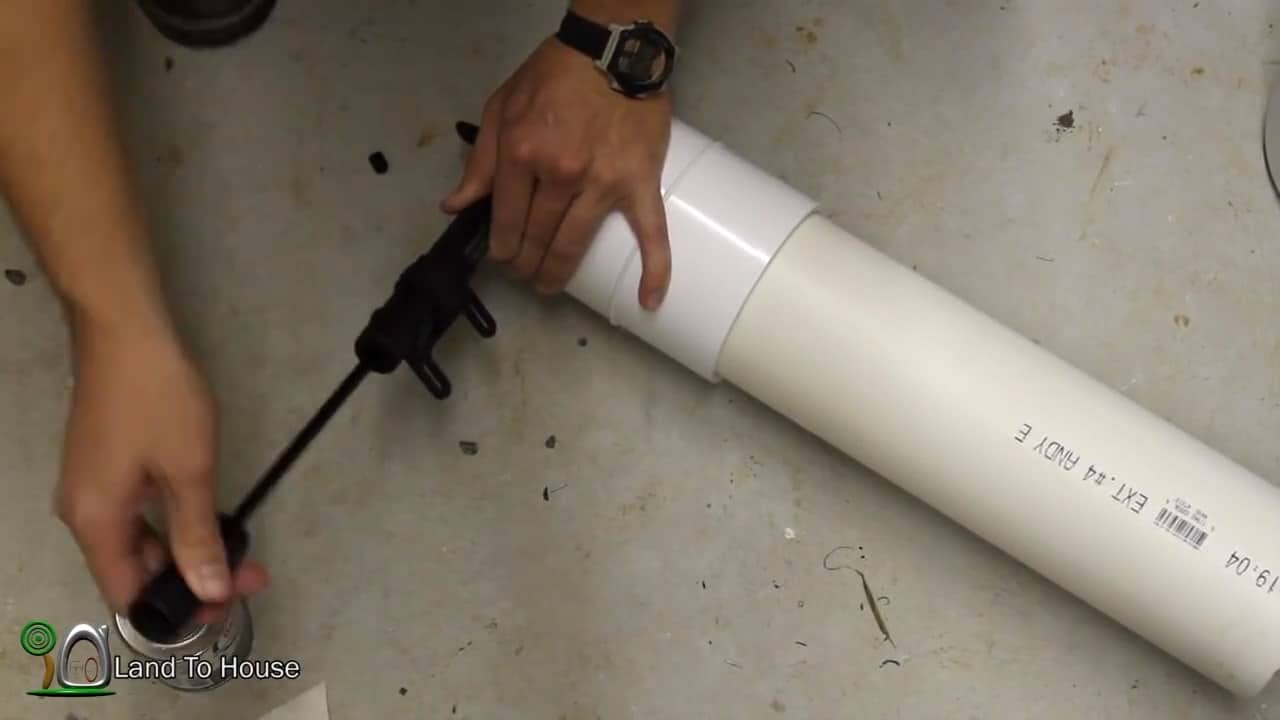
To pressurize the pressure tank, begin by inserting the bicycle inner tube into the tank through the threaded bushing.
Make sure that the tube is inserted properly and not twisted. Use a bicycle pump to inflate the inner tube.
Pump the tube until it feels tight and firm. Check the pressure with a pressure gauge to ensure that it is within the recommended range.
Once you are satisfied with the pressure, insert the cap into the end of the pipe and coat the threads with PVC cement.
Screw the cap onto the pipe, tightening it securely to create a seal. Finally, apply PVC cement around the joint where the cap meets the pipe to ensure that it is completely sealed.
Allow the cement to dry completely before moving onto the next step
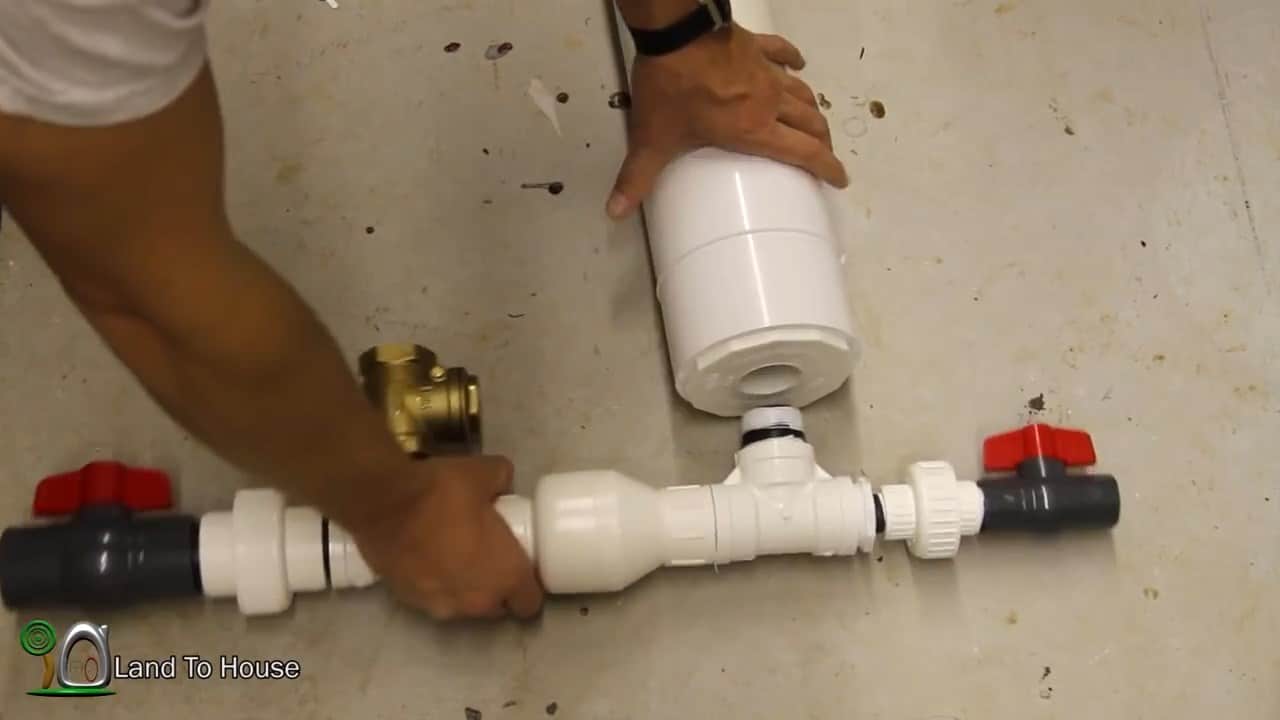
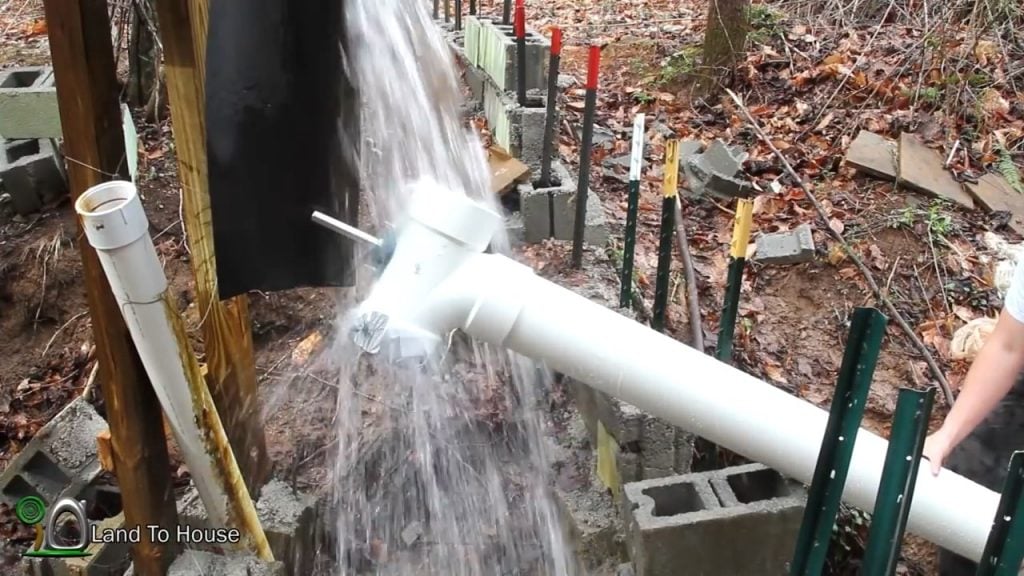
STEP 5 : CONNECTING THE PRESSURE TANK AND INSTALLING THE RAM PUMP
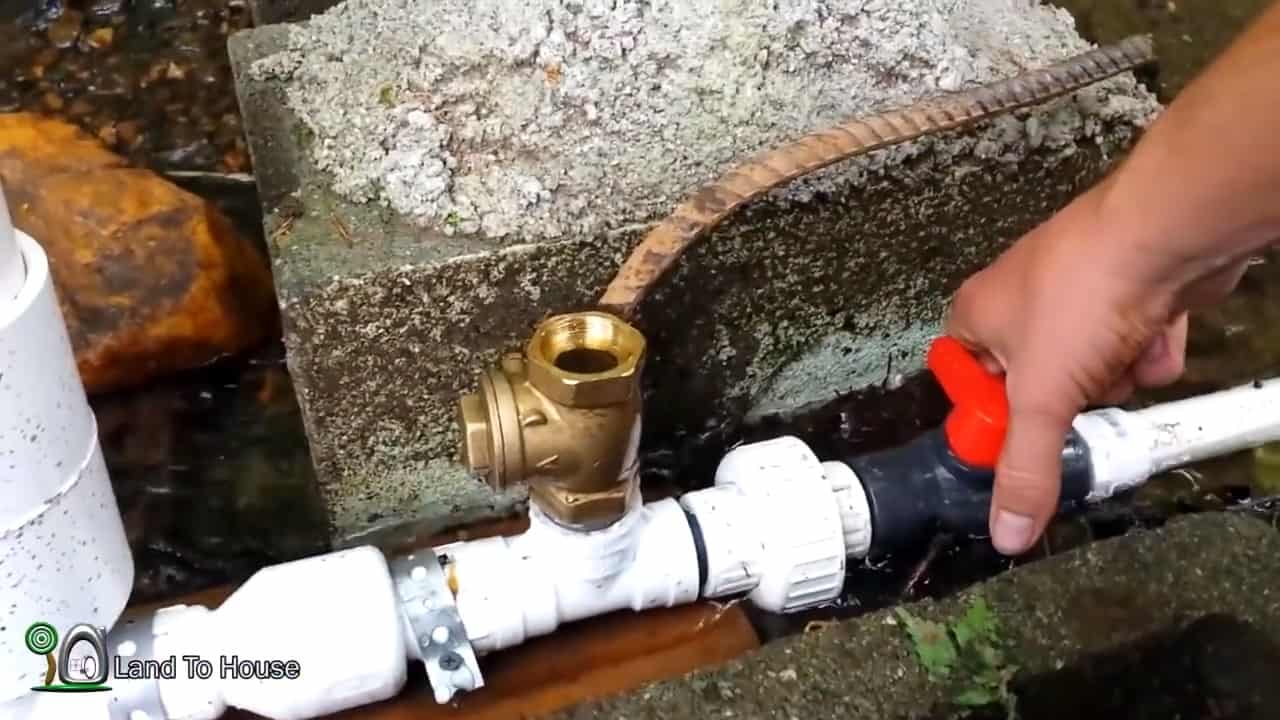
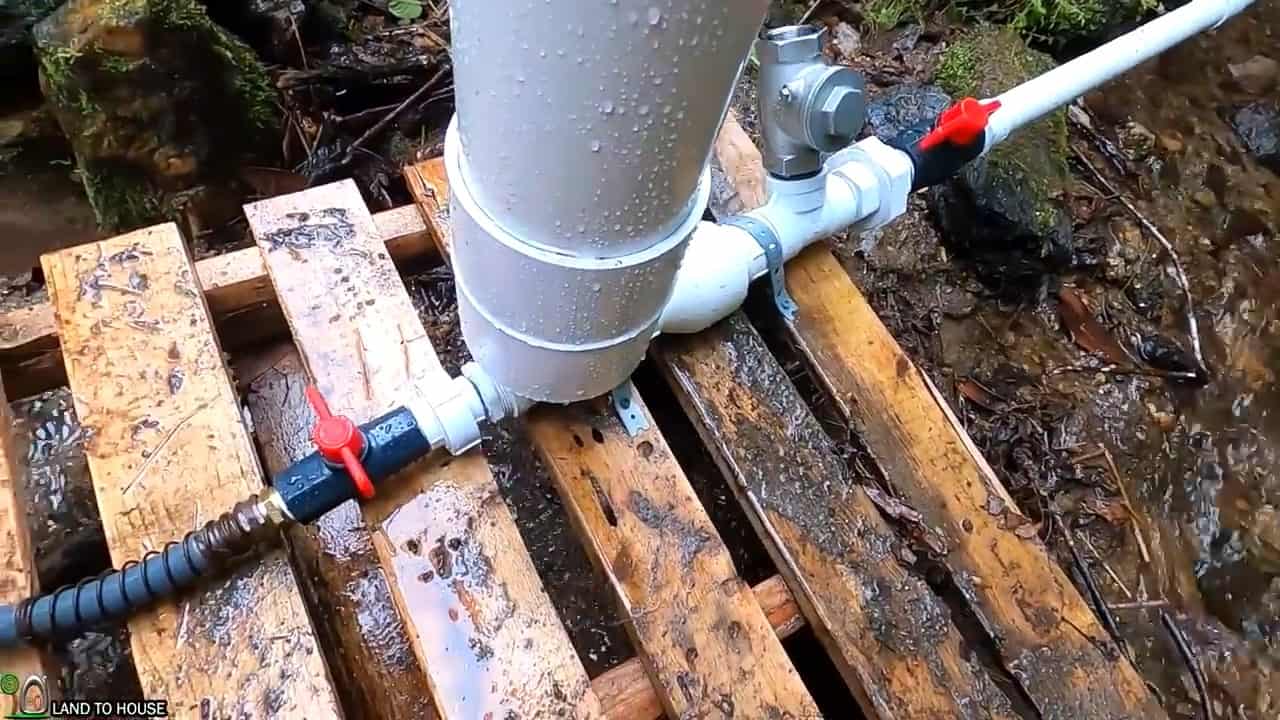
The final step in the assembly process is to attach the pressure tank onto the threaded nipple connected to the second PVC tee on the pump. Make sure that it is tightly secured to prevent any leaks.
Once the pump is fully assembled, it’s time to install it near the water source. It’s important to note that this one and a quarter inch pump requires a minimum of eight gallons per minute to operate.
It’s crucial to ensure that the water source provides enough flow rate to make the pump functional.
It’s also important to note that the amount of water that can be obtained at the delivery point increases with larger pump sizes. If the desired water output is high, consider using a larger pump.
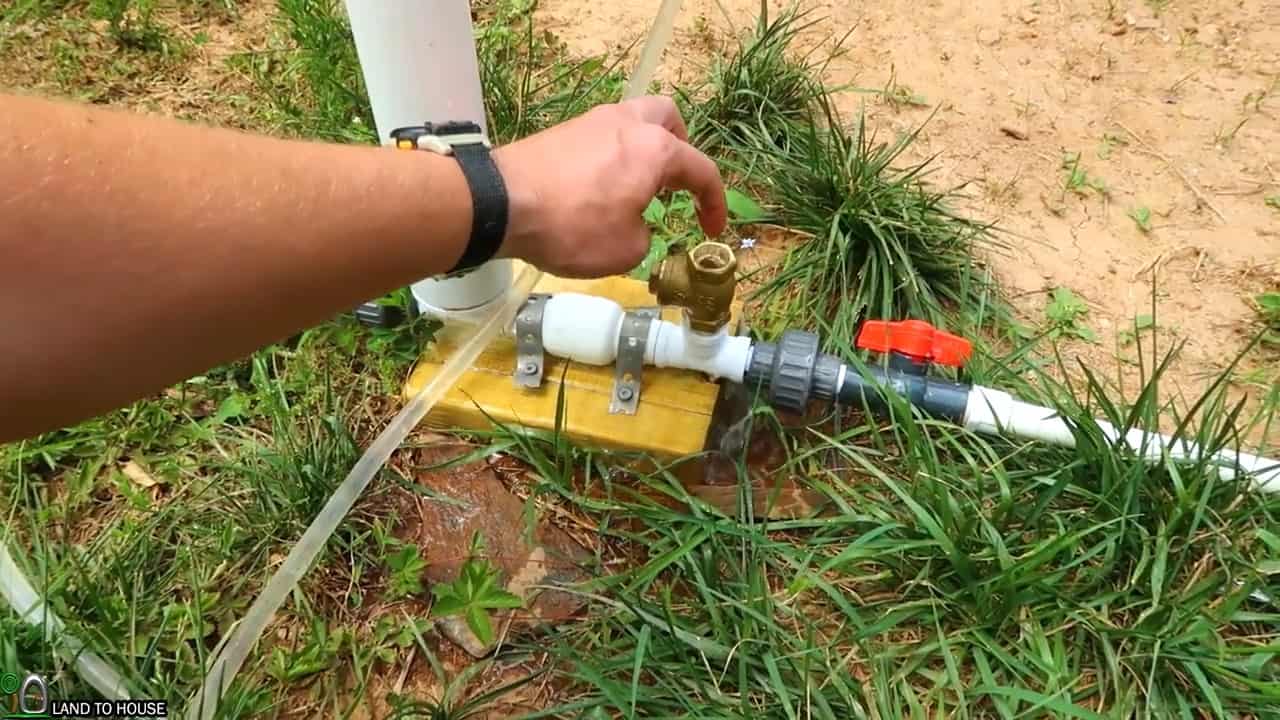
To initiate the pumping process, it is essential to ensure that the ball valve for the delivery pipe is shut, while the ball valve for the drive pipe is open.
Next, push the waste valve down until all the air inside the drive pipe is removed.
As water flows down the drive pipe, it hits the check valve with force, causing it to shut down. This action generates a pressure wave that is then propelled up the drive pipe.
However, if this pressure wave encounters an air pocket, the pump will come to a halt.
Therefore, it is crucial to ensure that there is no air trapped in the drive pipe to guarantee the smooth operation of the pump.
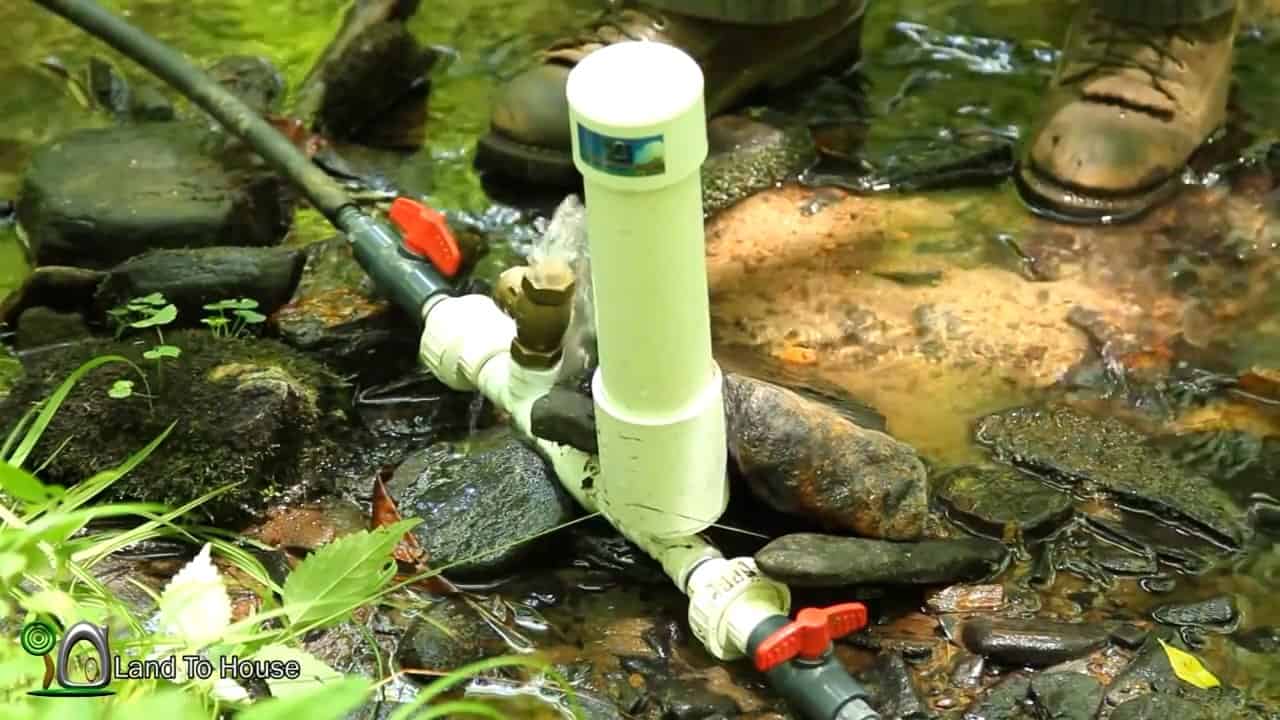
To prime the pump, begin by manually opening and closing the valve a few times until the pump starts to work automatically. It might take a few tries to get the right rhythm, but once you do, you should see the pump begin to function properly.
After the pump has been running for a minute or two, you can slowly open up the delivery pipe valve to allow the water to start flowing out.
It is important to note that you should not open the delivery pipe valve too quickly, as this can cause a sudden drop in pressure that could damage the pump.
Instead, open the valve slowly and steadily to allow the pressure to build up gradually.
Once the pump is running smoothly and the delivery pipe valve is open, the pressure tank will start to fill up with water.
This will help to maintain a constant pressure and flow rate, even when the water supply from the source is not consistent.
Image Credits : Land to House