In today’s world, access to clean and safe drinking water is essential.In emergency situations such as natural disasters or camping trips, the need for clean drinking water becomes even more critical.
This is where a homemade stovetop water distiller comes in. This project provides step-by-step instructions on how to build a simple and cheap distiller that can transform dirty or saltwater into fresh, clean, and drinkable water quickly.
The setup is suitable for both everyday and emergency use and is designed for fast assembly and disassembly, making it easily portable.
STEP 1 : THE MATERIALS
To construct the stovetop water distiller, the following materials are required:
- Teapot: This will serve as the main vessel for holding the dirty or saltwater that requires distillation.
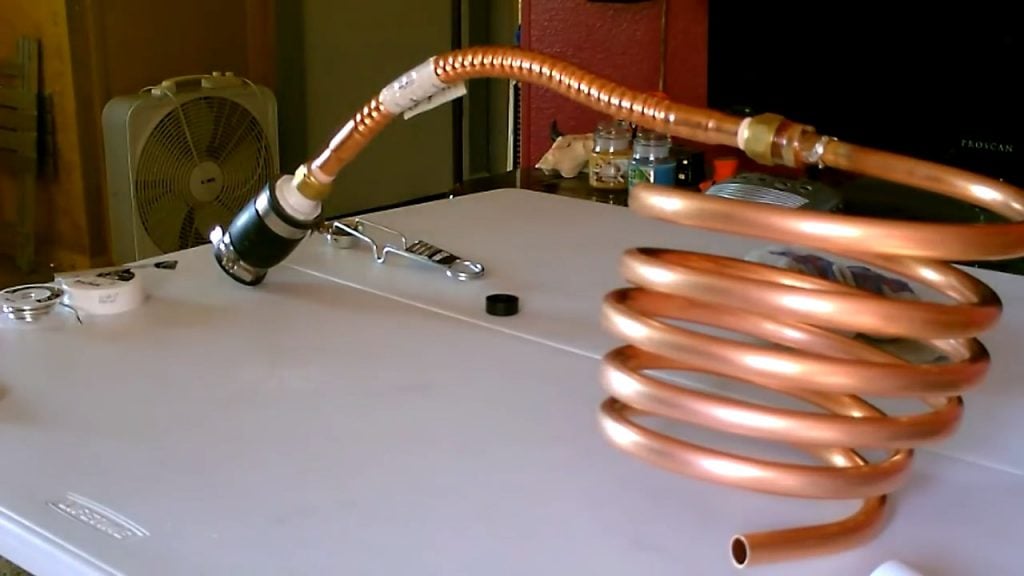
- 10 feet copper coil: The copper coil will be used to transfer heat from the heat source to the water in the teapot. This, in turn, will facilitate the boiling of the water, and the steam generated will be transported through the coils for the distillation process.
- Corrugated stainless steel or copper tube: This tubing will be attached to the copper coil to direct the steam generated during the distillation process into a container for collection.
STEP 2 : ADDING THE COUPLING
To set up the stovetop water distiller, the water source coupling needs to be attached to a corrugated copper pipe that measures one and a half feet in length and has a diameter of three-quarters of an inch.
This copper pipe should then be connected to a half-inch diameter copper tubing.
The half-inch copper tubing should be ten feet long and further reduces the water’s diameter to half an inch, ensuring a smoother flow of water through the tubing.
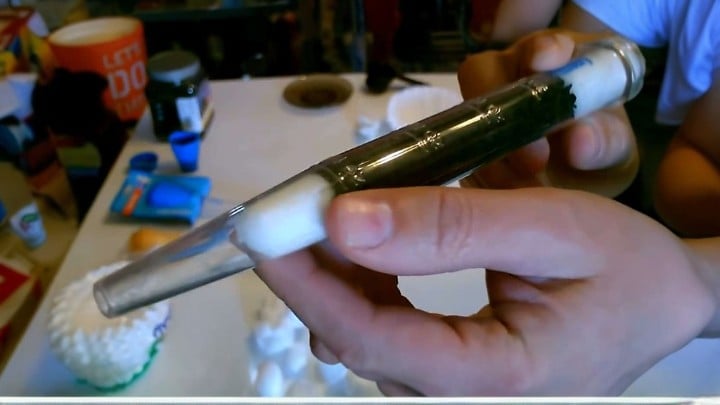
STEP 3 : BENDING THE TUBE
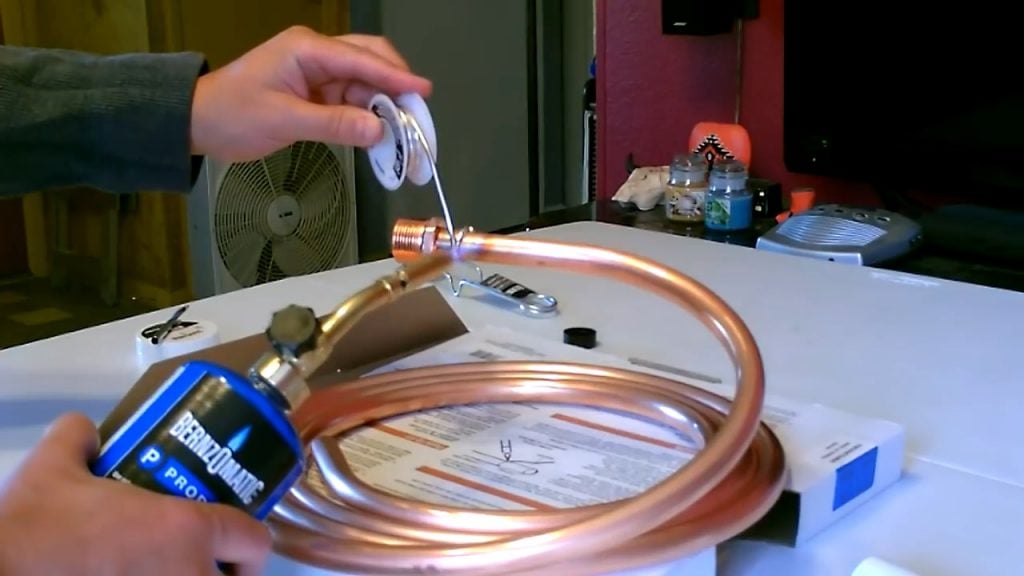
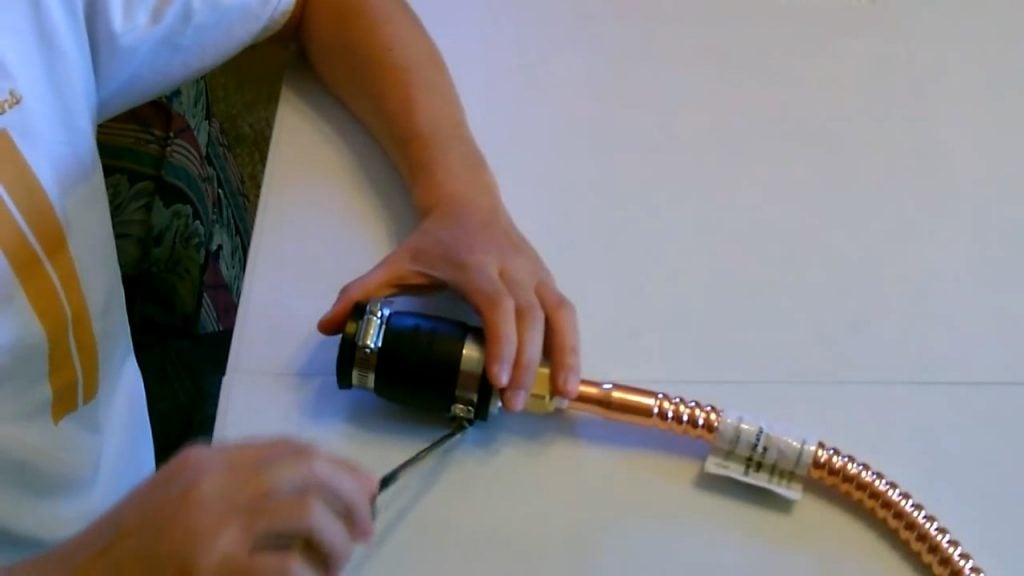
In this step, we need to attach the three-quarter inch threaded two and a half adapter to the 10-foot copper coil tubing. This adapter needs to be soldered securely onto the tubing to ensure a leak-proof connection.
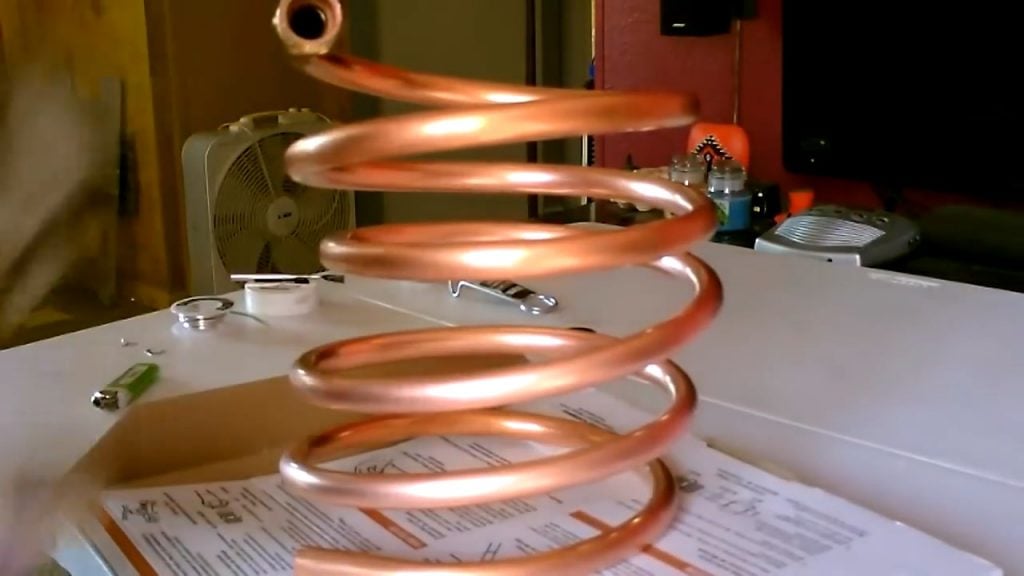
Once the adapter is attached, the copper tubing needs to be bent into a tight spiral shape. This is crucial as it maximizes the surface area of the tubing, allowing for efficient heat transfer.
The tight spiral shape also ensures that the tubing can fit snugly into the container holding the dirty or saltwater, thereby reducing any chances of leaks or spills.
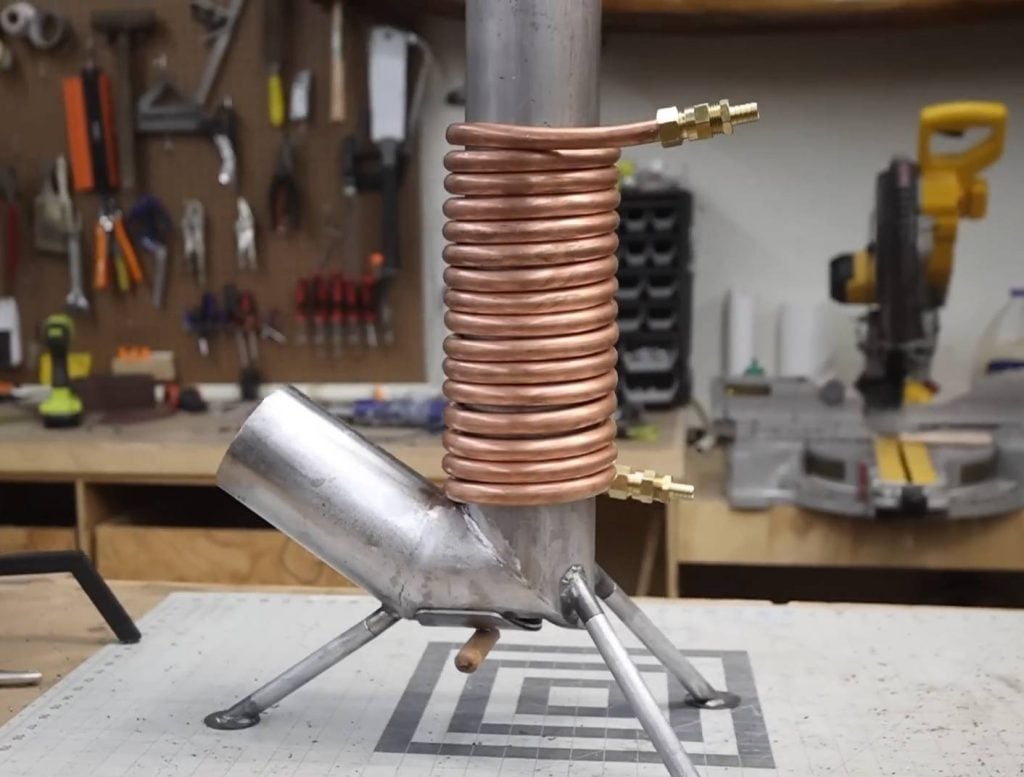
STEP 4 : BENDING THE TUBE
To continue with the stovetop water distiller setup, we need to insert a foot and a half corrugated pipe made of either stainless steel or copper into the 10 feet twisted copper coil.
This will serve as a pathway for the steam generated during the distillation process to travel through the coil and into the collection container.
The end of this corrugated pipe should be inserted into either the teapot or the water source connector, depending on the direction of water flow.
This ensures that the steam generated during the distillation process is collected efficiently and directed into the container without any wastage.
The total length of the coil should be 12 feet, with 10 feet of the copper tubing and a foot and a half of the corrugated pipe.
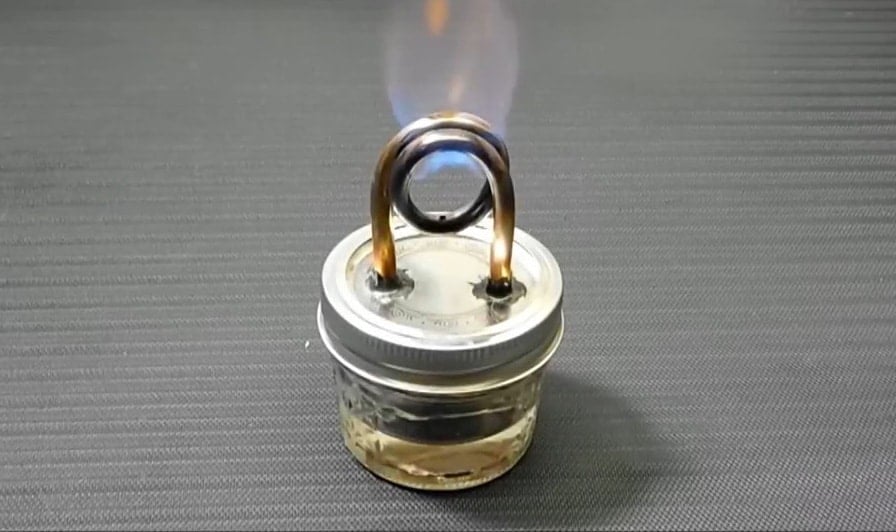
STEP 5 : CONDENSATON PROCESS
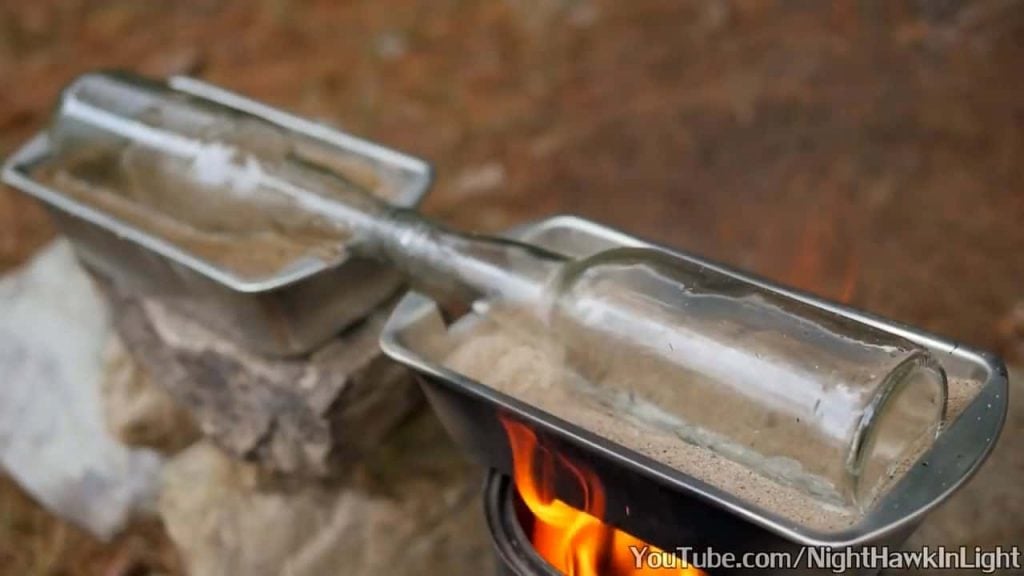
As the stovetop water distiller is heated, steam rises from the dirty or saltwater in the teapot without carrying any of the impurities along with it.
This steam then travels through the coils and slowly begins to cool and condense as it loses heat energy to the surrounding environment.
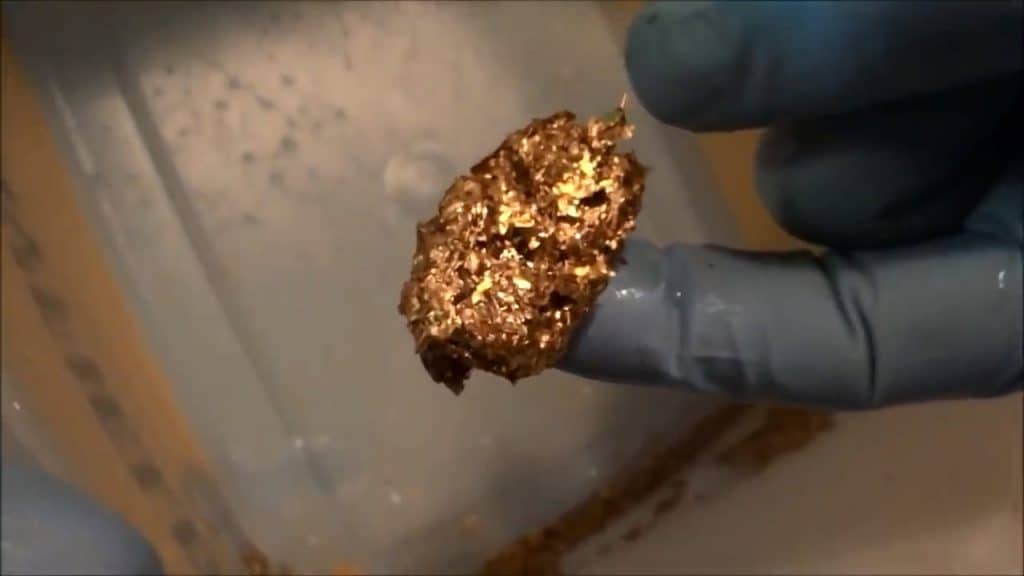
As the steam condenses, it transforms back into its liquid form, dripping out of the distiller as clean water.
This process ensures that any impurities and contaminants present in the original water source are left behind in the teapot, while the steam is purified and condensed into clean, safe, and potable drinking water.
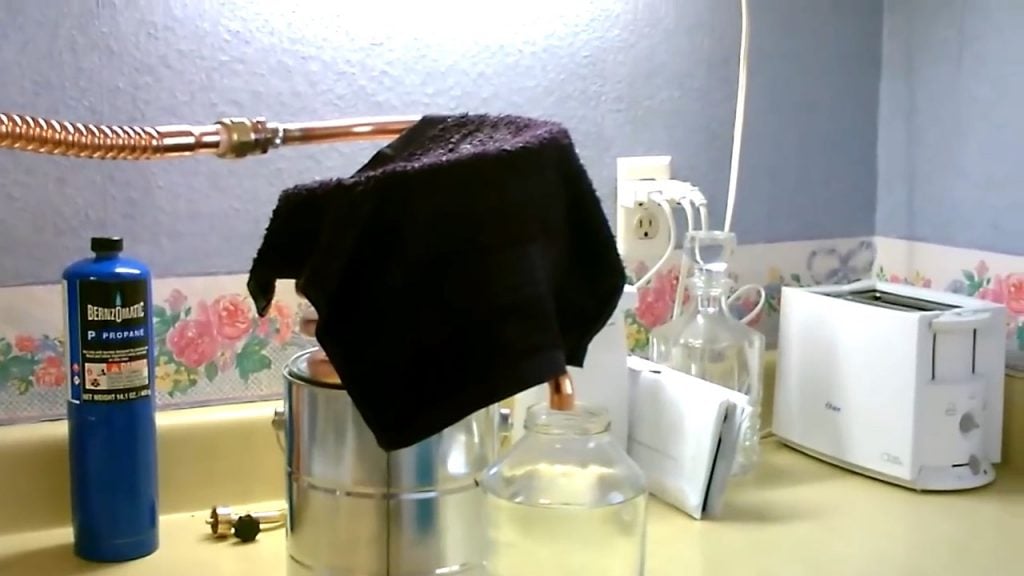
STEP 6 : ADDING A COLD TOWEL
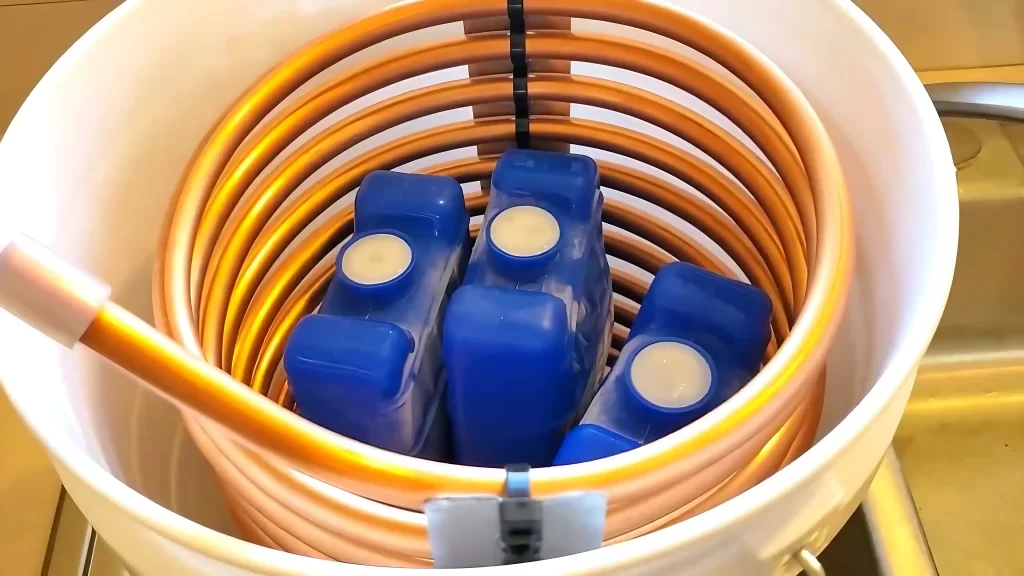
To speed up the distillation process and make it more efficient, it is recommended to wrap some cold towels around the copper coil or even submerge it in cold water.
This helps to cool the steam more quickly and encourages faster condensation, resulting in a higher yield of clean water.
Additionally, placing a layer of aluminum foil over the top of the teapot can help to prevent heat loss and maintain a consistent temperature throughout the distillation process.
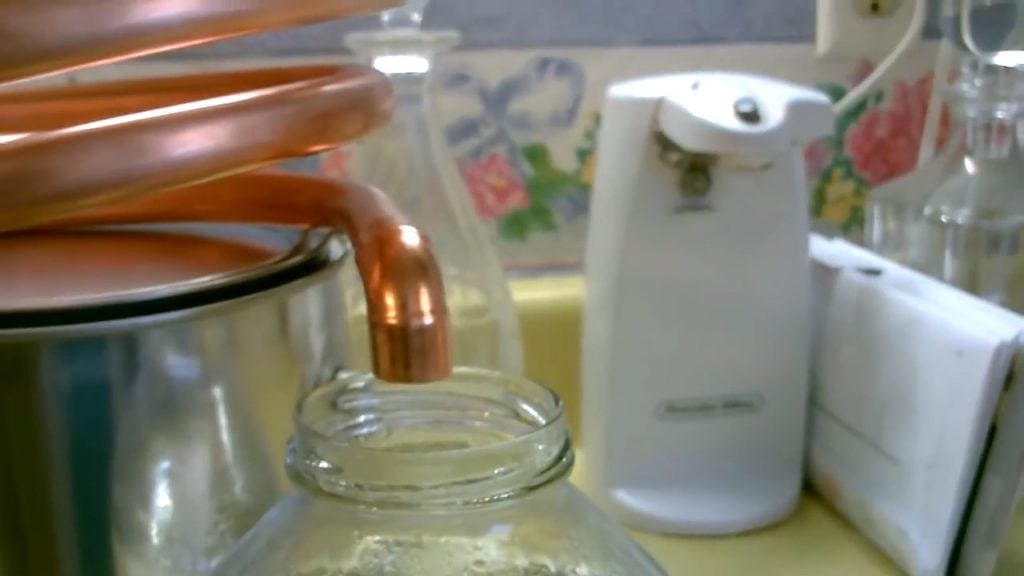
To collect the distilled water, a glass jar should be placed below the end of the copper tubing, with the tube extended down slightly to ensure that the clean water drips directly into the container.
While it is possible to construct the stovetop water distiller with just a single corrugated copper tubing, the addition of more copper tubing can significantly improve the efficiency and yield of the distillation process.
By increasing the length of copper tubing, there is more surface area available for heat transfer, allowing for a greater amount of steam to be generated.
The additional tubing also increases the amount of time the steam has to condense, resulting in a higher yield of clean water.
During testing, it was found that by adding more copper tubing, a higher yield of clean water could be achieved in a shorter period. With the optimal setup, half a gallon of clean water was produced in just 2.5 hours.
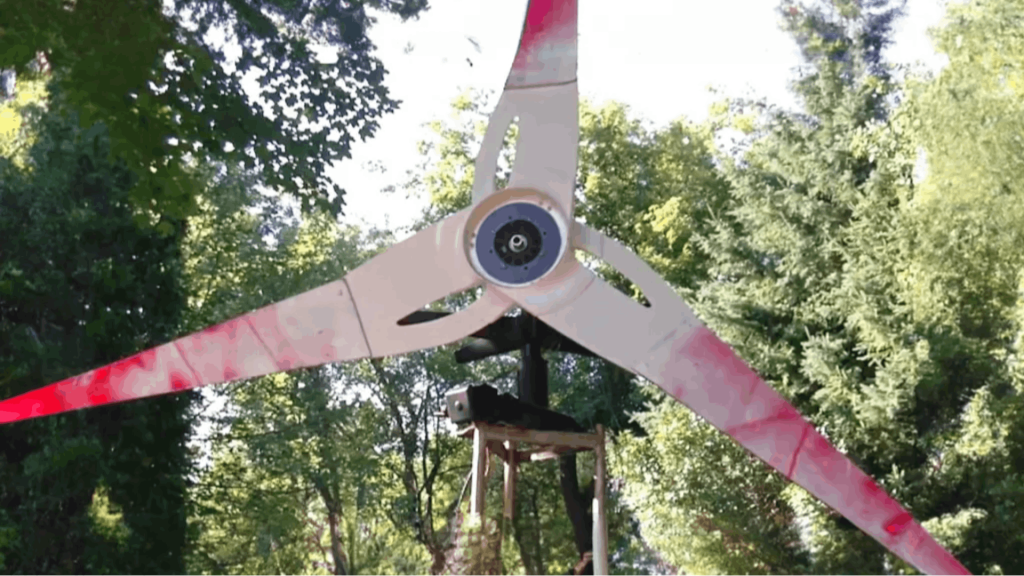
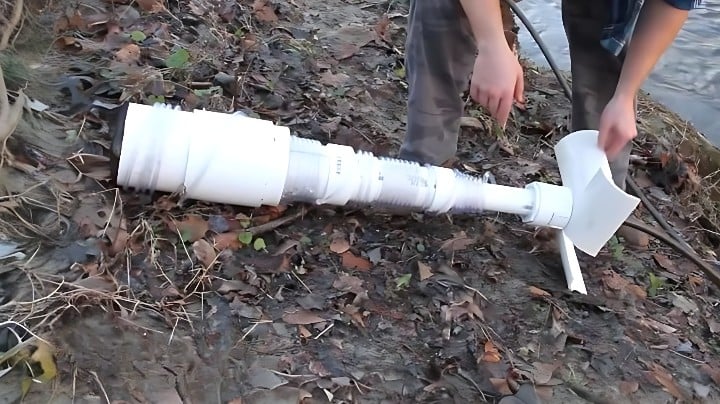
You can use this on the stovetop, rocket stove campfire, even a parabolic concentrator like dish cooker. Anyway to get that water boiling, then just hook it up like this. Makes tons of clean water really fast.
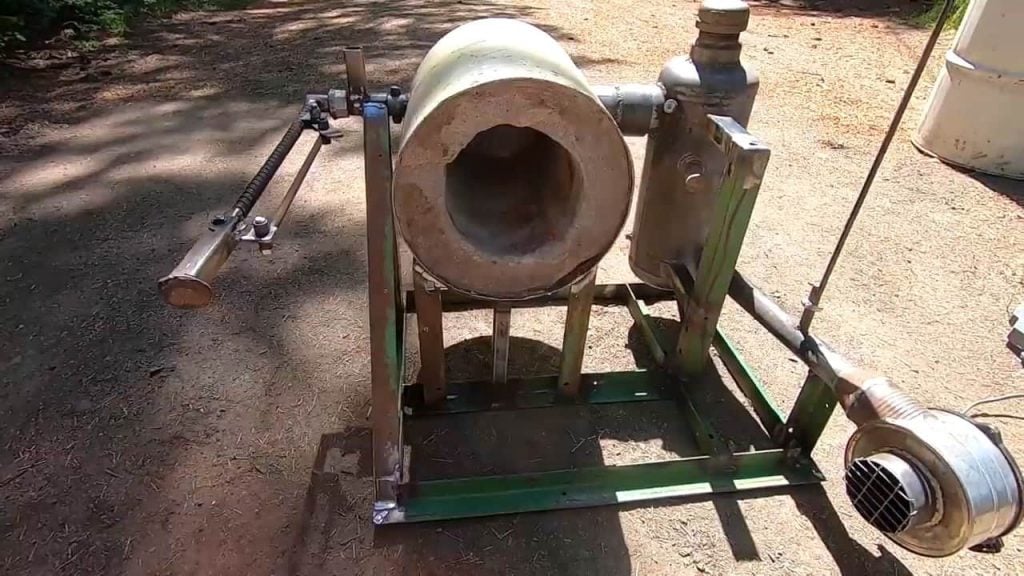
The stovetop water distiller can be used not only on a stovetop but also on a rocket stove campfire or a parabolic concentrator like a dish cooker.
The setup is designed to be versatile and adaptable, so it can be connected to any heat source that is capable of bringing water to a boil.
To use the distiller with a rocket stove campfire or parabolic concentrator, the water source coupling and teapot can be replaced with suitable connectors that can be hooked up to the heat source.
With this setup, the distiller can be used in a range of environments and situations, making it an excellent choice for emergency or off-grid scenarios.
Image Credits :desertsun02 | Youtube