This article provides a step-by-step guide on how to build a rope-making machine at home using easily available and affordable materials from your local hardware store.
The process involves using a cordless power drill and several basic materials such as eye bolts, fender washers, plastic castor wheels, and lumber, among others.
With this machine, you can create a three-strand rope that is strong and durable.
STEP 1 : MATERIALS REQUIRED
To build your homemade rope-making machine, you will need several basic materials that can be easily sourced from your local hardware store.
These include three-quarter inch by five-inch eye bolts with hex nuts, fender washers, cut washers, hex nuts, plastic castor wheels, two by two, and one by six by six-piece of lumber, and old bicycle tire tubes.
The eye bolts and hex nuts will be used to create the spinning hooks that hold the strands of the rope in place, while the fender washers and cut washers will help to secure the bolts and ensure that they spin freely.
The plastic castor wheels will serve as pulleys that allow the hooks to spin together, and the lumber will be used to create the twin boards that hold the hooks and support the rope-making process.
The old bicycle tire tubes will serve as a pulley belt to connect the pulleys and hooks.
STEP 2 : MAKING THE TWIN BOARDS
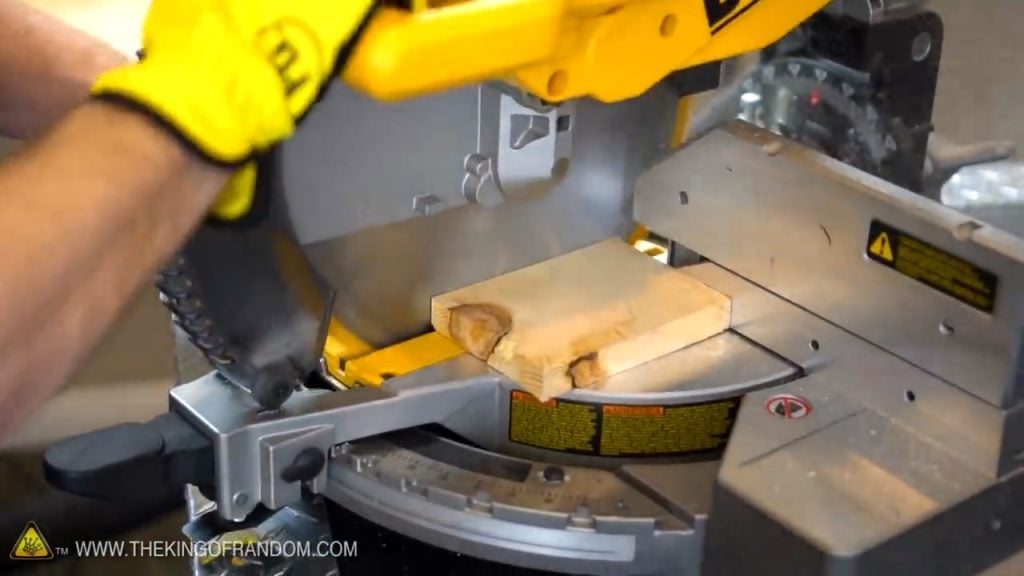
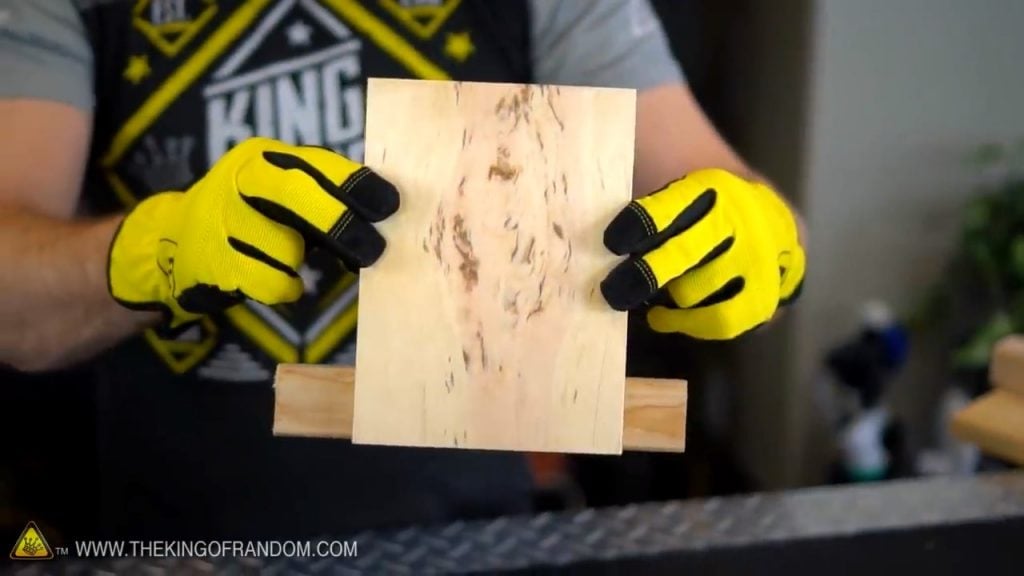
Here,you will need to prepare the twin boards that will hold the spinning hooks. First, take a board and cut it to a length of seven and a half inches.
Then, take the first piece and double it over the second one, cutting them together so that they are precisely the same length.
This will ensure that the twin boards are symmetrical and well-balanced. Next, take a piece of two by two and cut it to a length of eight and a half inches.
This piece of lumber will be used to connect the twin boards and provide support for the rope-making process.
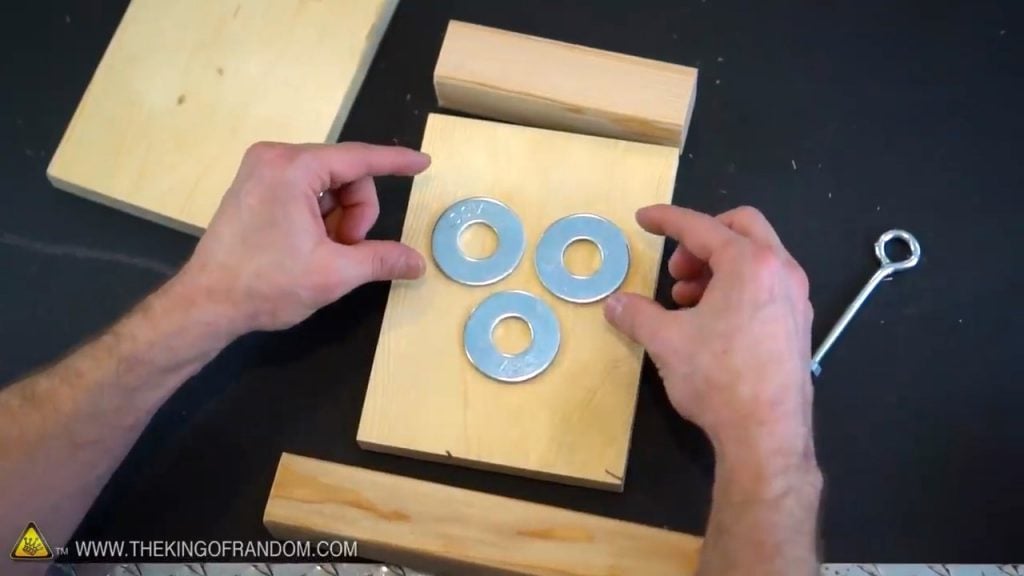
STEP 3: ADDING THE WASHERS
The next step in building your homemade rope-making machine is to position large fender washers on the board in a triangular formation.
It’s important to position them in a way that ensures similar spacing at the top and bottom when the two by two is added to the top and bottom.
Once the washers are in place, the twin boards can be put together and the centers can be marked. Next, holes can be drilled in the marked centers to prepare for the installation of the spinning hooks.
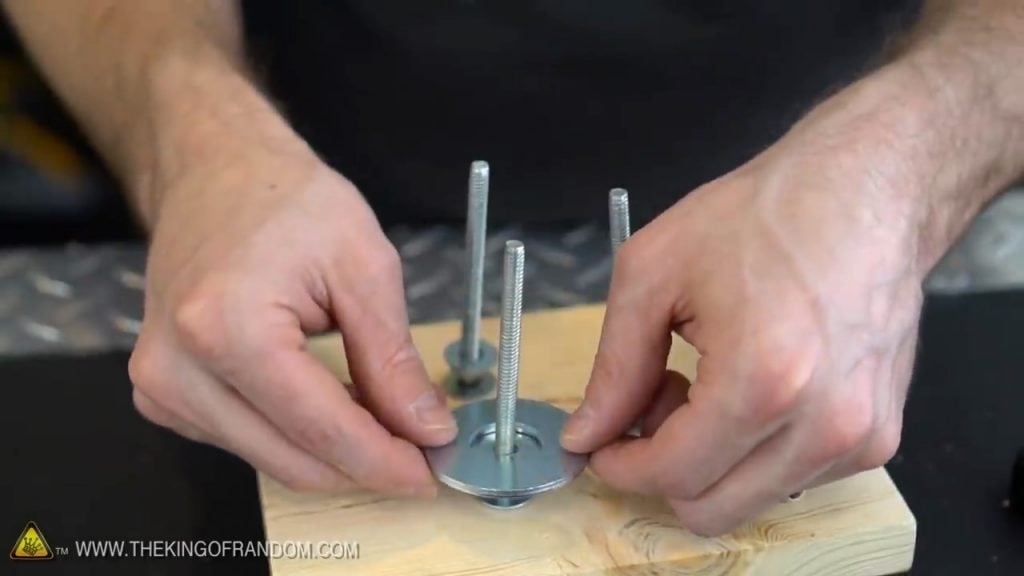
STEP 4 : SPINNING HOOKS
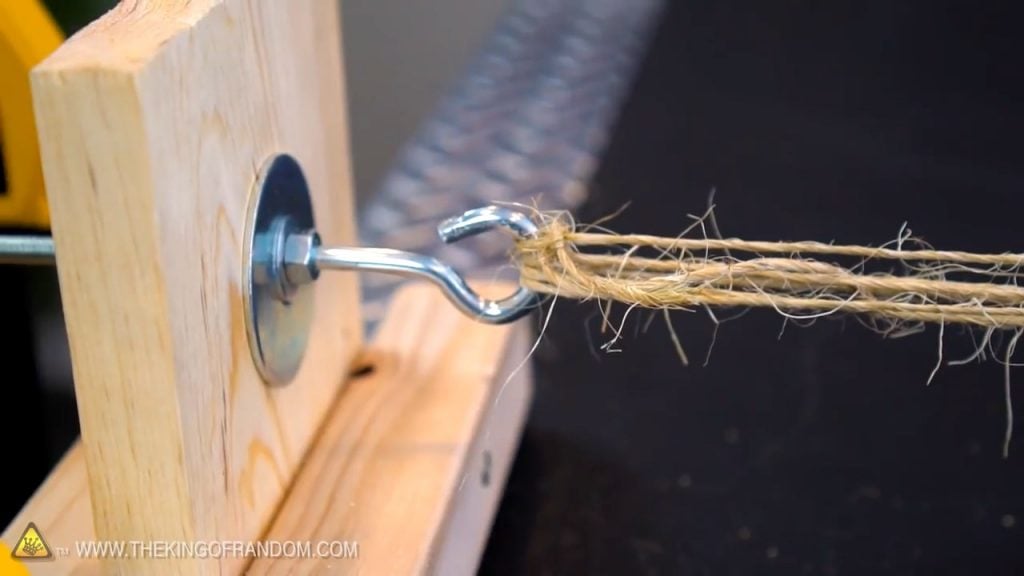
After preparing the twin boards, the next step is to create the spinning hooks. These hooks are made from eyebolts that serve as a hook to hold the strands of the rope in place.
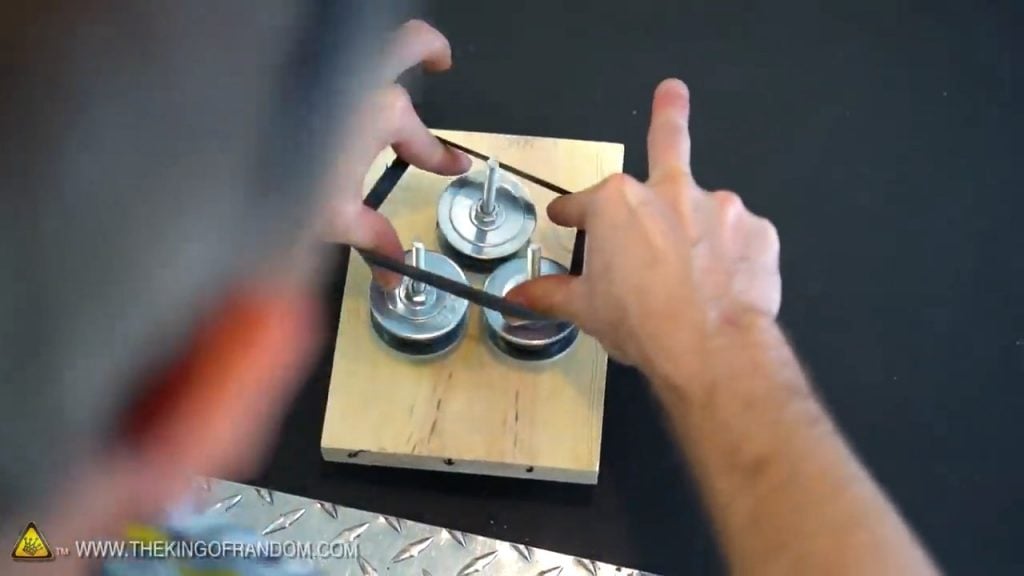
To create the spinning hooks, the eyebolts are attached to three plastic castor wheels that will act as pulleys.
These wheels are connected together with a small piece of bicycle tire tube, which allows them to spin together when one is rotated.
By building these spinning hooks and pulleys, you will be able to efficiently twist and intertwine the strands of the rope, resulting in a strong and durable finished product.

To install the spinning hooks , take the three eyebolts and insert them through the previously drilled holes in the twin boards.
Once in place, secure them tightly using a small cut washer and hex nut to lock them in place, but still allow them to spin freely. Next, insert the castor wheels through the bolts and secure them using fender washers, cut washers, and nuts.
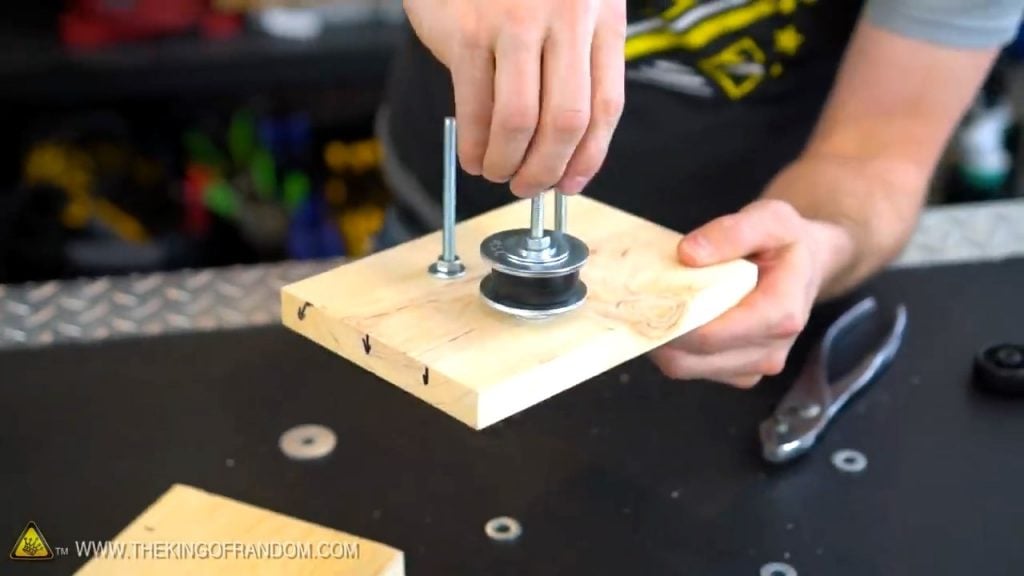
STEP 5 : OLD TIRE TUBE PULLEY
After installing the spinning hooks and pulleys, the next step in building your homemade rope-making machine is to add the tire tube piece to create a pulley belt.
To do this, take an old tire tube piece and align it between the two washers.
Cut a piece that is roughly the same length as the gap between the washers. Then, loop the tube over the pulleys all at once.
Once this is done, the second board can be pushed through the bolts over the wheel pulleys. It’s important to ensure that everything is lined up symmetrically.
When one bolt is turned, the belt will drive the other two pulleys, causing all three to spin together.

STEP 6 : ADDING SUPPORT
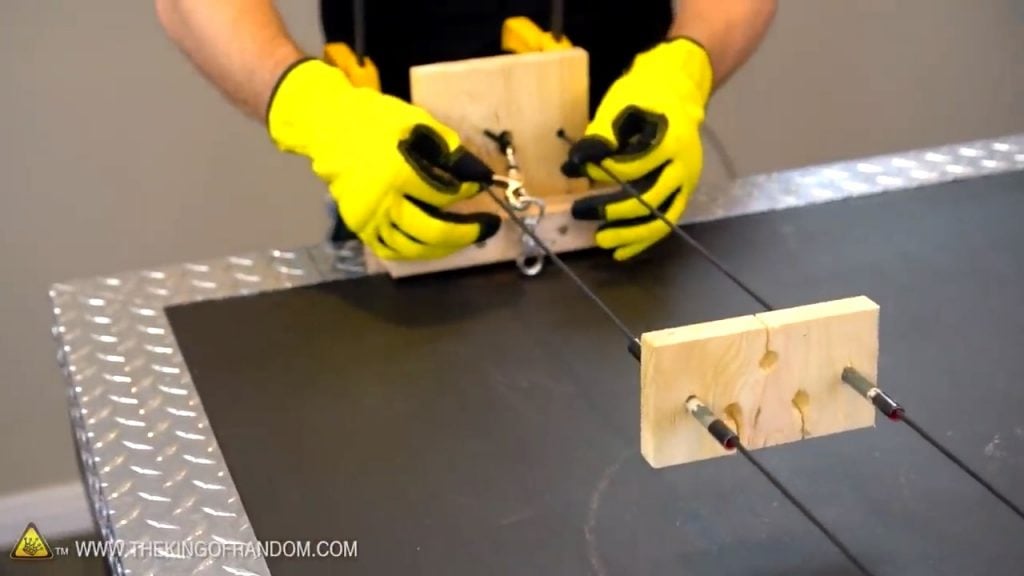
As we are running the hook spinner, we are going to need something to hold it at the other end, To make the other end of the mechanism that holds the strings in place, we take a six-inch piece of common board and eight and a half inches of our two by twos on the bottom to secure it as a base and them we clamp it over a table.
The idea is that as each hook begins to spin, the two cords attached to it will intertwine with each other. And then eventually all three of those cords will mesh together to make a nice three-stranded rope.
STEP 7 : ADJUSTING THE TENSION
During the process of twisting the strands of the rope, tension is created that can put stress on the backboard. To alleviate this tension and prevent damage to the machine, we need to create a counterweight system.
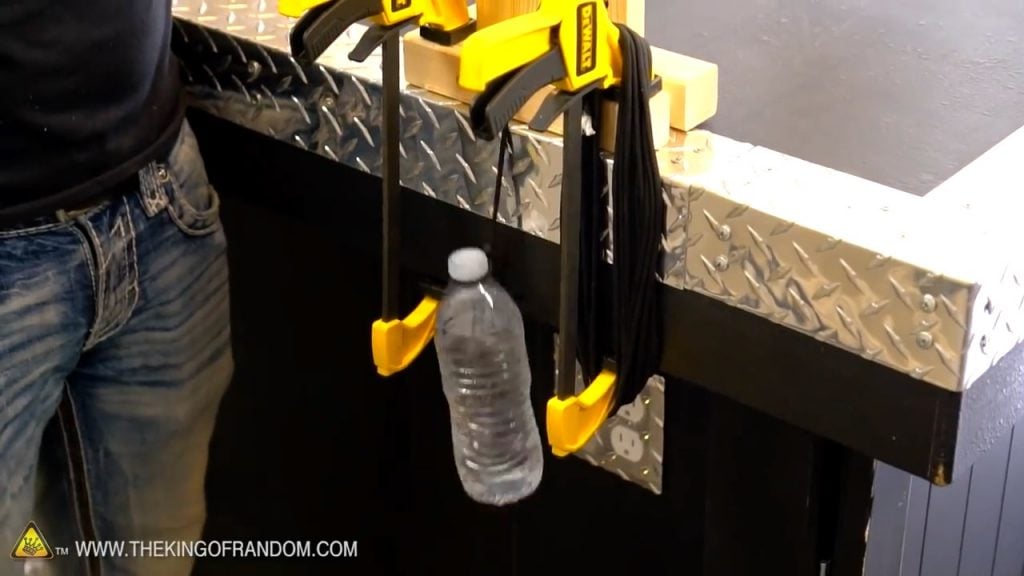
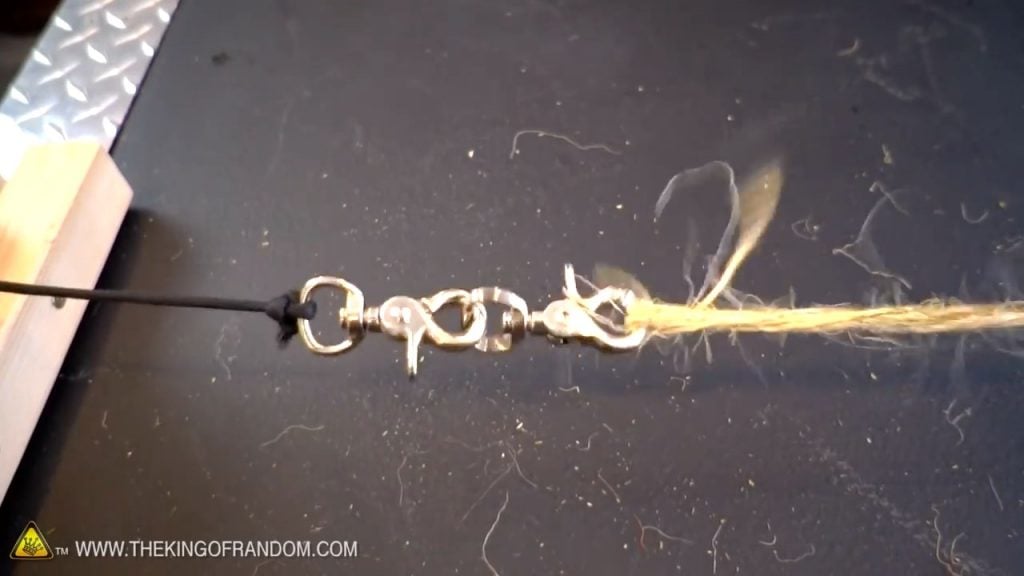
To do this, we drill a hole through the backboard and tie the rope to another counterweight rope through a swivel hook.
This counterweight rope will pull the tension and allow it to rise as the cord is pulled, relieving the tension on the backboard.
STEP 8 : ADDING A ROPE MAKER
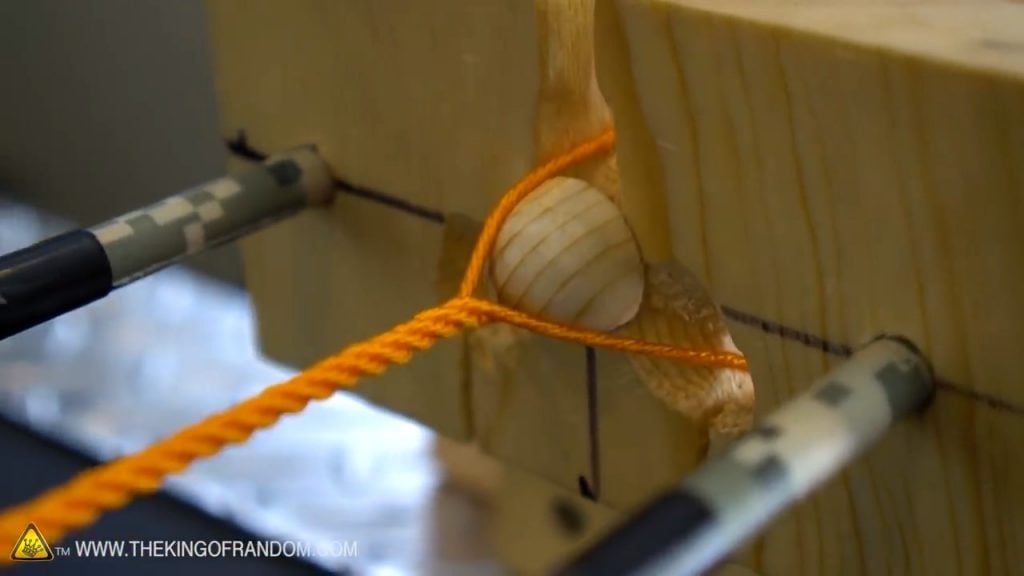
We also make a ropemakers top that will help guide those strands into the beautiful three-strand cord. We add two ropes between the spinner mechanism as guidelines and connect them to the backboard to accommodate the rope makers’ top.
The idea is that as the tension builds it will glide forward and guide the individual strands into place to form a three-stranded rope.
We sandpaper the holes on the rope maker’s top to make it smoother so that the lines won’t snag up when they start twisting.
We put a wooden knob on the back to reduce the friction so that the rope makers’ top can slide smoothly.
Loop the cords through each of the three hooks on our rope maker machine. Form a slipknot and connect it to the swivel hook. We have our rope machine build complete.
To tie and cut of the rope, take a small piece of electrical tape and wrap it around the end where you want to cut it off. Cut The Rope at the back just where the electrical tape ends.
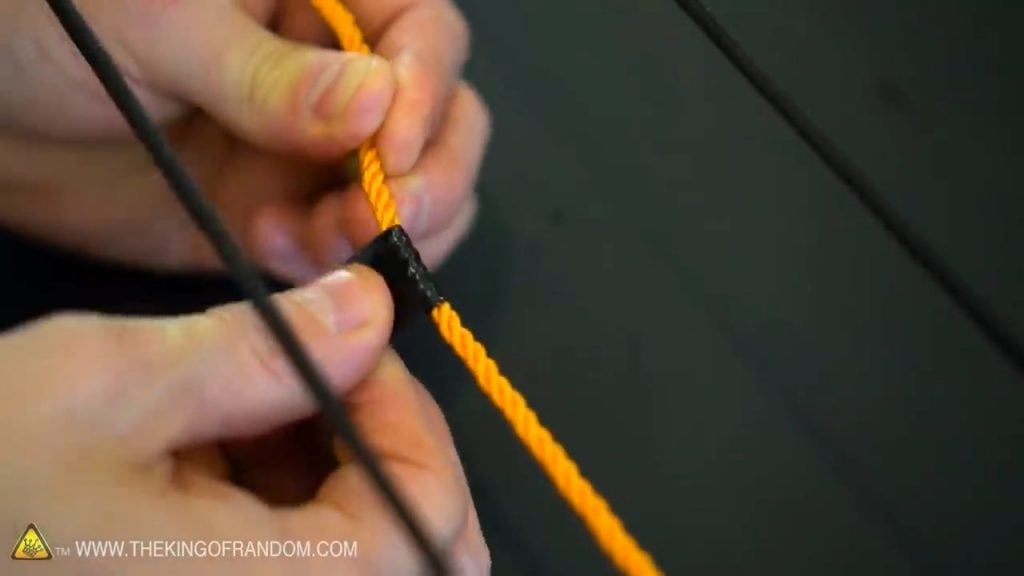
Image Credits : TKOR