Tired of humid, ineffective cooling solutions? This DIY portable air conditioner offers a smart alternative. Unlike traditional portable AC units, this design boasts Three distinct advantages: provides long-lasting cooling with ice that can last for days, produces no humidity, and offers unparalleled versatility in placement.Using basic materials like PVC pipes, copper tubing, and a water pump, you can create a powerful cooling system that’s perfect for any space.
The main advantages of this DIY Air Conditioner are :
-
Longer-Lasting Ice: Say goodbye to constantly replenishing your ice supply. By strategically separating the fan from the ice reservoir, this design significantly extends the ice’s lifespan. The fan blows air over a chilled water-filled copper coil, indirectly cooling the air and minimizing direct contact with the ice, leading to slower melting.
-
Humidity-Free Cooling: Unlike conventional swamp coolers that can make the air feel damp and heavy, this system prioritizes dry cooling. By circulating chilled water through the copper coil instead of blowing air directly over ice, you can enjoy cool air without the added humidity. This feature is particularly beneficial for those residing in humid climates.
-
Versatile Placement: The fan unit’s separation from the cooler offers unparalleled flexibility. Position the fan on a table, shelf, or wherever you need cool air most. The system’s design accommodates a five-foot rise in water pumping and flexible tubing, allowing you to place the cooler on the floor or in a convenient out-of-the-way spot.
STEP 1 : The Materials Required

- Copper tubing (Odx10′ Refrig Tubing, 1/4″ by 10″)
2. Small plastic tubing (Airline Tubing for Aquarium, 25-Feet)
3. Large plastic tubing ( Silicone Tube 1/2″(12mm) ID x 5/8″(16mm))
4.Water Pump (VIVOSUN 400GPH Submersible Pump)
5. Coleman 48-Quart Cooler
6 . VIVOSUN D4 4 Inch 195 CFM Inline Duct Ventilation Fan
7. Copper Cutter Tool
8. 4″ abs pipe x 2 ft
9. 3″ pvc pipe x 2 ft
10. Hose barb adapter 3/16″ ID x 1/4″ MIP
11.Hose barb adapter 1/2″ ID x 3/8″ MIP
12.Compression coupling 1/4″ OD x 3/8″ FIP
13. Compression coupling 1/4″ OD x 1/4″ FIP
14 . Misc items such as
-
Screws
-
Drill with 5/8-inch and 1/4-inch bits
-
Crescent wrench
-
Hammer
-
Tape measure
-
Towel
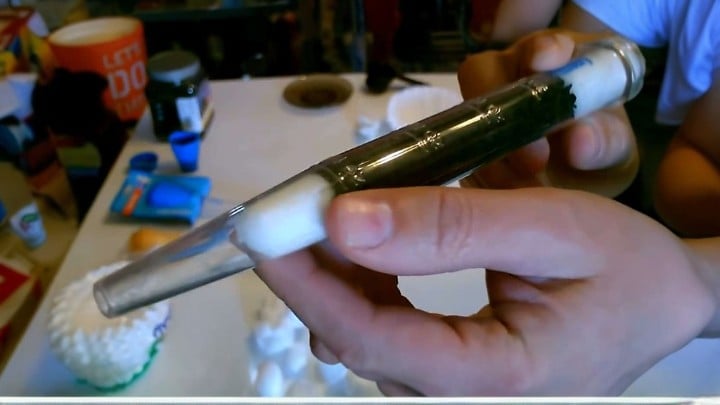
STEP 2 : Prepare the Copper Tubing

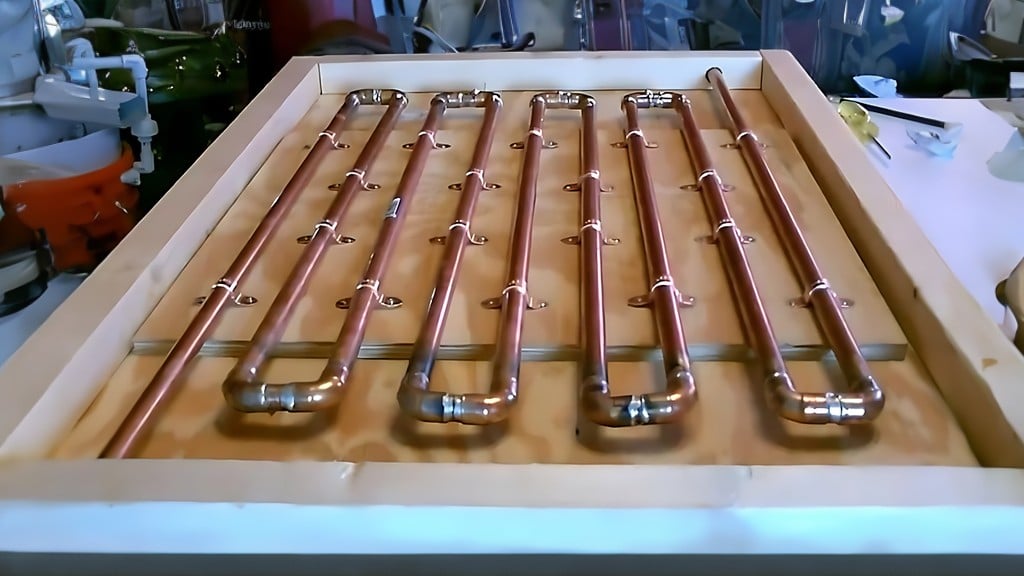
This 4-inch pipe is the main conduit through which the fan will blow air, passing over the copper tubing coils to create the cooling effect. Here we use a three inch pipe to be able to coil the copper around the pipe so that it would easily slide inside of the four inch pipe .
You could coil the copper tubing by hand, but using the 3-inch pipe as a guide makes the process easier and likely results in a more uniform coil that fits well inside the 4-inch pipe.
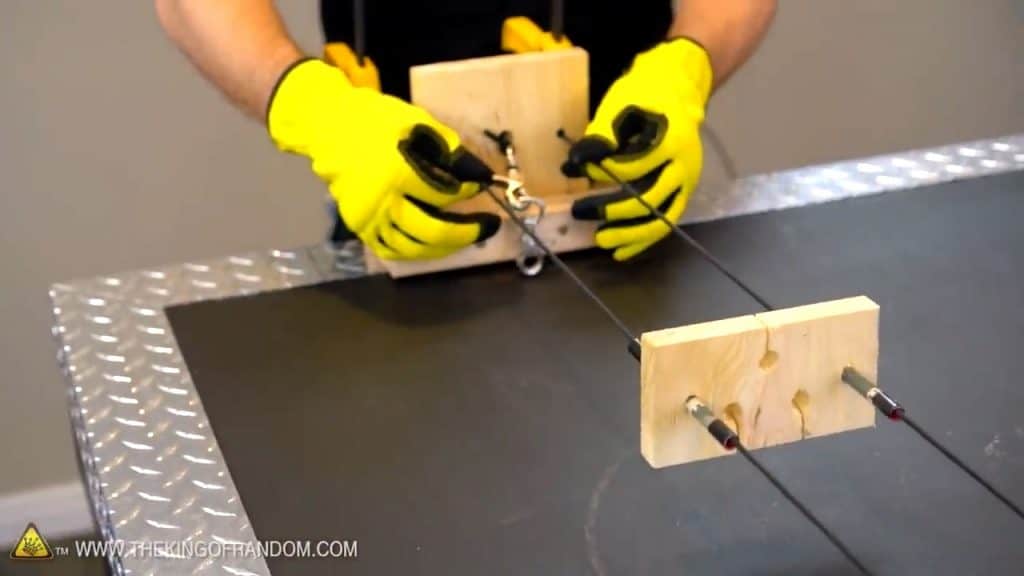
STEP 3 : Attach the Fittings

Carefully attach the couplings to both ends of the copper tubing. Be cautious when pressing the fittings on – use a towel or glove to protect your hand from potential cuts if the copper slips through. If the fittings are difficult to attach, use a crescent wrench to gently clamp and rotate the copper tubing to straighten it further.Never push fittings on with your bare hand as the copper edge can cut you. Place a towel or other barrier between your hand and the copper.
The copper coil acts as a heat exchanger. Chilled water from the cooler is pumped through this coil. As air blown by the fan passes over the cold coil, heat is transferred from the air to the chilled water, effectively cooling the air.

Step 4: Prepare the 4-inch Pipe

On the 4-inch PVC pipe, drill a 5/8-inch hole about 3 inches from one end. This is for the larger return hose. Drill a 1/4-inch hole about 3 inches from the other end. This is for the smaller tubing connected to the pump. Connect both small and big plastic tubings to either end of the coiled copper pipe.

Carefully slide the coiled copper tubing, with its fittings attached, into the 4-inch PVC pipe.


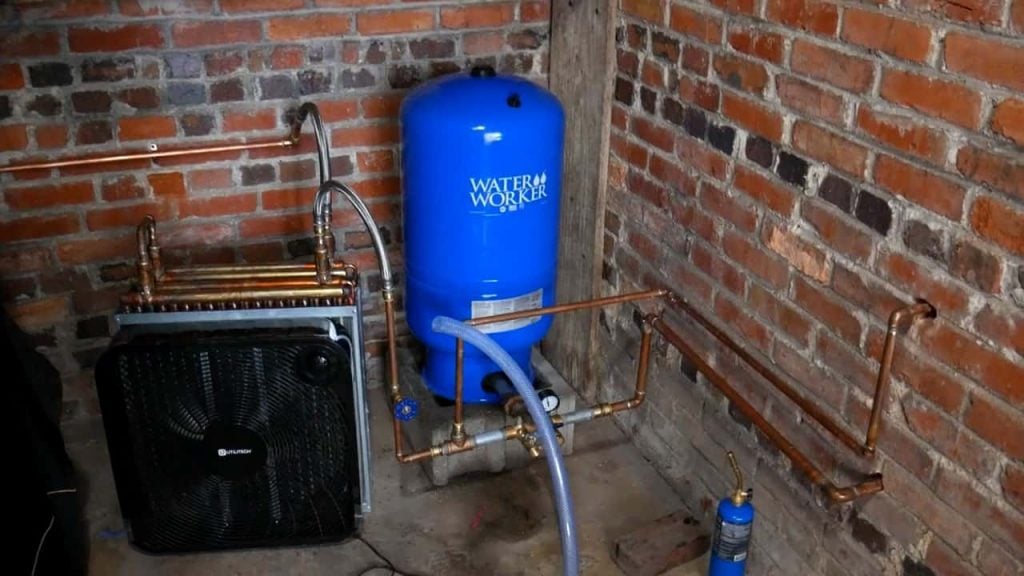
Step 5: Assemble the Fan and Pipe

Attach the fan to one end of the 4-inch pipe.Drill pilot holes into both the fan unit and the 4-inch PVC pipe. This prepares them for secure attachment.
Step 6: Create a Mount

Cut the 1×8 piece of wood to the same length as the combined fan unit and PVC pipe.Drill pilot holes on the wood base aligned with the mounting holes on the fan unit.Use screws to securely attach the fan unit to the wood base

Drill a pilot hole at the front of the wood base, aligned with the 1/4-inch hole drilled on the PVC pipe. Secure a long 2 1/2-inch screw through this hole to support the front of the pipe.
Step 7 : Prepare the Cooler

Drill a 5/8-inch hole in the cooler lid for the larger return hose .Drill a 1/4-inch hole in the cooler lid for the smaller pump tubing.
Place the submersible water pump inside the cooler and add enough water to cover it.

Run the hoses from the copper coil through the holes in the cooler. The return hose should be positioned just above the ice and water line to allow water to flow back freely. Connect the main feed hose to the water pump.

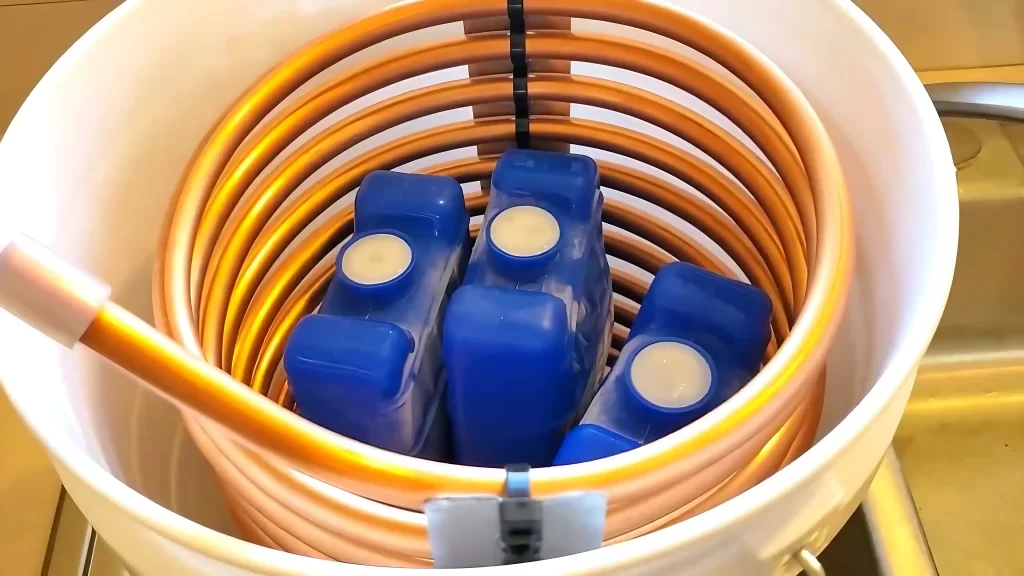
Step 8 : Add Ice and Water

Fill the cooler with ice and enough water to cover the pump.The water pump draws the chilled water from the cooler and circulates it through the copper coil. The fan blows air over the coil, cooling the air before it exits the pipe. The return hose allows the water to flow back into the cooler, creating a continuous cycle.

Image Credits : Kinduo