Are you looking for a cost-effective and efficient way to produce lumber from logs? Look no further than this DIY chainsaw mill project!
In this step-by-step guide, we will show you how to build a portable and space-saving chainsaw mill using materials that are readily available at your local hardware store.
With this chainsaw mill, you’ll be able to turn your logs into lumber with ease and without breaking the bank.
STEP 1 : MATERIALS REQUIRED
To build this DIY chainsaw mill, you will need to gather a few materials from your local hardware store. The first material you will need is one by one square tubing, which will form the main frame of the mill.
You will also need half-inch square tubing, which will be used to support the chainsaw bar. Quarter-inch flat bar will be used to make the brackets that hold the chainsaw in place.
In addition to these materials, you will also need weld nuts, which will be welded onto the frame to allow for easy adjustment of the chainsaw’s height.
A bandsaw will be used to cut the metal tubing and flat bar to the desired lengths, and a welding unit will be needed to weld the pieces together. In this project, the Millermatic 212 auto-set mig welder will be used for welding.
Finally, you will need a chainsaw to complete the mill. For this project, the Homelite 1130g chainsaw will be used. This saw has a 28-inch bar, making it ideal for use with the chainsaw mill.
STEP 2 : DIMENSIONS OF THE SAW
In this project, we will be using a saw with specific measurements to ensure a smooth and precise cutting process. The saw will have a 12-inch deck, which will serve as the milling surface and slide across the log during operation.
The maximum width of the mill will be 26 inches, providing ample space for milling larger logs. Additionally, there will be 8-inch metal pieces on both sides of the saw to provide stability and support during the milling process.
These metal pieces will be designed to firmly hold the saw in place, ensuring a secure grip and preventing any unwanted movements.
For holding the saw in place, we will be using quarter-inch flat stocks. These flat stocks will be welded onto the metal pieces, providing a sturdy and reliable platform to mount the saw.
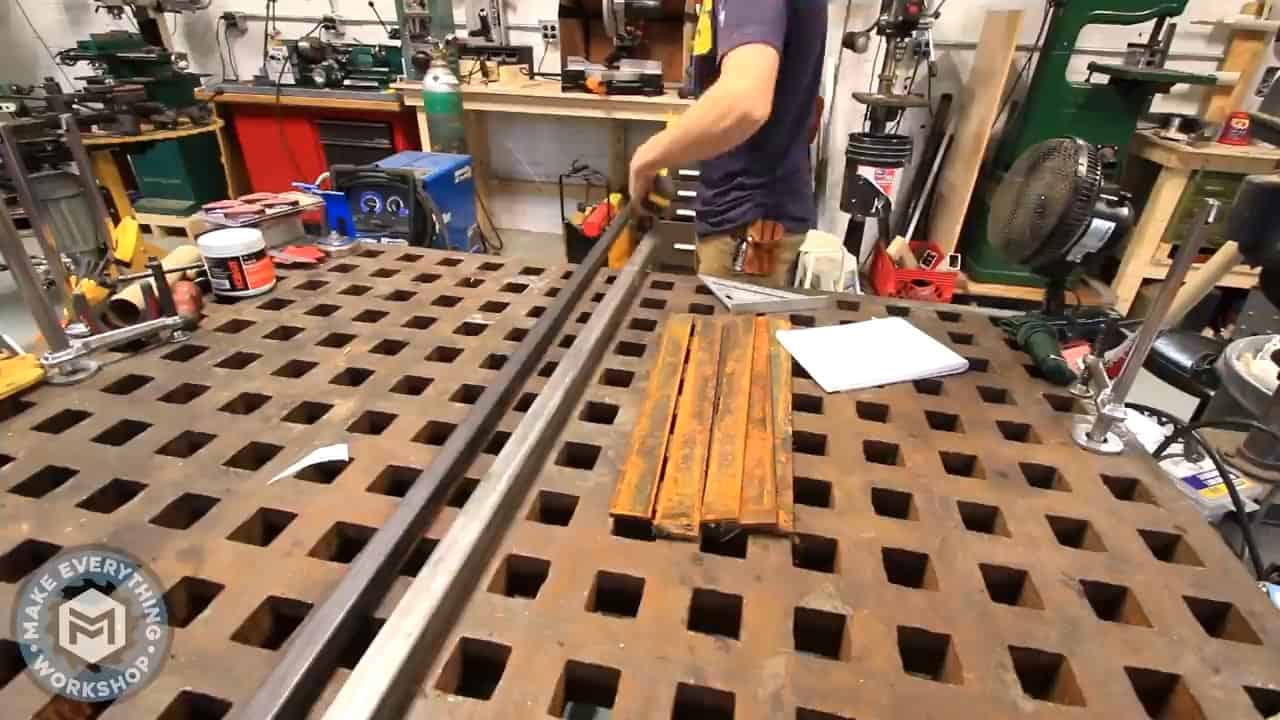
STEP 3 : MAKING THE RECTANGULAR GUIDE
The next step is to cut 26-inch pieces for the length and 12-inch pieces for the sides using a bandsaw or a handsaw.
Once you have the pieces cut to the correct length, you can start assembling them into a rectangular shape. Make sure the corners are square and the sides are even.
To ensure a strong and stable structure, it is recommended to use one by one square tubing for the length and half-inch square tubing for the sides.
This will provide enough strength to hold the weight of the saw and the logs being milled.
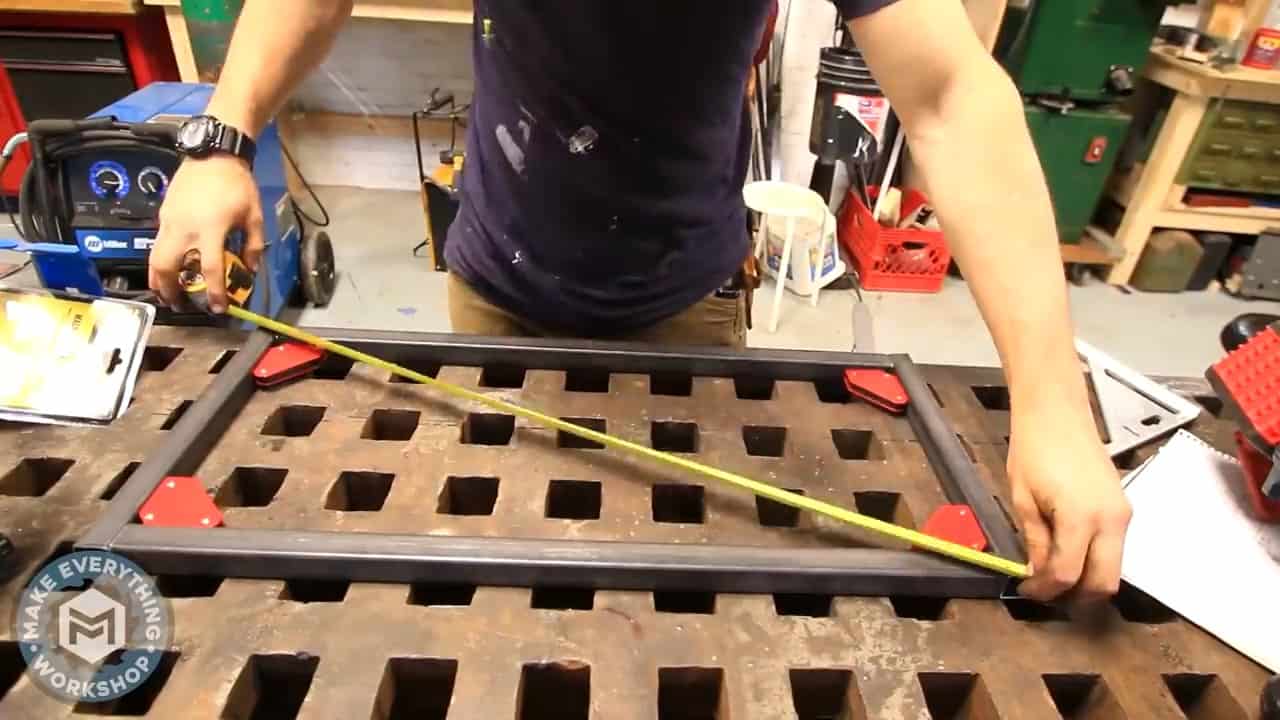
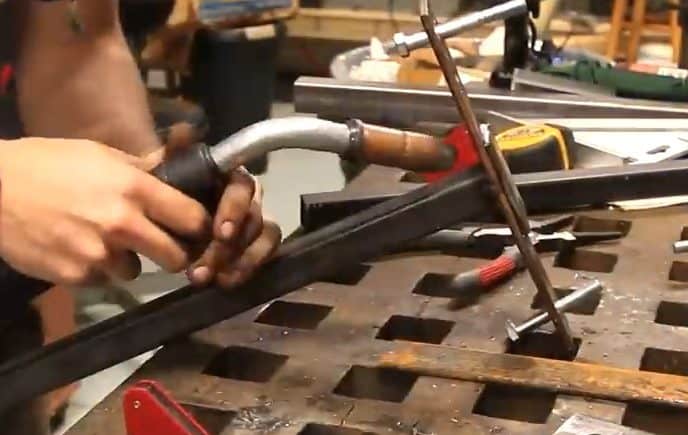
Once you have the pieces cut and assembled into a rectangle, it is time to weld them together using a MiG welder. Make sure the welds are strong and penetrate the metal properly.
You can also use clamps to hold the pieces together while you weld them.
After welding the pieces together, check the corners to ensure that they are square and the sides are even. This will ensure that the chainsaw mill is stable.
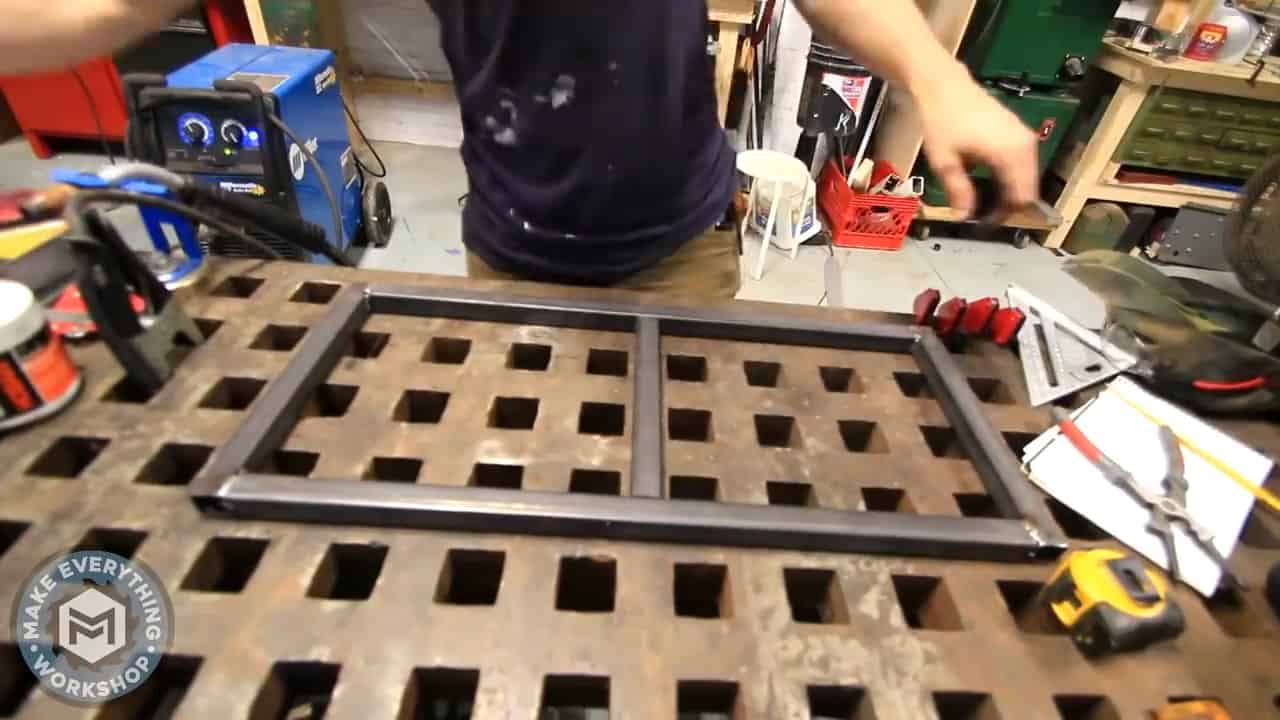
After assembling the rectangular guide plate, we need to add a center bar to provide additional support and prevent it from twisting.
This can be achieved by cutting a 12-inch piece of one by one square tubing and welding it to the center of the rectangle.
Before welding, ensure that the center bar is straight and centered along the length of the rectangular plate. Tack weld it into position and check for any misalignment.
Once you are satisfied with its placement, weld the center bar to the rectangular guide plate using a MIG welder.
This center bar will help to evenly distribute the weight of the logs being milled, ensuring a smooth and stable milling process. It also adds rigidity to the guide plate and prevents any twisting or warping.
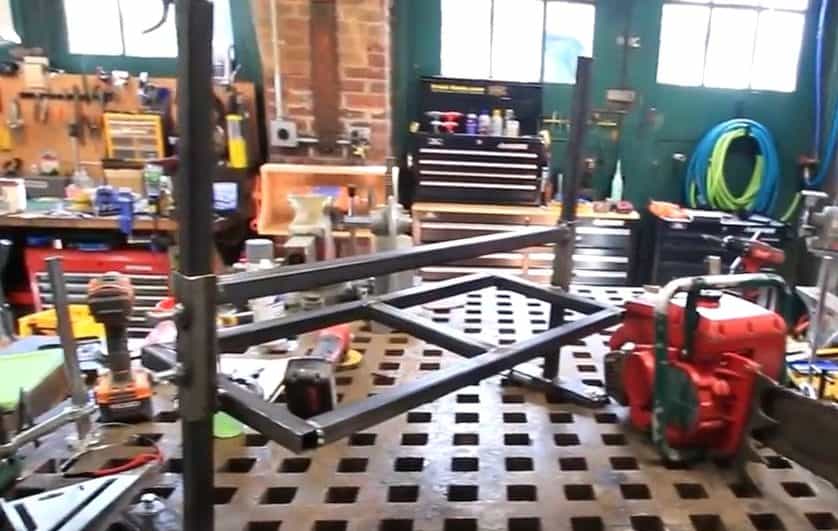
STEP 4 : WELDING THE ADJUSTABLE GUIDE POSTS
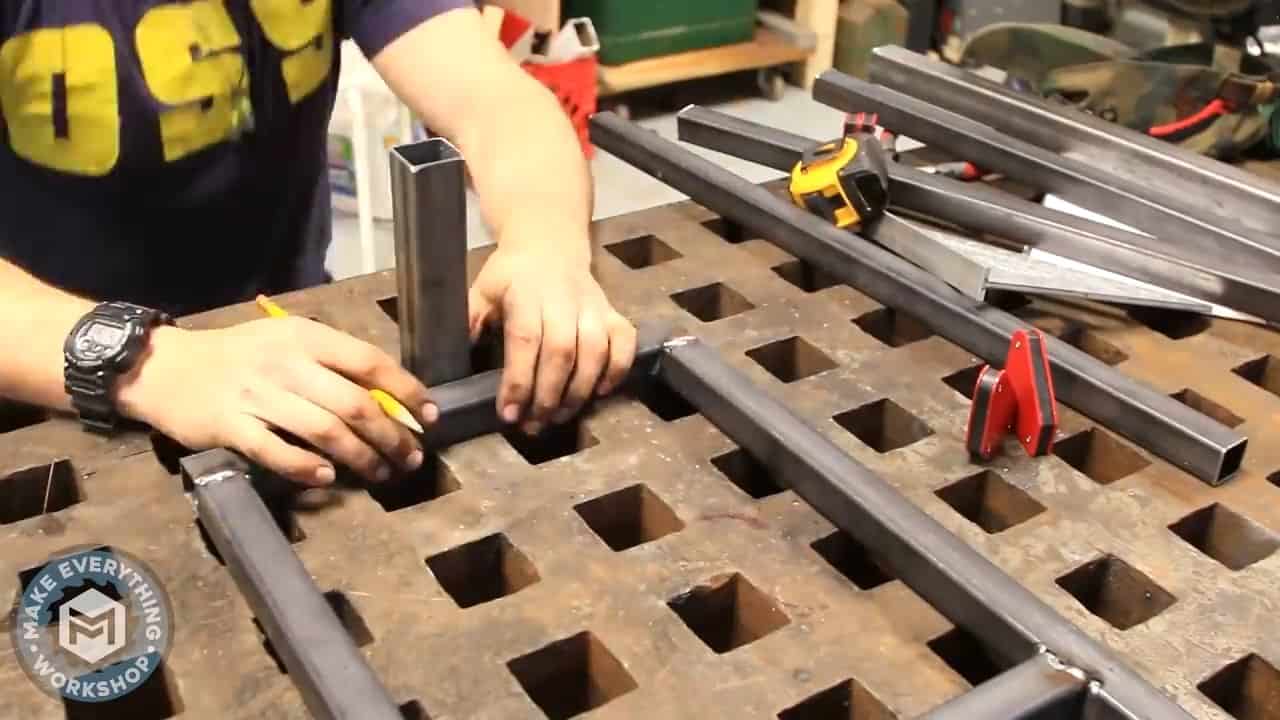
To make the chainsaw mill more versatile and adjustable, two guideposts are welded onto the sides of the rectangular guide plate.
For this, two larger pipe sections of dimension one by one are cut to the same height as the rectangular plate. These guideposts will allow the chainsaw to slide within them and enable you to adjust the thickness of the slabs that you cut.
The guideposts also give you adjustability on the deck to move up and down. This will come in handy when you are cutting through logs of varying sizes.
The height of the guideposts can be adjusted by welding additional metal pieces onto them, which will allow you to change the depth of the cut.
Make sure to attach the guideposts securely to the rectangular guide plate by welding them firmly.
![]()
4 quarter-inch flat bars of length nine inches are cut. Two of them are bolted onto the bottom section of the rails that slides up and down on the guideposts.
The saw blade is placed securely between these bars. A small spacer block is welded onto the bars so that it doesn’t touch the saw blade.
Three-eighth-inch weld nuts are welded onto the side posts. Tightening with the bolts locks the adjustable rails in place.
To secure the saw blade in place, four quarter-inch flat bars, each with a length of nine inches, are cut. Out of these four bars, two are bolted onto the bottom section of the rails that slide up and down on the guideposts.
The saw blade is then placed securely between these two bars. To prevent the saw blade from touching the bars, a small spacer block is welded onto each of the bars.
Next, three-eighth-inch weld nuts are welded onto the side posts. These weld nuts act as a locking mechanism for the adjustable rails. By tightening the bolts on the bars attached to the rails, they can be locked securely in place.

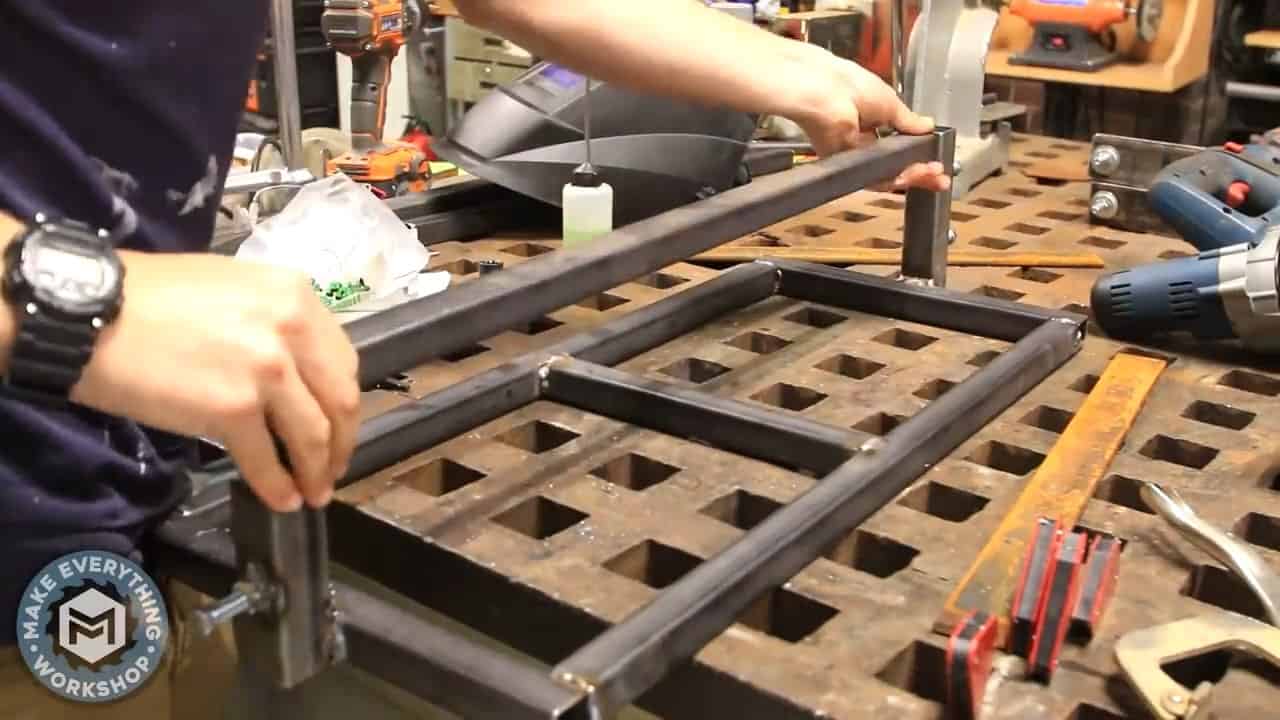
STEP 5 : CROSSBAR WELD
To further improve the functionality and safety of the chainsaw mill, a crossbar is welded onto the guideposts. This crossbar serves a dual purpose – it pushes the chainsaw bar along when the mill is in operation, and it also provides a convenient place to grip the mill.
This additional distance from the chainsaw chain adds an extra layer of safety, as it keeps the operator’s hand further away from the cutting area.
To create the crossbar, a piece of one by one square tubing is cut to the desired length. This will depend on the size of the chainsaw mill and the preference of the operator. The tubing is then welded onto the top of the two guideposts, perpendicular to the direction of the rails.
During the welding process, care should be taken to ensure that the crossbar is level and securely attached to the guideposts. A level crossbar will help ensure smooth operation of the mill, while a secure attachment will prevent any wobbling or shaking during use.
Once the chainsaw mill frame is assembled and the guideposts are securely attached, it’s time to insert the chainsaw blade.
The first step is to place the blade between the flat brackets at the bottom of the frame. Make sure that the blade is centered and straight before proceeding.
Next, insert spacers between the blade and the flat brackets. These spacers will keep the blade from moving or vibrating during operation.
It is important to use spacers that are the same thickness to ensure that the blade is evenly spaced and secure.
Once the spacers are in place, use 3/8th inch bolts to tighten the brackets around the blade and spacers.

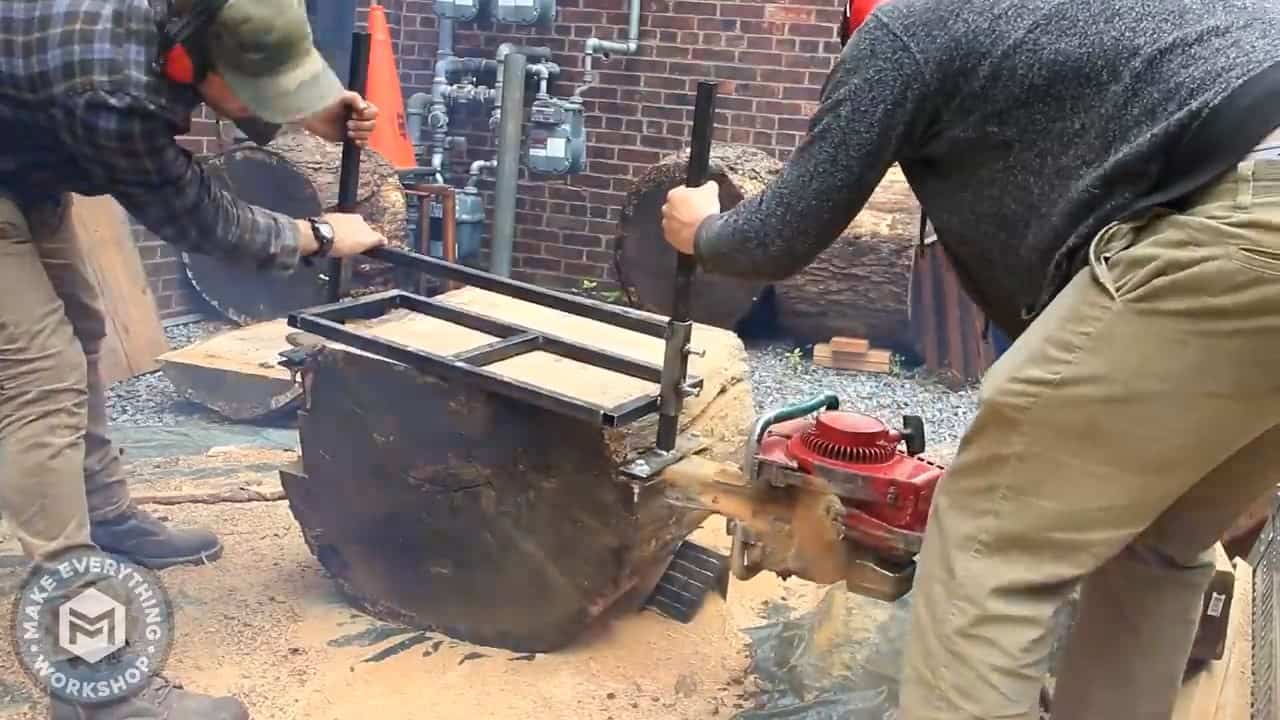
Before making the first cut, it’s important to ensure the chainsaw mill is securely fastened to the log. This can be done by attaching a flat plate to the top of the log using clamps or screws.
The height of the cut can be adjusted by moving the side rails up or down, depending on the thickness of the lumber required.
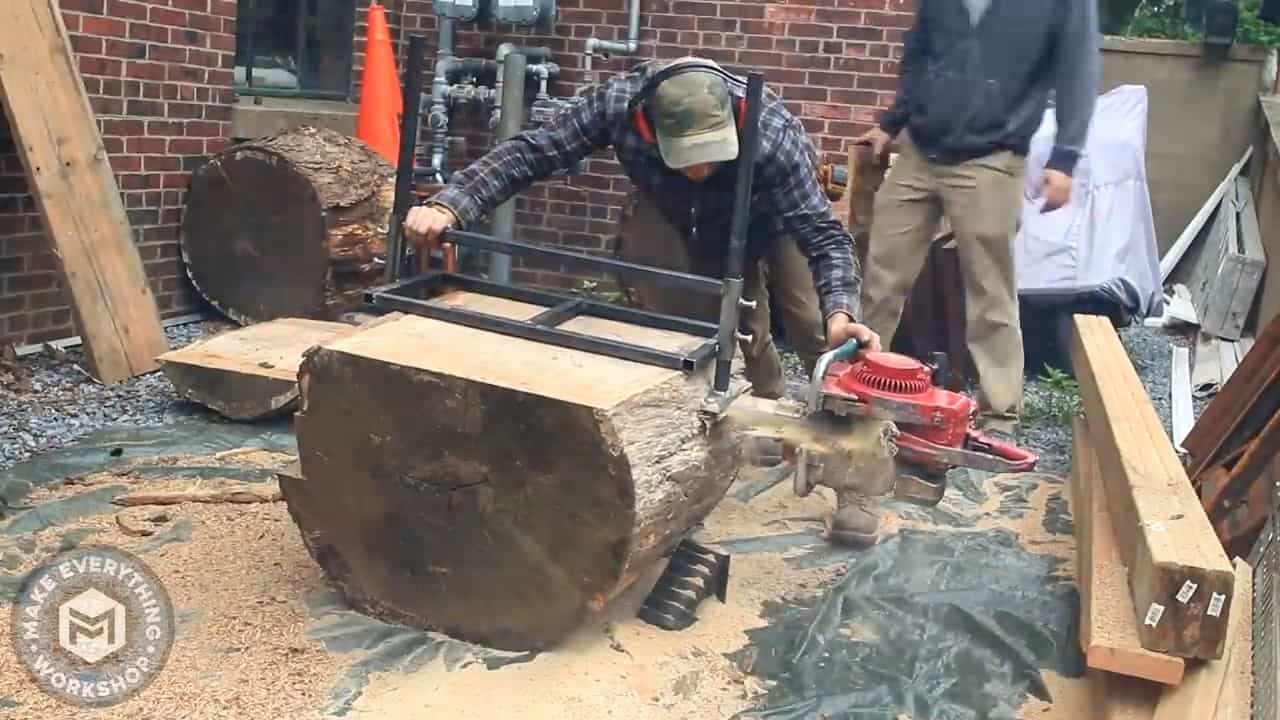
Once the chainsaw mill is securely fastened to the log, it’s time to start the saw. Ensure that the saw is properly lubricated and that the chain is tight before beginning the cut.
Place the chainsaw on top of the flat plate and slowly lower the bar into the log, being careful to maintain a straight line. As the saw cuts through the log, use the side rails to guide the saw and ensure a straight cut. Once the first cut is complete, the log can be rolled over and the process repeated on the other side.
Image Credits : Make Everything