This project provides step-by-step instructions on how to build a homemade 19-plate HHO dry cell generator that utilizes the process of electrolysis to split water into hydrogen and oxygen.
As we know, water is made up of two types of atoms, hydrogen and oxygen, and these atoms can be separated by the application of electricity through the process of electrolysis.
However, pure water is not a good conductor of electricity, so we add either sodium hydroxide or potassium hydroxide to make it conductive.
The HHO generator uses this principle to produce a clean, efficient and eco-friendly source of energy that can be used to power a variety of devices and appliances.

STEP 1 : MATERIALS REQUIRED
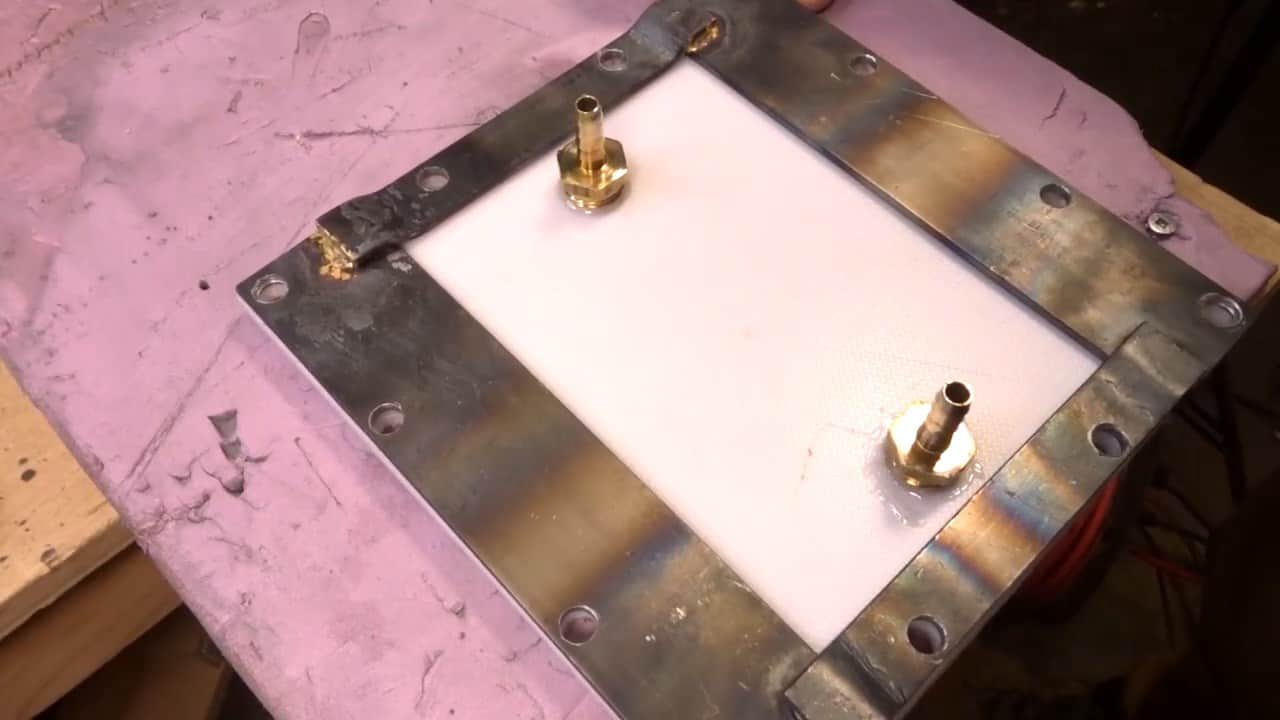
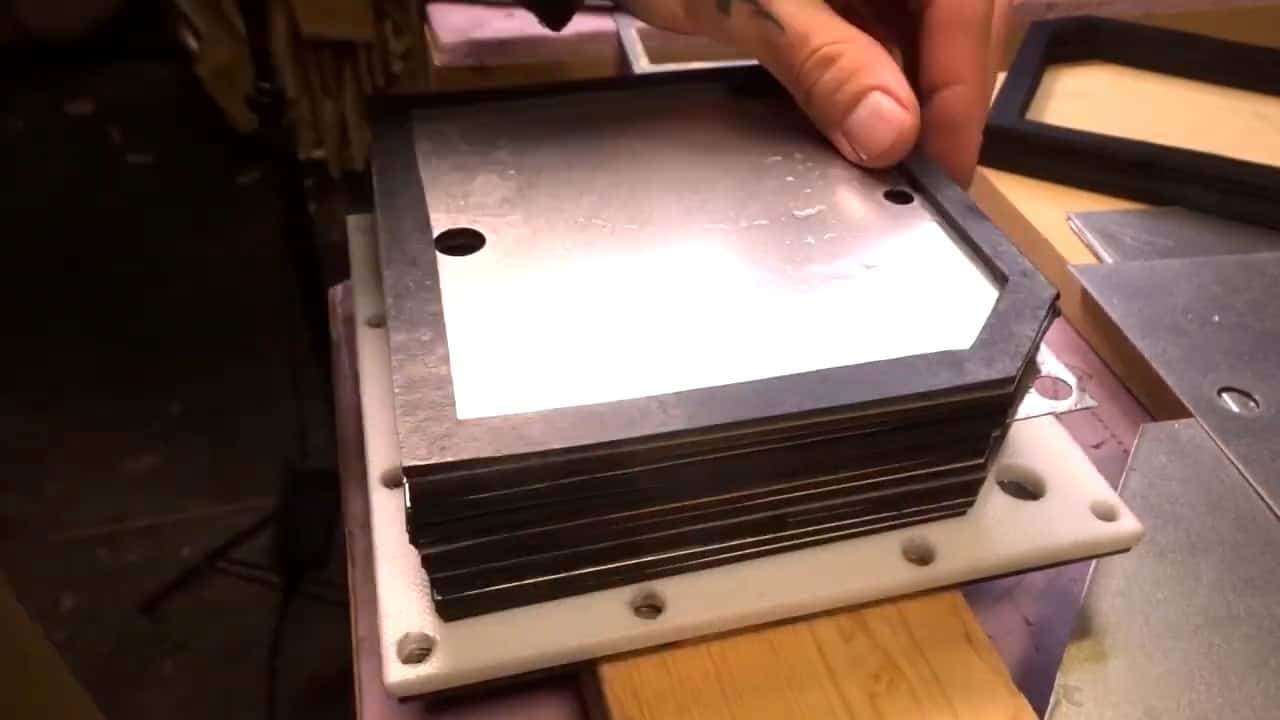
To build the electrolyzer, you will need a few key components: electrode plates, neutral plates, gaskets, and front and back plates with metal reinforcements.
The electrode and neutral plates are typically made from 304 stainless steel sheets, while the gaskets are made from neoprene rubber sheets that are about 1/8-inch thick.
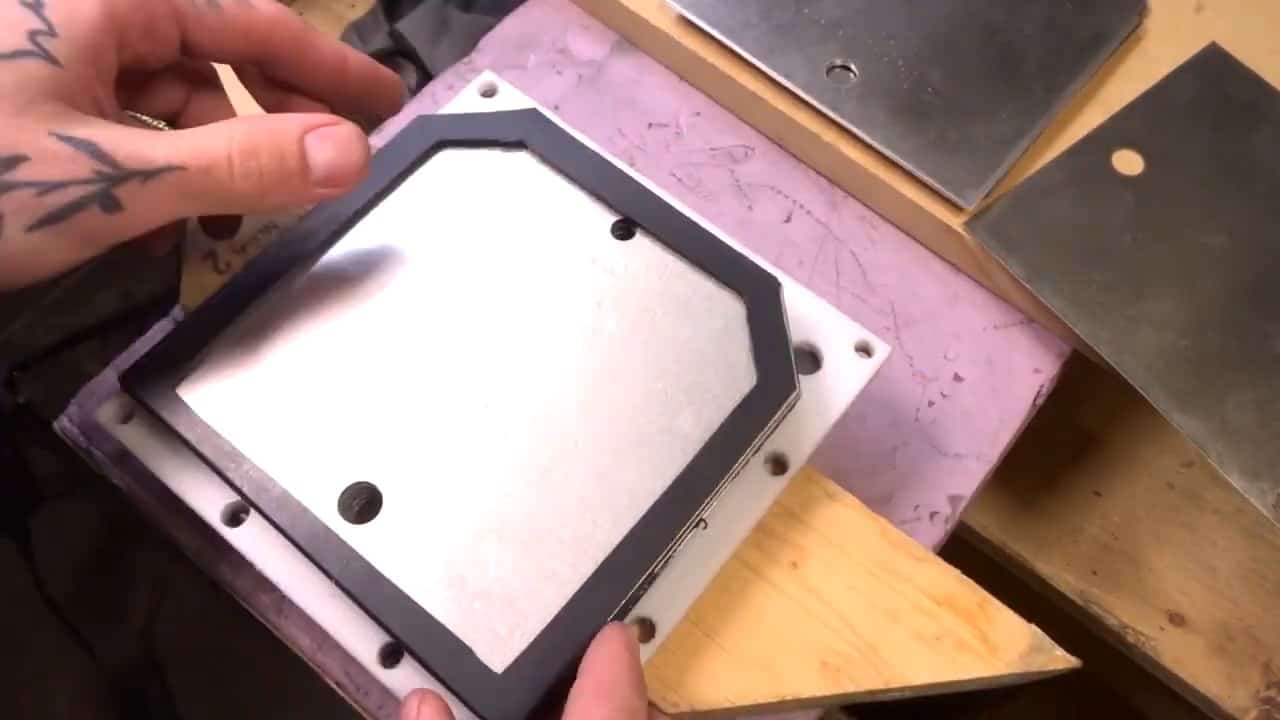
To assemble the electrolyzer, you will stack the neutral plates in between the positive and negative plates. The empty spaces between each plate are filled with neoprene gaskets.
The purpose of the neutral plates is to ensure that the voltage is divided equally across the electrode plates, which is essential for efficient HHO gas generation.
Water is introduced into the electrolyzer through the input tube, which is typically located at the top of the cell. Once inside the cell, the water comes into contact with the electrode plates, which are charged with electricity. This causes a chemical reaction to occur, resulting in the separation of hydrogen and oxygen atoms.
The separated gases are then channeled out of the cell through the output tube, which is typically located at the bottom of the cell.
When you apply electricity to the electrodes of the HHO dry cell generator, a chemical reaction occurs within the water.
This reaction causes the hydrogen atoms to be attracted to one electrode, while the oxygen atoms are attracted to the other electrode. As a result, bubbles of gas are formed at each electrode.
It’s important to note that the process of electrolysis is driven by an electrical current, which is typically provided by a power source such as a battery or solar panel.
The current flows from the negative electrode, through the water, and to the positive electrode, causing the chemical reaction to occur.
One of the key benefits of using a neutral plate between the positive and negative electrodes is that it helps to divide the original voltage, ensuring that the hydrogen and oxygen gases are generated efficiently.
Without the neutral plate, the voltage would be concentrated at the positive and negative electrodes, leading to uneven gas production and reduced efficiency.
STEP 2 : ASSEMBLING THE PLATES
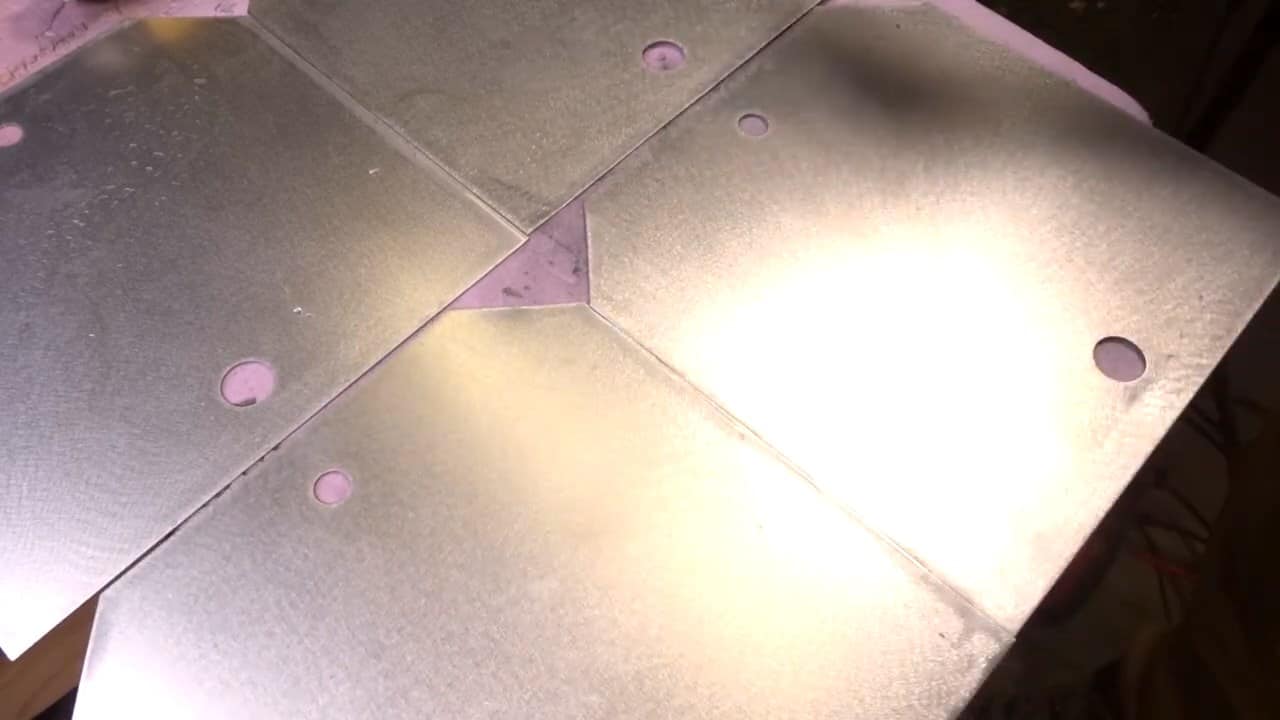
To construct the plates for your HHO dry cell generator, you will need 12 X 12 .24ga 304 stainless steel sheets. These sheets should be cut into four 6-inch pieces using tin snips or a similar cutting tool.
This will give you the electrode and neutral plates that you will need for the cell.
Once you have your plates cut, you can begin assembling them into the cell. To do this, stack the plates on top of one another with the neutral plates in between the electrode plates.
It’s important to note that the orientation of the plates is important, so be sure to follow the instructions carefully.
Once the plates are stacked, you will need to cut holes at the top and bottom of the cell for the gas and water to enter and exit.
The size and location of these holes will depend on the specific design of your cell, so be sure to refer to the instructions carefully.
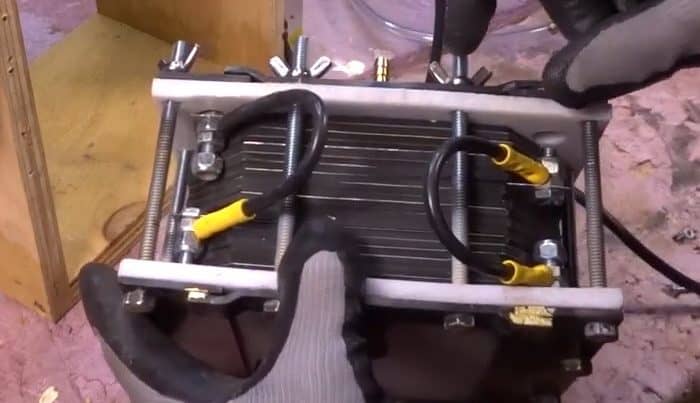
To hold the plates together, you can use seven-inch cutting boards with metal support frames at both ends. These cutting boards should be placed on either side of the cell, with the metal frames helping to keep the plates in place.
To distinguish between the neutral and electrode plates in your HHO dry cell generator, it’s important to mark them in a way that allows you to easily identify them during the assembly process.
One effective way to do this is to cut both corners of the neutral plates, and only one corner of the electrode plates.
By cutting both corners of the neutral plates, you can ensure that they are oriented correctly within the cell. This is important because the neutral plates play a critical role in dividing the original voltage and ensuring that the HHO gas is generated efficiently.
By contrast, cutting only one corner of the electrode plates allows you to run a bolt from the positive to the other positive and negative to another negative end, further ensuring that the plates are correctly oriented during assembly.
Assembling the HHO dry cell generator involves stacking the electrode and neutral plates, and securing them together to create a sealed container where electrolysis can occur.
To begin, you will need to place the cell onto the base cutting board, starting with the positive electrode plate.
Once the positive electrode plate is in place, begin stacking the neutral plates and gaskets on top of it one by one. You should alternate between a neutral plate and a gasket, with the gaskets serving as spacers to ensure that the plates are evenly spaced and there is enough room for the gas to escape.
Once you have stacked all of the neutral plates and gaskets, enclose them on the negative electrode plate and the baseboard. Secure the plates together with bolts on four corners to create a sealed container.
STEP 3 : ADDING A WATER RESERVOIR AND A POWER SUPPLY
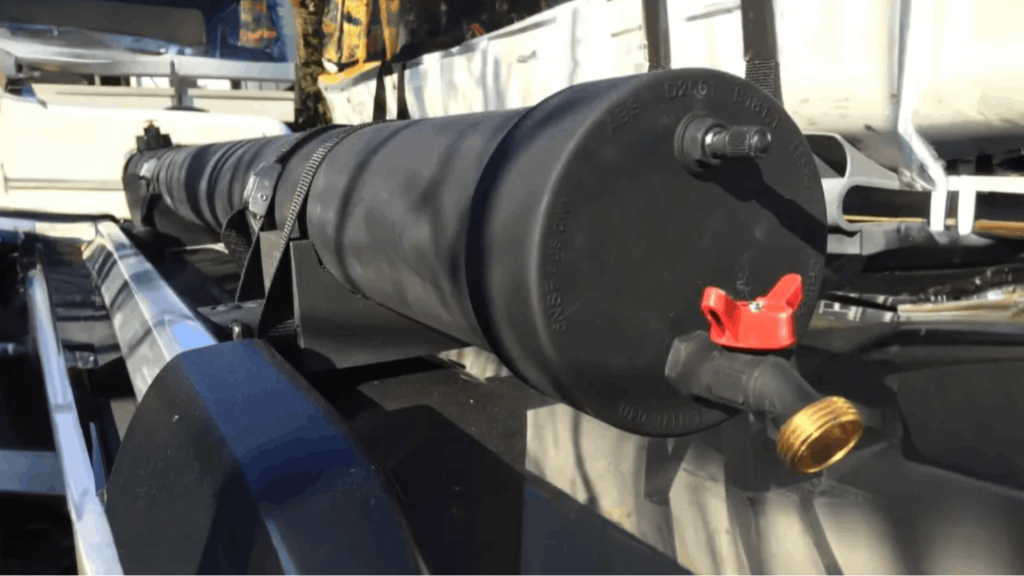
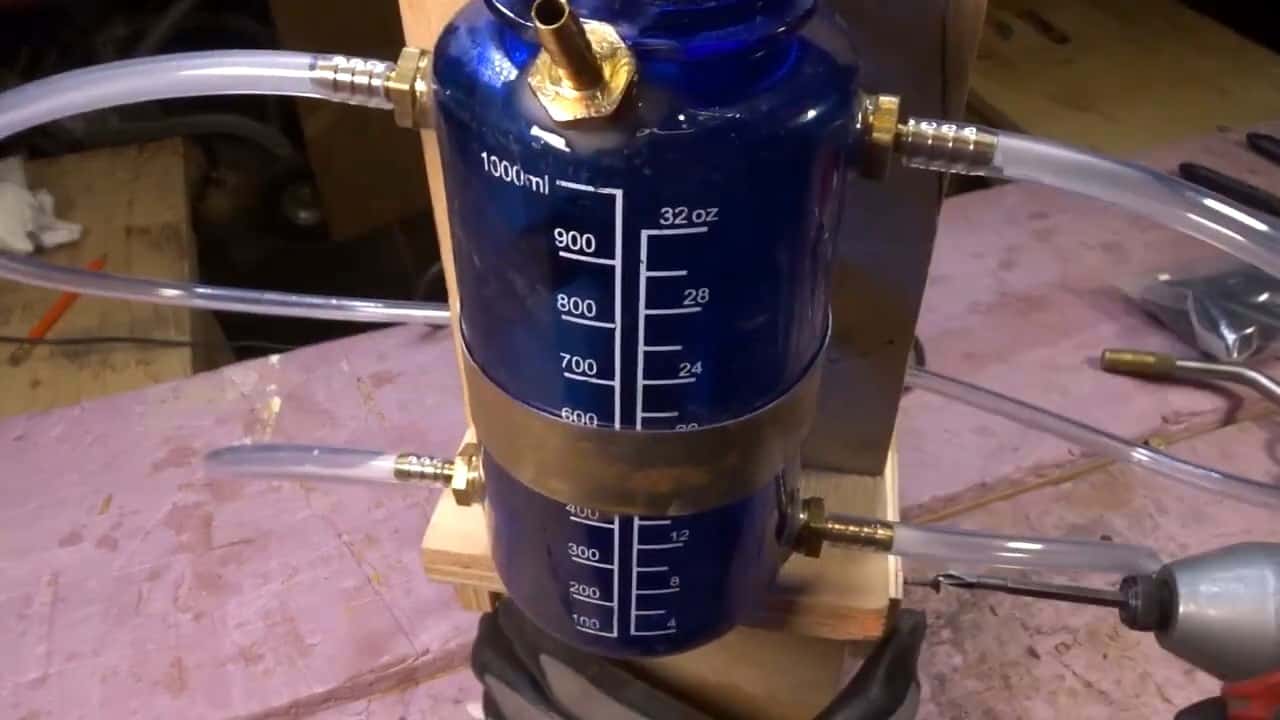
To power the HHO dry cell generator, you will need to supply it with a source of water and an electrolyte solution. The next component in the build process is a water reservoir that will hold the electrolyte solution.
This reservoir can be made from a simple bottle or container that is capable of holding the necessary amount of electrolyte solution.
The electrolyte solution consists of distilled water and sodium hydroxide, which is added to the water to make it conductive.
It’s important to note that the amount of sodium hydroxide needed will depend on the size of your cell and the amount of gas you wish to generate.
Typically, a small amount of sodium hydroxide is added to a larger amount of distilled water to create the necessary electrolyte solution.
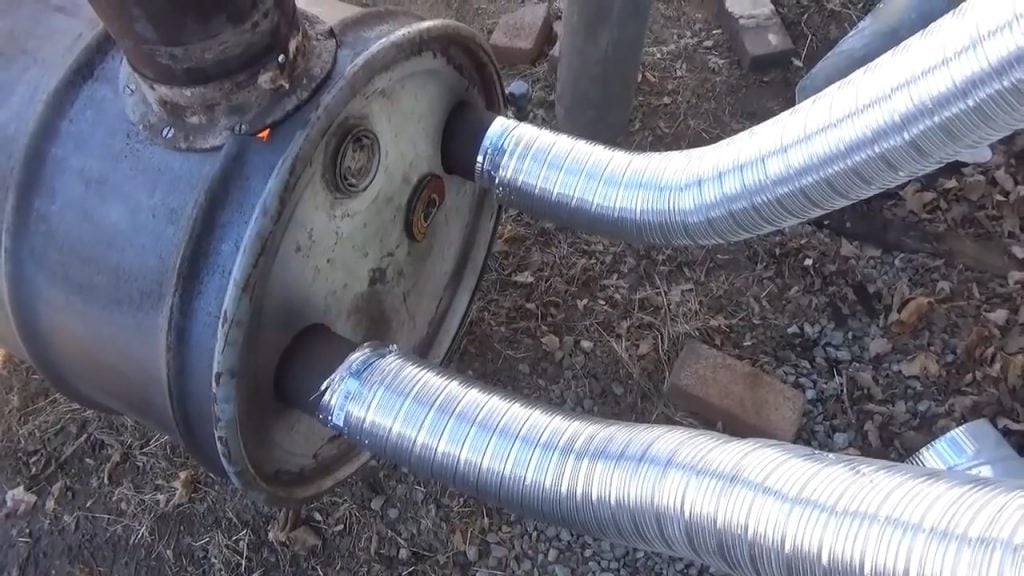
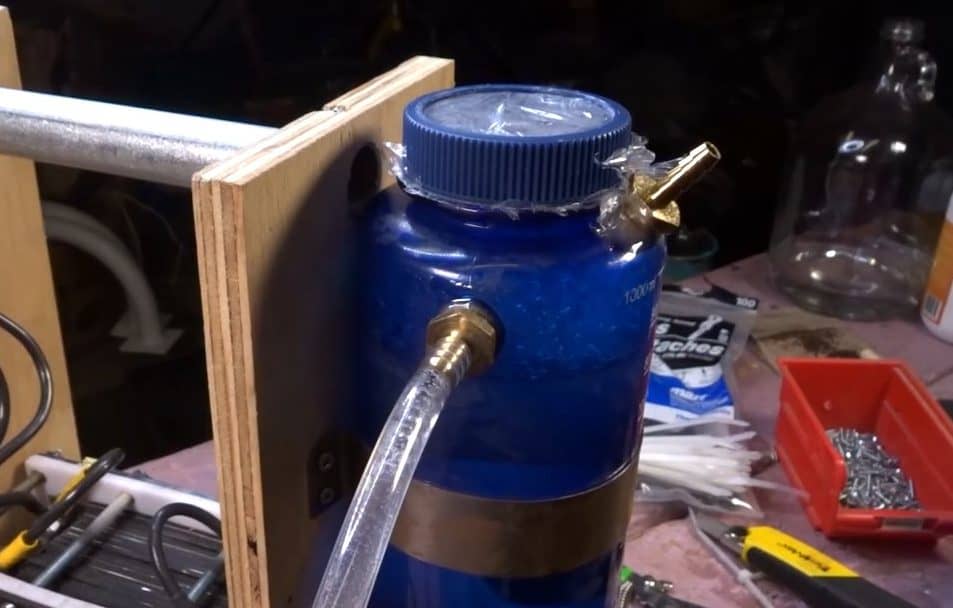
Once you have assembled the HHO dry cell generator and prepared the electrolyte solution, you will need to connect a water reservoir to the cell.
The reservoir should be connected to the cell using two three-eighth-inch tubes: one for the input and one for the output.
The input tube brings the electrolyte solution into the cell, while the output tube allows the hydrogen and oxygen gas to escape.
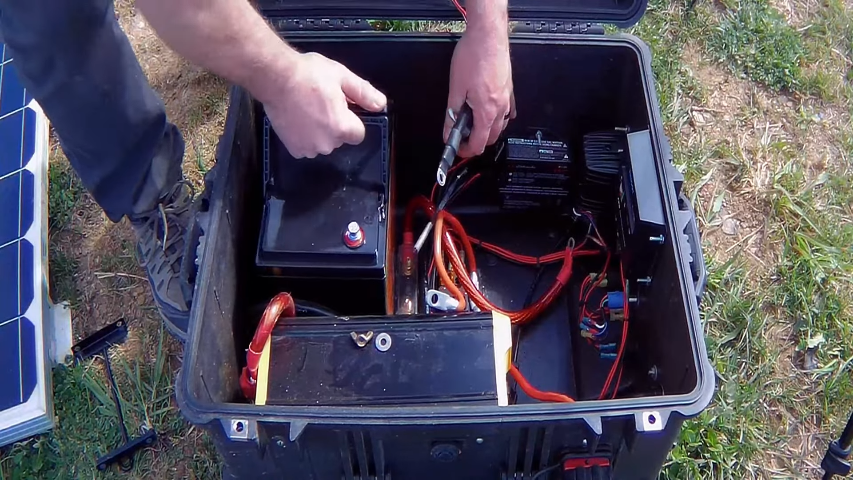
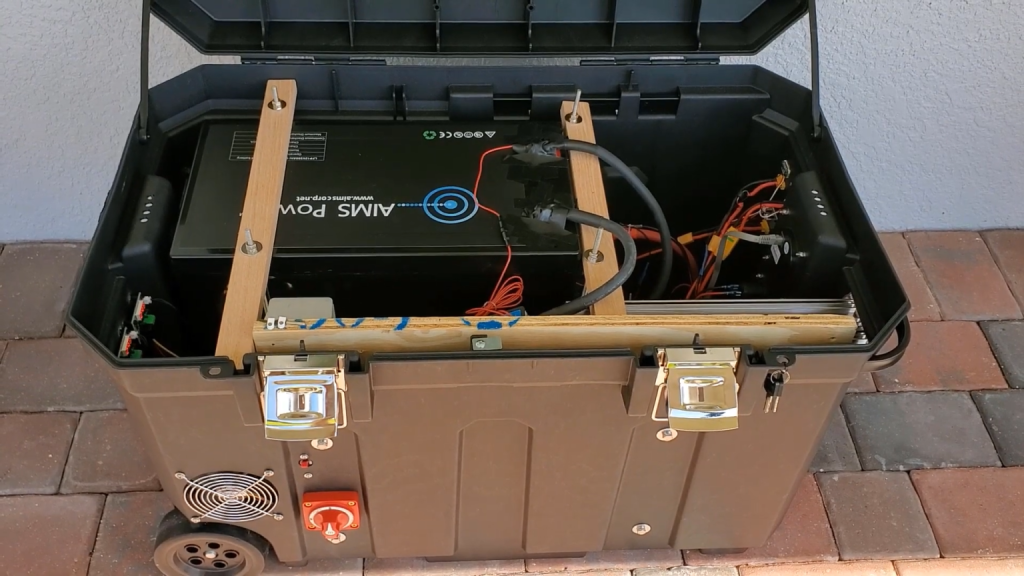
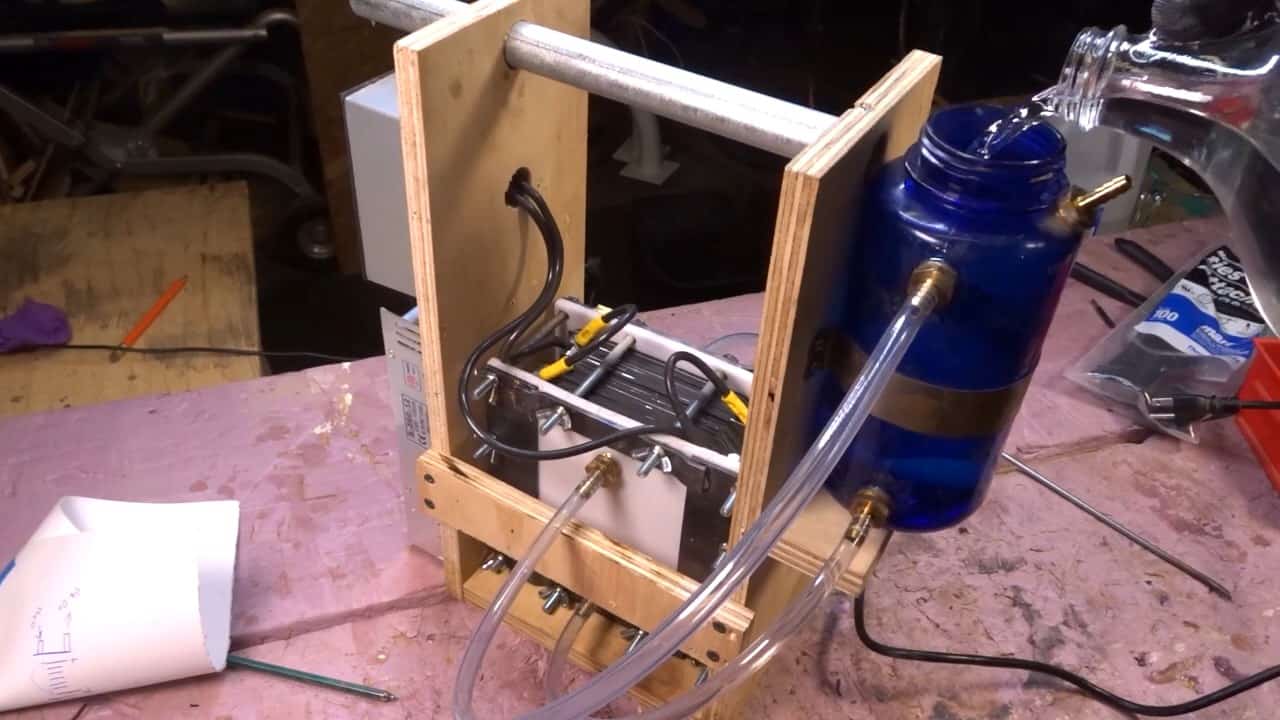
To power the HHO generator, you will need a power supply that can generate 12V 30amps. This can be a car battery hooked up to a trickle charger, an old computer UPS supply, or a 12V battery used for solar panels.
The power supply should be connected to the cell using appropriate wiring and connectors, and it should be capable of delivering a steady stream of current to the electrodes during operation.
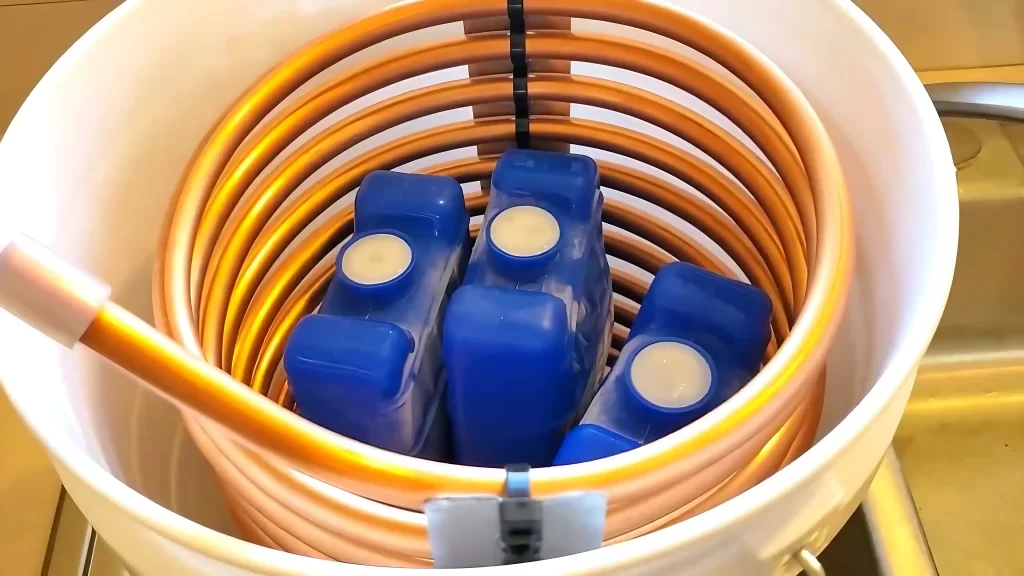
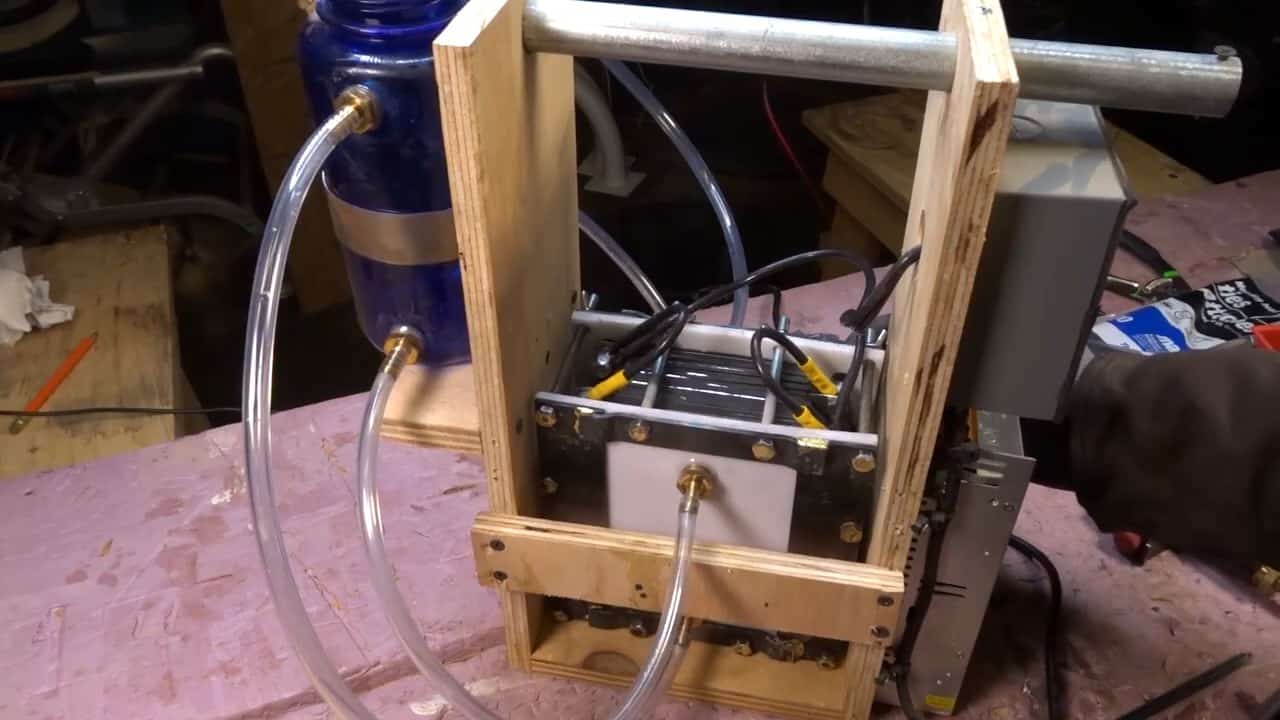
To ensure ease of portability, the electrode cells can be secured onto a wooden frame along with the power supply and water bottle reservoir. This will allow you to move the generator from one location to another with relative ease.
STEP 4 : DIFFUSION USING A BUBBLER
After the hydrogen and oxygen gas is generated by the HHO dry cell generator, it needs to be filtered before it can be used for any applications.
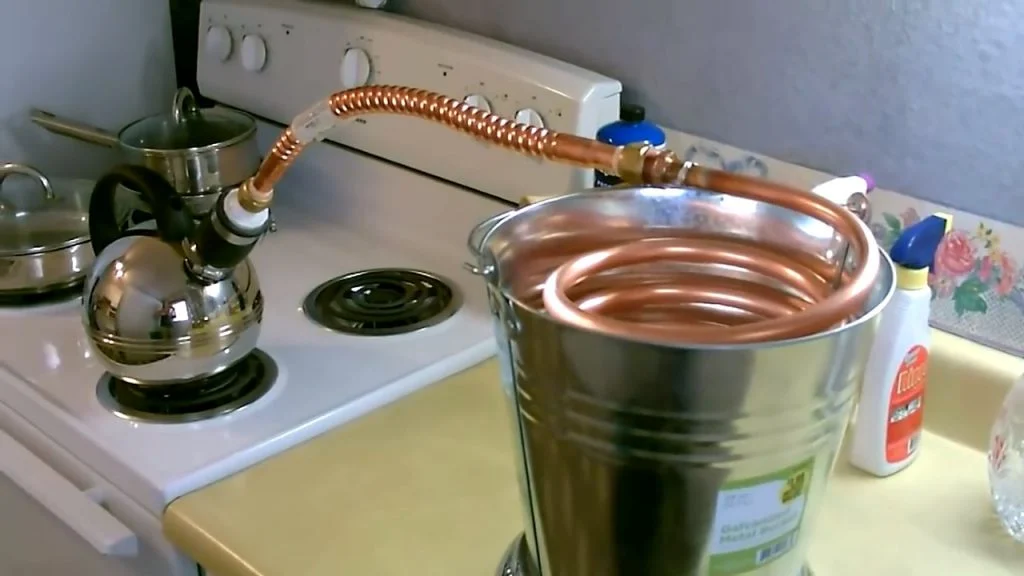
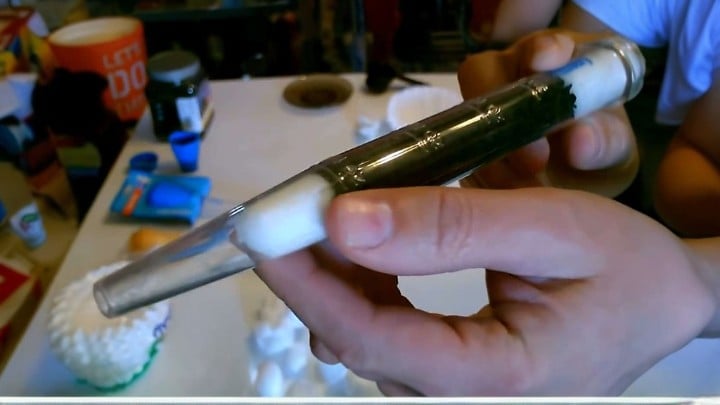
The next component required for the build is a bubbler, which is used to filter the gas and remove any remaining impurities.
A bubbler takes the HHO gas coming into it and diffuses it, breaking it down into smaller bubbles. As those bubbles travel up the column of water inside the bubbler, it helps to filter out any sodium hydroxide or potassium hydroxide vapors that may be present in the gas.
If the bubbler is set up correctly, it can get rid of most, if not all, of those vapors.
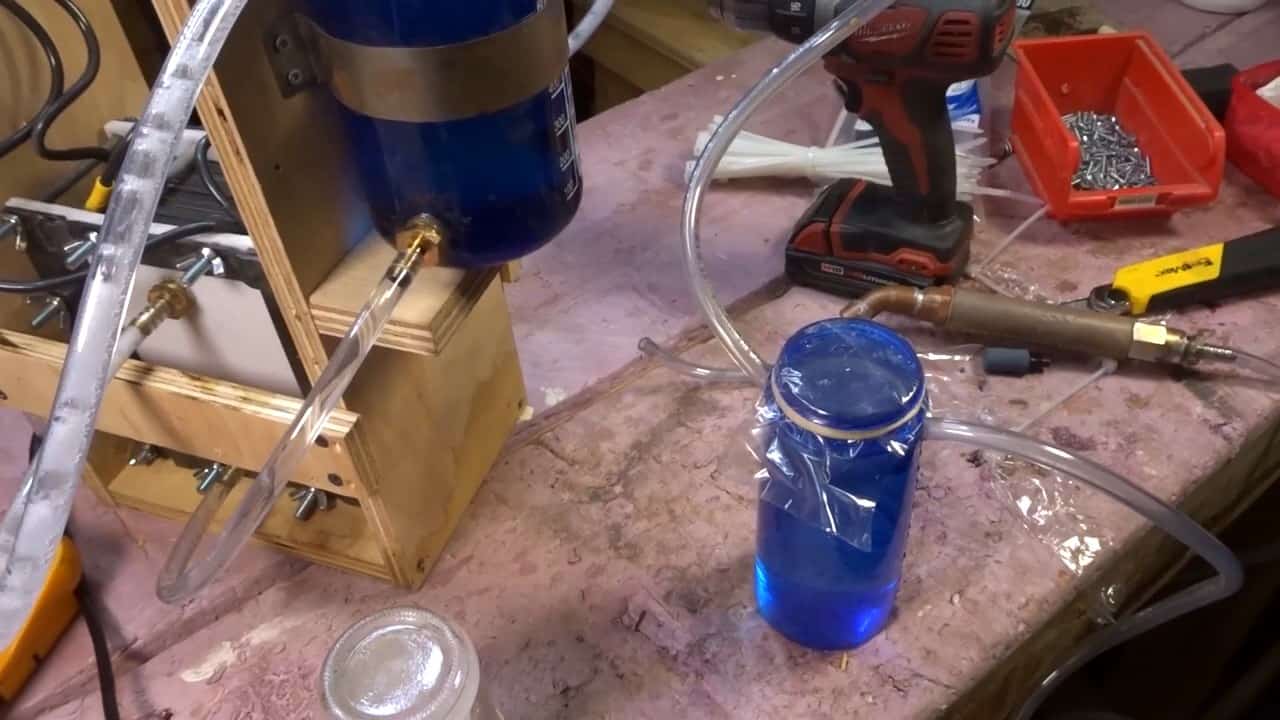
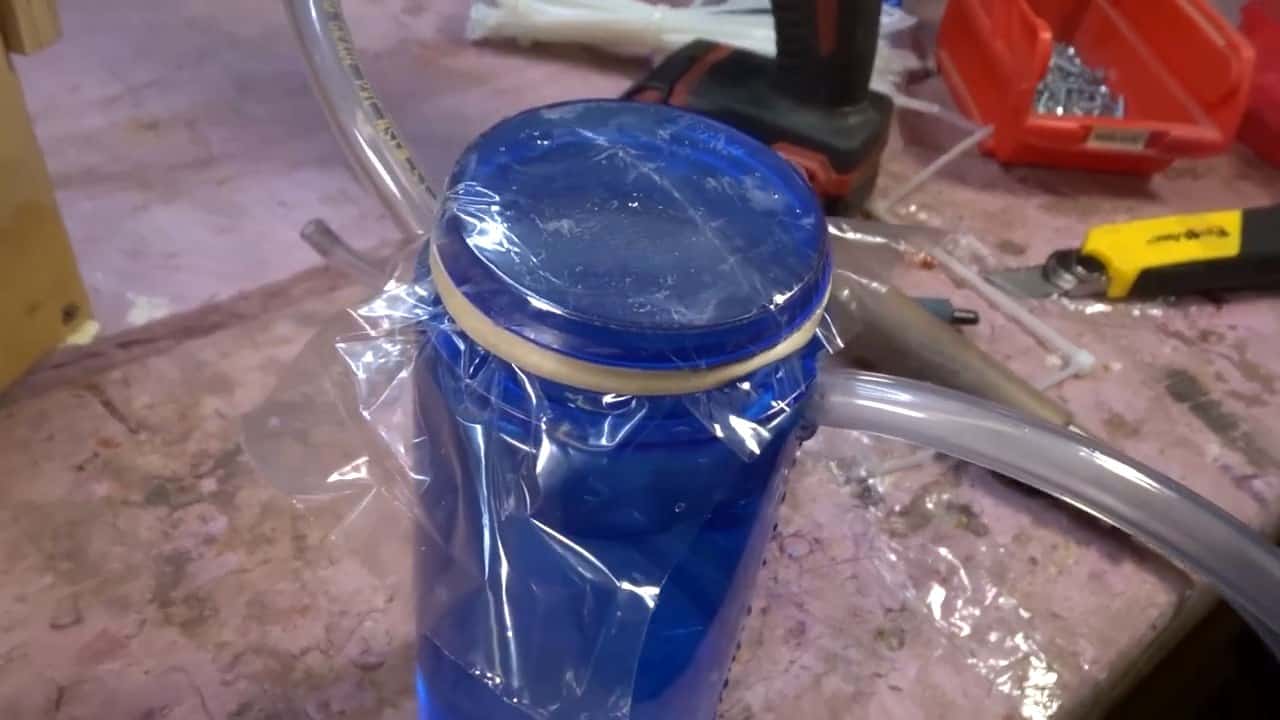
Ensuring safety when building and using the HHO dry cell generator is of paramount importance. One critical step in this regard is to add a safety feature to the bubbler.
To add this safety feature, drill a hole in the top of the bubbler and remove the lid. Cover the hole with a plastic foil pressure membrane.
The membrane acts as a pressure relief valve that allows any excess pressure inside the bubbler to escape in the event of a flashback or increased pressure.
Image Credits : Neally