As a survivalist, it’s essential to have a reliable power source for your off-grid applications. This project will guide you on setting up a simple yet robust battery bank to power your emergency devices and appliances.
With the right setup, you can have a steady flow of electricity to keep your family safe and comfortable in times of crisis.
Whether you’re facing a natural disaster or a long-term power outage, this battery backup power station will ensure you have the necessary power to survive.
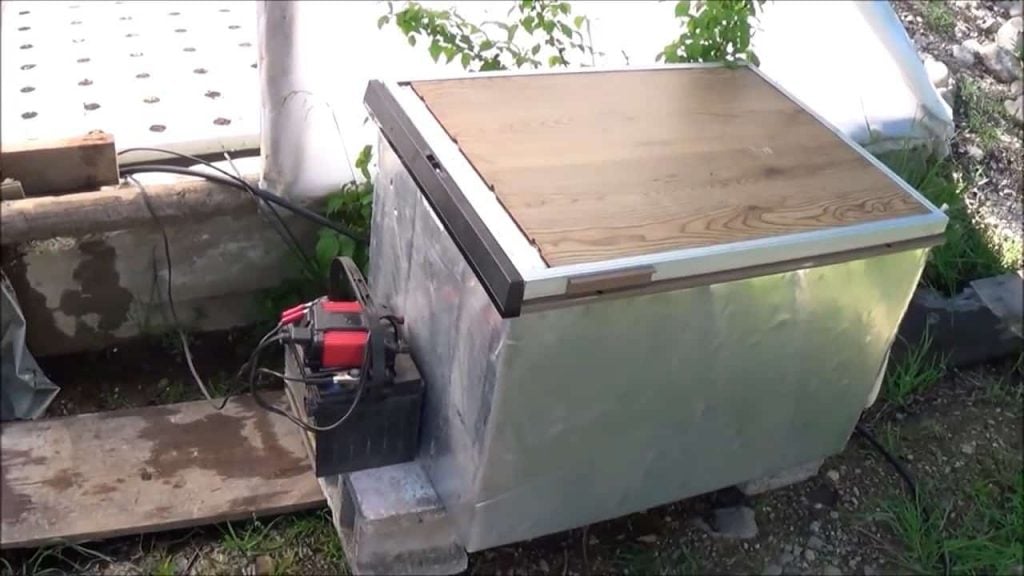
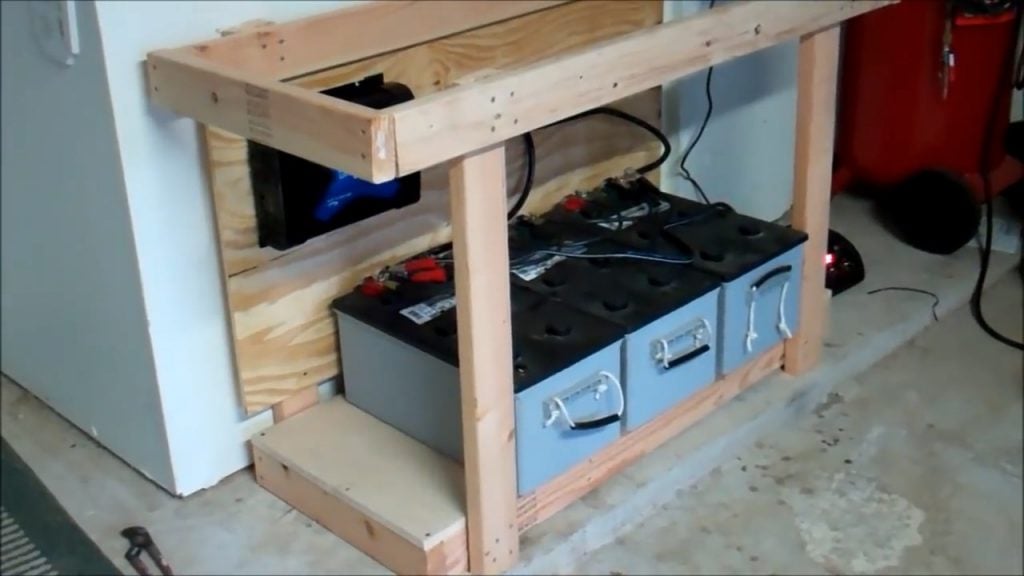
A workbench is used to house the battery backup system. The workbench has a countertop and the batteries are stored underneath it. The workbench takes up about 2 feet by 4 feet of space.
STEP 1 : THE MATERIALS REQUIRED
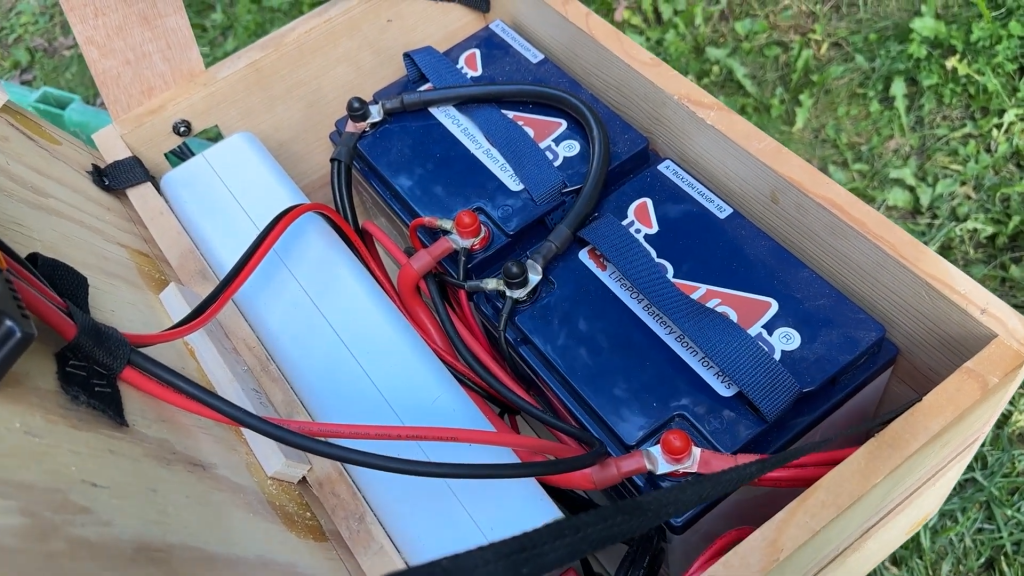
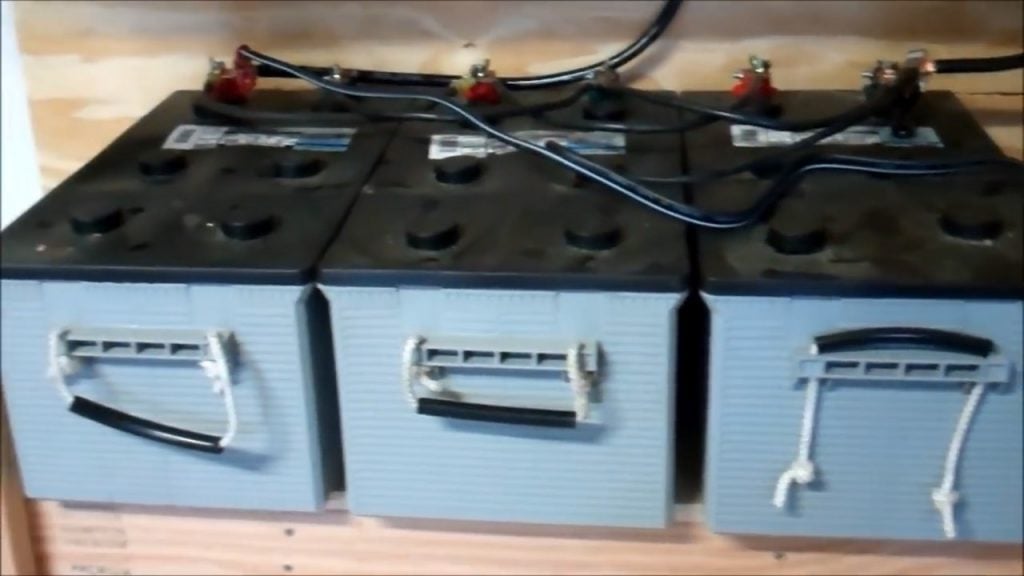
- The 3 AGM batteries are connected in parallel, with cables running from positive to positive and negative to negative across all three batteries.
- Terminal connectors with posts were bought from a store and used to connect the batteries.
- Number 4 wire was used to connect the batteries and the inverter.
- A 2500 watt Whistler power inverter was connected to the battery bank using the positive and negative wires.
- A fuse was added to the positive wire for safety.
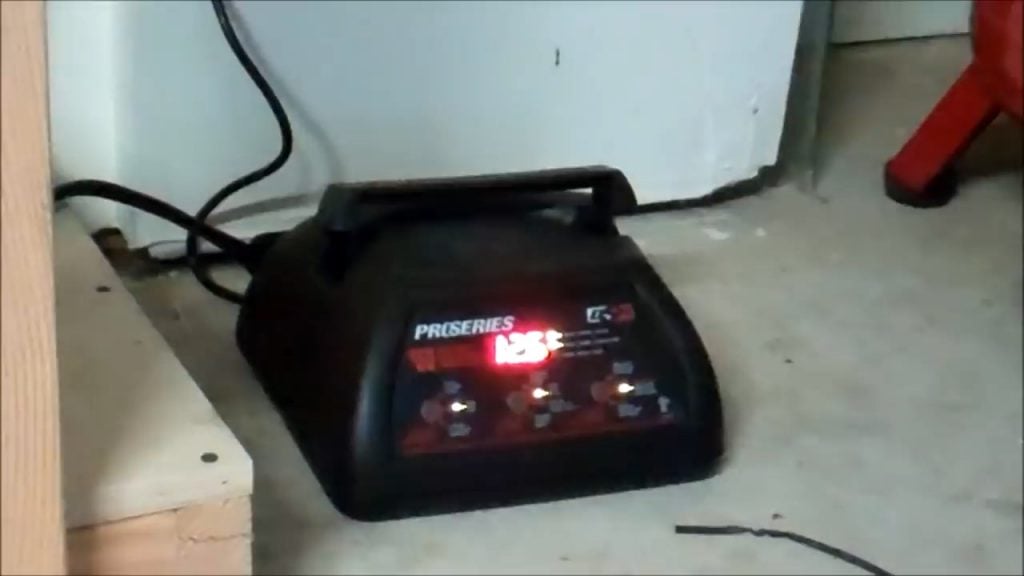
- A Pro series DSR battery charger was used to charge the battery bank.
- Extension cords were used to distribute power from the inverter to various appliances in the house.
When selecting batteries for your backup power station, it’s important to choose the right type to ensure they can withstand the demands of off-grid applications.
We recommend using three AGM batteries, each with a capacity of approximately 245 amp hours. However, marine or deep cycle batteries can also work well.
It’s crucial to avoid using car batteries as they are not designed for deep discharge cycles and can quickly degrade, leading to a shorter lifespan.
It’s also important to ensure that the batteries are of the same age, as mixing batteries of different ages can result in them bringing each other down, reducing the overall capacity of your battery bank.
STEP 2 : ADDING THE BATTERIES
To connect the batteries in your battery bank, you’ll need to use appropriate wiring to ensure a safe and efficient connection.
Begin by connecting the positive port of the first battery to the positive port of the second battery using a suitable gauge wire.
Then, connect the positive port of the second battery to the positive port of the third battery using the same gauge wire.
The terminal connectors were used to retrofit the batteries, which had regular battery terminals like those found on a car battery, instead of the initially thought copper terminals for the copper lugs.
The terminal connectors had enough room to add additional connections, such as from a solar charger.

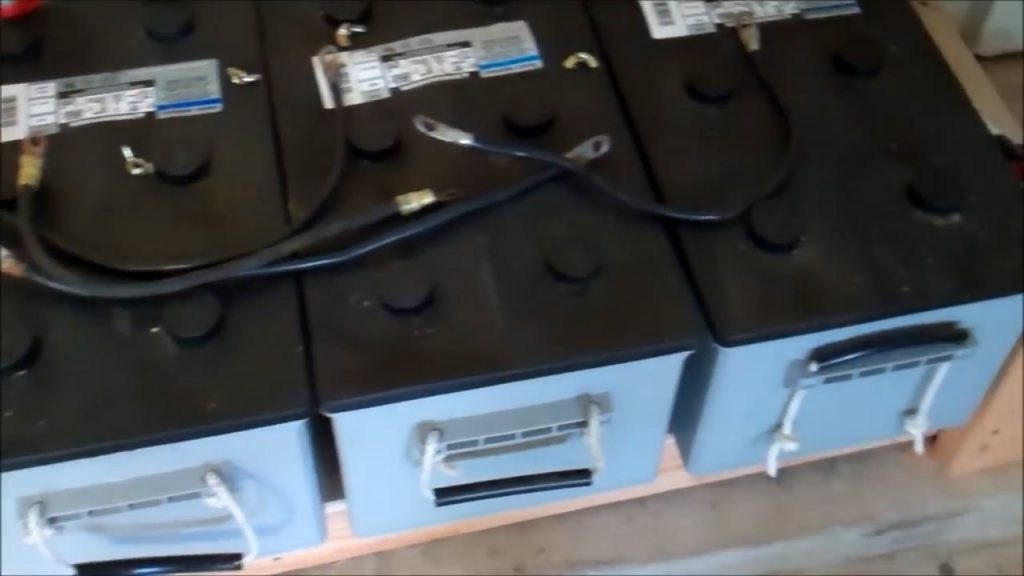
Next, connect the negative port of the first battery to the negative port of the second battery using a separate wire of the same gauge as the positive wires.
Finally, connect the negative port of the second battery to the negative port of the third battery using the same gauge wire.
STEP 3 : CONNECTING THE INVERTER
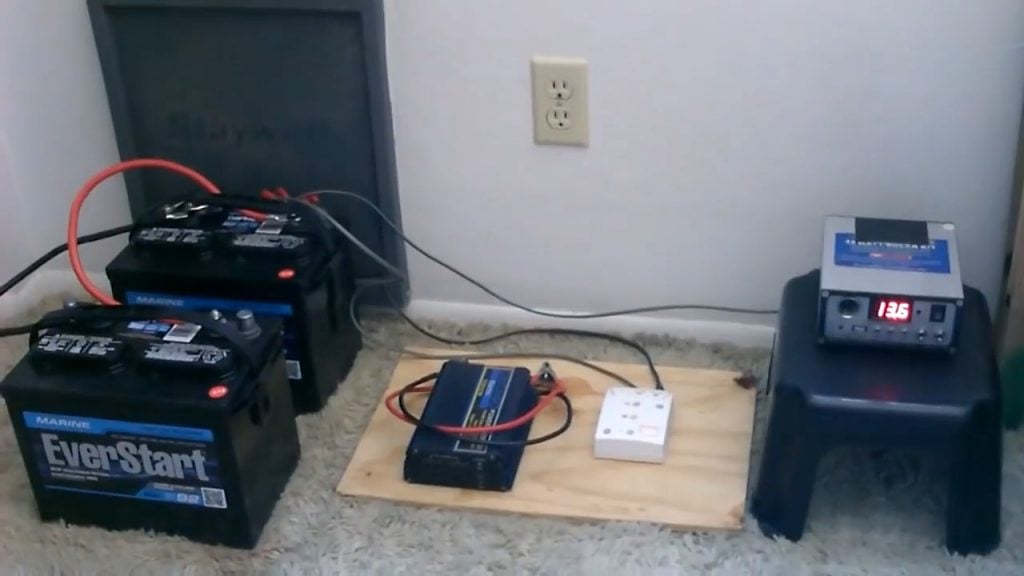
Once the batteries are connected, you can then connect your inverter to the battery bank. Here, a 2500 watt Whistler power inverter was used .
The positive and negative wires from the battery bank were connected to the positive and negative sides of the inverter, respectively.
The inverter has 3 outlets where extension cords can be plugged in. These cords are then run through the house to power things as necessary.
You can split the cords accordingly and use them for lights, window AC, etc.
The inverter has a readout that displays the DC voltage of the battery bank as well as the output load.
It also has 3 outlets for plugging in extension cords to distribute power to various appliances in the house.
Then, connect the negative lead from the inverter to the negative port of the third battery. This wiring configuration ensures that the load is evenly distributed across all three batteries, reducing the risk of overloading or damaging any one battery.

STEP 3 : BATTERY CHARGERS
To ensure that your battery bank is always charged and ready for use, it’s recommended to use high-quality battery chargers.
For this project, we recommend using battery chargers from the Pros Series DSR, which are designed to ramp up the charging voltage to an optimum level.
These chargers are specifically designed for use with deep cycle batteries, such as AGM or marine batteries, and provide a safe and efficient charging process that maximizes the lifespan of your batteries.
The charger was connected to the battery bank and turned on to quickly charge the batteries. The charger’s readout showed that the voltage of the battery bank increased from 12.4 volts to 12.6 volts pretty quickly after being turned on.
The charger is capable of putting out 14.5 volts to give the batteries a quick charge, and it will taper down as the batteries reach their full charge.
You can also use a kilowatt meter to measure the power consumption of appliances in this backup system.
The user can plug the meter into an outlet and then plug an appliance into the front of the meter.
The meter will then display information such as the number of watts, amps, and kilowatt-hours being used by the appliance.