In this article, we’ll show you how to build a 15-watt powerful flashlight from an old Burnt out LED floodlight and soup cans.We will explore the process of salvaging a high-power LED from a non-functional floodlight and repurposing it to create a custom, high-performance flashlight.
The project involves the use of two 18650 lithium-ion battery packs, a pair of MT3608 boost converter modules, and a custom-designed housing made from tin cans.
MATERIALS REQUIRED
To build this flashlight, you‘ll need the following materials and tools:
-
An old LED floodlight
-
Two soup cans
-
Two MT3608 boost converters
-
Two 2S 18650 battery holders
-
Two mini rocker switches
-
Four 18650 batteries
-
Scrap wire
-
Hot glue gun
-
Soldering iron
-
Wire cutters
-
Drill
-
Screwdriver
Step 1: Disassemble the burnt-out LED floodlight
Take apart the LED floodlight carefully prying off the lens and breaking apart the plastic housing. Be cautious not to damage the LED or the lens during this process.
Once you have access to the internal components, remove the power supply and set it aside .Locate the LED module and desolder it from the power supply board.
Using a power supply, apply 36 volts to the LED to ensure it is still functional. If the LED lights up, it can be used for the flashlight. If not, you will need to find another working LED.
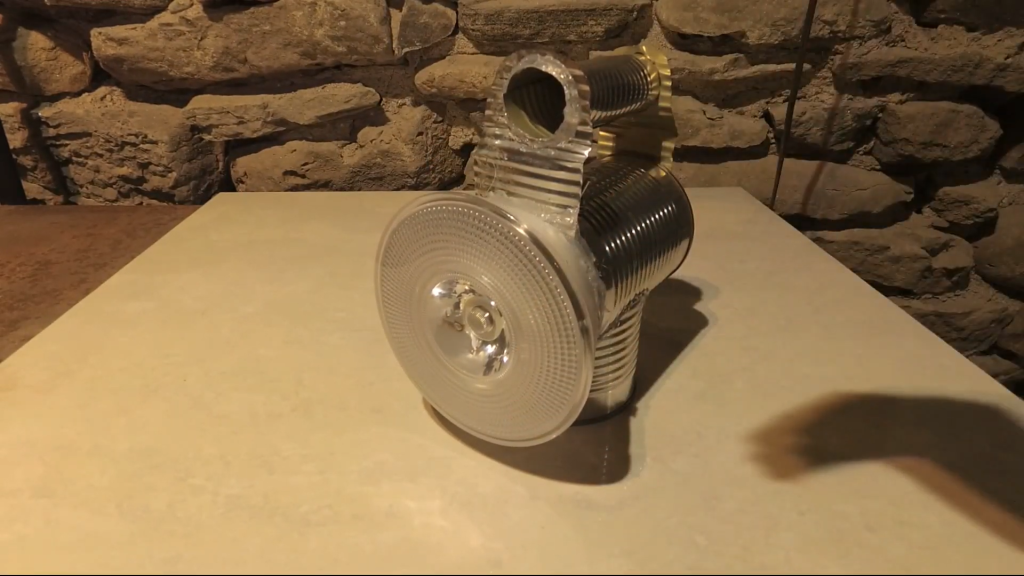
Step 2 : Build the Flashlight Body
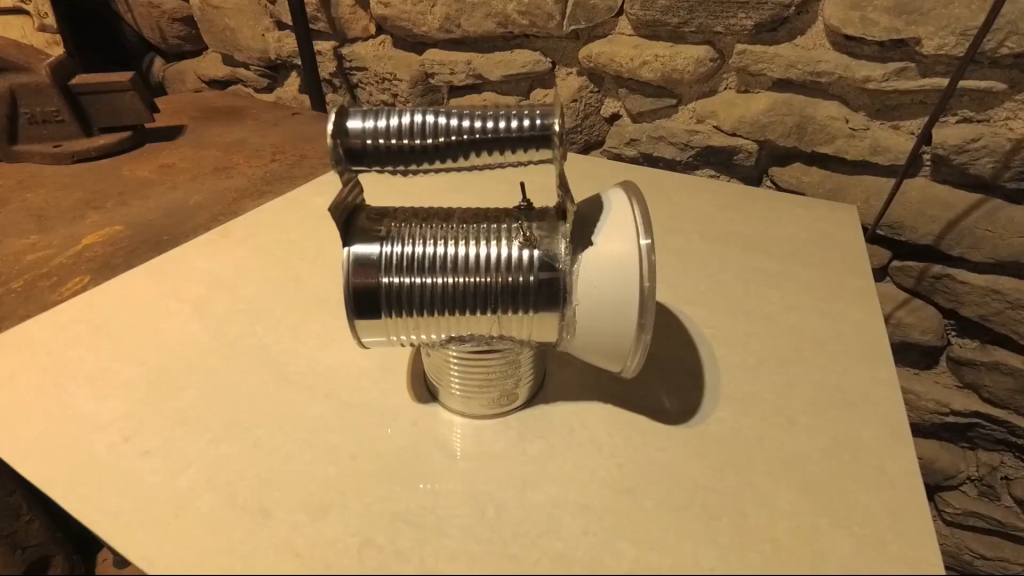
The flashlight bodyis built using two soup cans. One soup can will be used for the main body of the flashlight, and the other soup can will be used for the handle.
Cut a hole in the bottom of one can to fit the LED: Use a drill or other sharp object to cut a hole in the bottom of one can that is just large enough to fit the LED.
Cut a hole in the side of the other can to mount the battery packs with the boost convertors.To build the handle, cut a hole in the side of the other soup can. This hole should be large enough to fit your hand.
Once the holes are cut, hot glue the handle to the main body of the flashlight. Cut and shape the cans as needed to accommodate the LED, battery packs, and boost modules. Make sure to create a secure and sturdy housing that will protect the internal components.
Step 3: Prepare the battery packs and boost modules
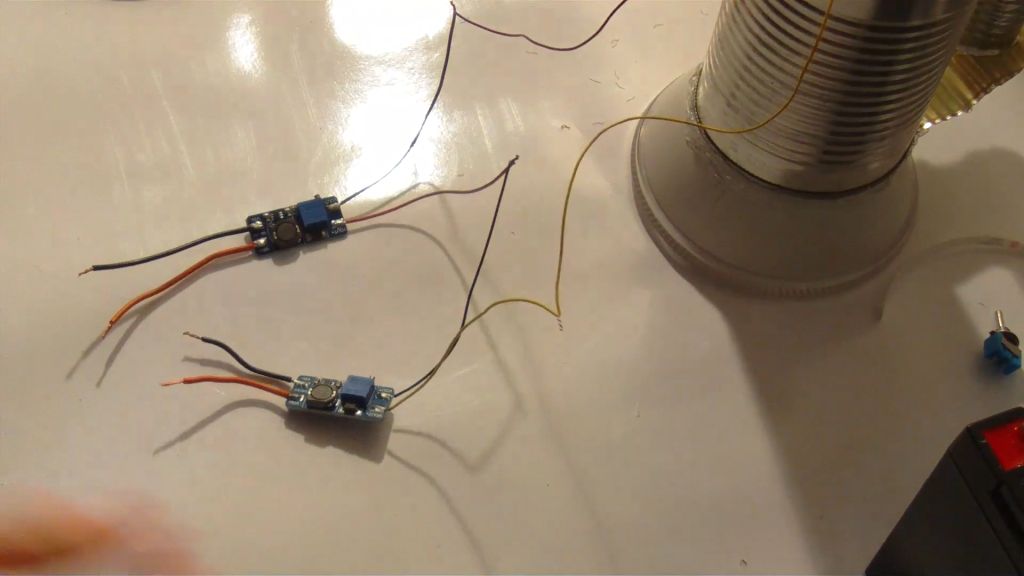
For this project, you will need two 18650 battery holders. Each battery provides around 4 volts, so two battery packs in series will provide a maximum of 16 volts. However, this is not enough to power the LED, which requires 32 to 36 volts.
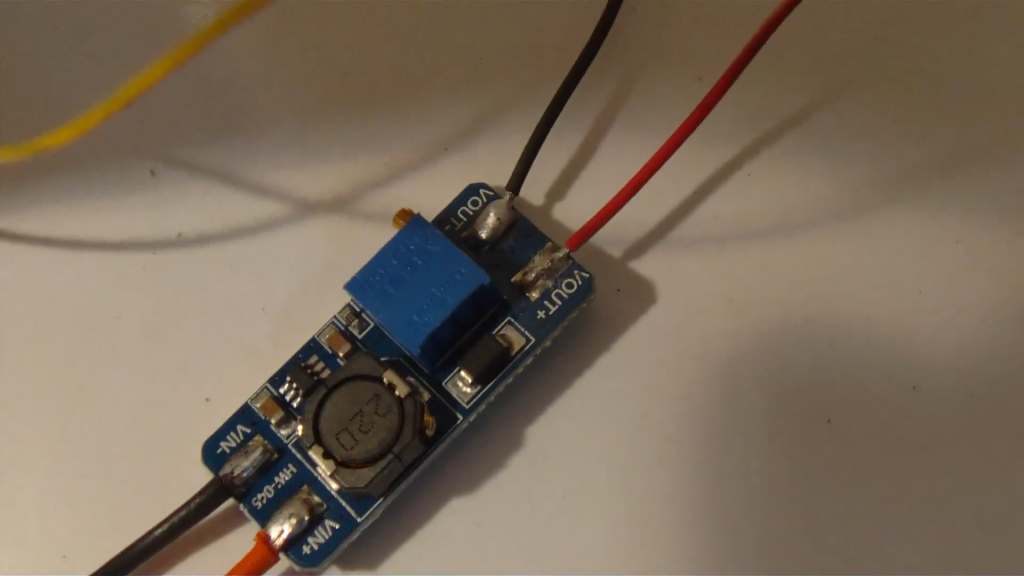
To power the LED , we need two MT3608 boost converter modules. Set each boost module to output 17 volts. Then, connect the two boost modules in series, which will provide a combined output of 34 volts, sufficient to power the LED.
Step 3: Solder wires to the LED
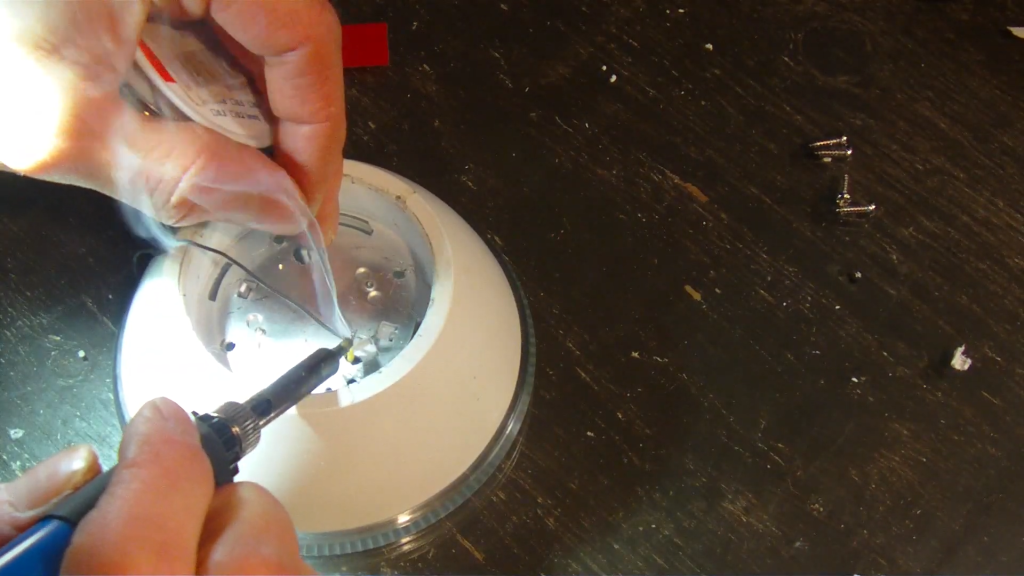
Once you have confirmed that the LED is working, solder wires to the positive and negative terminals of the LED. These wires will be used to connect the LED to the power source later on.
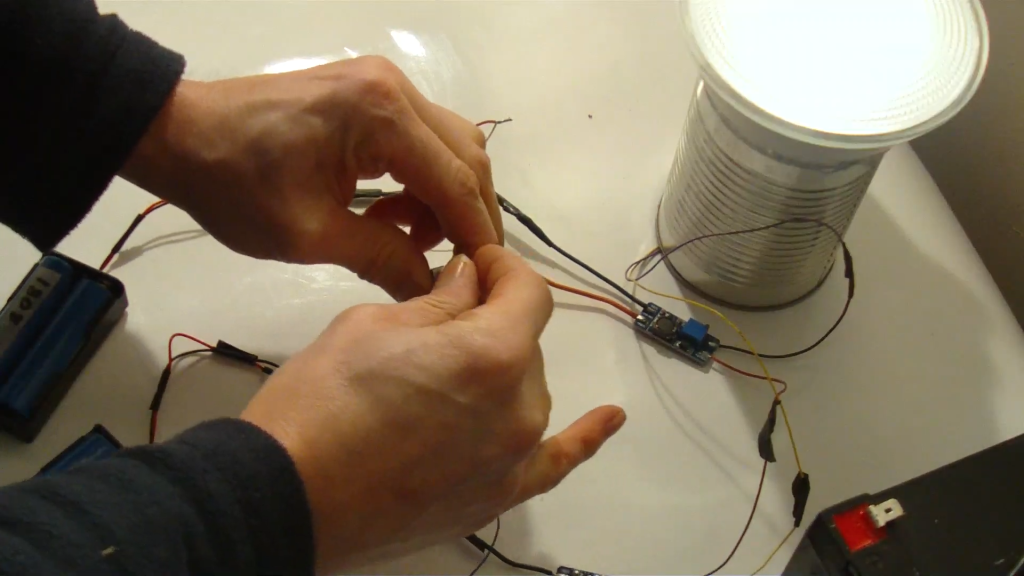
Step 4 : Connecting the Boost Converters and the LED
The boost converters must have separate power sources when connecting the output in series. This means that each boost converter must be connected to its own battery pack.Once the boost converters are wired in series, you can adjust the voltage output of each boost converter to 17 volts.This will give you a combined output of 32-26 volts.
The positive terminal of the LED is connected to the positive output terminal of the second boost converter, and the negative terminal of the LED is connected to the negative output terminal of the second boost converter.
Connect the positive output terminal of the first boost converter to the positive input terminal of the second boost converter.
Step 5 : Connecting the Battery packs and the boost conveters

The battery holders should be installed in parallel, with the positive terminals of the battery holders connected together and the negative terminals of the battery holders connected together.
The positive terminal of the battery pack should be connected to the input of the first boost converter, and the negative terminal of the battery pack should be connected to the ground of the circuit.
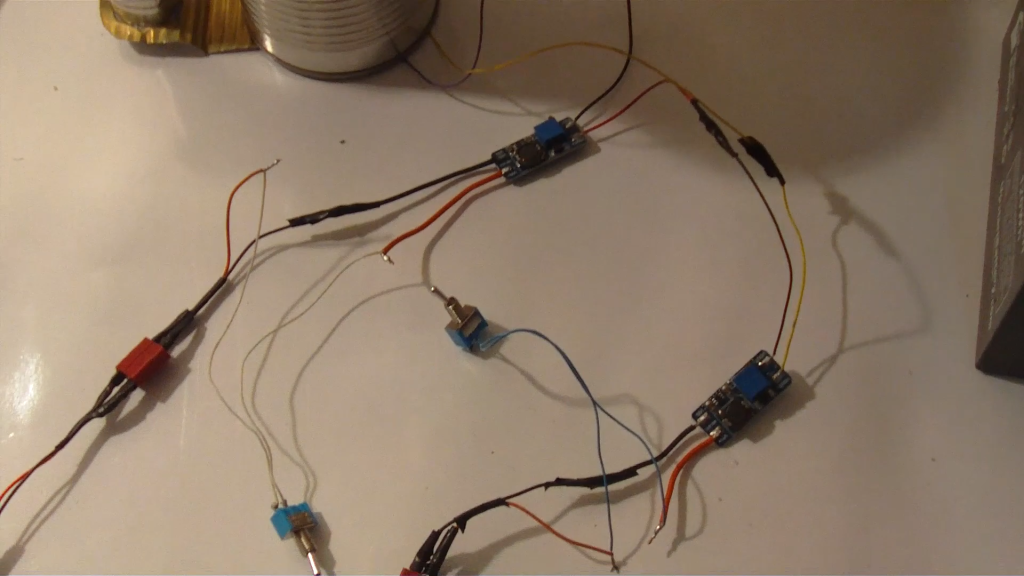
The switches are connected in series between the battery pack and the first boost converter.
This means that one switch is connected to the positive terminal of the battery pack, and the other switch is connected to the input of the first boost converter. Both switches must be turned on in order for the flashlight to work.
Step 6 : Assemble the Flashlight
Place the boost modules and battery holders inside the tin can through one of the soup can which is half cut.
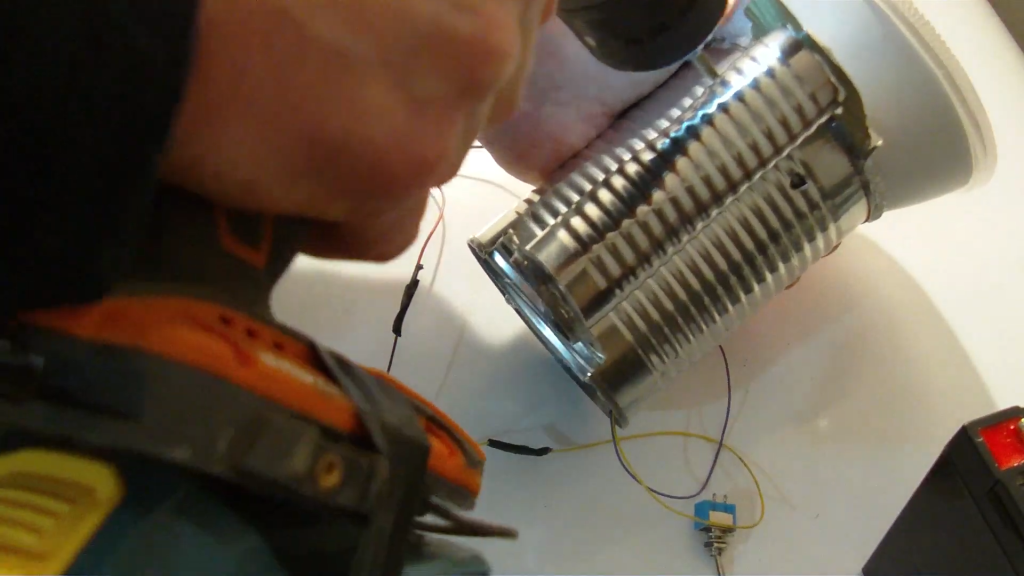
Two holes drilled on the soup can for installing the two switches. The holes should be drilled in a location that is convenient for you to reach and operate the switches.Once the holes are drilled, the switches can be inserted into the holes and secured in place with hot glue or epoxy.
Image Credits : Kurtscottage