In this project, we’ll guide you through the process of building and testing a powerful rocket stove that can heat water quickly using minimal fuel. Perfect for camping, homesteading, or emergency preparedness, this innovative design combines the efficiency of a rocket stove with the practicality of a water heater.
STEP 1 : The Materials Required
-
Stove Body:
-
One 4-inch diameter steel pipe, about 3 feet long (for the main chimney)
-
One 4-inch diameter steel pipe, about 6 inches long (for the fuel chamber)
-
One 4-inch diameter steel pipe, about 4 inches long (for the ash chamber)
-
-
Legs:
-
Three 1-inch diameter steel pipes, about 12 inches long each
-
Three bolts with washers, welded to create leg attachments
-
Three nuts with washers, for attaching legs
-
-
Airflow Vent:
-
Scrap piece of 4-inch steel pipe
-
Carriage bolt with nut and washer, for creating a sliding vent
-
Small piece of oak wood, for the vent handle
-
-
Water Heating Coil:
-
20 feet of 1/2-inch inside diameter copper tubing
-
Two compression fittings with ferrules (olives) for attaching to coil
-
Play sand (enough to fill the copper tubing)
-
-
Tools:
-
Angle grinder with cutting and grinding discs
-
Welding machine (MIG or TIG)
-
Clamps
-
Hammer
-
Drill with appropriate bits
-
Measuring tape
-
Marker
-
Wrenches for tightening compression fittings
-
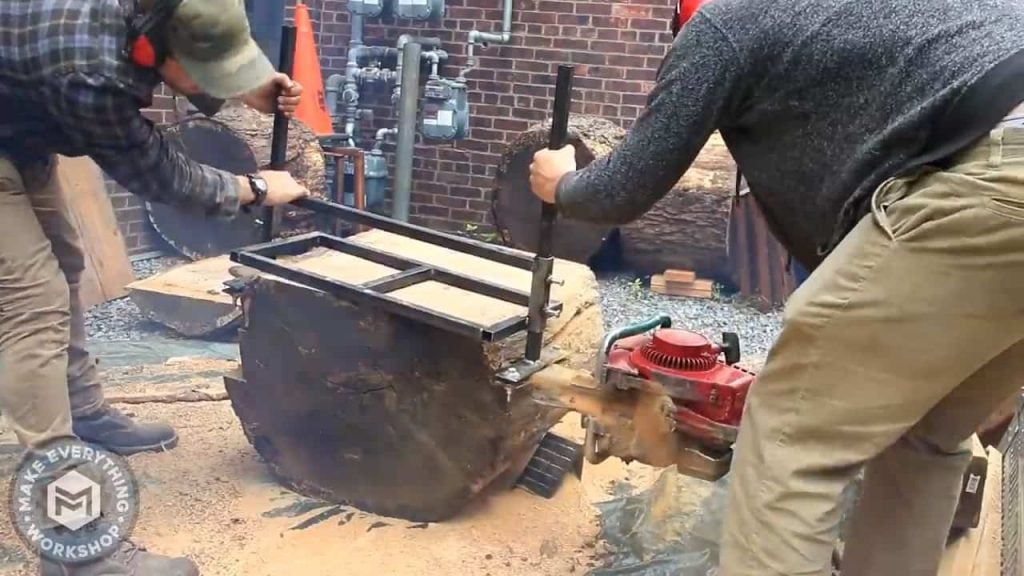
Step 2 : Cutting the Stove Body Pieces

-
Cut the 3-foot long steel pipe into three sections:
-
One about 24 inches long (main chimney)
-
One about 6 inches long (fuel chamber)
-
One about 4 inches long (ash chamber)
-
-
Cut a 45-degree angle on one end of the fuel chamber piece.
-
Cut a matching 45-degree angle on one end of the ash chamber piece.

Step 3 : Cutting the Stove Body Pieces
Thoroughly clean all cut steel pipe pieces to remove rust and debris.Use an angle grinder with a grinding disc to smooth out the cut edges and create a clean surface for welding.

Step 4: Building the Airflow Vent

From a scrap piece of 4-inch steel pipe, cut a section about 3 inches wide.Open up one side of this section to create a larger opening for the vent.Drill a hole in the center of the vent piece and attach a carriage bolt with a nut and washer.

Attach a small piece of oak wood to the bolt head, creating a handle for the sliding vent.Position the vent on the ash chamber section, ensuring the slot allows for opening and closing.Weld the vent onto the ash chamber.

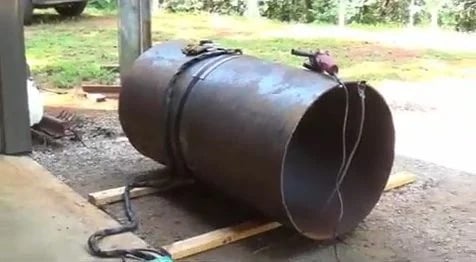
Step 5: Assembling and Welding the Stove Body
Align the angled ends of the fuel chamber and ash chamber pieces, ensuring a snug fit against the main chimney pipe.Securely clamp the pieces together.Weld the joints between the fuel chamber, ash chamber, and chimney pipe, creating a sturdy “L” shape.Grind down the weld seams for a smooth finish. An expanded metal mesh will be placed inside the ash chamber of the rocket stove. This mesh serves to hold the fuel (wood) slightly off the bottom of the chamber, allowing for better airflow and more efficient burning.

Step 6: Creating the Detachable Legs

Take three 1-inch diameter steel pipes, each about 12 inches long. These will become the legs of your stove. You can adjust the length based on your desired height for the stove.For each leg pipe, take a bolt with a washer and weld the bolt head securely to one end of the pipe. This welded bolt will serve as the male part of the detachable connection. Make sure the weld is strong and grind it down for a smooth finish.

Position the legs: Visually imagine dividing the bottom circumference of the ash chamber into three equal sections. This will help you evenly space the legs. Aim for an angle that provides a stable base, usually around 45 degrees out from the chamber.

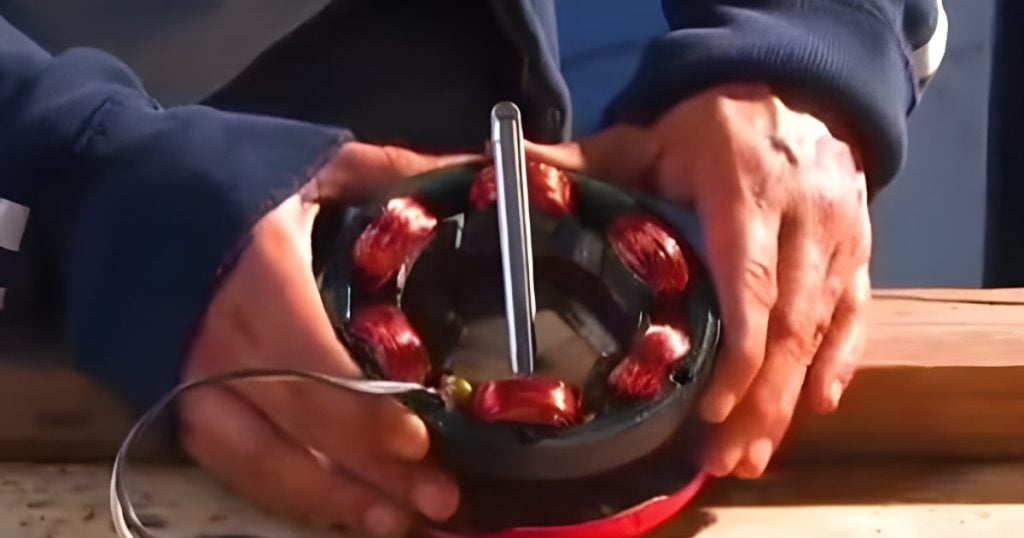
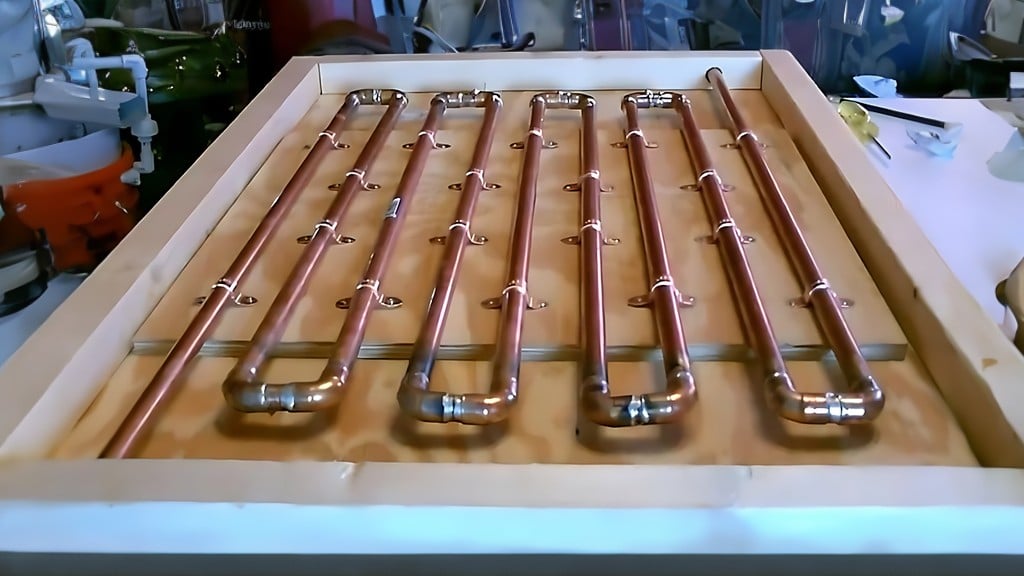
Step 7: Preparing the Copper Coil

Fill the copper tubing completely with play sand, packing it tightly. This prevents kinks and ensures a uniform coil shape.

Wrap the sand-filled copper tubing around the main chimney pipe, starting from the bottom and working your way up. Leave enough tubing at both ends for attaching the fittings.

Cut the ends of the copper tubing to the desired length for your fittings and remove the sand.

Slide a ferrule (olive) onto each end of the copper tubing.Insert the compression fittings into the copper tubing ends and tighten them securely using wrenches.

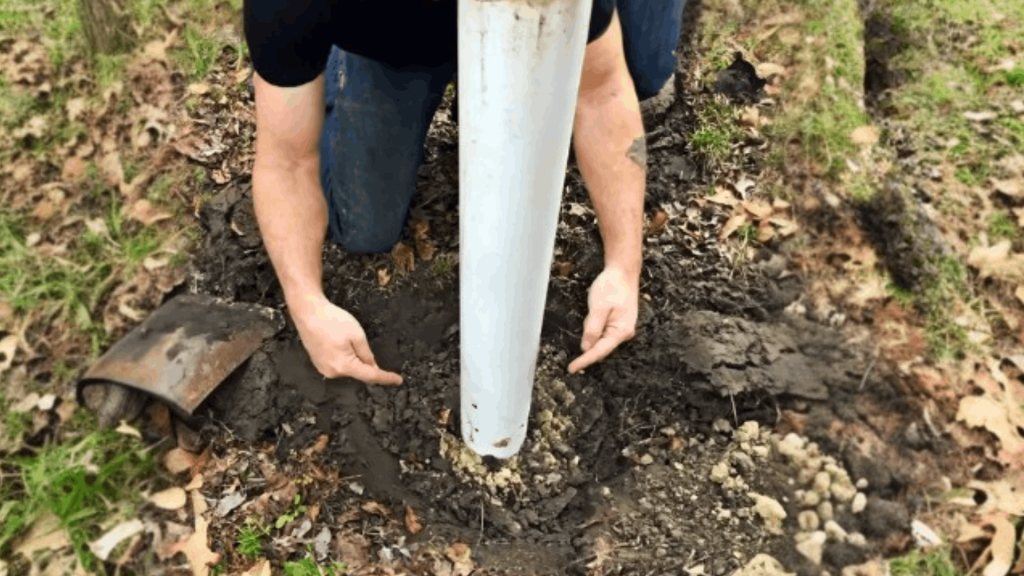
Step 8: Testing the Stove

Fill a bucket with cold water and add a bag of ice to each to bring the temperature down to around 40 degrees.Connect the copper coil to your chosen water circulation system (pump, gravity feed, etc.).Load the rocket stove with small bundles of dry wood.Light the stove and monitor the water temperature in the buckets.

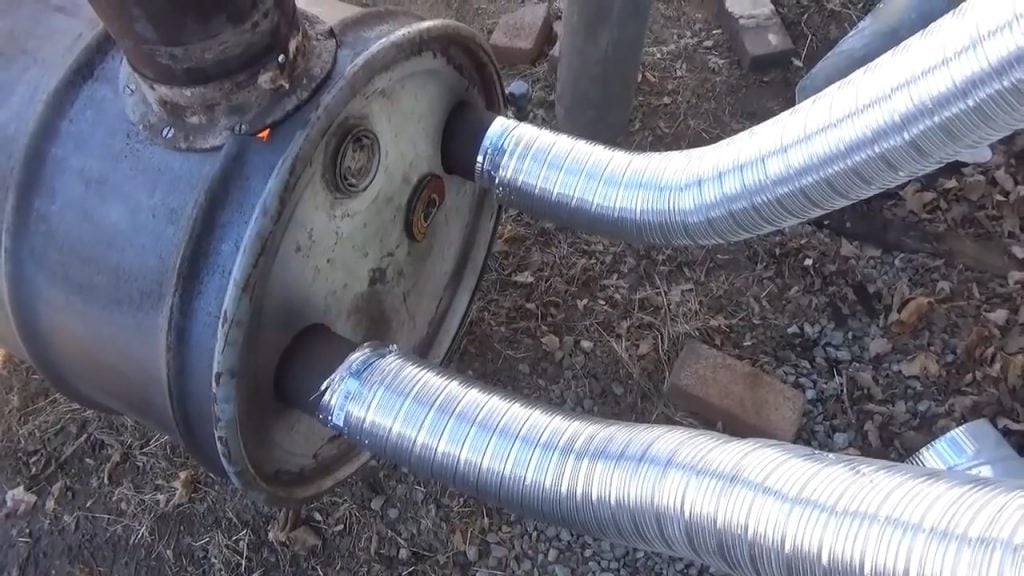
The external copper coil is wrapped with fiberglass insulation which helps retain the heat generated by the rocket stove chimney within the copper coil, allowing the water to heat up faster and more efficiently. This reduces heat loss to the surrounding environment.
Image Credits : Patrick Remington