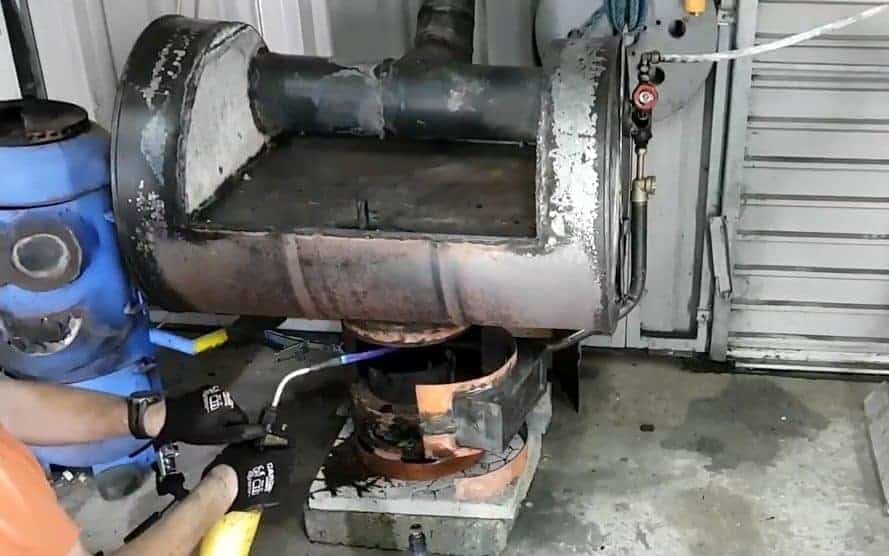
In this project, we will guide you through the process of building a double barrel stove that can be used in a shop or garage.
The stove is constructed using two old scrap water heaters, making it a cost-effective and environmentally friendly option for heating your workspace.
By repurposing these old water heaters, you can create a highly efficient and clean-burning stove that will keep your workspace warm during the colder months.
STEP 1 : DISASSEMBLE THE HEATERS
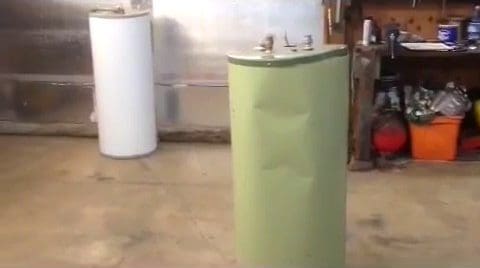
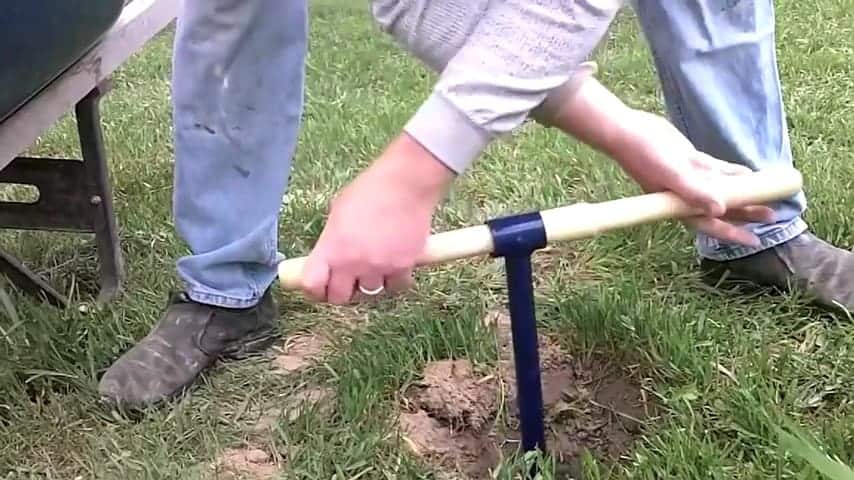
To begin building the double barrel stove, the initial step is to disassemble the old electric hot water heaters to retrieve their tanks.
This can be achieved by carefully removing all external parts and components of the water heaters, such as insulation and electrical wiring, until the tanks are fully exposed.
Once the tanks are visible, the next step is to detach them from the heaters’ bodies using appropriate tools.
STEP 2 : CUTTING THE BOTTOM TANK
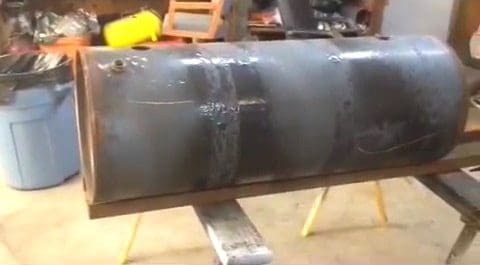
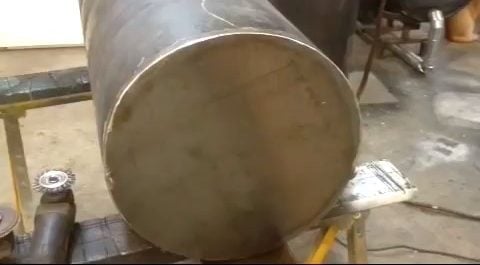
The next step in building the double barrel stove is to take a grinder and cut off a section from the top of one of the water heater tanks.
This cut section will be used as the bottom tank for the stove. It is important to choose the section carefully to ensure that it is of the appropriate size and shape for the intended purpose.
Once the section is removed, any calcium or mineral deposits that may have developed inside the tank over time should be thoroughly cleaned and removed.
STEP 3 : WELDING STEEL PLATES ON BOTH ENDS
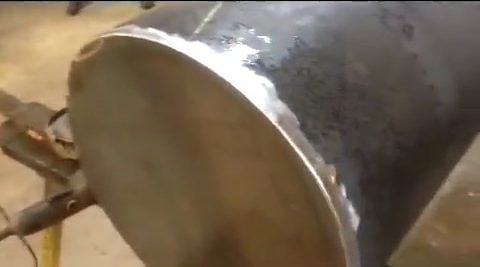
The next step in constructing the double barrel stove is to take a piece of 12 gauge plate steel and place the top drum upside down on it.
A circle should be marked out on the steel from the end and then cut out. This steel piece will be welded onto the drum.
The same process should be repeated for the other drum as well, as the double barrels used in this stove are essentially two separate stoves that will be joined together.
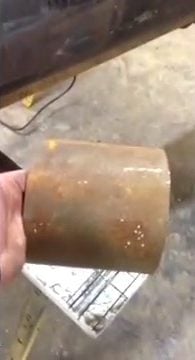
After completing the previous step, the top and bottom tanks should be polished and cleaned to ensure that they are free from any dirt, debris, or contaminants that may have accumulated during the construction process.
Any insulations, paints, or glues that are found on the tanks should be removed completely to prevent them from interfering with the operation of the stove.
Care should be taken when removing these materials to avoid damaging the tanks.
Additionally, any rough or sharp edges on the tanks should be smoothed out by grinding or sanding them down until they are completely flat.
STEP 4 : ADDING SUPPORT STACK
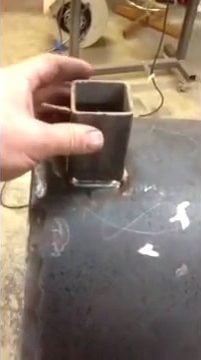
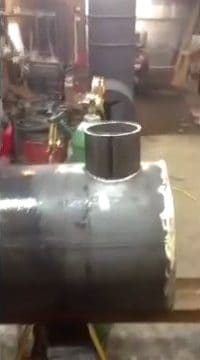
The next step in building the double barrel stove involves cutting a small piece of pipe that will serve as a stack connecting the two tanks.
This piece of pipe is crucial to the stove’s functionality as it will allow smoke and gases to pass between the two tanks and out of the stove through the exhaust stack.
The pipe should be cut to the appropriate length to fit securely between the two tanks, and care should be taken to ensure that it
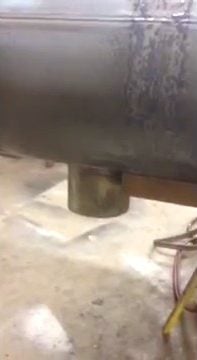
After cutting the small piece of pipe that will serve as the stack connecting the two tanks in the double barrel stove, the next step is to add a support bracket to the top of the bottom tank.
This bracket is essential for holding the weight of the top tank and ensuring that it stays securely in place.
The bracket should be positioned and welded onto the top of the bottom tank in a way that provides sufficient support for the top tank.
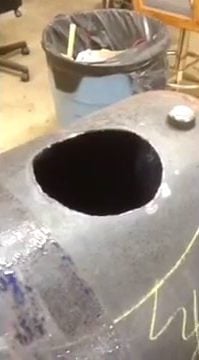
In the next step of build, a hole should be cut into the bottom tank. This hole is where the previously cut piece of pipe will be inserted to serve as the stack connecting the two tanks.
The hole should be carefully measured and cut to the appropriate size to ensure a snug fit for the pipe.
STEP 5 : ADDING AN EXHAUST STACK
In the next step of building the stove, attention should be turned to the top tank. The top exhaust stack should be cut and welded onto the tank, creating a six-inch outlet for smoke and gases to exit the stove.
This step is essential to the stove’s functionality as it allows for proper ventilation and ensures that the stove operates safely and efficiently.
The exhaust stack should be carefully measured and cut to the appropriate size, and care should be taken to ensure that it is properly aligned and securely welded onto the tank.
In addition to the top exhaust stack, another important component that should be added is a six-inch inlet that goes up to the top.
This inlet forces smoke and gases to travel across the length of the barrel, helping to ensure that the stove burns cleanly and efficiently.
The bottom barrel of the stove should be connected to this inlet to create a complete air flow system.
By forcing the smoke and gases to travel across the length of the barrel, the stove is able to extract the maximum amount of heat from the fuel being burned, resulting in more efficient heating for your garage or workshop.
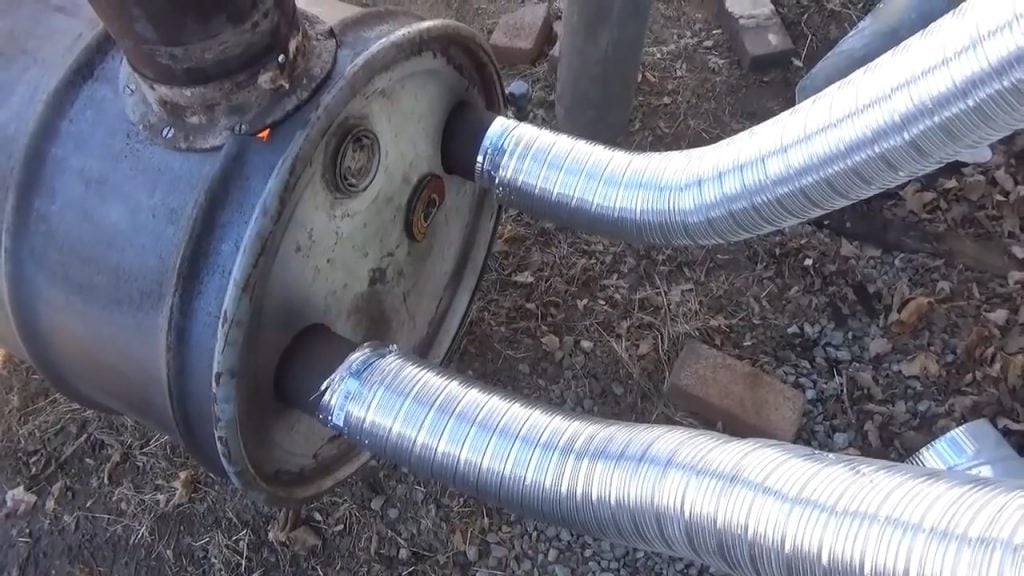
STEP 6 : CONNECTING BOTH BARRELS
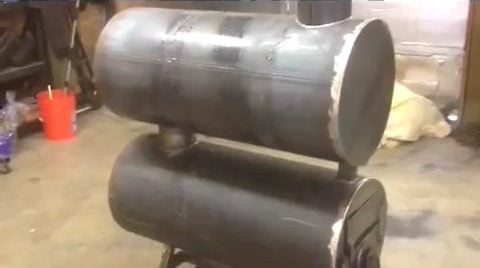
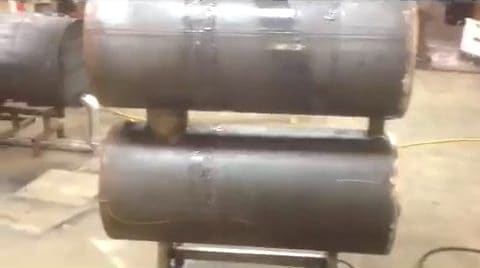
After all the necessary components have been added to the double barrel stove, the next step is to weld both barrels together.
The bottom barrel should be welded onto the mid stack, which connects the top barrel with the exhaust stack.
In addition, support legs should be added to the stove to ensure that it is properly supported and stable.
These legs can be made from scrap pipes lying around and should be positioned in a way that provides optimal support for the stove
STEP 7 : DOOR FABRICATION
The final step in building the double barrel stove is to fabricate the door. This involves cutting a hole in the bottom barrel to create an access point for loading fuel into the stove.
A couple of hinges and a door catch should be welded onto this end to ensure that the door is securely attached and can be easily opened and closed.
An air inlet pipe should be threaded onto a plate and attached to the door to control the flow of air intake.
This pipe allows air to enter the stove and helps to regulate the temperature of the fire. A handle should also be attached to the inlet pipe to make it easy to open and close and to control the amount of air intake into the stove.
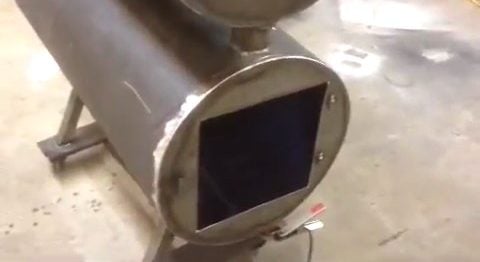

Image Credits : Blaine Porter