This project will guide you through converting an old Fisher & Paykel SmartDrive washing machine into a Pelton Wheel hydroelectric generator capable of providing off-grid power for your home.The Pelton wheel is attached to the washing machine’s motor shaft, and water is diverted through a pipe to spin the Pelton wheel. The difference in height between the water intake and the Pelton wheel creates enough water pressure to spin the shaft, generating electricity.

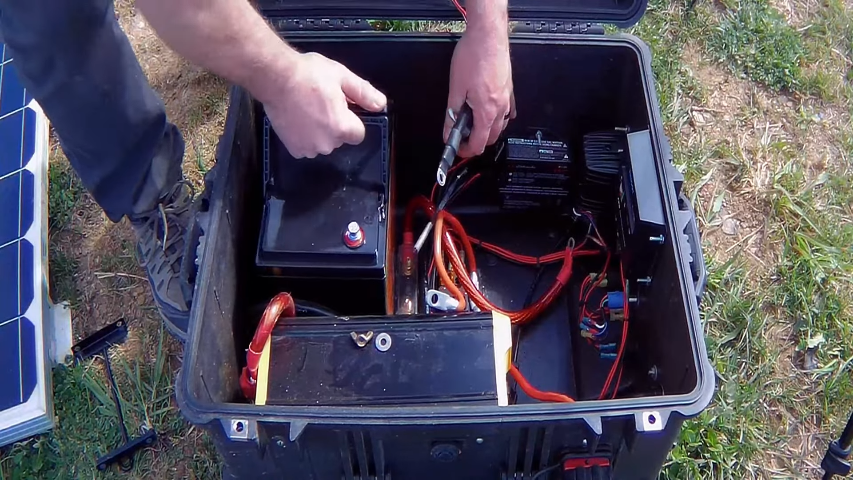
The generated electricity can then be stored in a battery bank and used to power appliances in the house. The charge controller senses when the batteries are fully charged and dumps any excess power.
STEP 1 : The Materials Required
- An old washing machine
- Pelton wheel (available on eBay for under $100)
- Inner tube (6-inch diameter)
- Heavy-duty plastic for water shoot and cover
- Half-inch plywood
- Perspex for service hatch
- Silicon sealant
- Stainless steel bolts and washers
- Rectifier
- Battery bank (optional)
- Inverter (optional)
- Charge controller (optional)
- Programmable logic controller (optional)
STEP 2 : Disassembling the Washing Machine

Locate a washing machine that is no longer in use.Remove the top cover of the washing machine by unscrewing a few screws.Snip the wires connected to the motor and unhook everything connected to the control housing.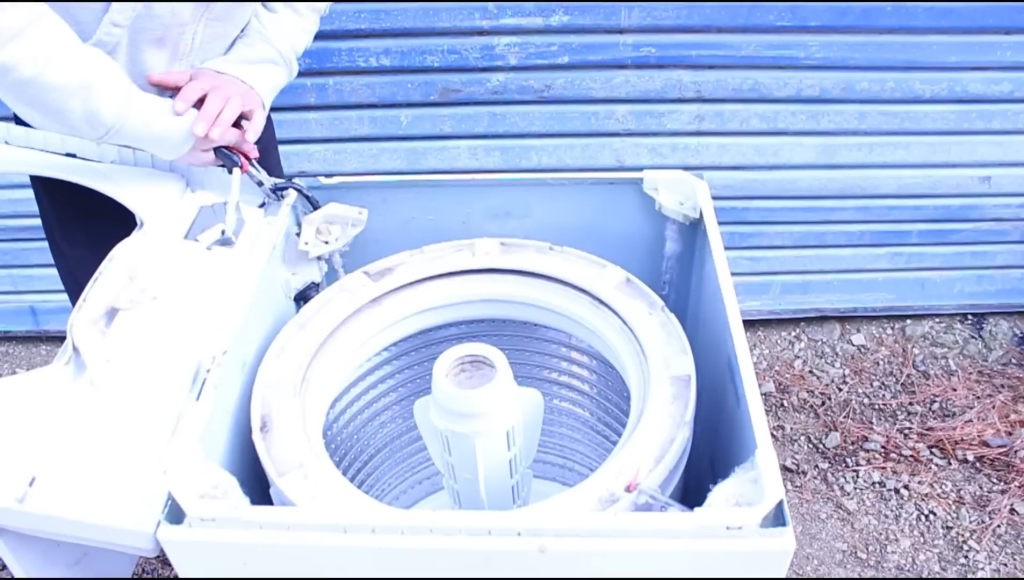
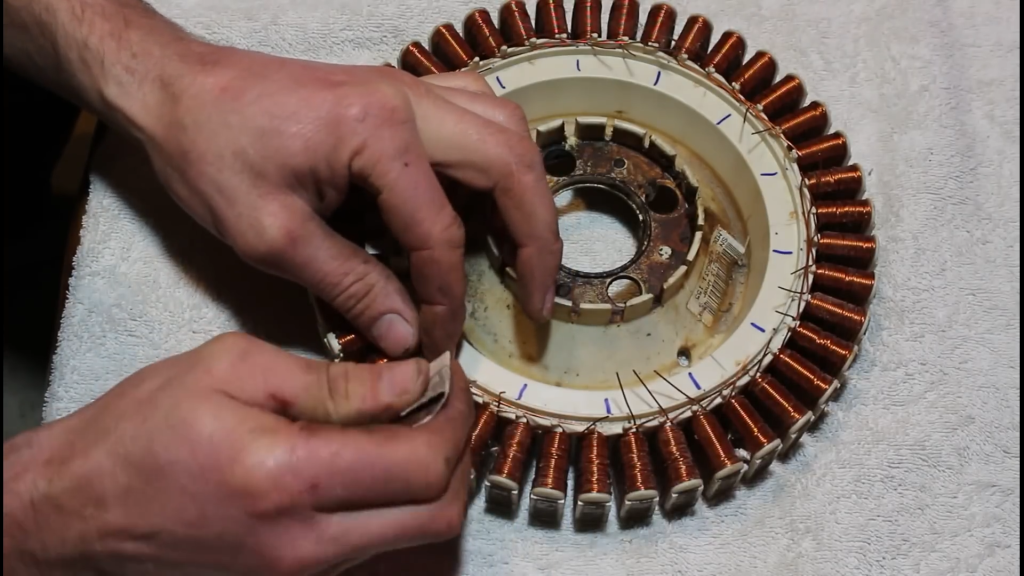
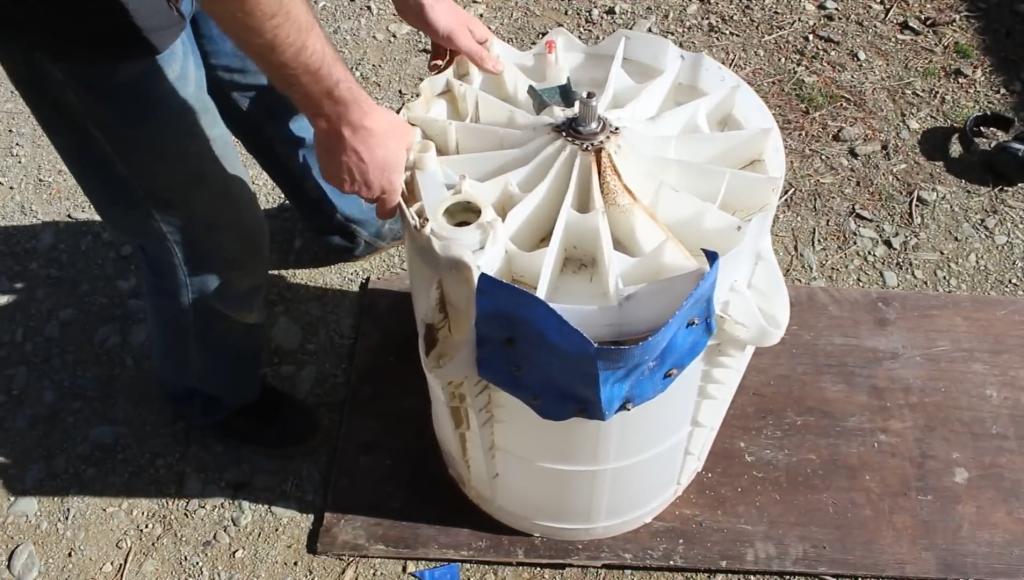
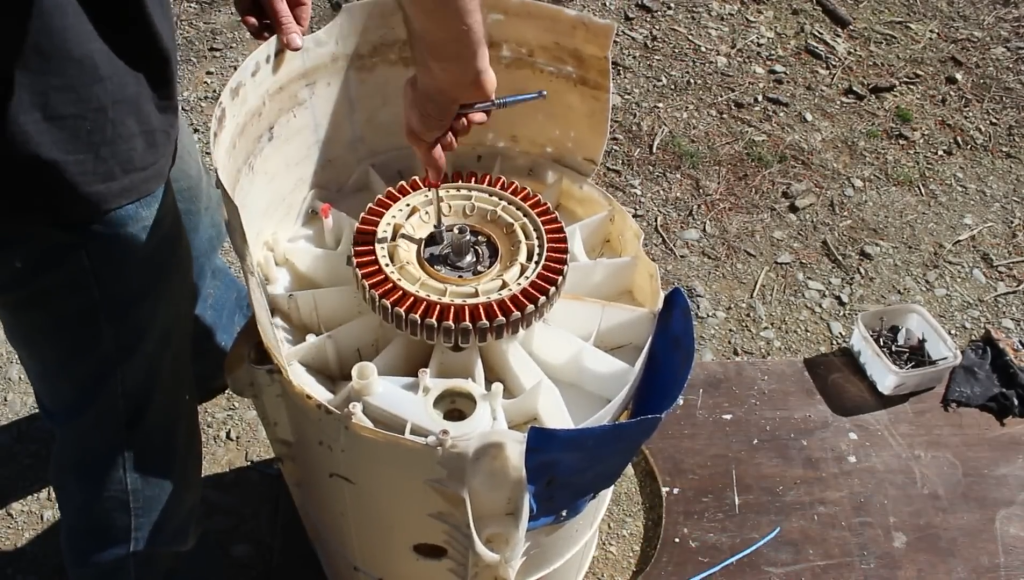
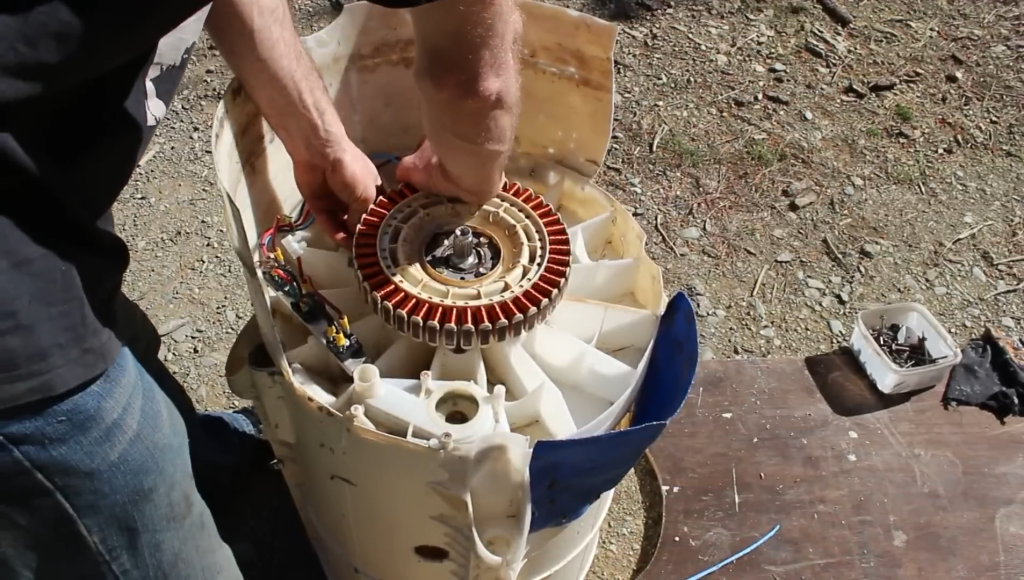
Pull the tub out of the machine, keeping the tub, stator, rotor shaft, and bearings.
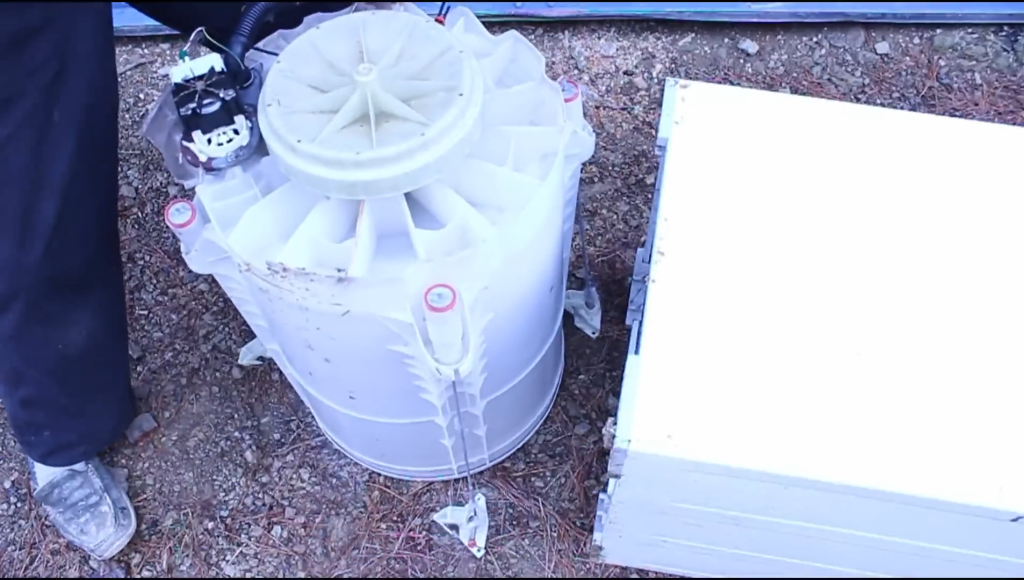
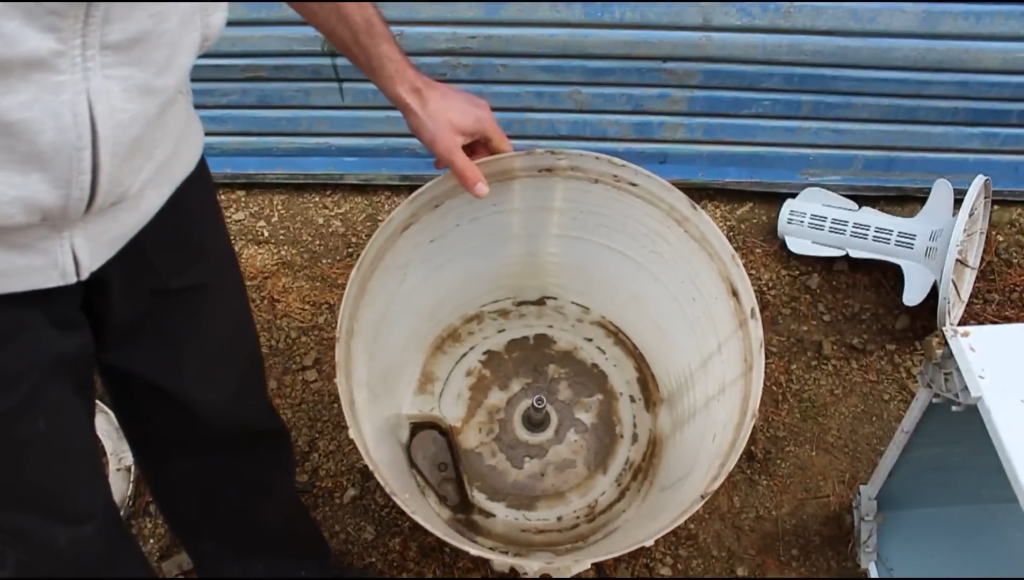
Pull the rotor off the back of the tub to inspect the magnets for any chips or cracks. This should be done after removing the tub from the washing machine housing and disconnecting all wires. If the magnets show signs of damage or breaking up, then get a new rotor.
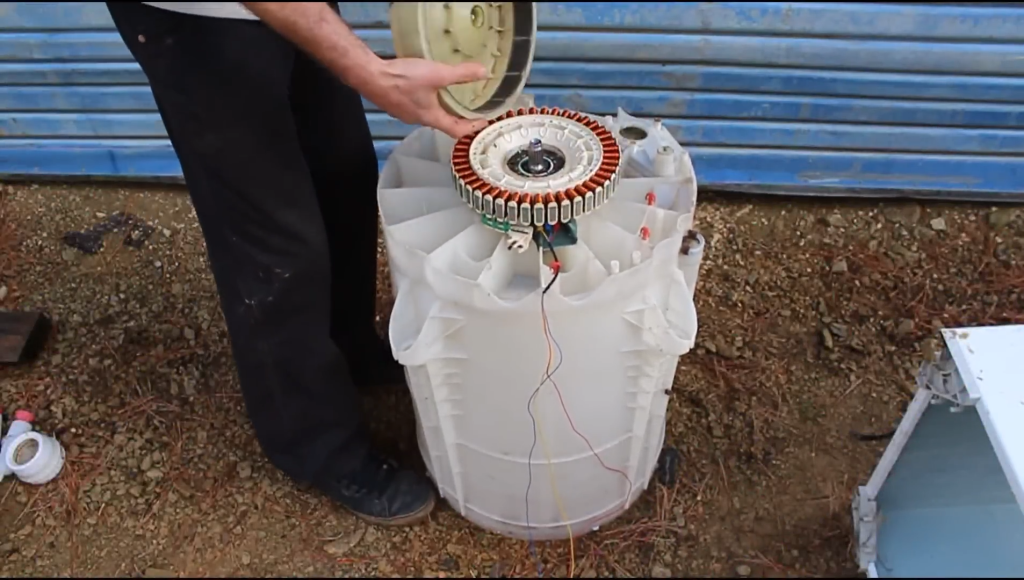
Check the state of the wiring for any signs of corrosion or broken wires. Use a multimeter to test the windings for continuity.

Step 2.5 : Rewiring the Stator
-
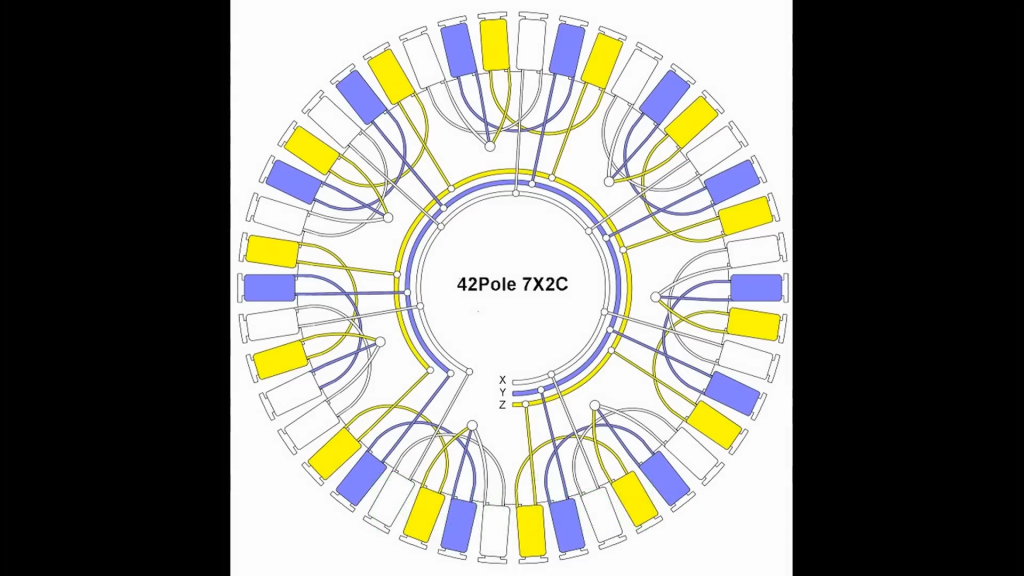
Identify Coil Groups: The stator has numerous copper coils arranged in groups. The stator here has 42 poles (coils) in groups of 6.
-
Mark Cut Points: Use a marker to mark the midpoint between every group of 6 poles. These marks indicate where you’ll cut the existing wires connecting the coils.
-
Cut the Wires: Carefully cut the connecting wires at each marked point using wire cutters. As you cut, gently pull the wire ends out of the stator to expose them for later connection.
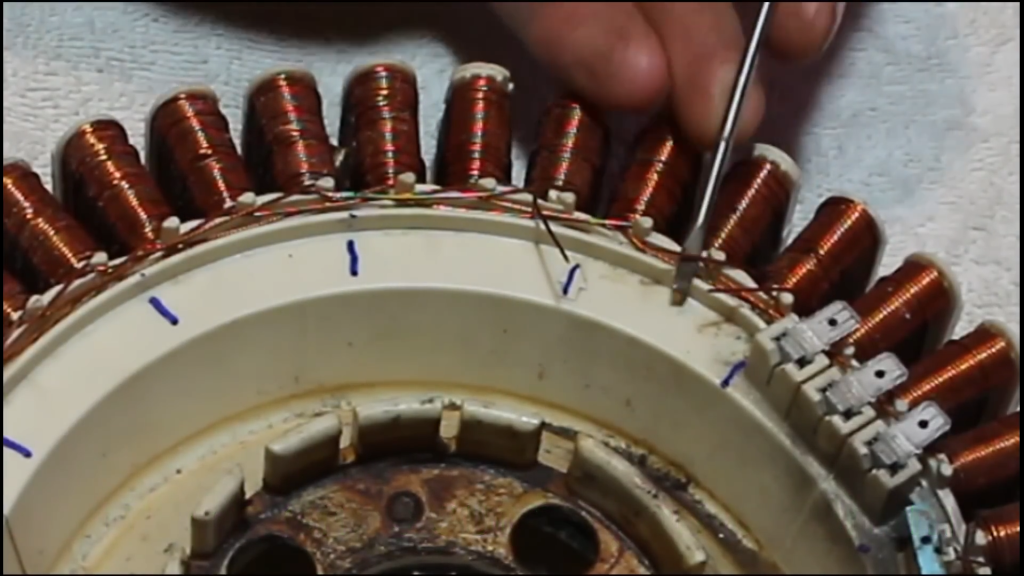

4. Clean the Wires: Use sandpaper or a file to thoroughly clean the enamel insulation off approximately 1 cm of the exposed wire ends. This ensures good electrical contact for soldering.
5.Connect Every Other Group: Prepare a length of insulated copper wire rated for 10 amps or more. This wire will connect the coils to the main terminals. Starting with any group, move aside the first two cut wire ends within that group. The remaining wire end will be soldered to the insulated wire.6.
6 . Continue Around the Stator: Repeat step 5 for every second group of coils around the stator. The insulated wire will form a loop, connecting every other coil group.

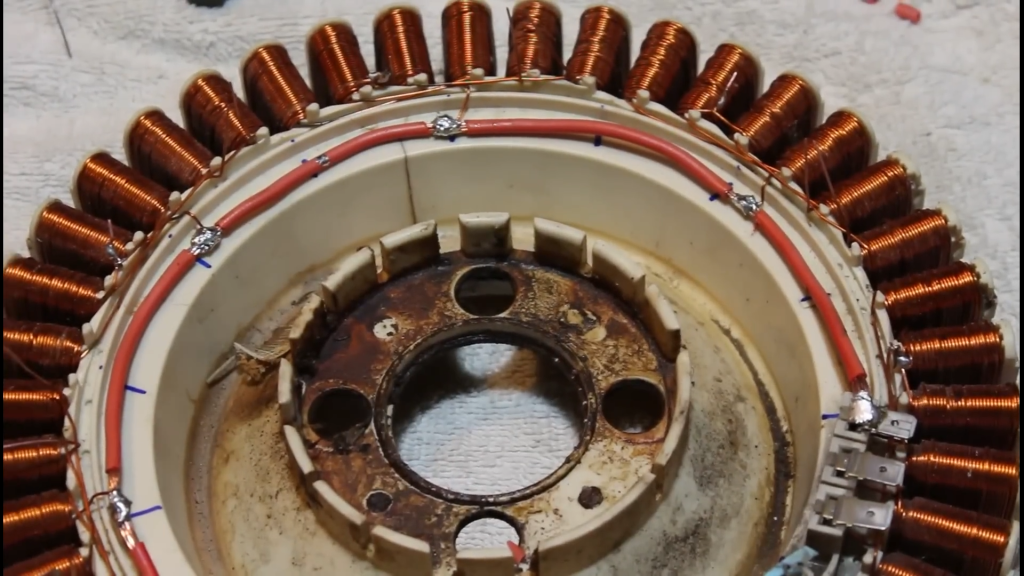
7. Clean the Terminals: Clean the top surface of the three main terminals on the stator using sandpaper or a file.
8. Solder to Terminals: Strip approximately 1 cm of insulation from the end of the insulated wire. Solder this end to the first terminal, ensuring there’s enough room left to attach a spade connector later.

9 .Repeat for Remaining Terminals:Connect the insulated wire to the remaining two terminals. Each terminal should now have a single insulated wire connected to it, representing the connections from every other coil group.Repeat the steps above the complete 2 more phases

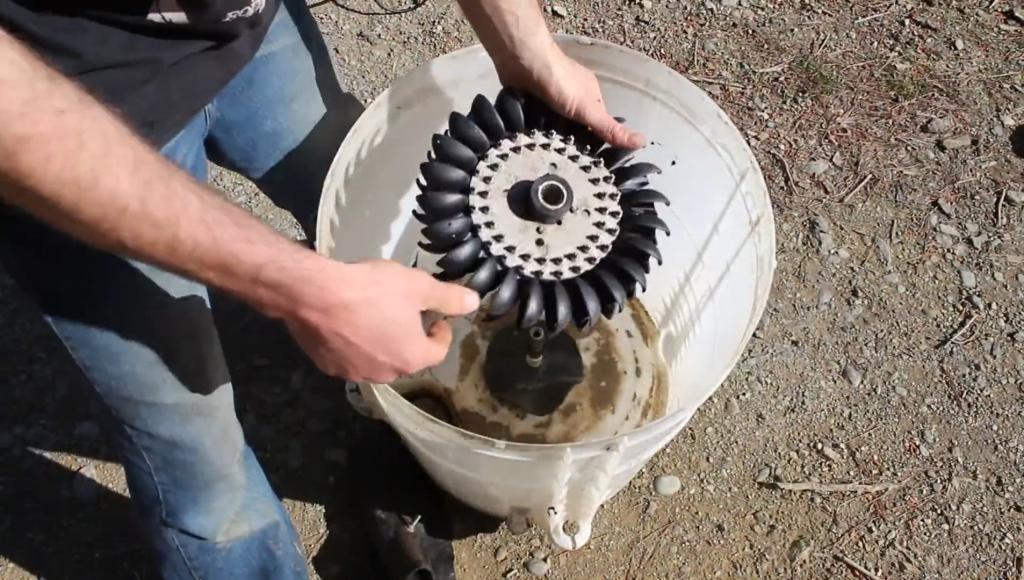
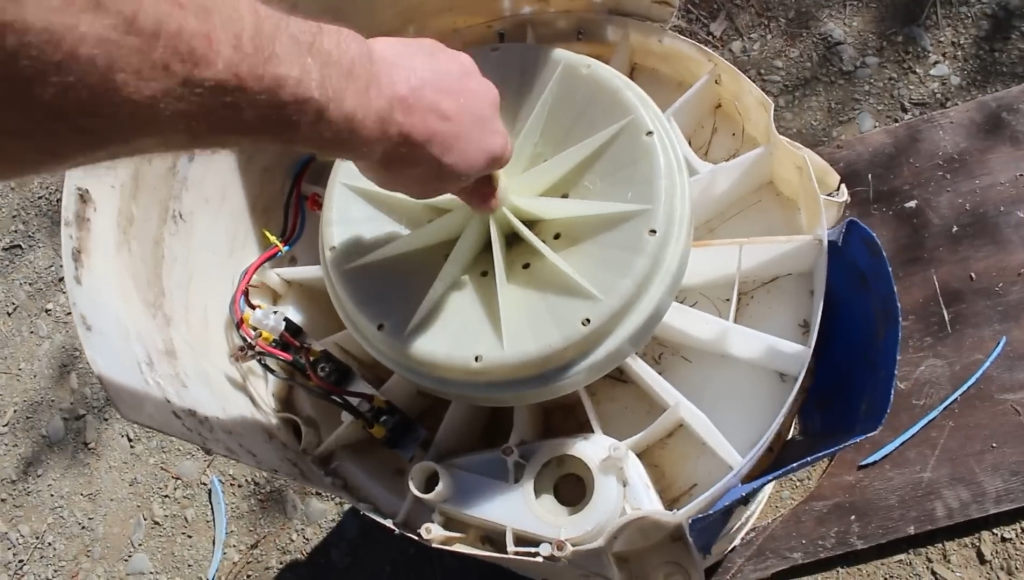
STEP 3 : Preparing the Pelton Wheel

Here we use an old inner tube to create a seal around the shaft of the Pelton wheel. The inner tube is cut out to create a circle around 6 inches in diameter, with a hole in the center to slip it onto the shaft.Keep the inner tube about a centimeter away from the rear of the tub
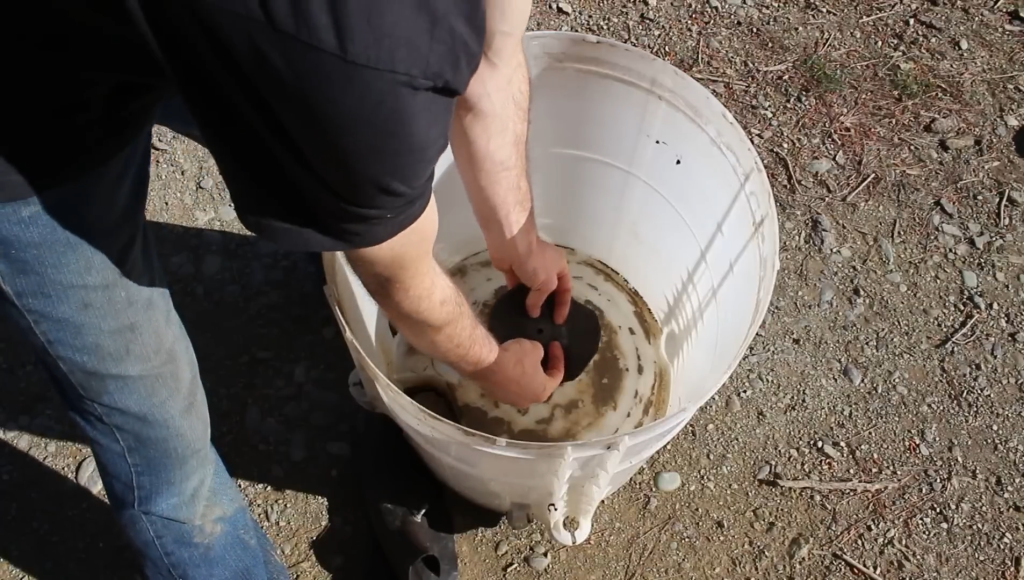
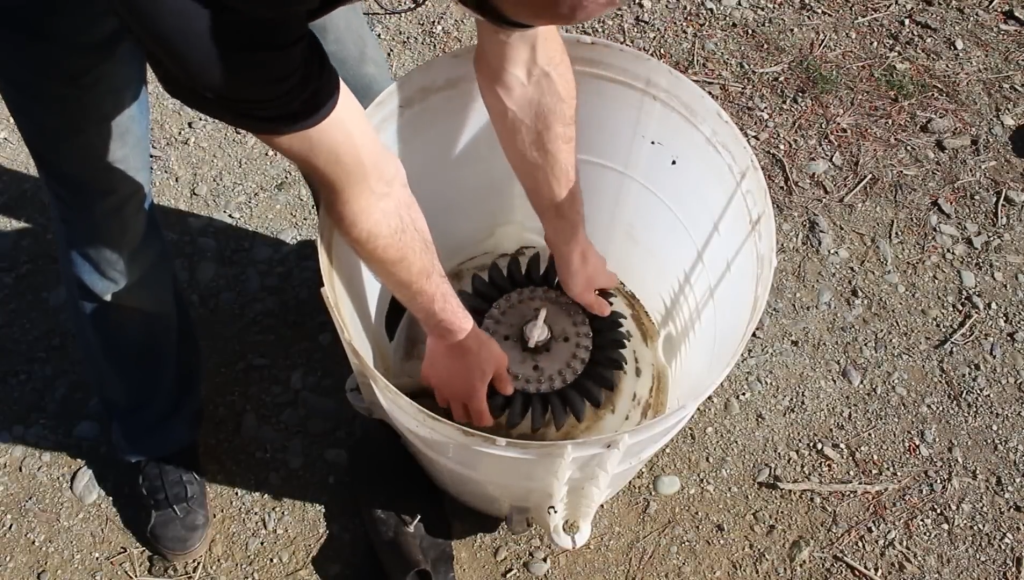
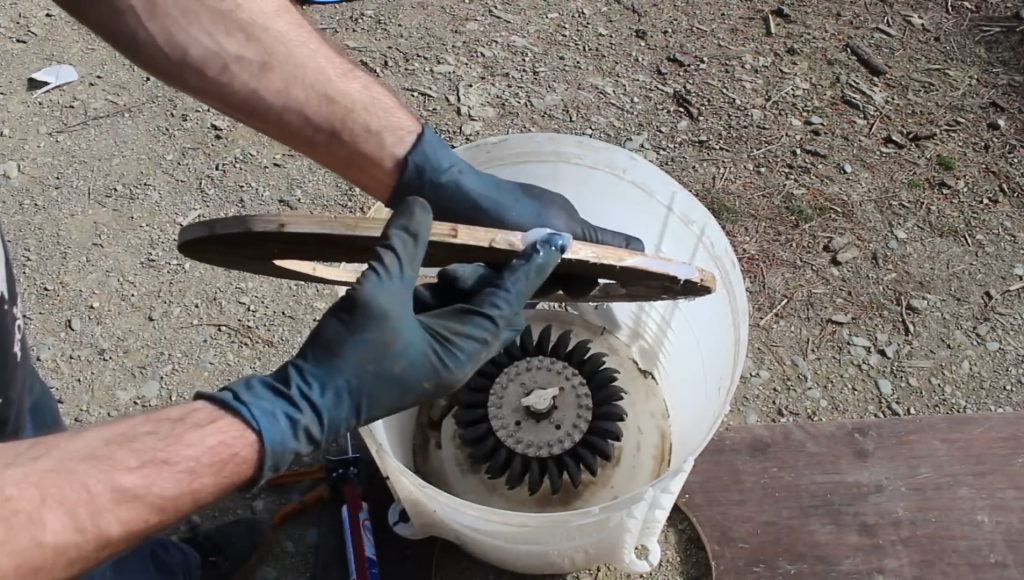
Attach the Pelton wheel to the shaft. You can either bolt it on using a threaded shaft or slide it straight onto the spline.
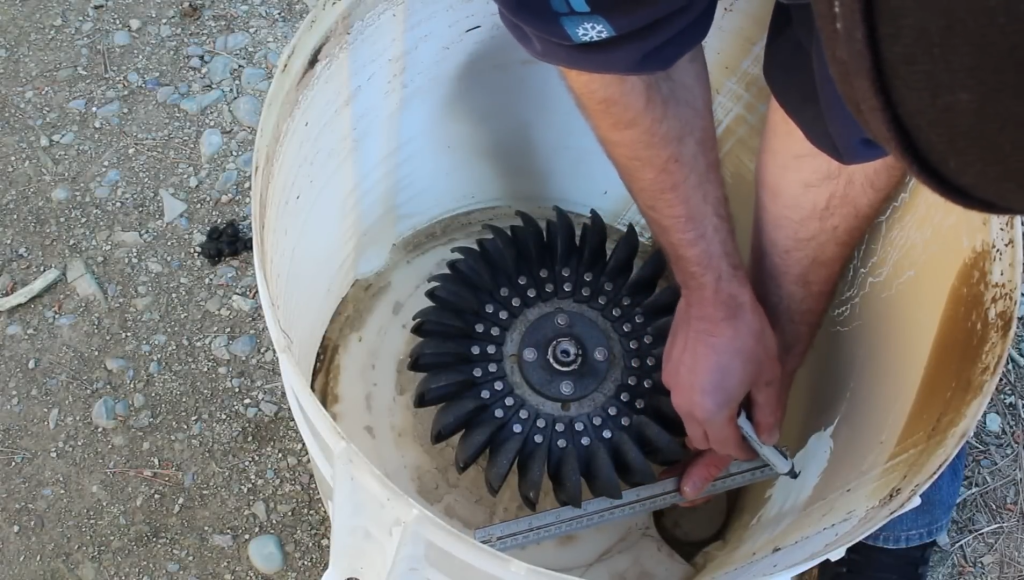
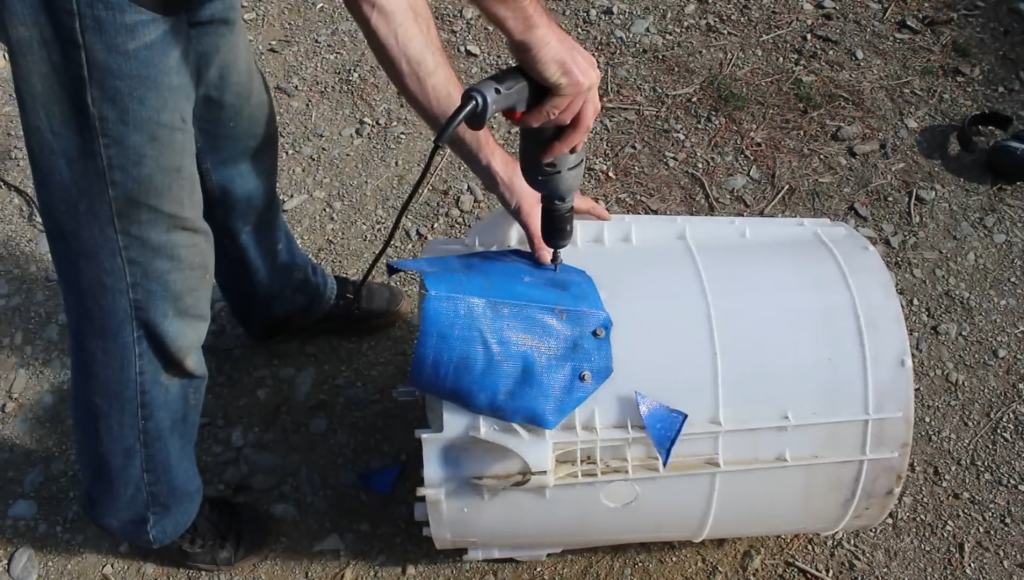
The water jet needs to hit the center of the Pelton cups to generate electricity efficiently. Using a ruler and a marker, pinpoint the exact location on the tub where the water jet from the Pelton wheel will hit the center of the cups.
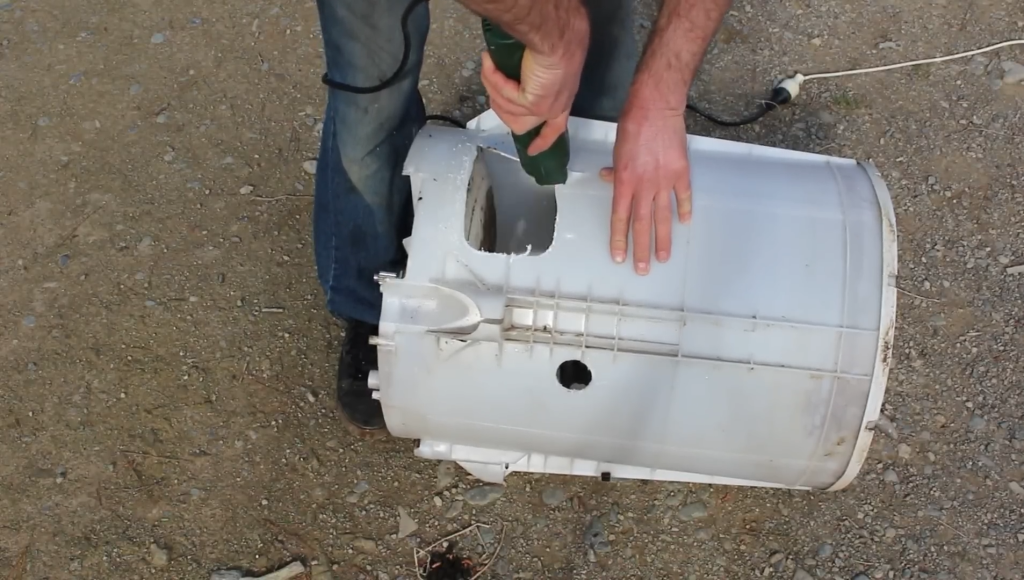
Using a drill with a hole saw attachment, carefully cut the hole for the nozzle based on your marking.

Cut a hole at the bottom of the tub to allow water to drain after passing through the turbine.
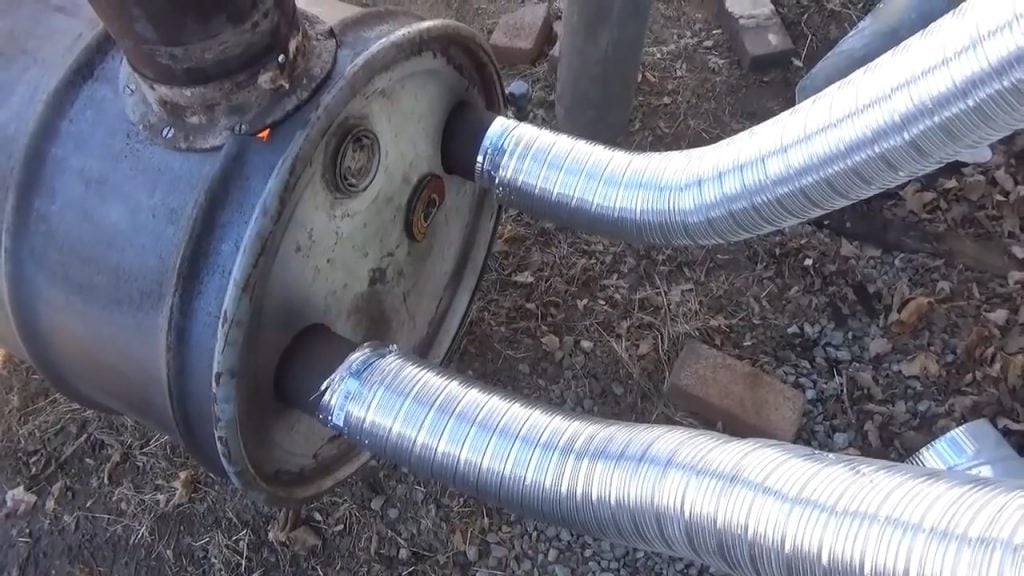
Create a chute out of heavy-duty plastic and attaching it to the drainage hole at the bottom of the tub.
This chute serves to guide the water that has passed through the Pelton wheel turbine back into the stream, preventing splashing and directing the water flow in a controlled manner.
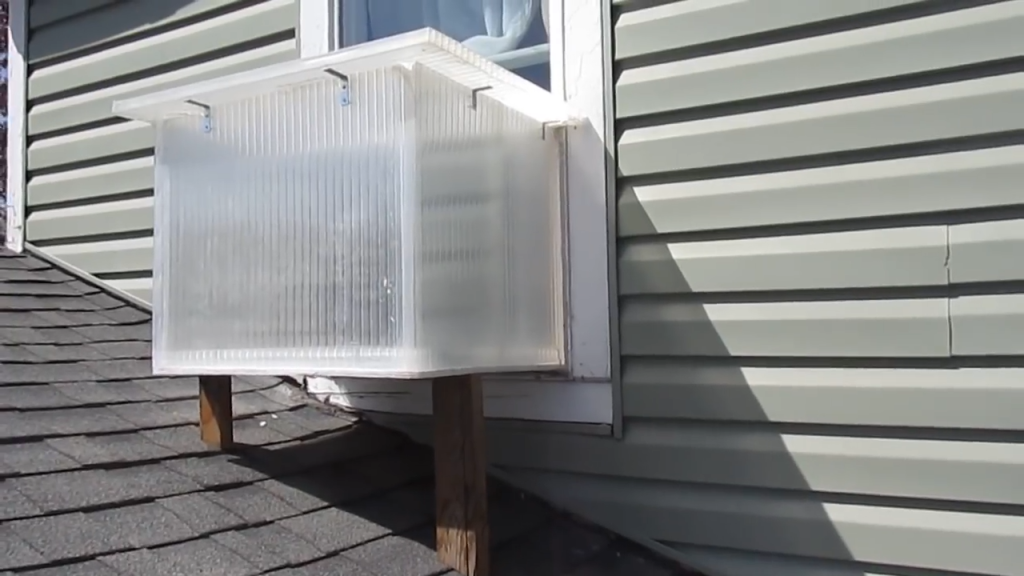
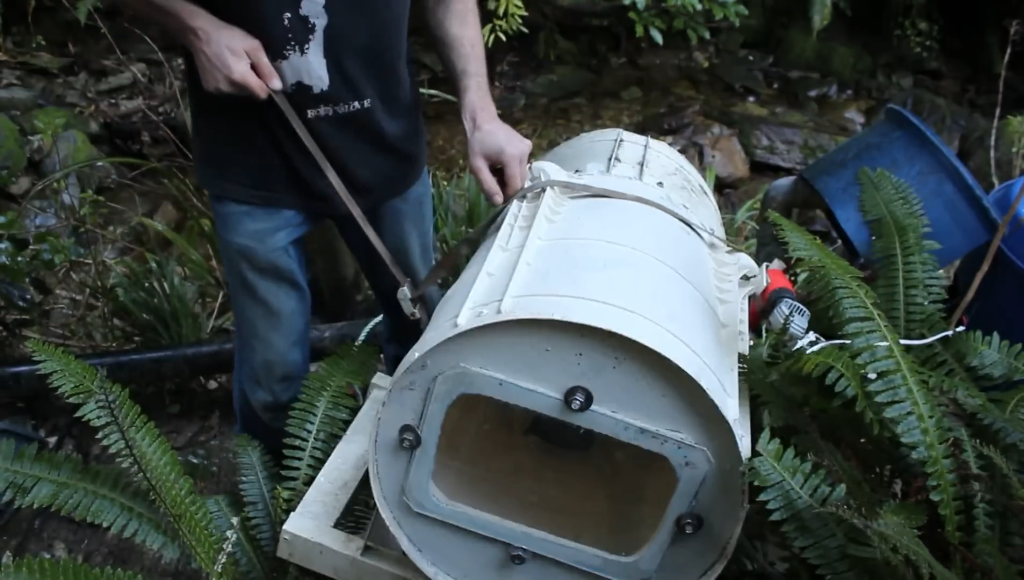
Step 4 : Building the Front Cover
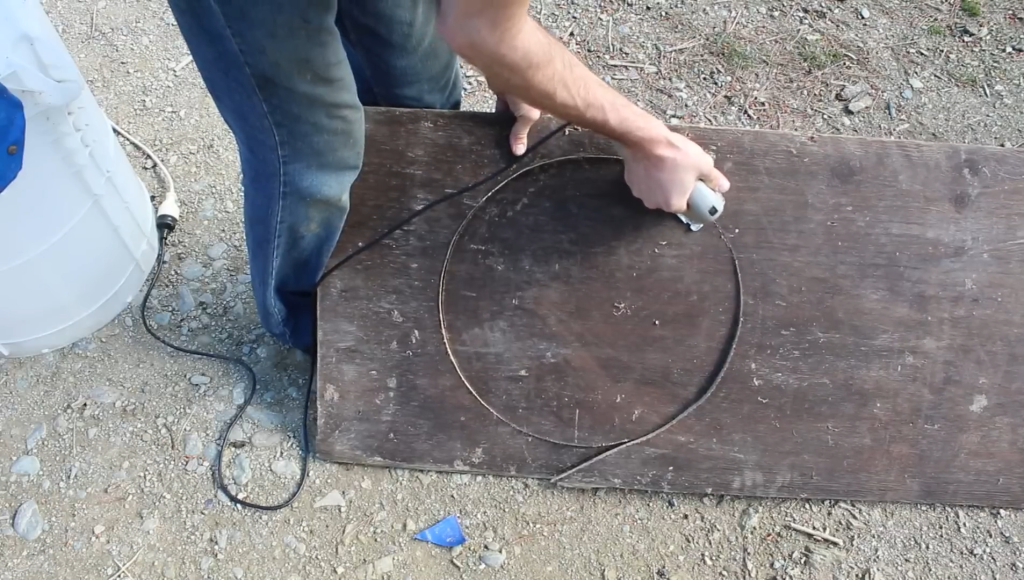
Cut out a cover for the front of the tub using half-inch plywood. This will add strength and prevent water splashing out.Cut a hole in the front cover big enough to pull the Pelton wheel out for servicing.

Cut a rectangular opening in the plywood cover. Cut a piece of Perspex slightly larger than this opening to create a viewing window.
Cut a foam seal to fit around the Perspex window, ensuring it creates a watertight seal when the window is in place.
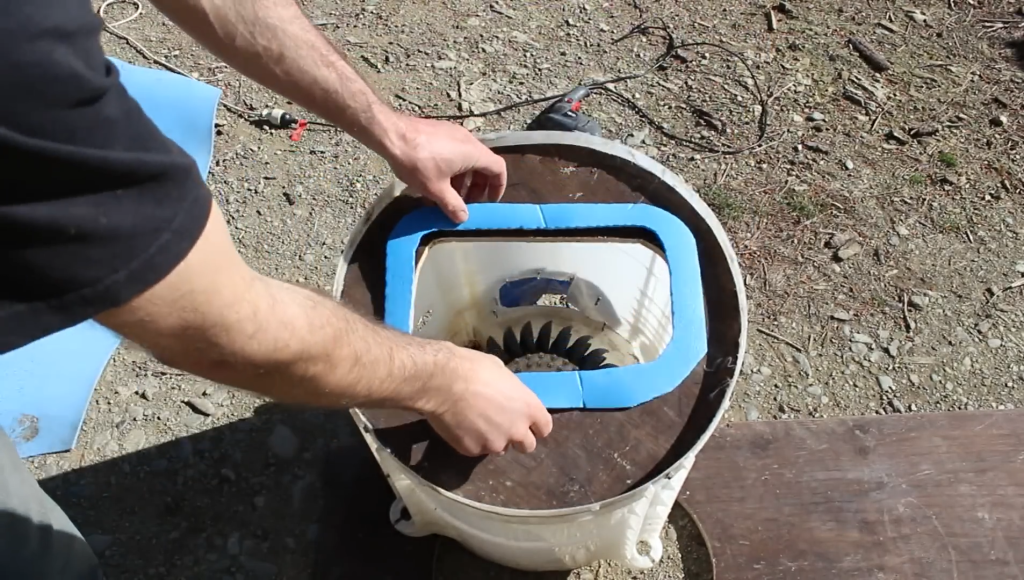
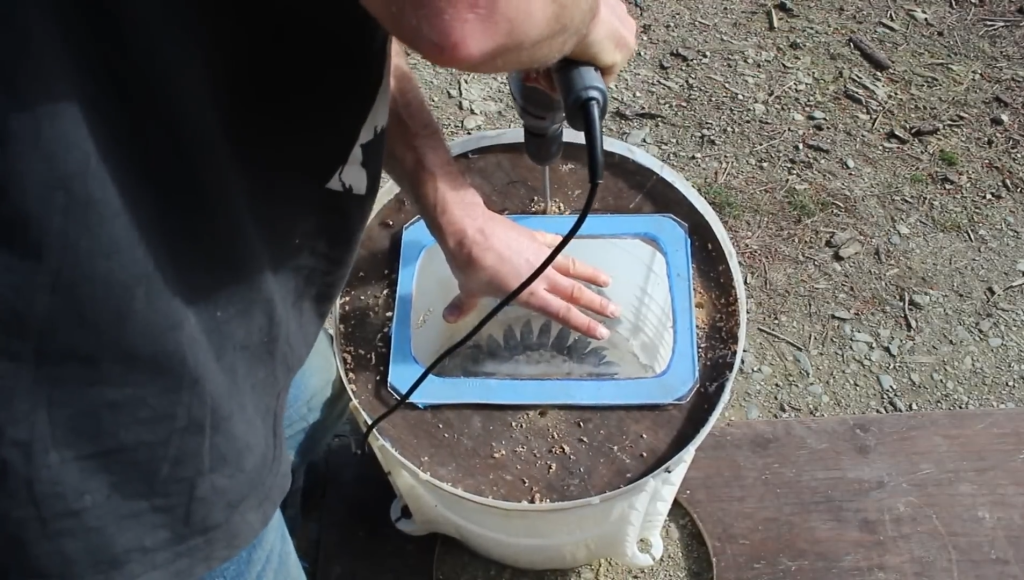
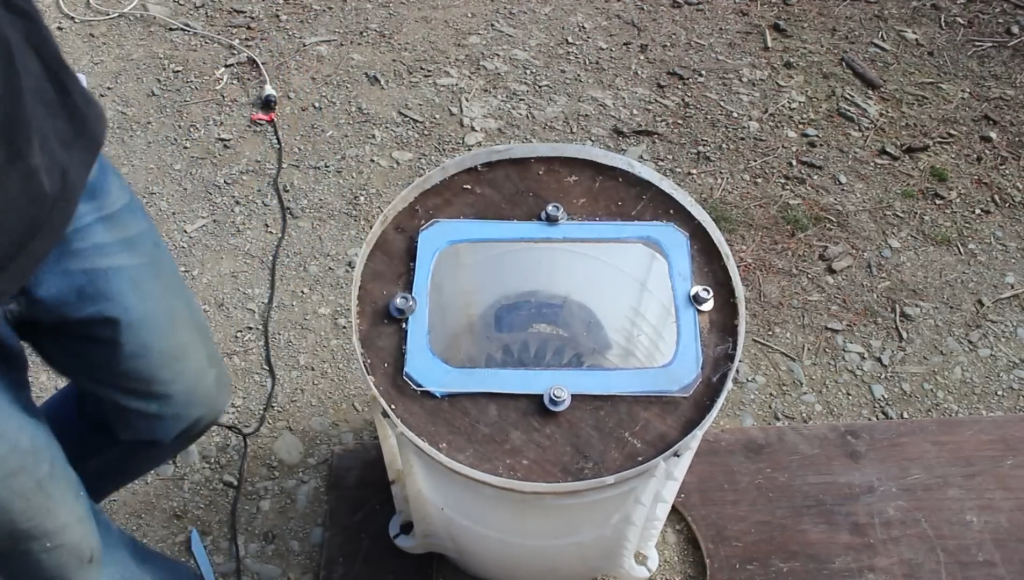
Apply silicon sealant around the edges of the Perspex window and the plywood cover. Place the foam seal around the Perspex. Align the Perspex with the opening on the plywood cover and clamp it in place using stainless steel bolts and washers.
Create a cover to protect the electric components from rain. The cover is made out of plastic and is painted to protect it from sunlight. The plastic cover can degrade quickly in sunlight, so a quick coat of paint will help to protect it.

Step 5 : Installing the Generator Components
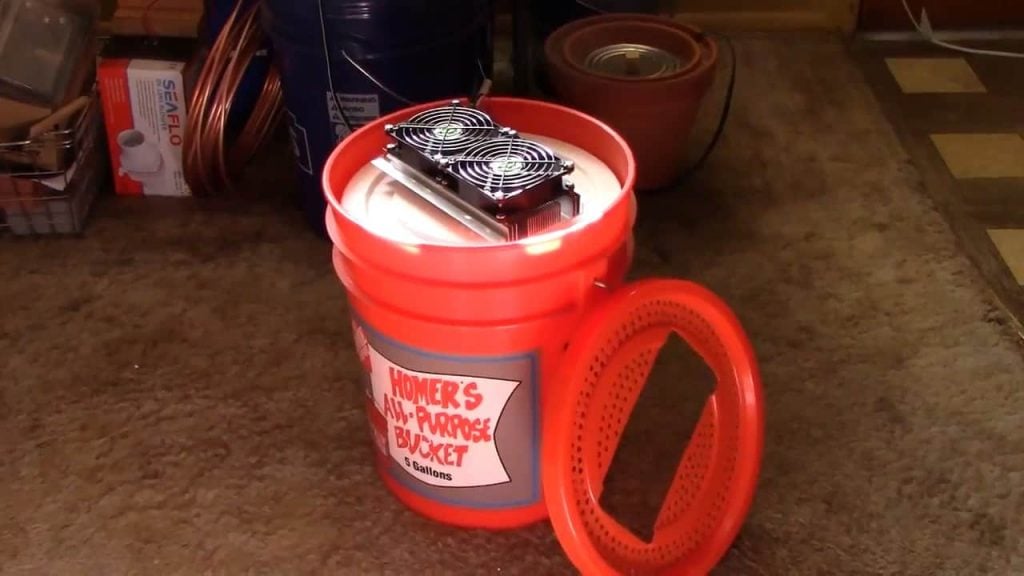
Mount the Rewired stator, rotor, and rectifier in place. The rectifier converts the three-phase AC output of the generator into a DC current suitable for charging a battery.Plug the AC leads of the rectifier into the Spade terminal on the stator and attach the rotor.
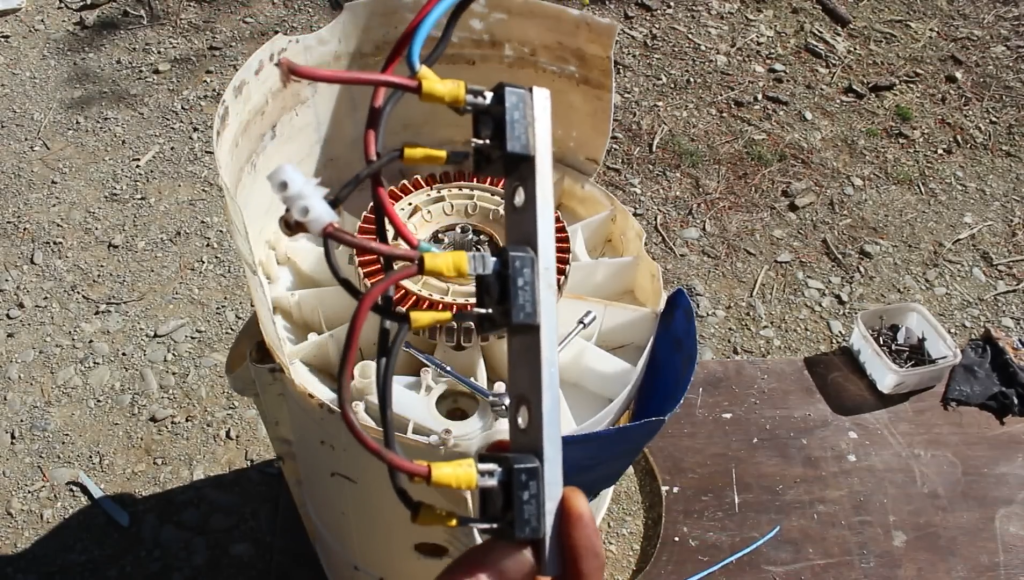
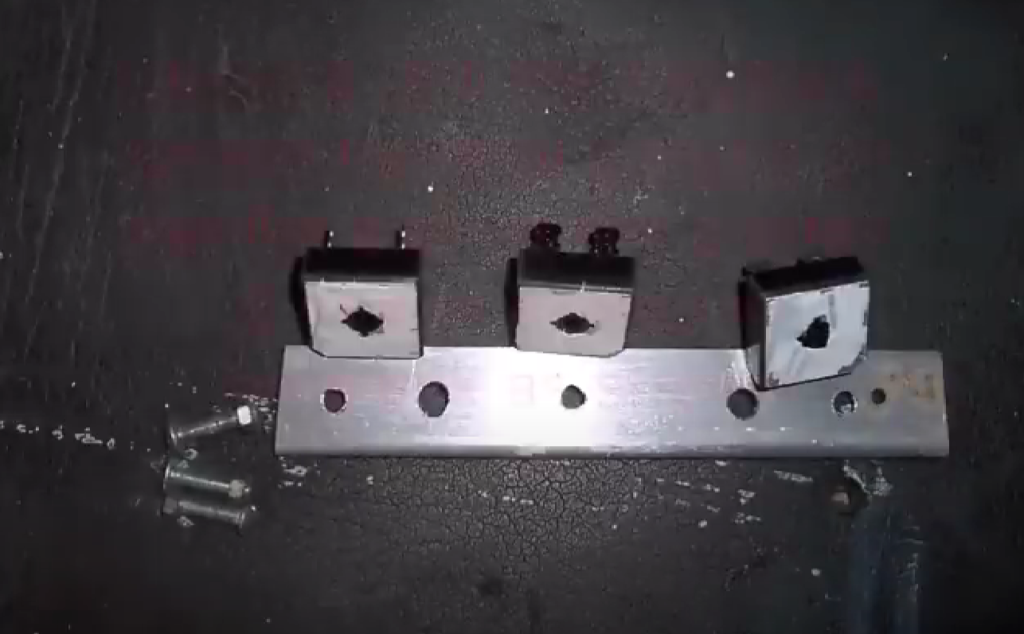
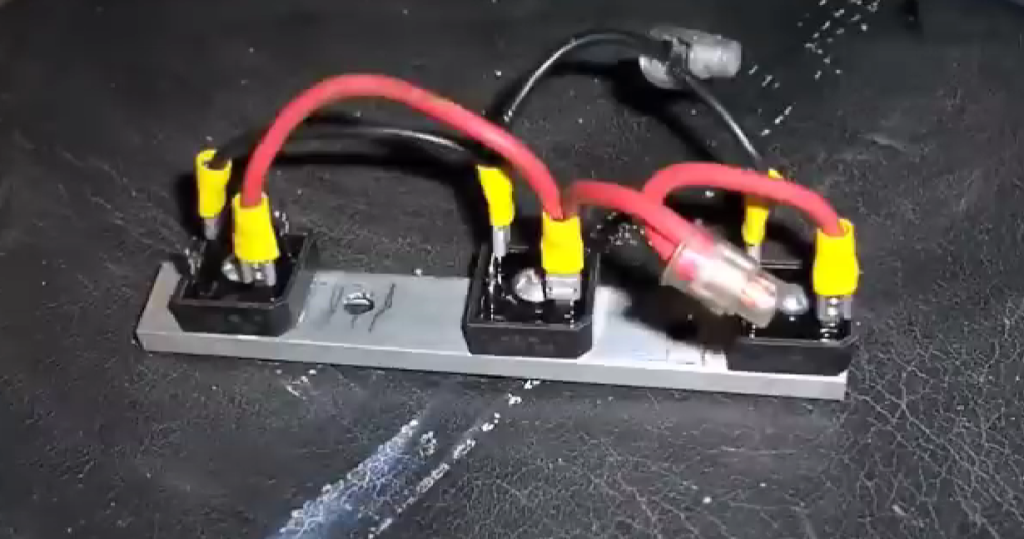
The rectifier setup here is made out an aluminium with a flat side for the heat sink,thermal grease, 3 bridge diodes and 3 bolts.
Connect all positive terminals and negative together, this group is connected to the postive and negative of the battery respectively.
Place the rotor onto the shaft and secure it.
Step 6 . Installation and Setup
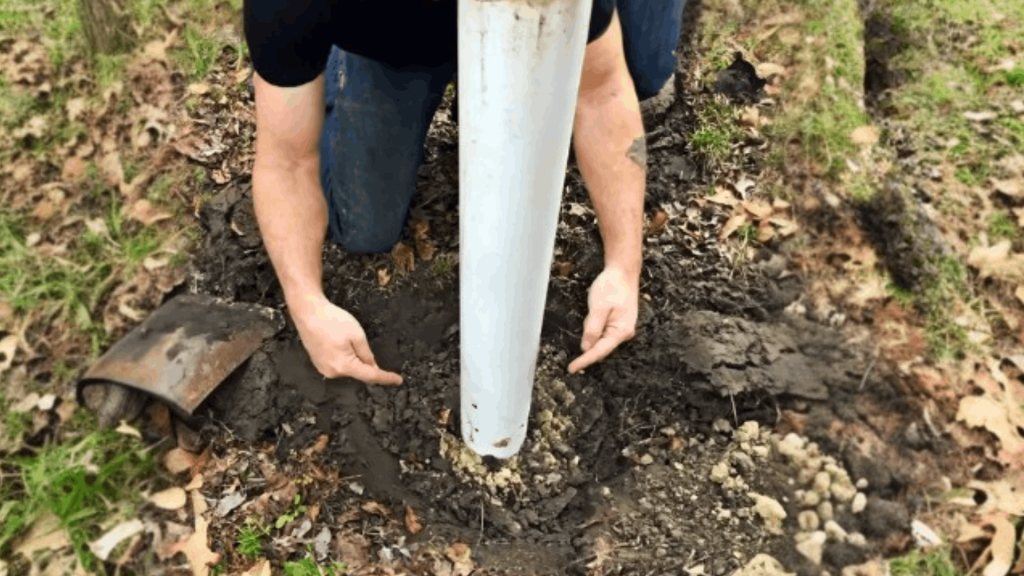
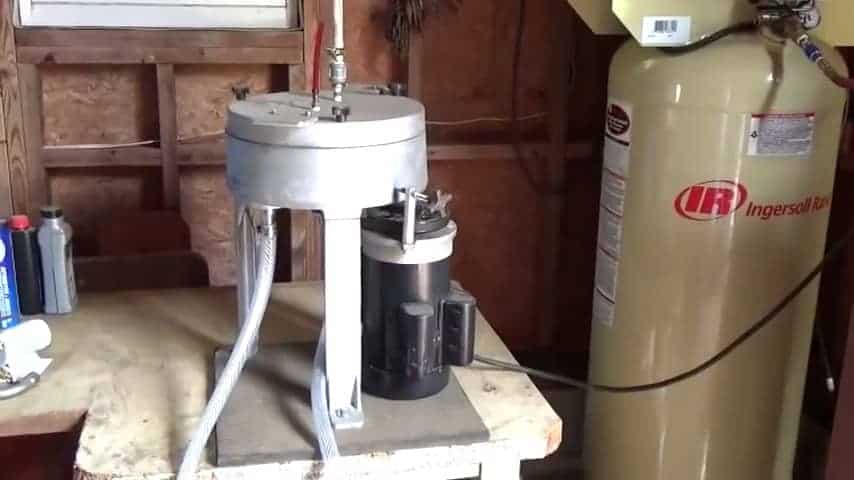
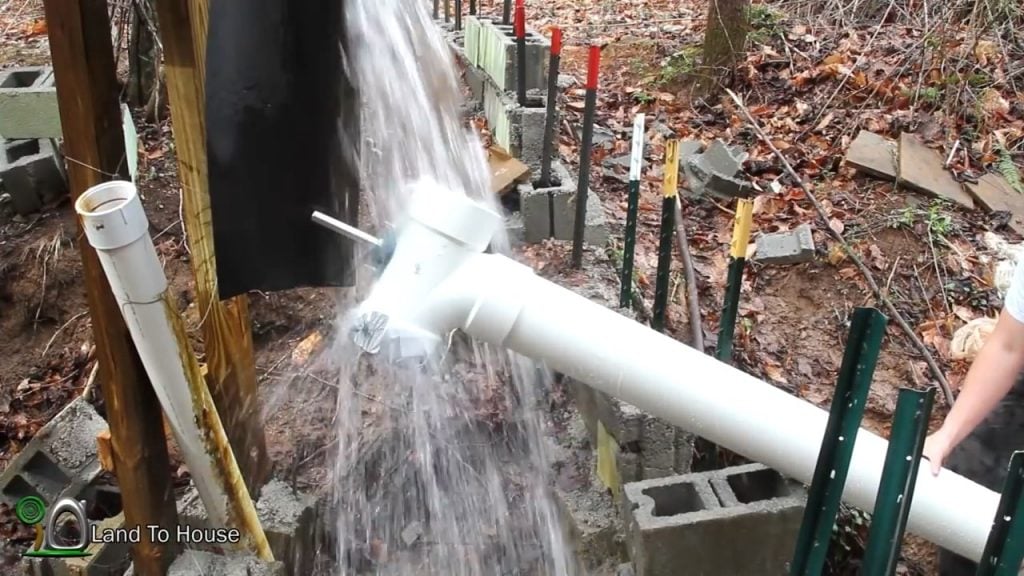
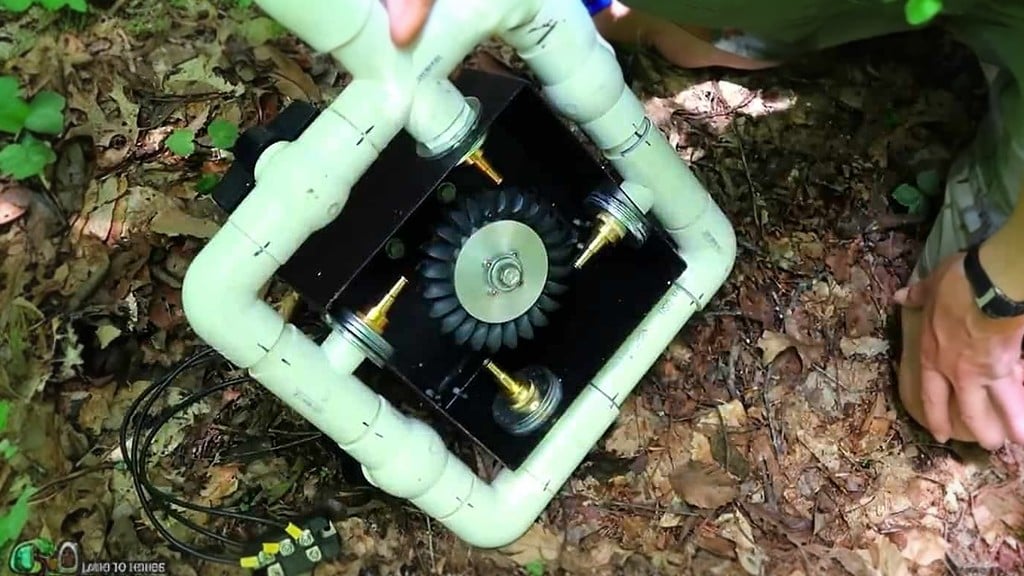
Carefully position and secure the white tub with the attached Pelton wheel, stator, rotor, and rectifier onto a rectangular wooden base. This base is already set up beside the stream, ready to receive the generator. Here,the water pressure from the pipe connected to the Pelton wheel is approximately 45 psi. The setup here makes over 600W @ 21A X 29V.
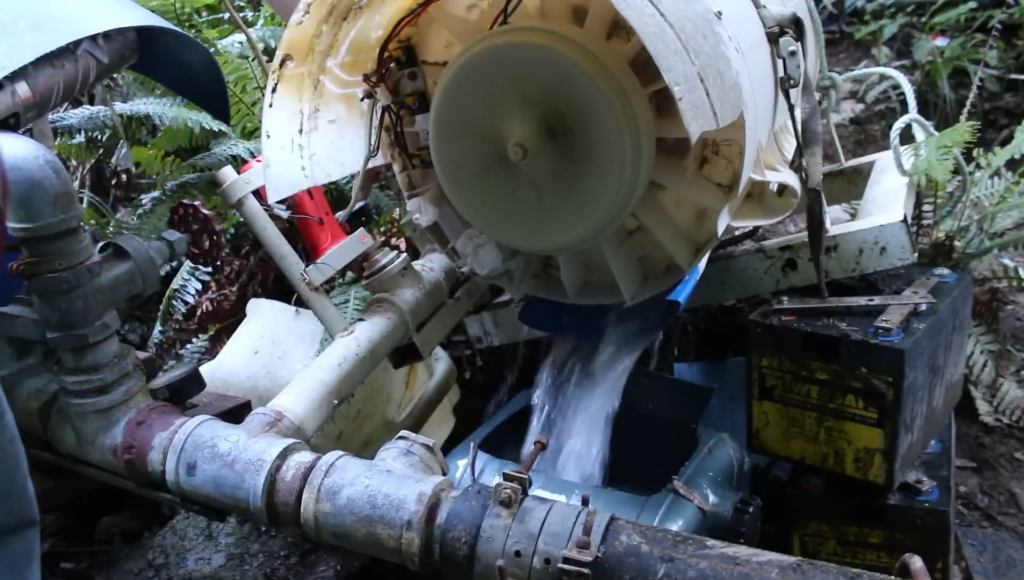
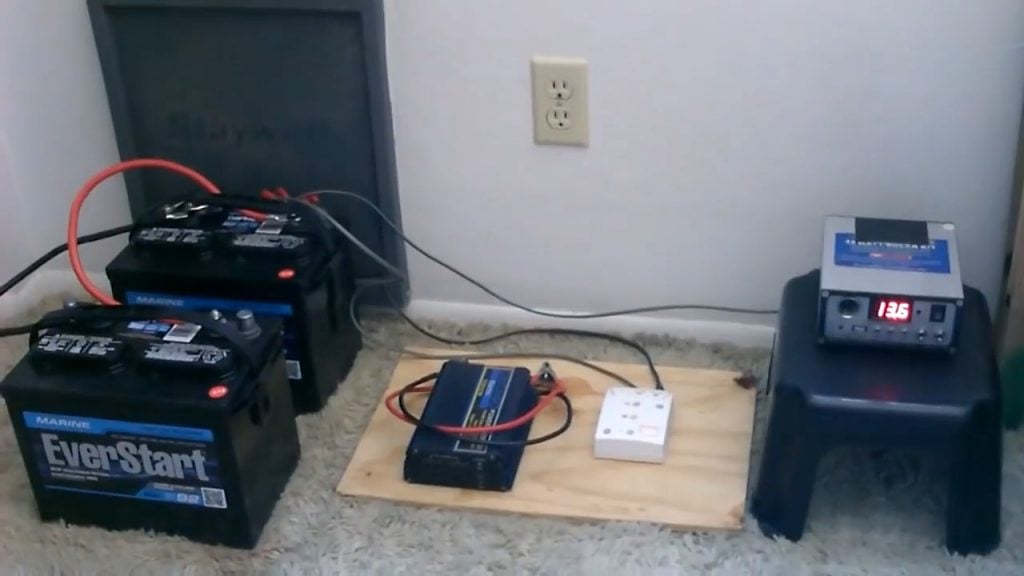
The spinning Pelton wheel, driven by water, turns the rewired washing machine motor. This rotation generates electricity, but it’s initially in the form of raw, unregulated DC power. The generated DC power is directed to a battery bank. The power from the battery bank is then typically fed into an inverter where it is boosted from low voltage DC into standard household voltage.
Image Credits : Angry Ram