As a homeowner, you understand the significance of having a reliable and efficient water heating system. Traditional water heaters, however, can be costly to operate and contribute to your household’s carbon footprint. What if there was a way to harness the abundant energy of the sun to heat your home’s water supply. This DIY project goes over the process of constructing your own solar water heater, designed to capture the sun’s radiant energy and transfer it to your home’s water system.
STEP 1 : Materials Needed
- Panel Base: Marine plywood, cut to desired size (larger than the glass)
- Glazing: Glass sheet, cut to desired size
- Insulation : 2 Layers of Thermal insulation sheet
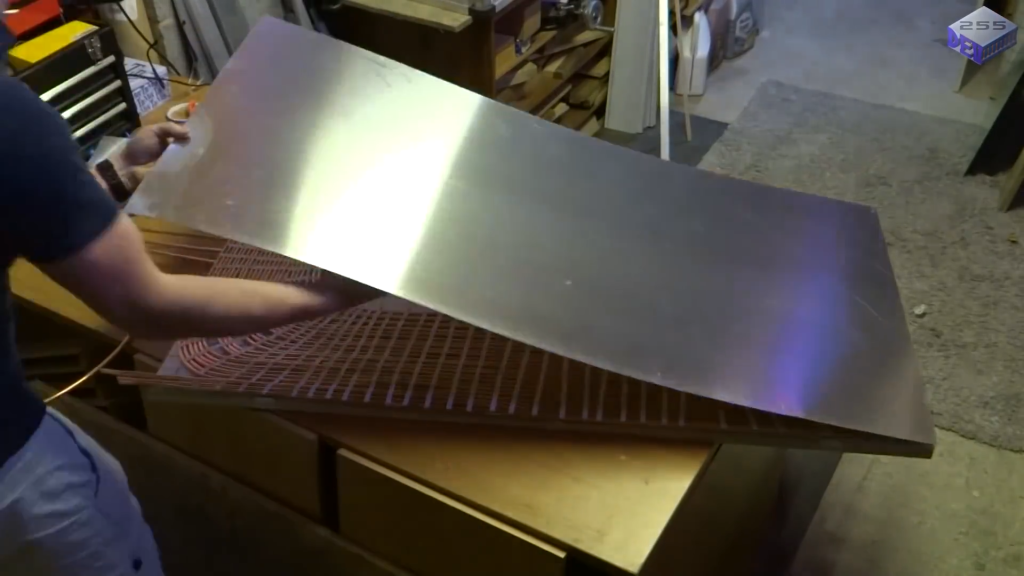
- Absorber : Aluminum sheet (0.8 mm thick, same size as plywood)
- Thin-walled copper tubing (3 rolls of 25 meters each, with small internal diameter)
- Frame: External decking wood (pressure treated)
- Insulation: Thermal tape for LED strips
- Sealant: External silicone sealant
- Adhesives: Cable ties, hose clamps
- Paint: Plasticote Matt Black spray paint
- Fittings: Copper adapters (3x)
- Hardware: Screws, nails
STEP 2 : Prepare The Base
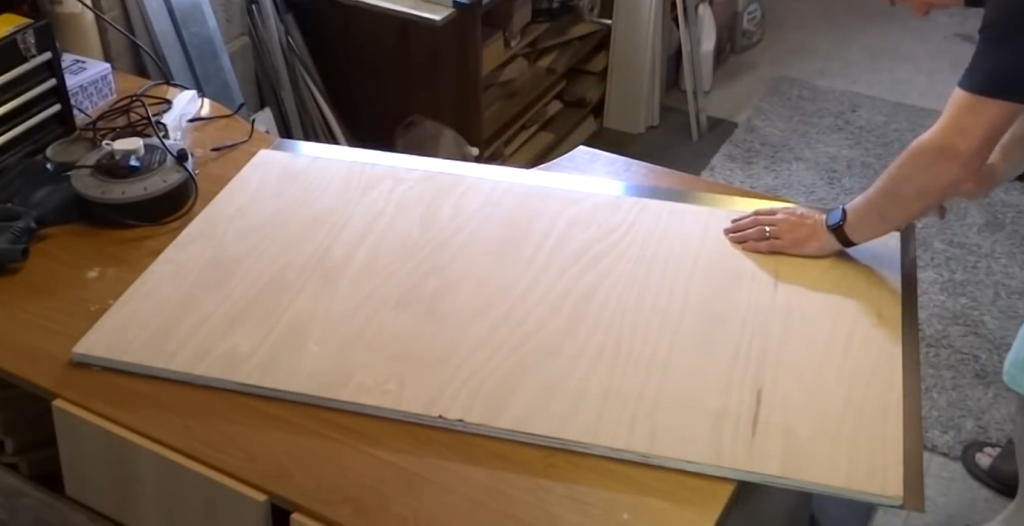
Cut the marine plywood to the desired size for the panel base. This should be larger than the glass sheet to accommodate the frame and allow for adequate insulation.Cut a sheet of 0.8 mm thick aluminum to the same size as the plywood base.
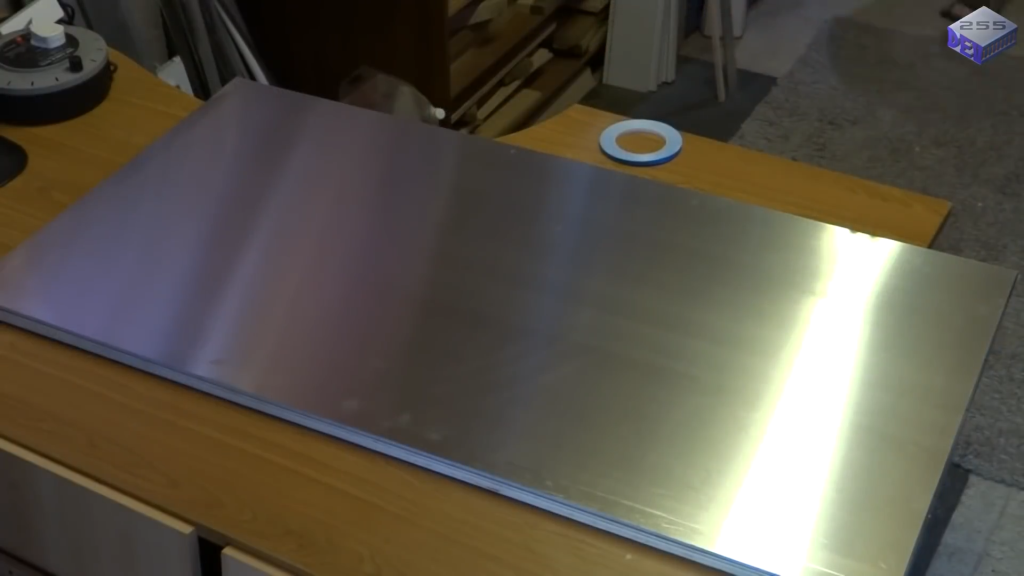
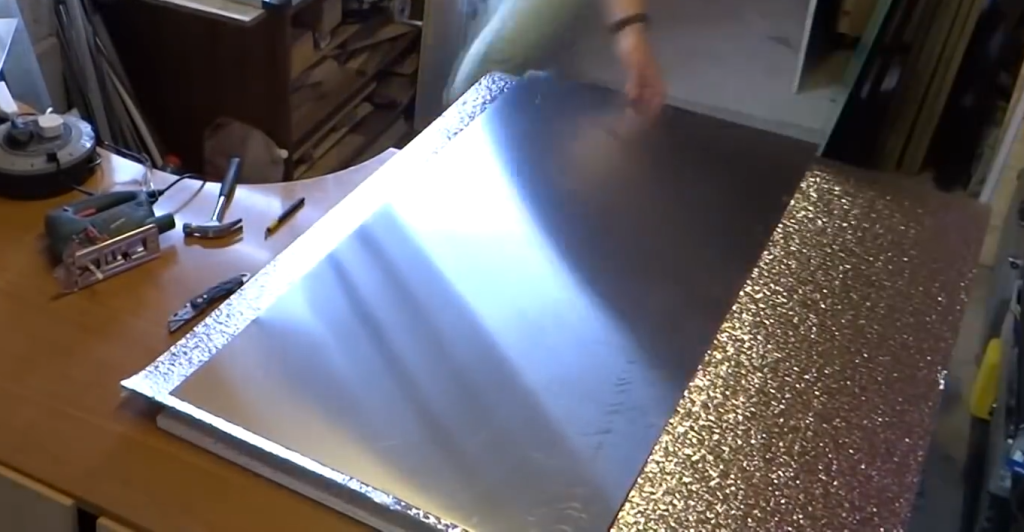
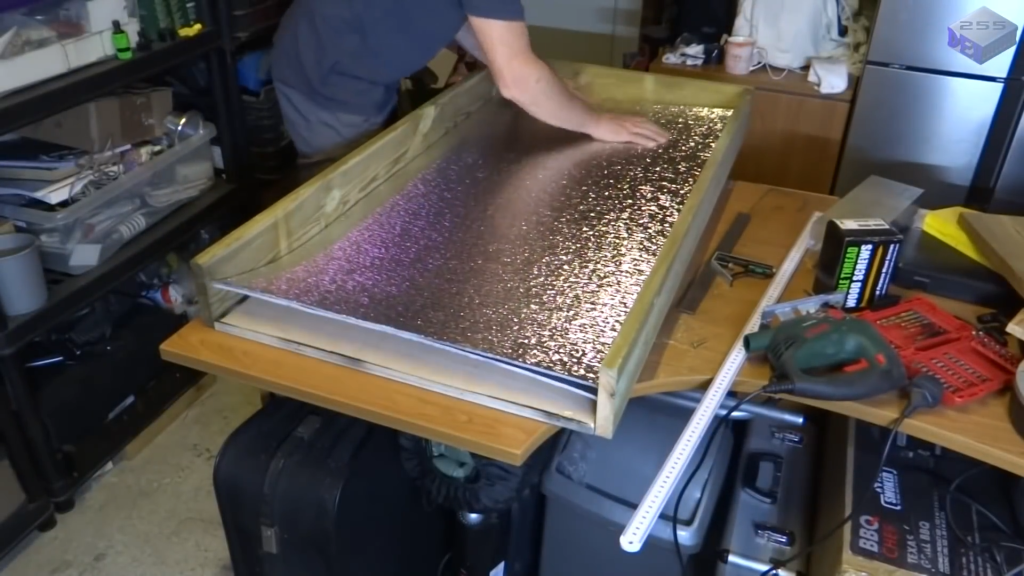
Deburr the edges after cutting. Apply two layers of thermal backing to the plywood to minimize heat loss. Thermal backing acts as an insulating layer between the plywood board and the aluminum sheet with the copper tubing. It helps to minimize heat loss from the back of the solar collector.
STEP 3 : Create the Absorber Surface
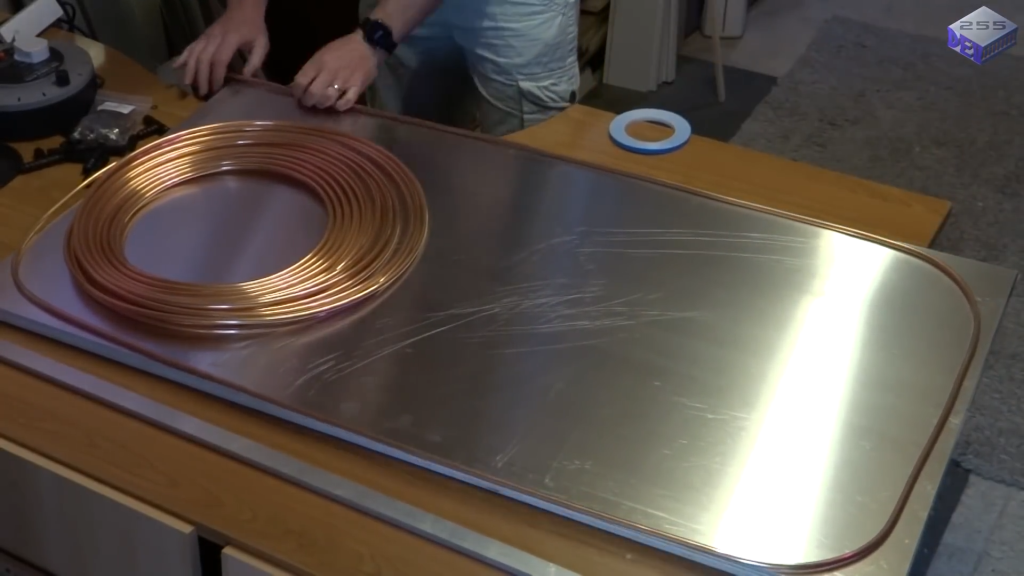
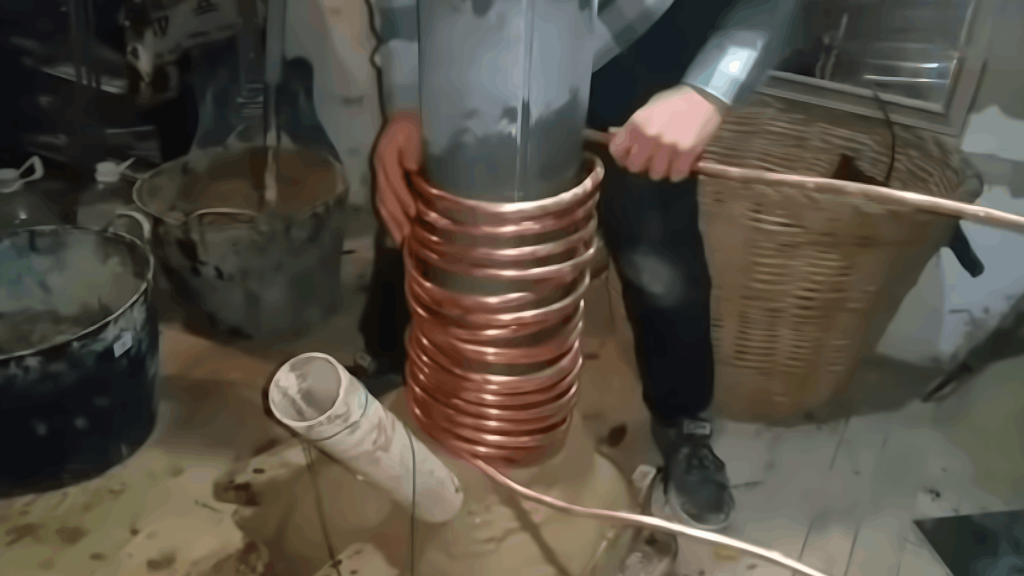
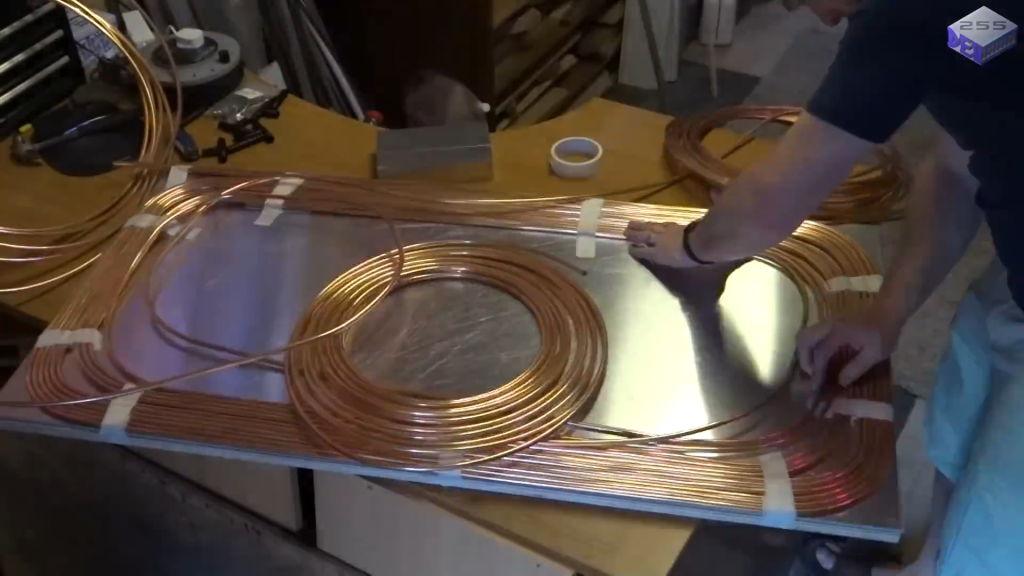
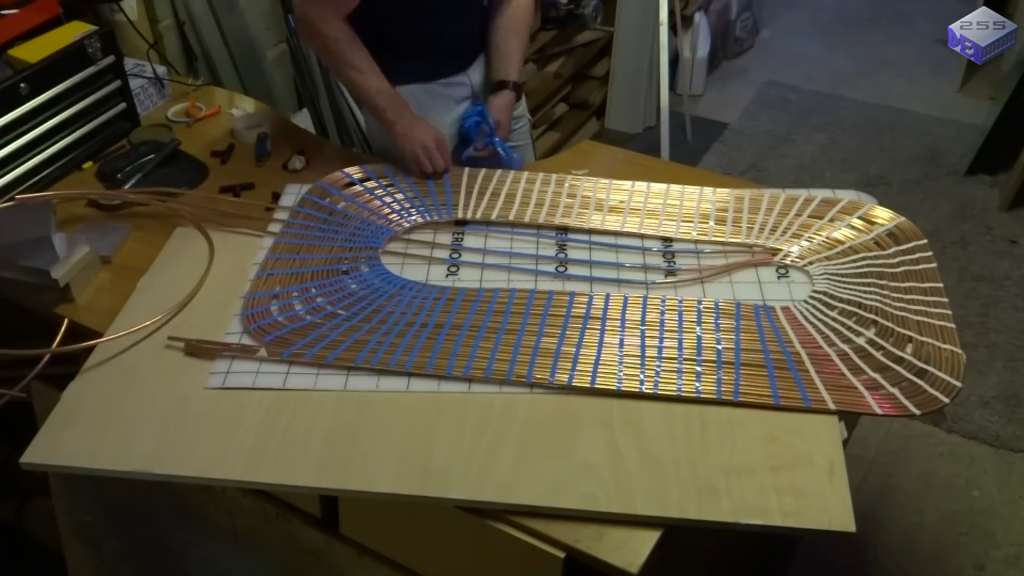
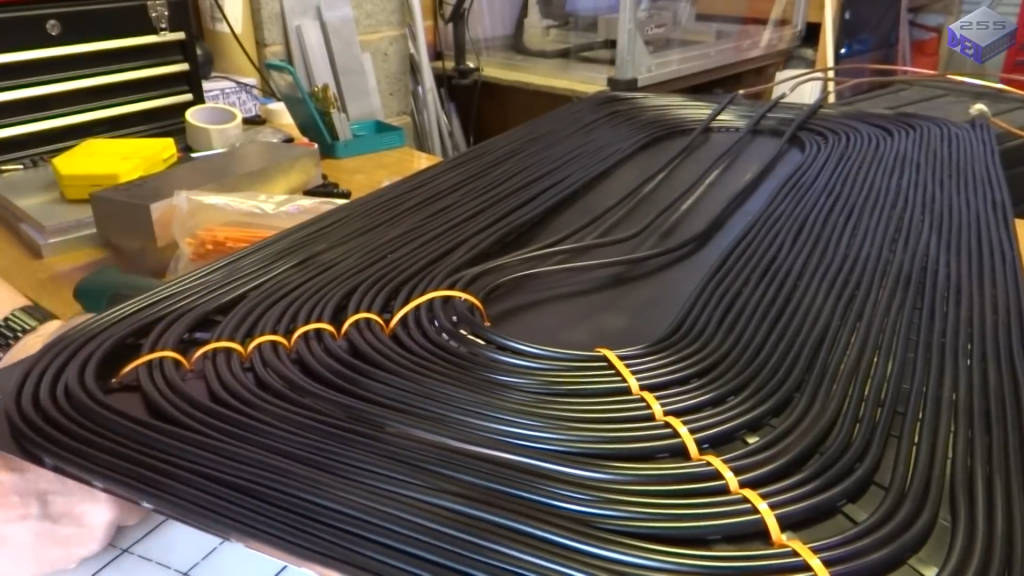
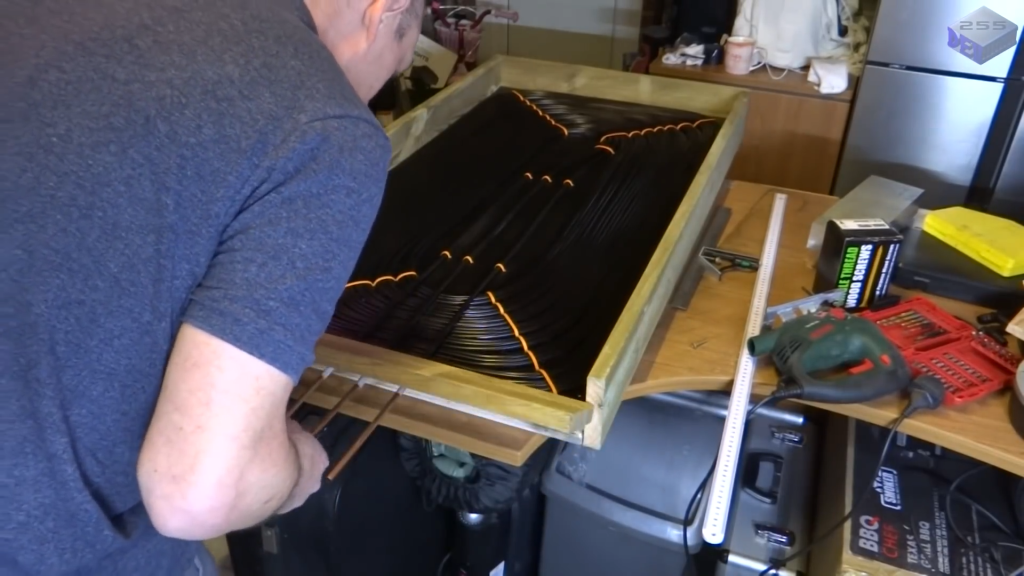
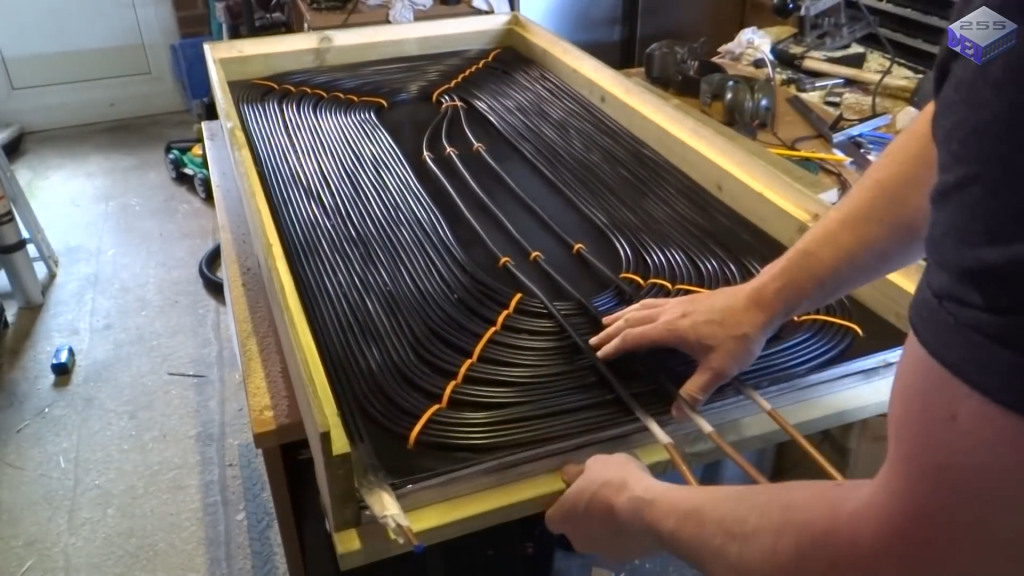
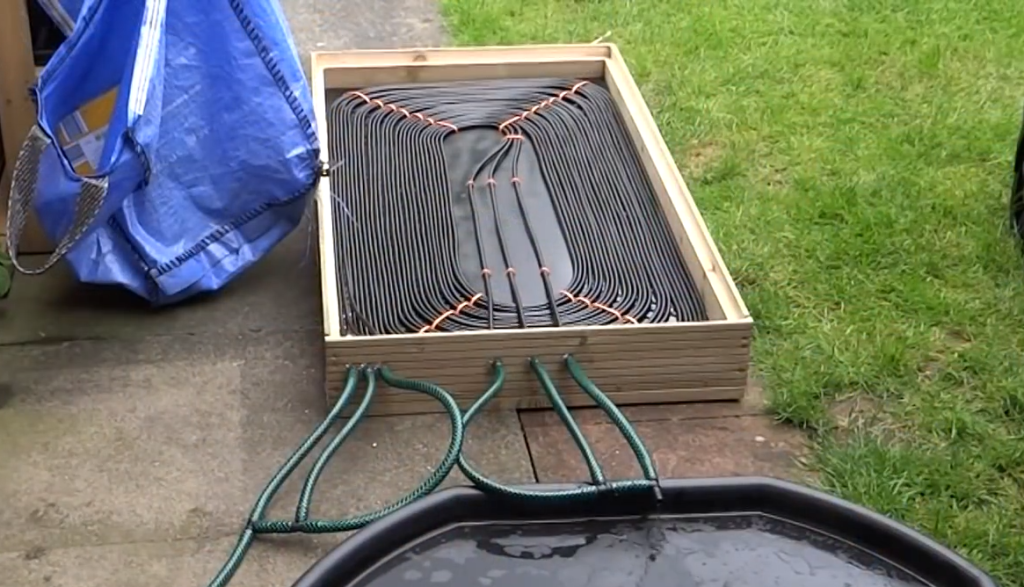
Lay out the copper tubing on the aluminum sheet, creating a series of parallel runs with even spacing. You can adjust the spacing and number of runs based on your desired flow rate and heating capacity. Here we are using three rolls of copper tubing, each measuring 25 meters in length. This totals to 75 meters of copper tubing.
The thin-walled, small-diameter copper tubing provides a greater surface area compared to thicker tubing with a larger internal diameter. This increased surface area allows for faster heat transfer from the sun-heated copper to the water flowing through the tubing.
By maximizing the surface area, the solar pool heater can more efficiently capture the sun’s energy and transfer it to the water. This design choice ensures that the heat is quickly absorbed by the water, rather than remaining in the panel itself.
STEP 4 : Attach Thermal Tape
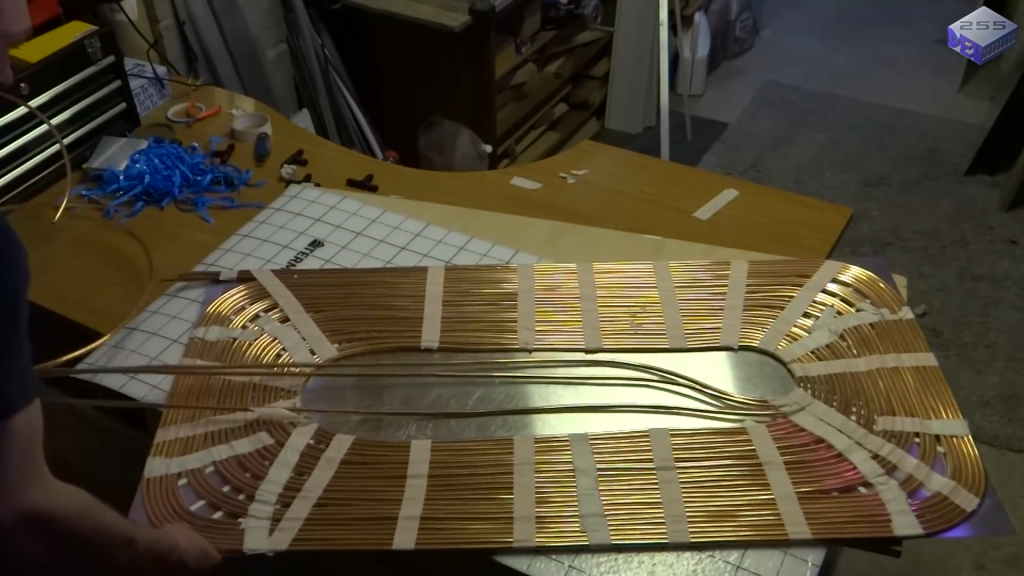
Remove the tubing and aluminum sheet from the plywood base. Apply thermal tape, designed for LED strips, to the back of the aluminum sheet to facilitate heat transfer. Reattach the aluminum sheet and tubing .
By applying thermal tape between the aluminum plate and the copper tubing, the heat is effectively conducted from the aluminum to the copper. The more effectively the heat is transferred from the aluminum plate to the copper tubing, the more quickly and evenly the water flowing through the tubing will be heated.
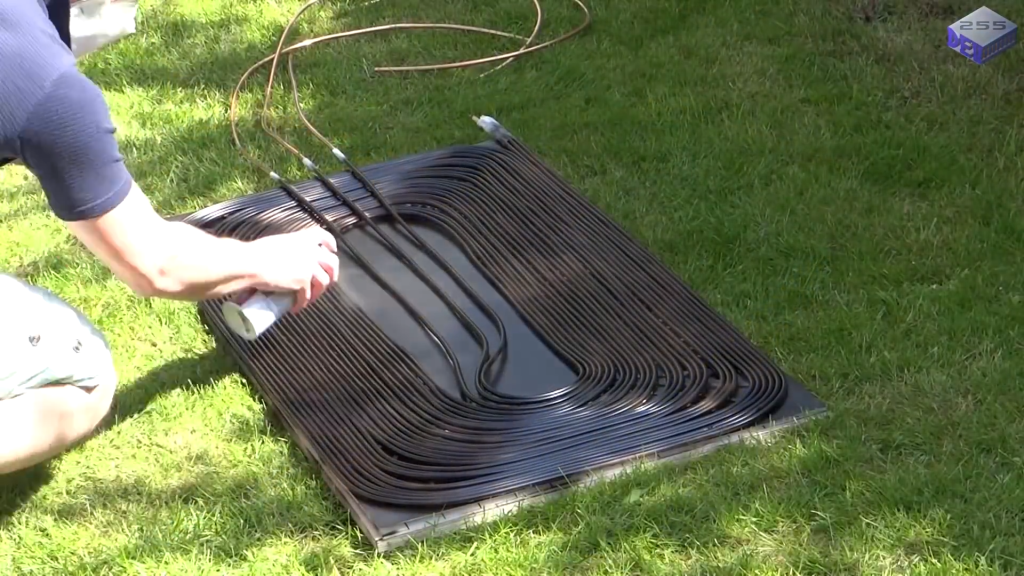
Spray paint the entire surface, including the tubing, with Matt Black spray paint. Apply multiple coats for optimal heat absorption.
Once the copper tubing is arranged in the desired pattern on the aluminum sheet, cable ties are used to secure the tubing at regular intervals.The thin–walled copper tubing is flexible and can easily bend or move out of position.
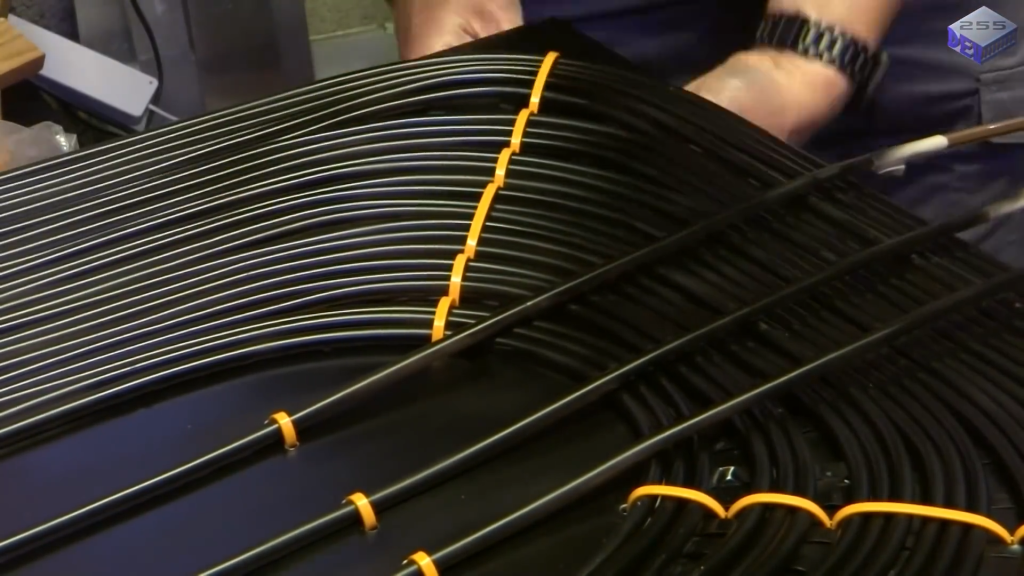
Cable ties hold the tubing firmly in place, ensuring the desired layout is maintained throughout the construction process and during operation.
Step 5: Construct The Frame
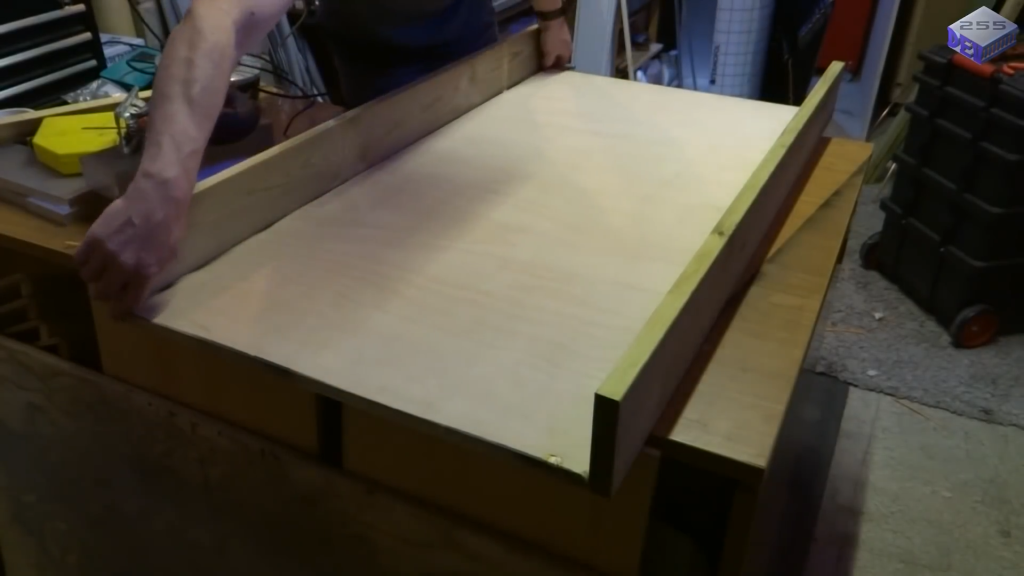
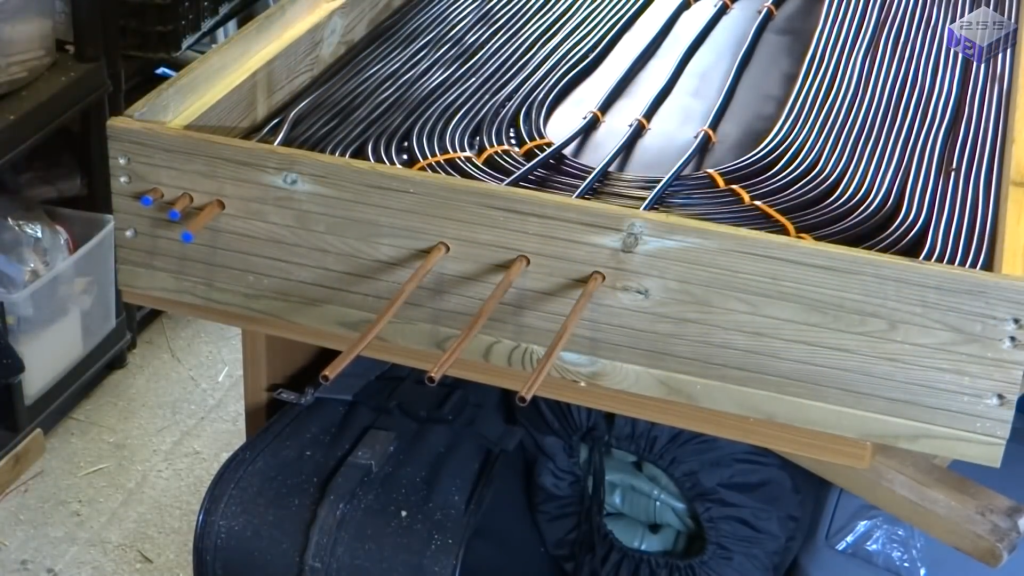
Using the external decking wood, construct a frame that fits around the perimeter of the panel base, ensuring it is square.All the pipe connections are located outside the panel, rather than having any connections inside.
This minimizes the risk of leaks occurring within the sealed unit. If a leak were to develop at a connection point inside the panel, it would be difficult to detect and repair without disassembling the entire unit. Also you can reconfigure the way the pipes are connected, which would be more challenging if the connections were located inside the sealed panel.
The end piece allows the entire heating element to be slid out of the frame while leaving the glass in place. Here we can access the inside of the panel if needed by simply cutting the seal around the glass at the front and sliding the heating element out, without having to remove the entire glass unit.
Attach braces to the underside of the frame for additional support and stability.These braces are designed to maintain the frame’s structural integrity and prevent it from becoming misaligned or warped.
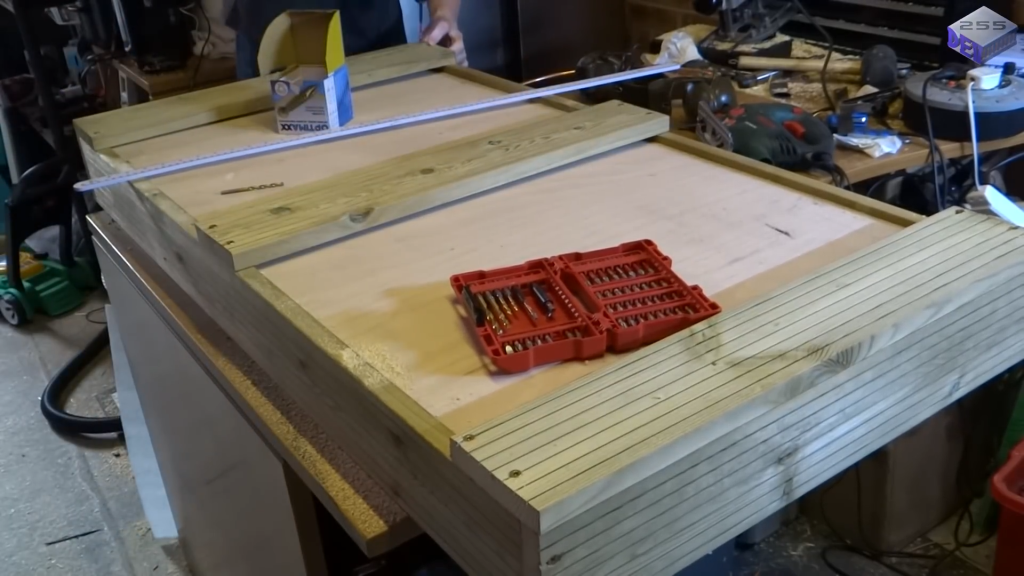
Step 6: Installing The Pipe Adapters
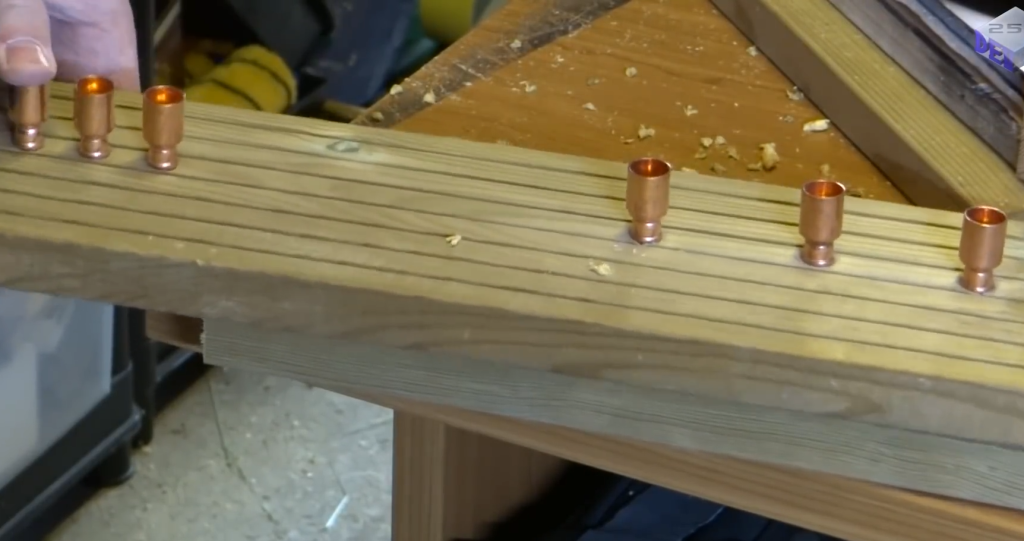
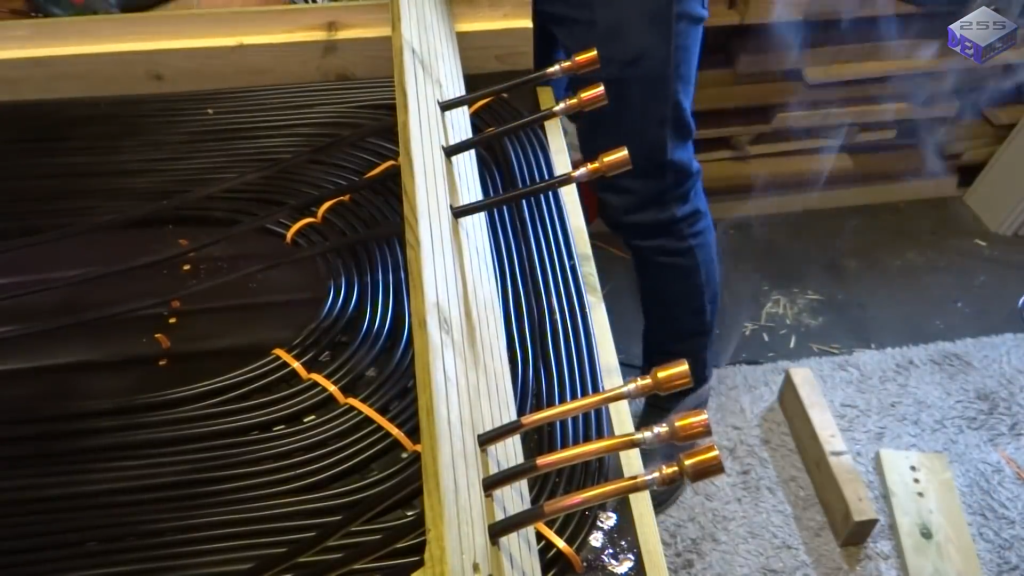
Drill 10.5 mm holes into the frame to fit the pipe adapters snugly. Measure and cut the copper tubing to ensure the adapters sit flush with the frame.
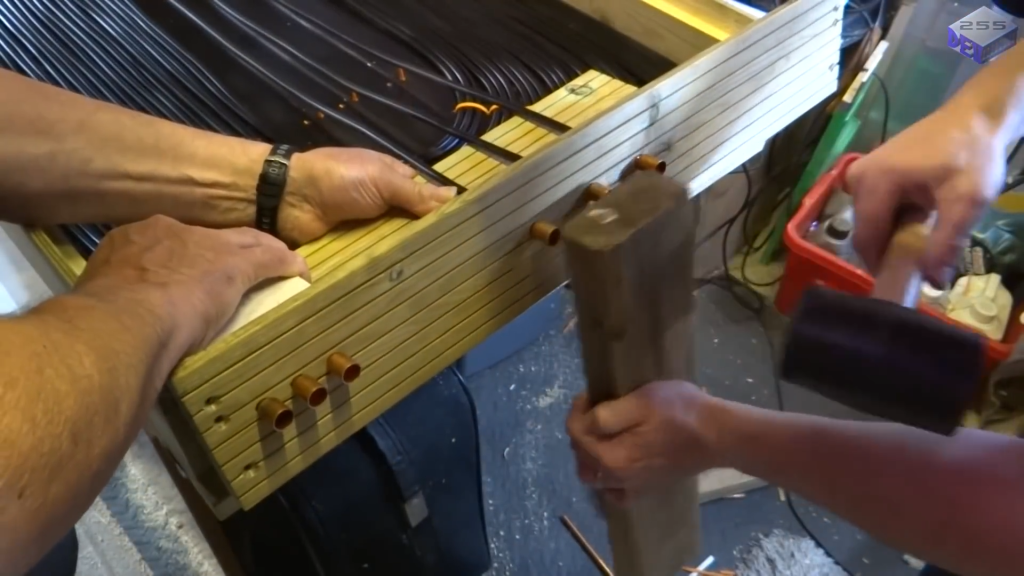
Clean the tubing ends and solder the adapters in place. Hammer the adapters into the frame.
Connect standard hosepipes to the adapters using hose clamps. Configure the pipes in parallel for quick water flow and efficient heat transfer or in series for a more gradual heating process.
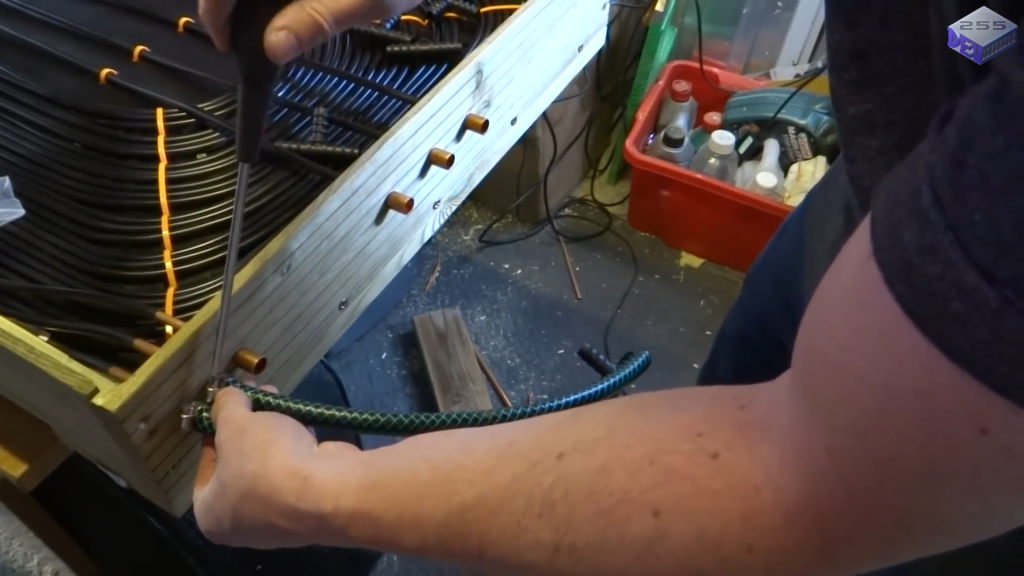
Connecting the pipes in parallel allows the water to flow through the system very quickly. In a parallel configuration, the water is divided among the three pipes, reducing the overall resistance and increasing the flow rate. This allows the heat energy collected by the panel to be quickly transferred to the water.
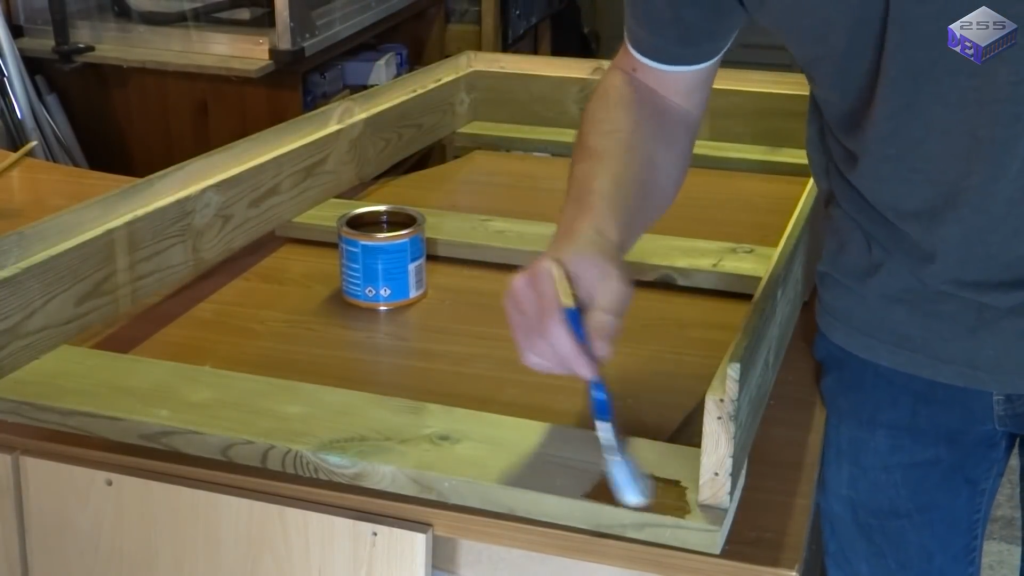
While the frame of the solar heater is made from external decking material, which is designed to withstand outdoor conditions, the plywood board needs to be coated with woodstain paint to prevent it from rotting when exposed to the elements.
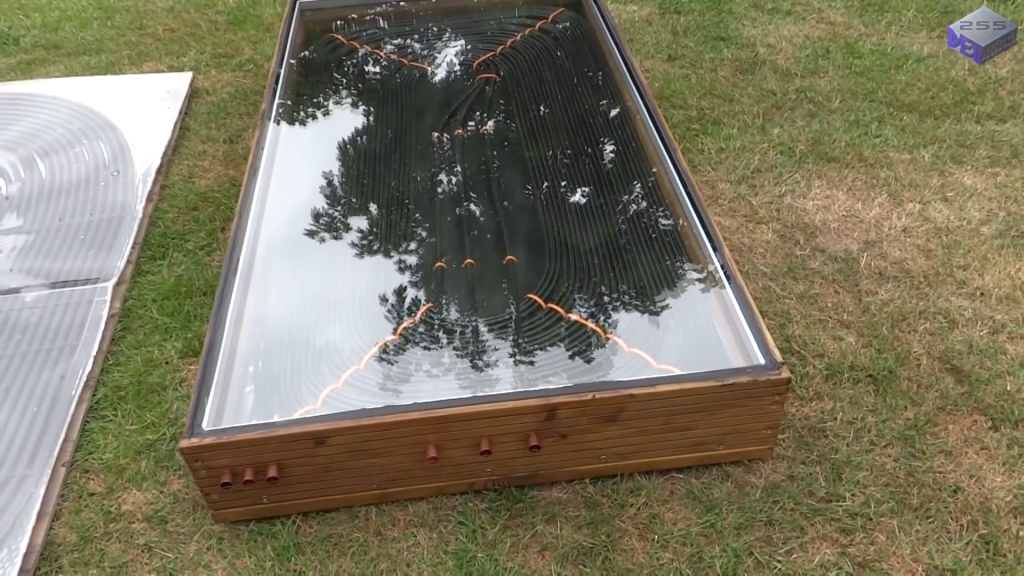
Step 7: Seal and Finish The Heater
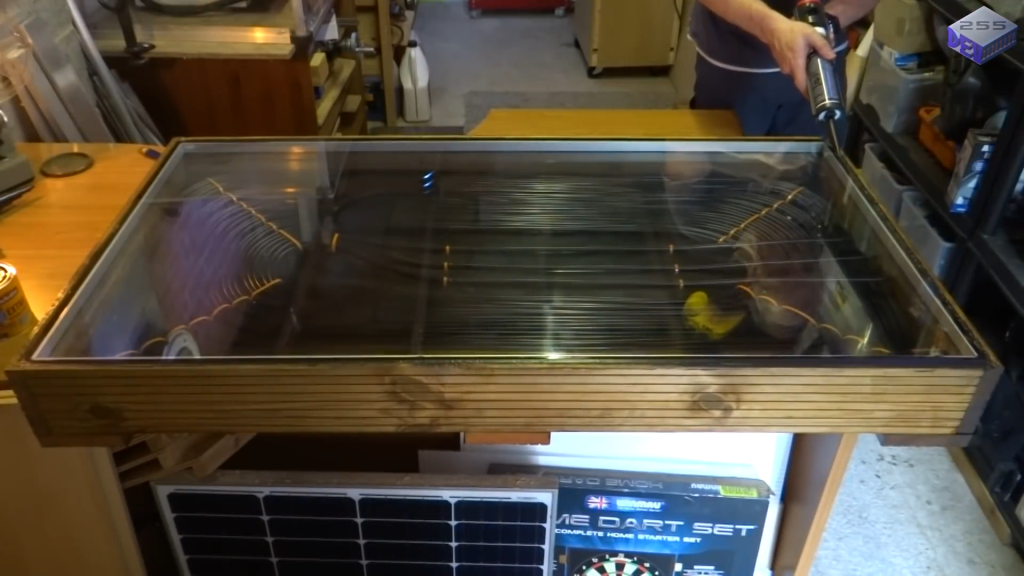
Carefully place the double-glazed glass sheet into the frame, ensuring it rests securely on the routed lip. Apply exterior silicon sealant around the edge of the glass to create a final waterproof seal.
Image Credits : Neil Devonshire – Dev255