Living off the grid can be challenging, especially when it comes to obtaining clean and reliable water sources. Digging a shallow well can be a cost-effective solution to this problem, and it is a project that can be easily accomplished with simple tools that you can get from your local garden store.
In this guide, we will take you through the step-by-step process of how to dig a shallow well from start to finish, specifically for off-grid homesteading.
From finding the ideal spot for your well using dowsing rods to installing the PVC well pipe and foot valve, we will cover everything you need to know to create your own reliable water source.
STEP 1 : MATERIALS REQUIRED
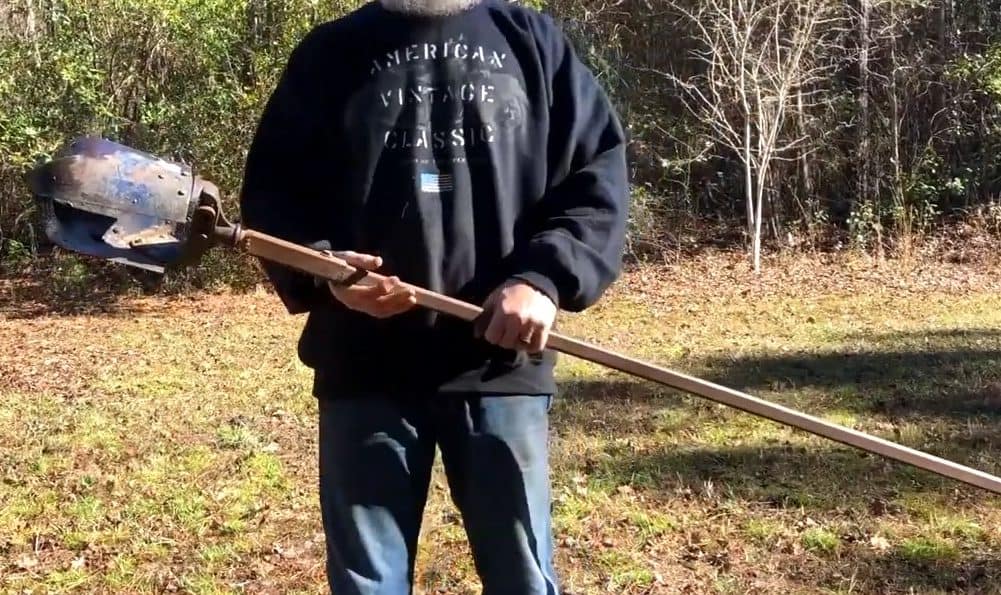
When digging a shallow well for off-grid homesteading, you will need a few essential materials to get started. The first item you will need is a customized Seymour AUA2 Post Auger.
This is a specialized tool that is specifically designed for digging holes in the ground, and it will make the process of digging your well much easier.
In addition to the post auger, you will also need a shovel to move the pea gravel and dirt out of the way as you dig. The next essential item is a four-inch casing PVC pipe.
This pipe will be used to line the hole that you dig and will hold the water until you need it. The length of the PVC pipe will depend on how deep you need to dig to reach the water table.
Another item that you will need is a one and one-fourth inch threaded adapter. This will connect the bottom of the casing pipe to the foot valve.
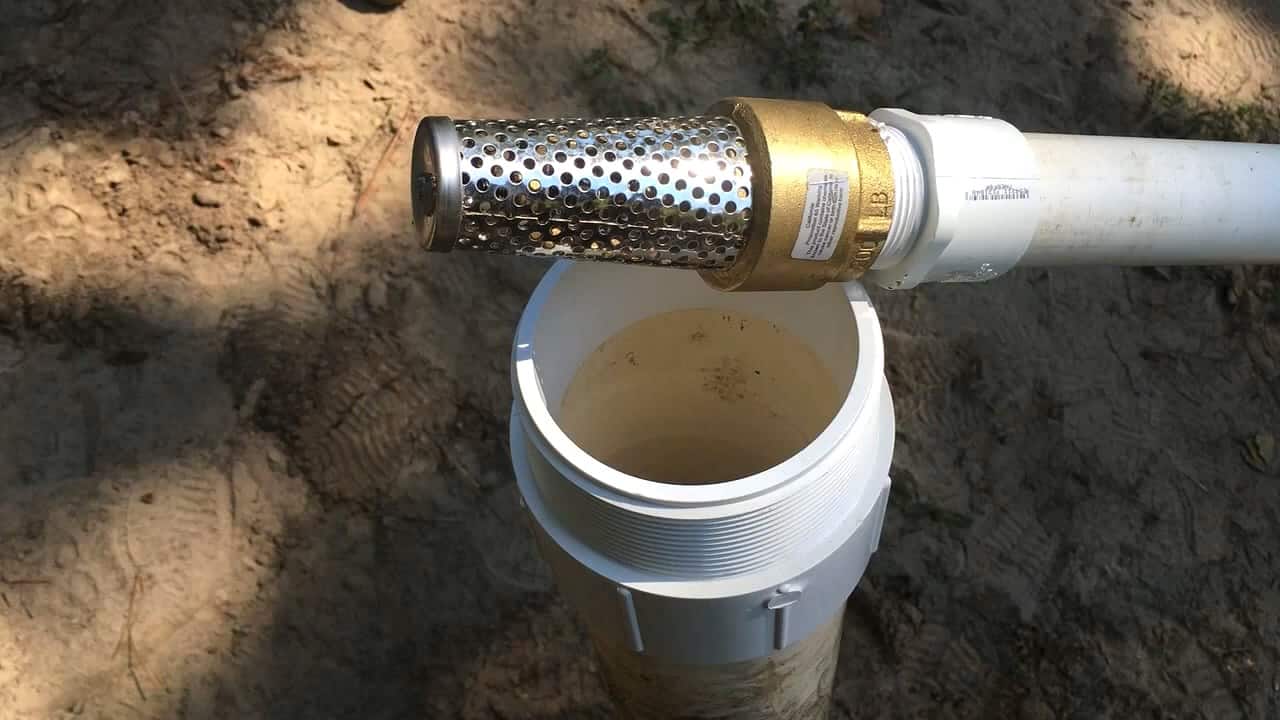
The foot valve is also one and one-quarter inch and is a critical component of the well. It allows water to come in and prevents it from going out, which helps to keep the pump primed and ready to go.
STEP 2 : FINDING THE WELL SPOT
Finding the perfect spot for your well is crucial for its functionality. In this guide, we use a traditional method known as dowsing to locate the spot.
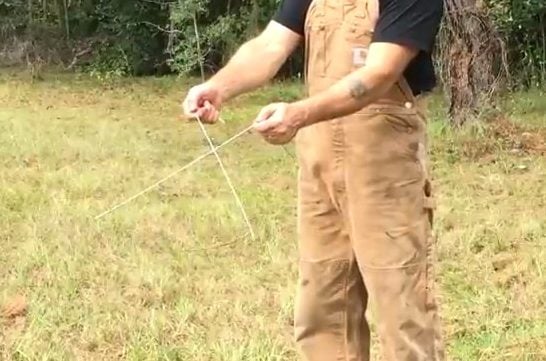
To do this, we take two coat hangers and use them as dowsing rods. By attaching drinking straws to the hangers, we create a system that allows the rods to move freely without interference from our hands or fingers.
Holding the rods parallel to the ground, we walk slowly over the area where we plan to dig the well. If the rods cross each other, this indicates a spot where water is likely to be found.
It’s important to mark this spot directly on the ground, as this is where you’ll start digging.
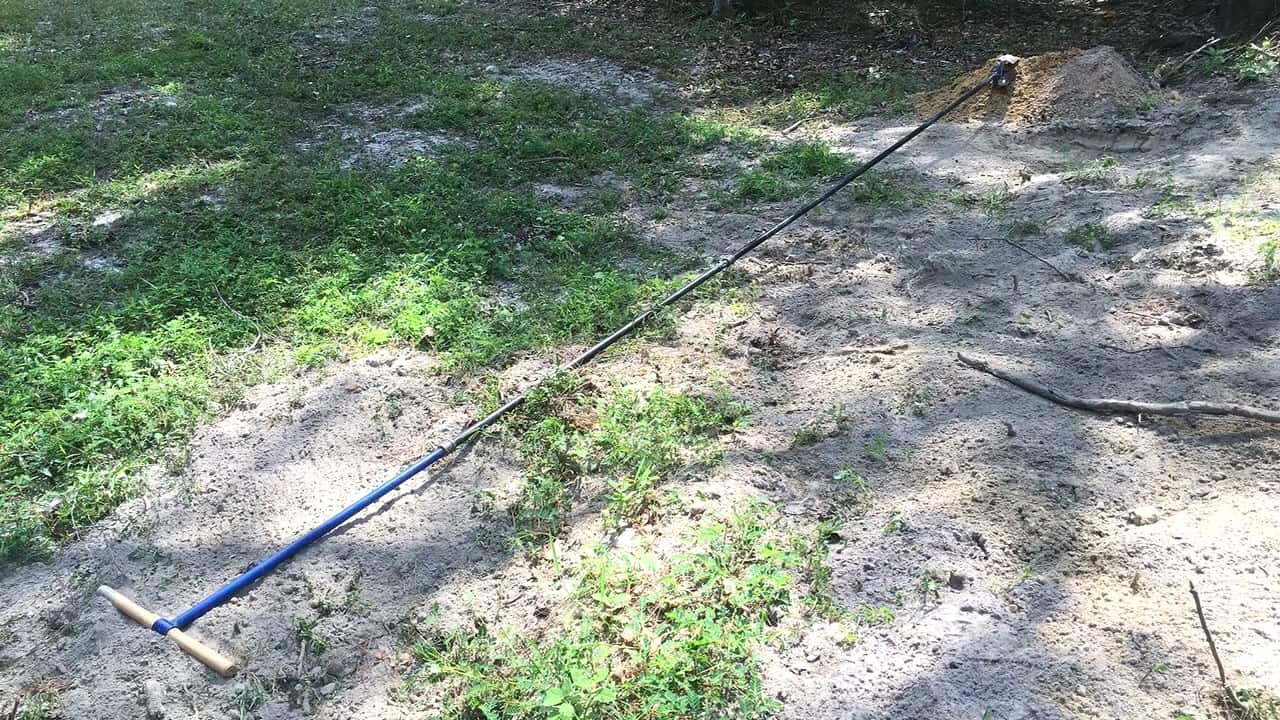
When it comes to digging the well, the auger is an essential tool. In this project, a customized Seymour AUA2 Post Auger is used, which is modified from the default version.
To create the modified version, a 5-foot 11-gauge one and a half-inch square tubing is used as the extension for the auger.
The handle of the auger is also modified by welding a 3-foot 3¾-inch pipe to a 4-inch 11-gauge square tubing. The modification of the auger makes it easier to dig deeper and wider, which is essential when digging a well.
Additionally, the modified auger is more durable and can withstand the pressure and force required to dig through the soil and clay layers.
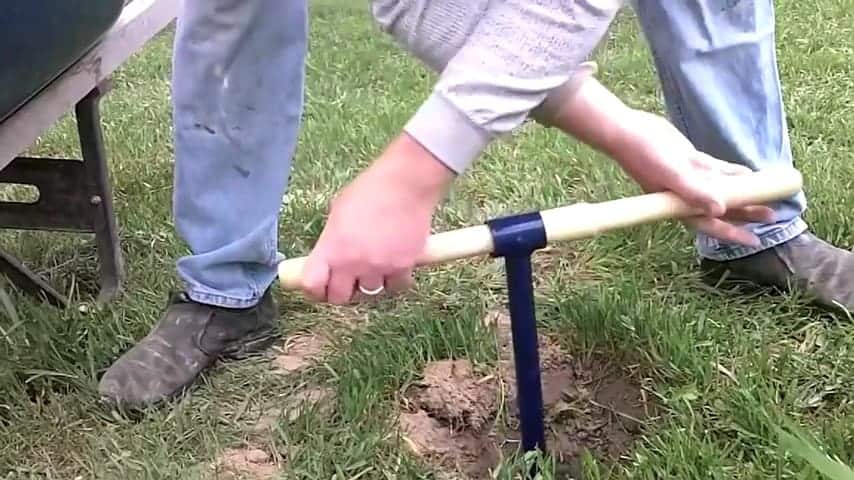
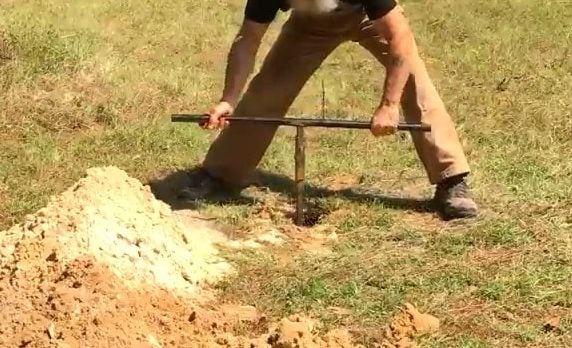
After finding the spot for the well, the digging process begins using the modified auger. As you dig, be aware of any changes in the color of sand, which can indicate the presence of water.
Once you have reached the point of wet clay, the suction around the auger becomes strong.
In this case, twist and pull the auger simultaneously to extract it from the hole. As you continue digging, ensure that you’re removing the soil and gravel using the shovel to keep the well clean.
Keep in mind that the depth of the well will determine the amount of water that it can hold, and you can adjust the length
STEP 3 : INSTALLING THE PVC WELL PIPE
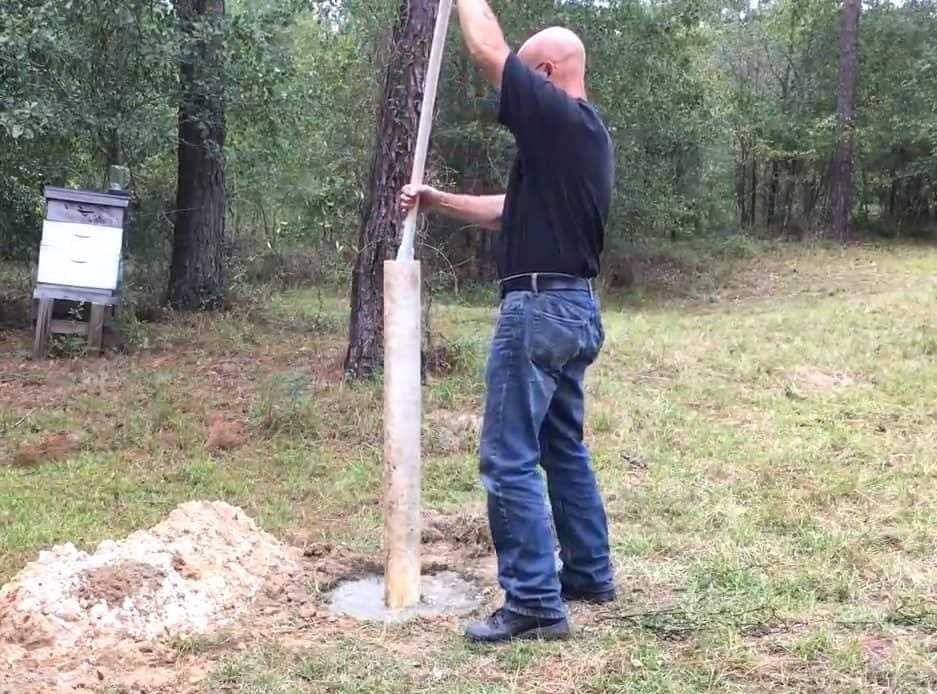
After digging the hole and finding the ideal spot for the well, the next step is to install the PVC well pipe. A one and one-quarter-inch PVC pipe is used to pull water from the bottom of the well to your pump.
The length of the pipe should be determined by how deep the well is, but it should be at least a foot shorter than the well’s depth to prevent it from sitting in sediment that could clog the system.
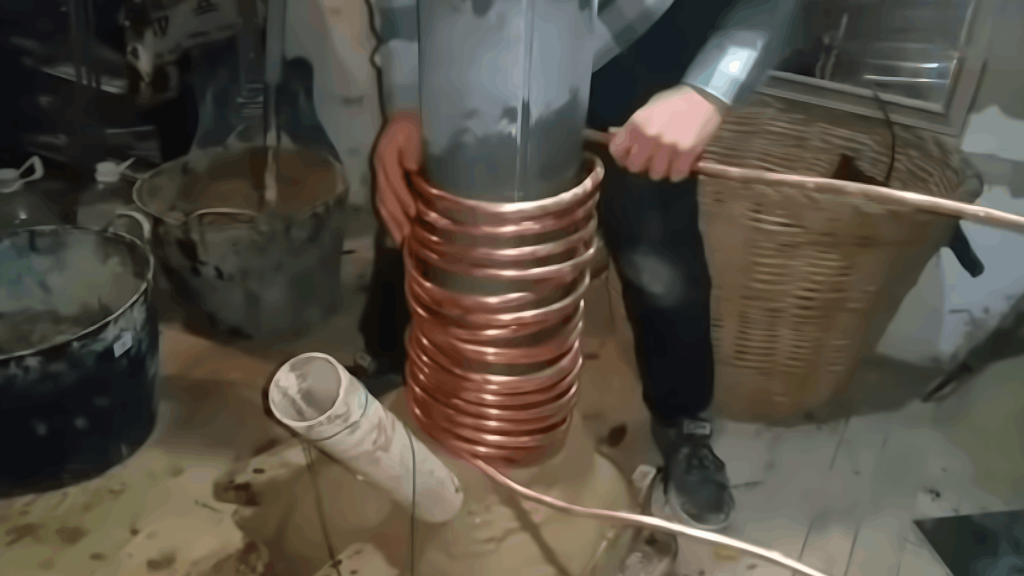
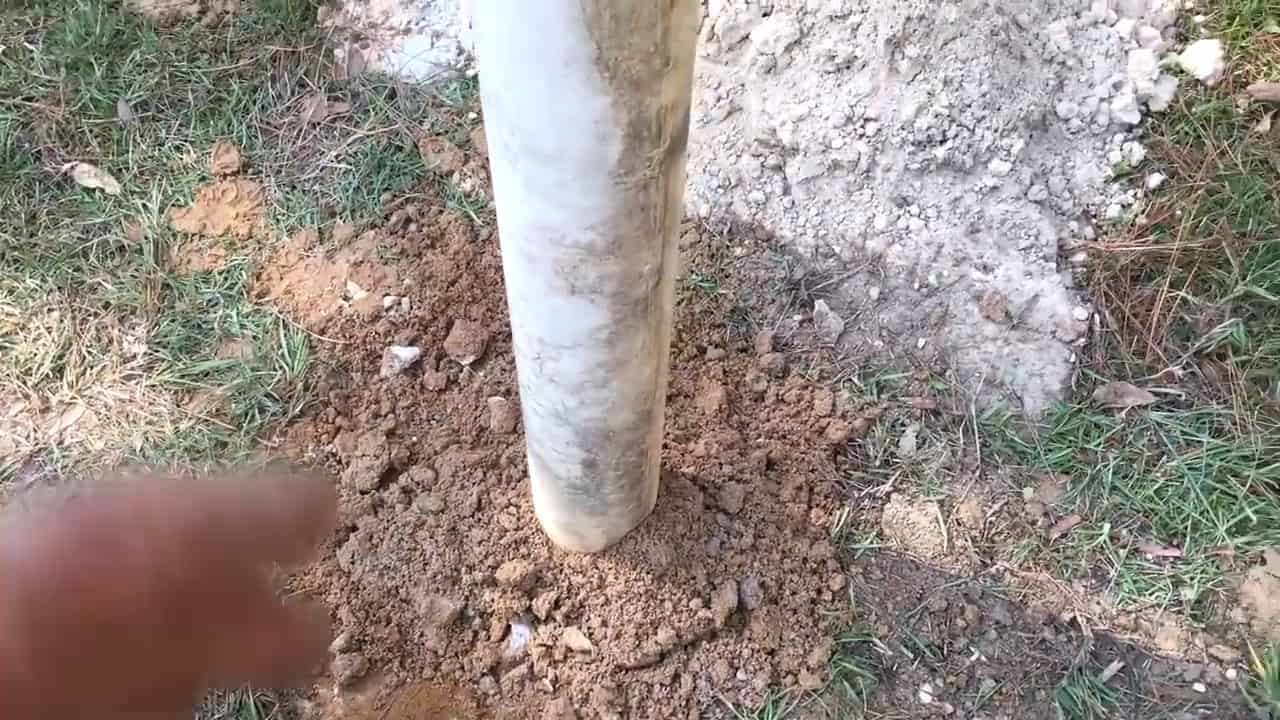
Next, a 20-foot PVC casing pipe is inserted into the hole. To allow water to flow into the well, slots are cut using a reciprocating saw on the pipe one foot from the bottom of the well up to the top of the water level.
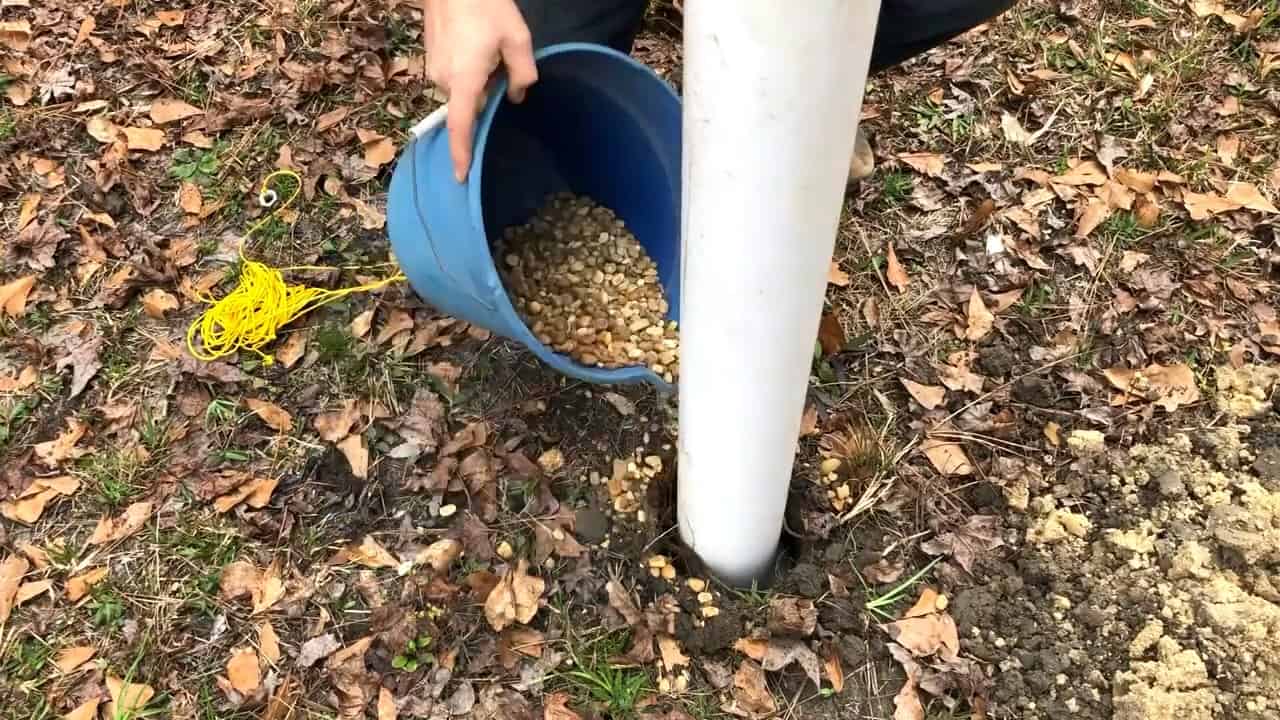
Pea gravel is then poured around the sides of the pipe up to the slots. This helps to prevent sediment from getting into the well and allows water to flow freely into the casing pipe.
STEP 4 :INSERTING THE ONE AND QUARTER INCH PIPE WITH A FOOT VAVLE
Once the PVC casing pipe is in place and the slots have been cut, it’s time to install the well pump pipe. This pipe is one and one-quarter inches in diameter and has a foot valve at the end, which will allow water to flow into the pipe but not out.
The pipe is lowered into the PVC casing pipe, and a four-inch drain flange is secured on top of the casing pipe.
The foot valve is an essential component of the well system, as it prevents the water from flowing back out of the pipe and helps to keep the pump primed.
The drain flange on top of the casing pipe helps to keep debris out of the well and allows for easy access to the well pump for maintenance or repairs.
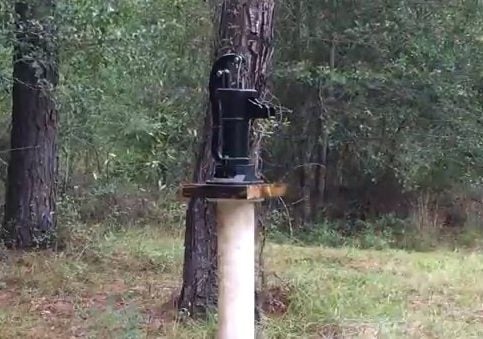
STEP 4 : MOUNTING A PITCHER PUMP AT THE TOP
After inserting the foot valve into the well pump pipe, we move on to installing the pitcher pump. The pump is designed with a one and one-quarter-inch threaded water inlet at the bottom, making it compatible with the well pump pipe.
We also use a closet flange to make mounting the pump to the top of the casing pipe very easy, and to keep things clean.
To mount the pump, we simply set it inside the four-inch pipe and drill a hole in the middle of a board. The board is then screwed to the top of the flange, and the pump is mounted to the board that is attached to the flange.
Once the pump is mounted, we connect it to the well pump pipe with a one and one-quarter-inch threaded adapter. We use Teflon tape and PVC glue to ensure a tight and secure connection.
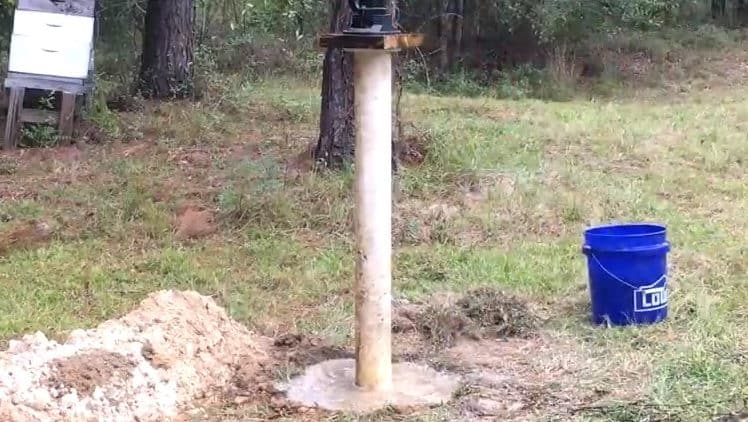
To prime the well and ensure that it is working properly, we pour some water down through the pitcher pump. We then pump out the dirty water until it runs clean, indicating that the well is functioning correctly and the water is safe to use.
STEP 5 : ADDING PEA GRAVEL
Pea gravel is used to surround the PVC casing pipe all the way up to the slots cut at the top of the casing pipe. The amount of pea gravel required depends on the depth of the well and the water height.
It is essential to pack the pea gravel firmly around the pipe, leaving no gaps to ensure the well is sealed properly.
Once the pea gravel is in place, Quikrete or aerated concrete is used to cap the top of the well. This helps prevent groundwater contamination and keeps debris, insects, and small animals from getting into the well.
It is important to ensure that the concrete is level and flush with the surrounding soil to prevent any water from seeping in.
By capping the top of the well with concrete, you are creating a watertight seal that will protect the water source from external elements, ensuring that the water remains clean and uncontaminated.
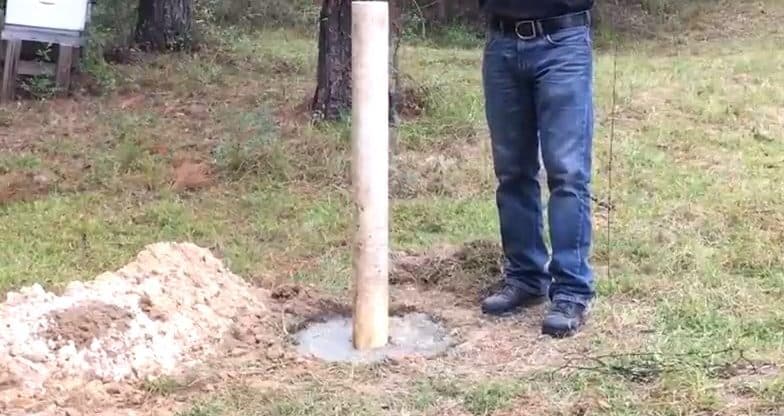
After the pea gravel has been added, the remaining hole area around the pipe is filled with a mixture of sand and clay. This helps to stabilize the well casing and prevent it from moving around.
Next, quick rate cement is used to seal around the sides of the casing, ensuring that water cannot run down into the well but instead is directed around it. This is an important step to prevent contamination and ensure the longevity of the well. Once the cement is dry, the well is ready to use.
Image Credits : TigerCreekFarm