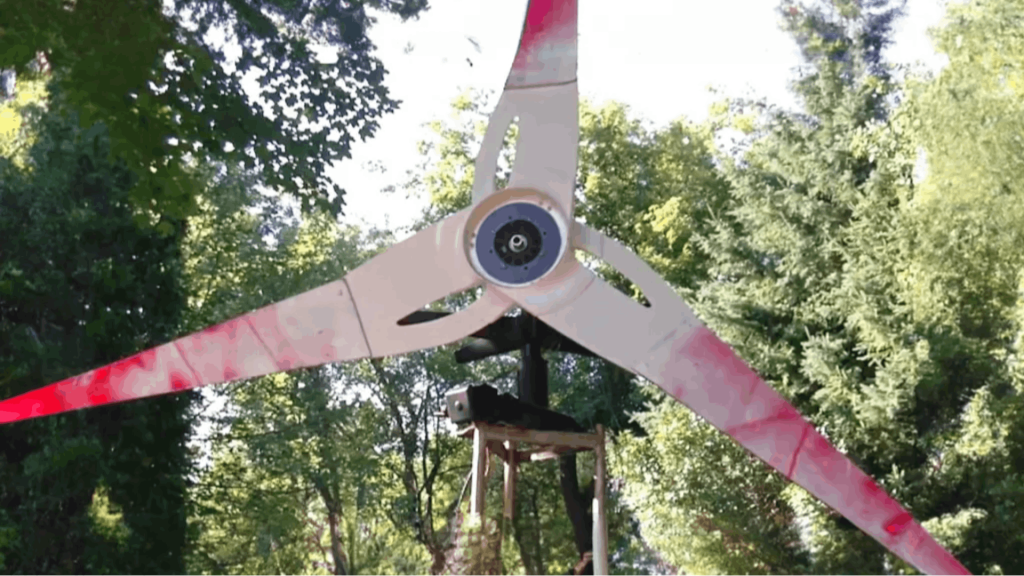
In this DIY project, we’ll walk you through the process of creating your very own vertical axis wind turbine using items you might already have lying around, like an old satellite stand, a bicycle rim, and even empty water bottles.
STEP 1 : The Materials Required

- Satellite stand (as the base)
- 26-inch rim (from a bicycle)
- Wood pieces (3/4 inch by 1 1/2 inch)
- Small water cooler bottles
- Ceiling fan motor (to be used as a low RPM generator/alternator)
- Magnets (preferably curved neodymium magnets)
- Rectifying diode
- Capacitor (16V, 3300 microfarads)
- LEDs (top hat LEDs were used in the video)
- Screws
- Sawzall or hand saw (for cutting the water bottles)
- Drill
- Scissors or tin snips (optional, for fine-tuning cuts on water bottles)
STEP 2 : Prepare the Base

-
Secure the Stand: Find a suitable location for your wind generator and securely mount the satellite dish stand. Ensure the stand is stable and can withstand wind.
-
Attach the Rim: Bolt the bicycle rim onto the stand using the provided mounting holes with the help of with a random peace of 1/8” metal.This will form the rotating platform for your wind generator.

STEP 2 : Create the Frame

Cut four pieces of wood ( here we use 3/4” x 2” ) to the desired length (slightly longer than the diameter of the rim). Arrange these pieces into a cross shape and secure them to the rim with screws, creating a simple frame.These will serve as supports between the rim and the water bottle blades

Step 3 : Prepare the Bottles

Draw a line lengthwise along each bottle, dividing it in half from top to bottom.This line will serve as your cutting guide .Carefully cut along the marked line, splitting the bottle in half lengthwise using a Sawzall or Handsaw. Cut all the water bottles you plan to use for your wind turbine blades.
Step 4 : Attach the Blades

Take one of your prepared water bottle halves. Place it against the rim, with the concave side facing the direction you want the wind to catch it.Place a wood piece under the water bottle half, between it and the rim.Using screws, fasten the water bottle half to the wood support.Continue attaching blades around the rim, maintaining equal spacing between them.Attach each half-bottle to the ends of the wooden frame using screws and zip ties. Ensure the bottles are securely fastened and will catch the wind effectively.
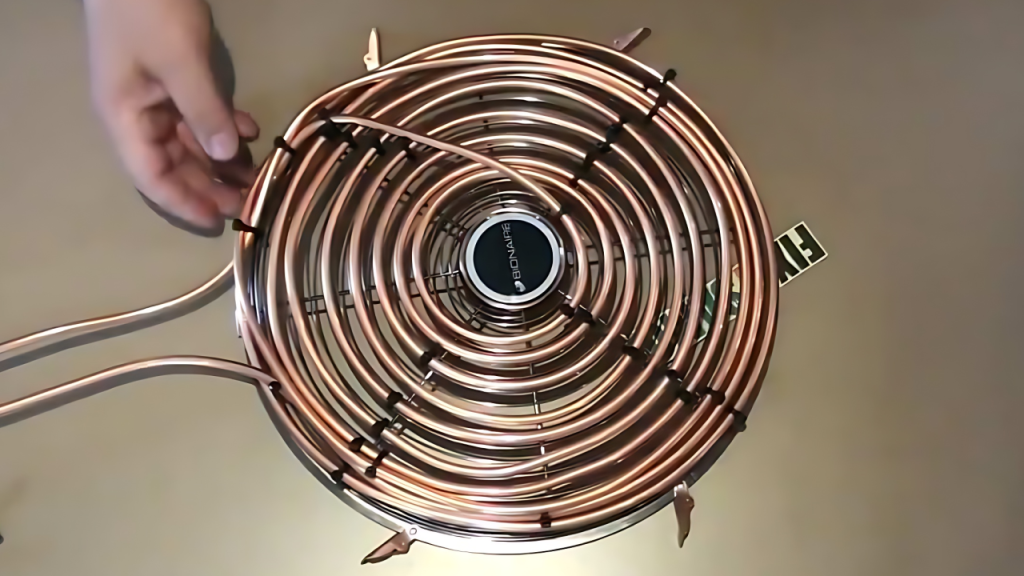
Step 5 : Prepare the Generator

Take an ceiling fan motor and add magnets to it. If using curved magnets, crack them in half to create more pieces. Attach these magnets around the motor’s rotor.For optimal performance, use neodymium magnets, either curved or flat, ensuring they are evenly spaced and have alternating polarity (north-south).
Step 6 : Wire the Electrical Components
Connect the ceiling fan motor (now functioning as an alternator) to a rectifying diode to convert AC to DC. Connect a smoothing capacitor in parallel with the output of the diode to reduce flickering and provide a more stable DC output.

Step 7 : Mount the Motor

Take your modified ceiling fan motor (now functioning as an alternator).Identify the best location to mount the generator.Position the generator so that its shaft aligns perfectly with the center of the rim.Ensure there’s enough clearance for the rim to spin freely without hitting the generator body.With the generator in position, mark where you’ll need to drill holes for mounting.Use appropriate bolts, nuts, and washers to firmly attach the generator to its mounting point.
Step 8: Connect the Output

Wire the output to your desired application. Here we used 12 top hat LEDs as a demonstration.Gently spin the blades of the wind generator and observe the LEDs lighting up. You should see the LEDs light up as the motor generates electricity.

To transfer power from the rotating rim to a stationary device, install a commutator (slip ring) on the rim and connect it to the motor output.