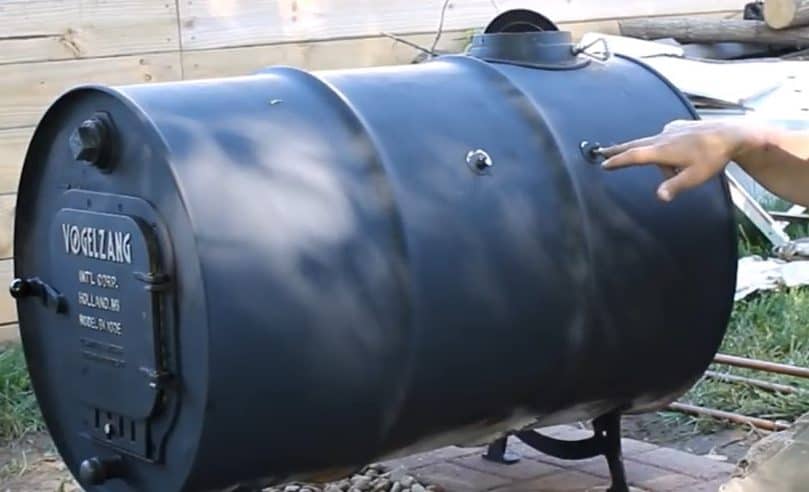
This DIY project provides an affordable and practical solution for heating your garage or workshop during the colder months.By repurposing an old barrel and a car radiator, you can build an efficient outdoor wood boiler that can provide ample heat to your space. We begin this process by converting the barrel into a wood burning stove using a Vogelzang stove kit, which is readily available at most hardware stores.
The Vogelzang stove kit comes with all the necessary components to convert the barrel into a stove, including a door, legs, a flue collar, and a damper.
Once you have obtained the kit, the next step is to clean and prepare the barrel. This involves removing any residual material from inside the barrel, such as rust or old paint. You can accomplish this by using a wire brush or sandpaper, and then wiping the barrel down with a clean cloth.

STEP 1 : PREPARING THE BARREL
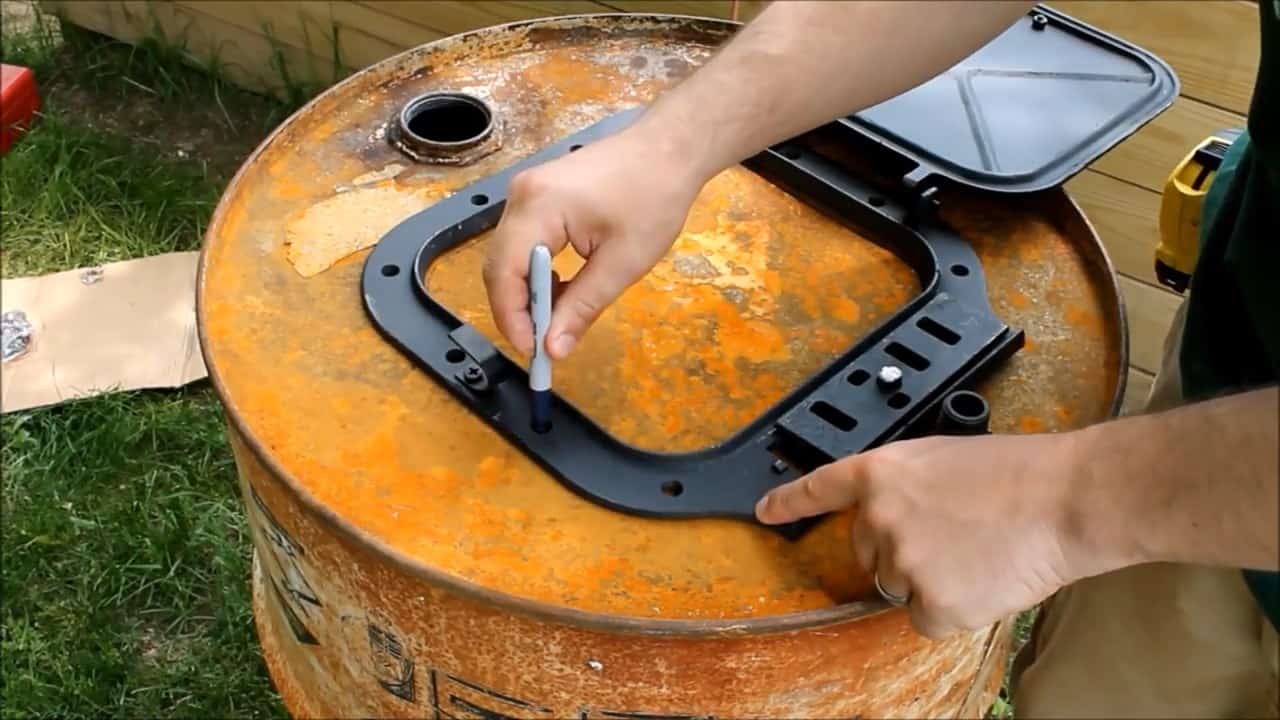
We start by cutting a hole for the door using the door accessory from the kit as a guide. Place the door on the side of the barrel and mark the four corners. Start cutting the hole using a grinder, reciprocating saw or a plasma torch.
The first step in converting an old barrel into a wood-burning stove is to cut a hole for the door. To make this task easier and more precise, we recommend using a door accessory from a stove kit.
Begin by placing the door accessory on the side of the barrel where you want the door to be. Use a pencil or marker to mark the four corners of the door accessory onto the barrel.
Double-check the placement of the door to make sure it is where you want it to be.
STEP 2 : INSTALLING DOOR AND LEGS
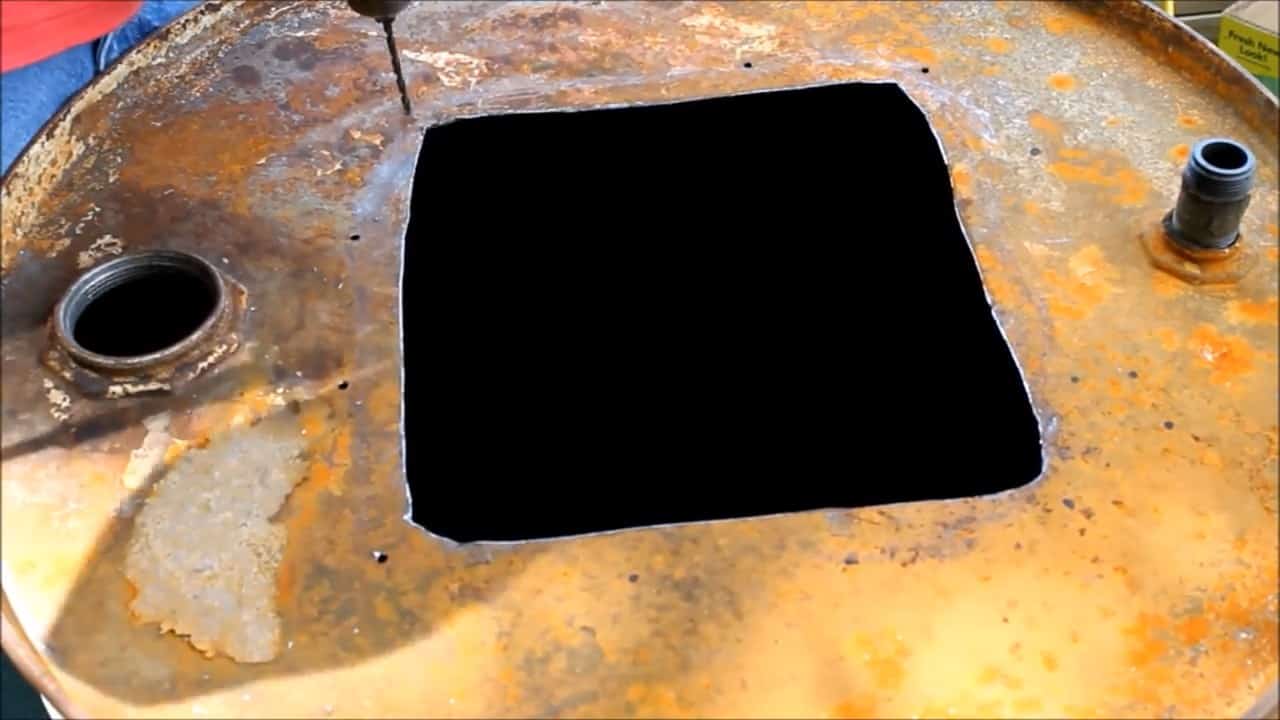
Next, it’s time to cut the hole for the door. There are several tools you can use for this task, such as a grinder, reciprocating saw, or a plasma torch.
Choose the tool that you are most comfortable using and that can make the cuts needed for your door size.
If you are using a grinder, make sure to wear appropriate safety gear, such as eye protection and a dust mask. Start by drilling a small pilot hole at one of the marked corners, then use the grinder to cut along the lines you drew for the door.
If you are using a reciprocating saw, make sure you have a blade suitable for cutting metal. Begin by drilling a pilot hole at one of the marked corners, then insert the blade into the hole and start cutting along the lines you drew for the door.
Once you have cut the hole for the door, remove any sharp edges or burrs from the opening. You can use a metal file or sandpaper to smooth out the edges.
Align the door with the hole and drill holes for the screws. The door is now secured in place.
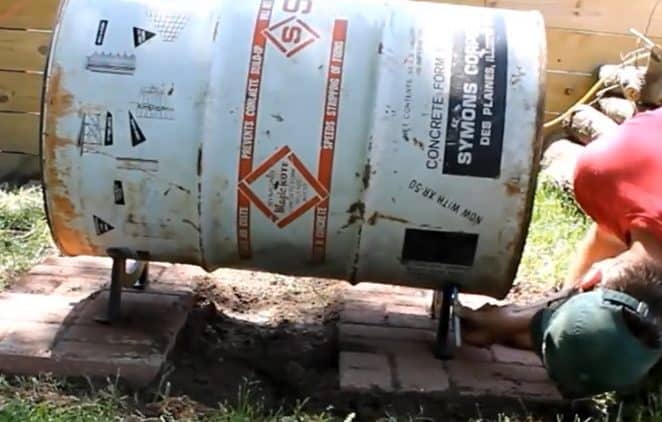
After cutting the hole for the door, the next step in building your outdoor wood boiler is to install the legs that came with the Vogelzang stove kit.
These legs will serve as the foundation for your barrel stove, so it’s important to make sure they’re installed correctly.
Start by placing the barrel on a flat surface and unpacking the legs from the kit. You should have four legs, each with a base plate and a bolt.
Position the legs on the bottom of the barrel, making sure they’re evenly spaced and aligned so that everything is level.
Once you’re satisfied with the positioning, use a marker to mark the location of each leg on the barrel. Then, drill a hole through each mark using an appropriate size drill bit.
You’ll want to make sure the hole is just big enough to allow the bolt to pass through, but not so big that it will wobble.
With the holes drilled, place the legs back onto the barrel and insert the bolts through the holes from the inside of the barrel. Use a wrench to tighten the bolts until the legs are securely fastened to the barrel.
Check to make sure the legs are level, adjusting as needed before tightening the bolts completely.
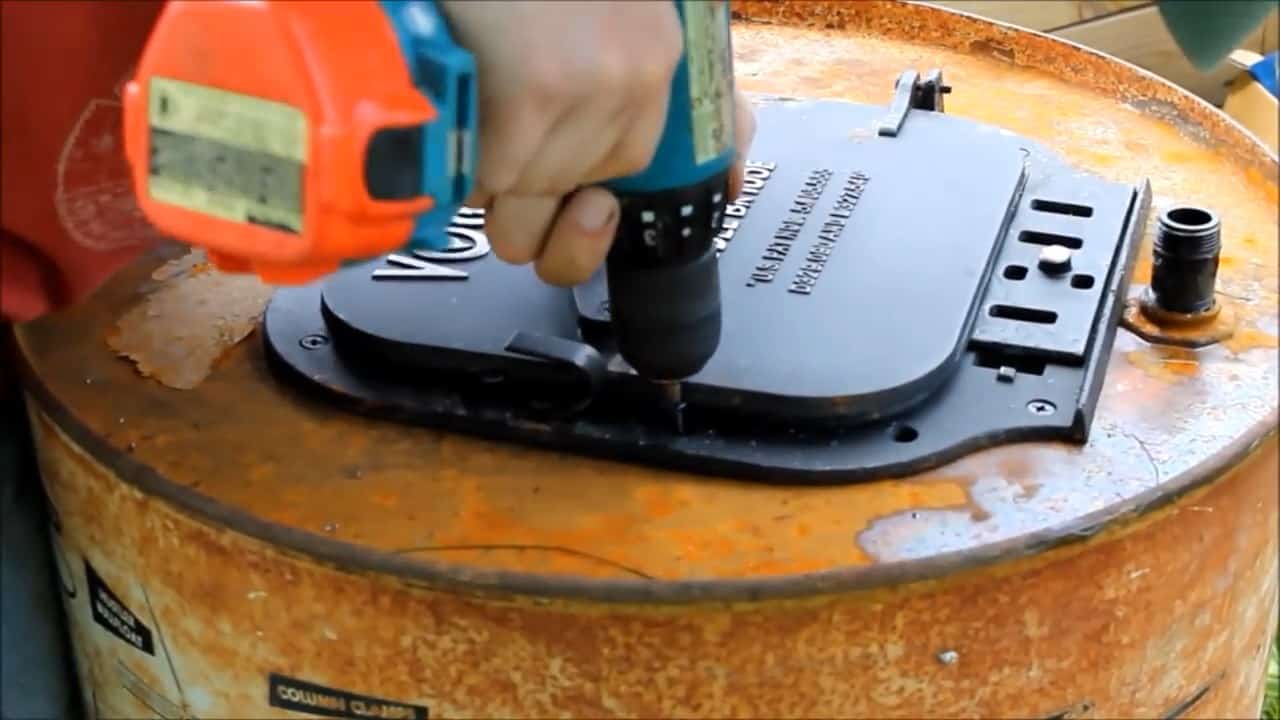
STEP 3 : INSTALL THE FLANGE
To control the airflow and how hot the stove burns, we install the flange and the damper within the chimney area. Center the flange that comes with the kit near the edge and make a circle for cutting the hole.
Also ,mark holes for the bolts using the flange as a guide. The flange along with the damper is then screwed down securely.
In order to regulate the airflow and temperature of the stove, we must install the flange and damper in the chimney area. The flange is centered near the edge of the barrel, and a circle is marked for cutting the hole.
The size of the hole should be slightly smaller than the diameter of the flange to ensure a snug fit.
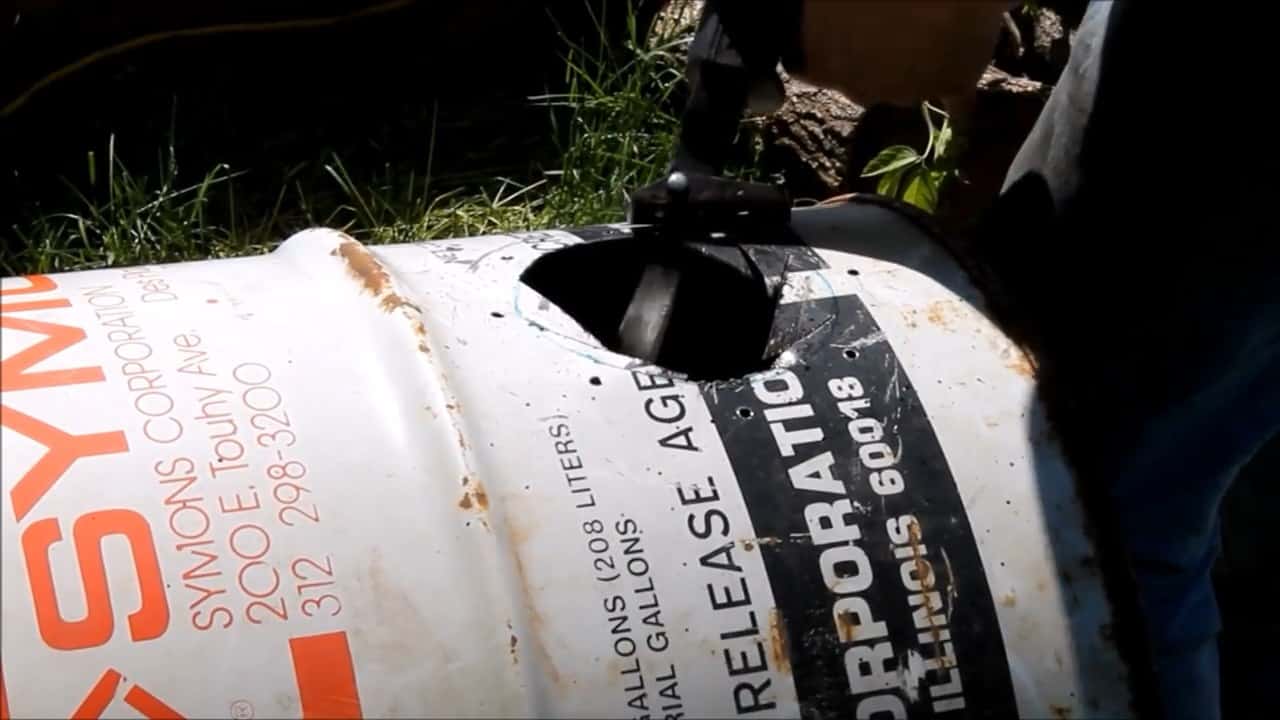
Once the circle is marked, use a drill or jigsaw to cut the hole. After the hole is cut, place the flange onto the barrel and align the bolt holes. Mark the barrel where the bolt holes are located.
It is essential to ensure that the flange is securely attached to the barrel to prevent any leakage.
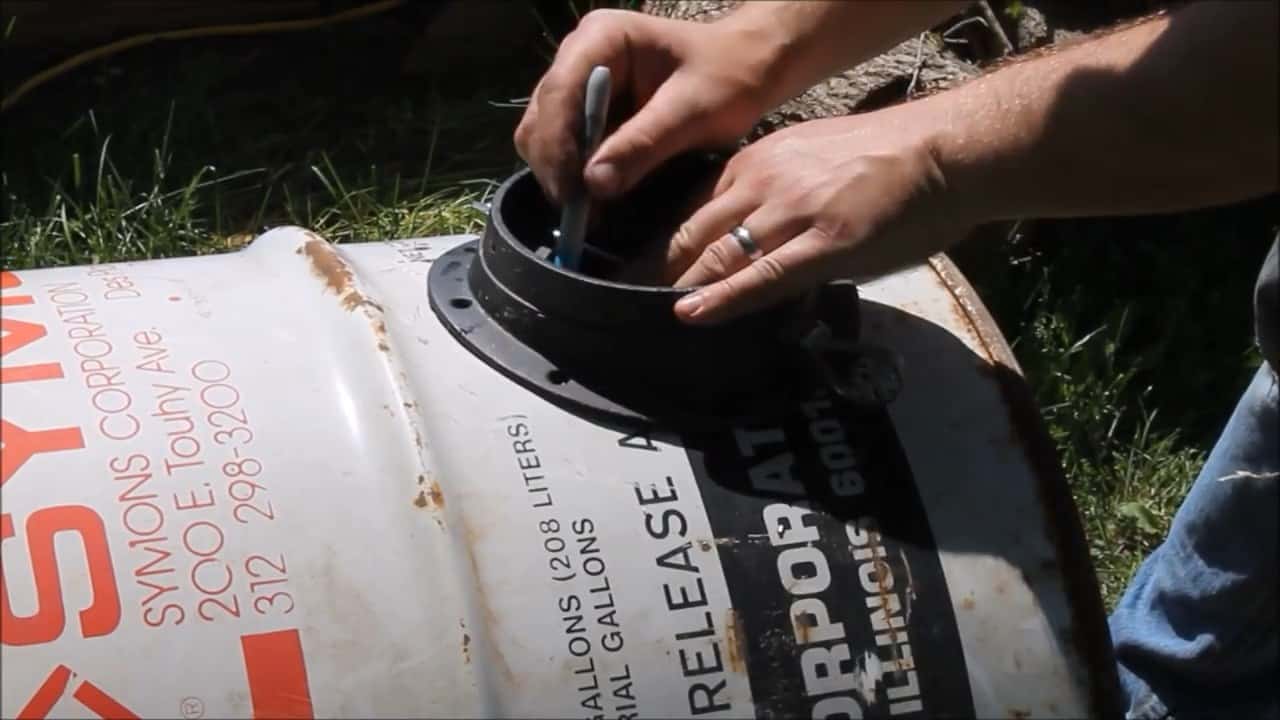
Next, we install the damper into the flange. The damper is a hinged plate that regulates airflow by controlling the size of the chimney opening.
To install the damper, simply insert it into the flange and secure it in place using screws or bolts. Make sure that the damper is tight enough to prevent any air leakage when closed.
STEP 4 : CONVERTING INTO WATER HEATER
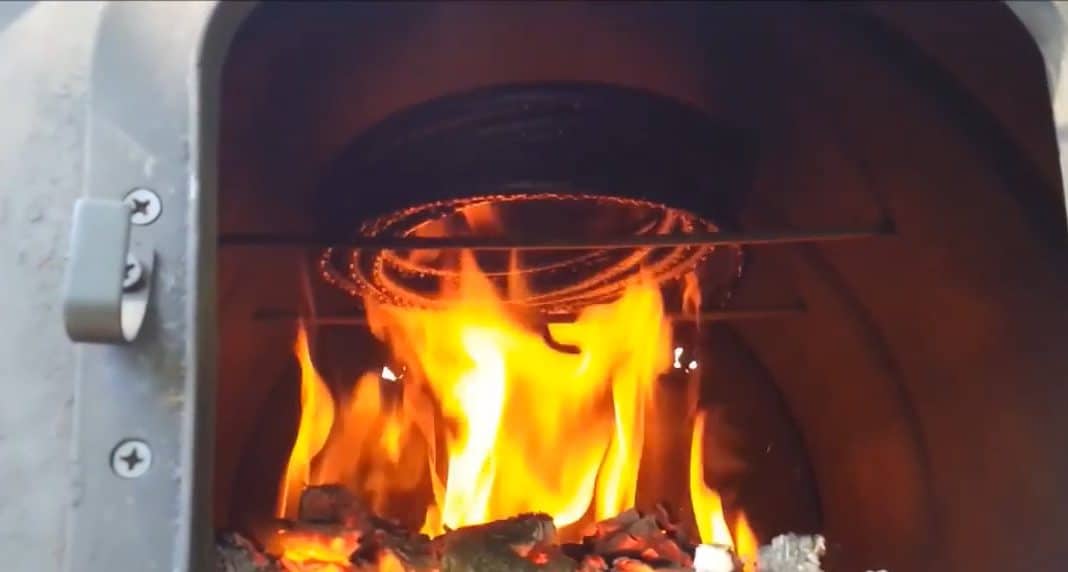
To convert the barrel stove into a hot water heater, the next step involves adding a heat exchanger. This is done by drilling two holes across both sides of the barrel and inserting a couple of three-eighth inch threaded rods across the sides.
The rods act as a base where the heat exchanger coils can be inserted.

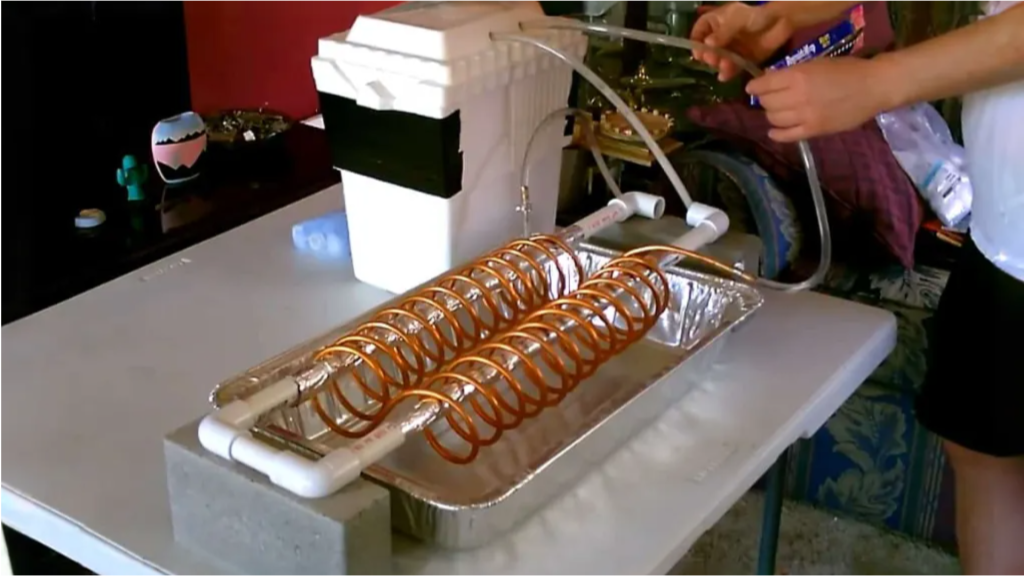
A 30ft half inch copper coil with the input and output straight end is placed inside the barrel on top of the two threaded 3/8th rod base which we have installed previously.
Once the copper coil is properly positioned, two holes are drilled at the back of the barrel to allow the input and output ends of the copper coil to be connected to a pipe or a flexible hose.
It is important to make sure that the holes are big enough to accommodate the size of the pipe or hose that will be used for the connections.
STEP 5 : EXTENDING THE COIL CONNECTION
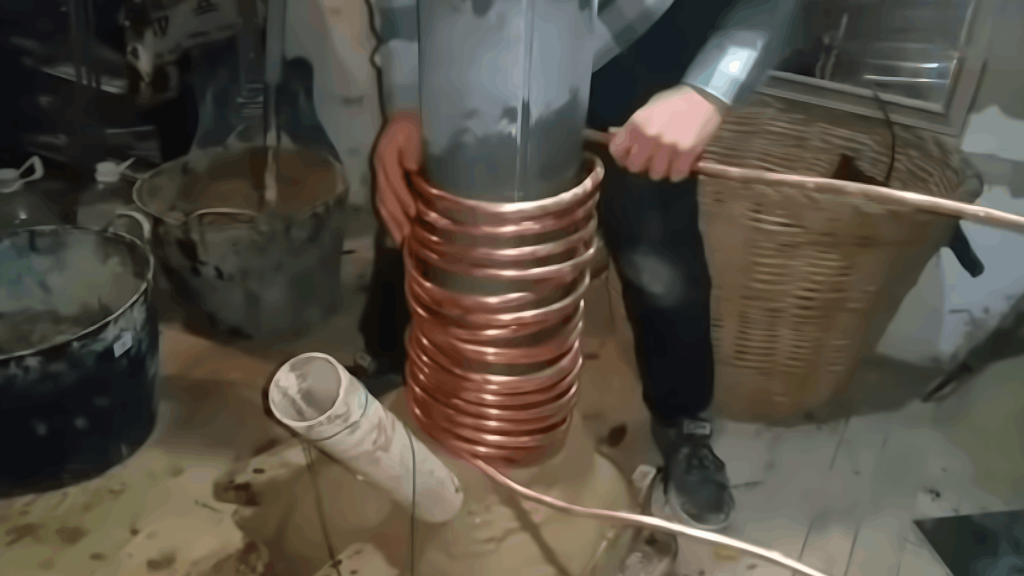
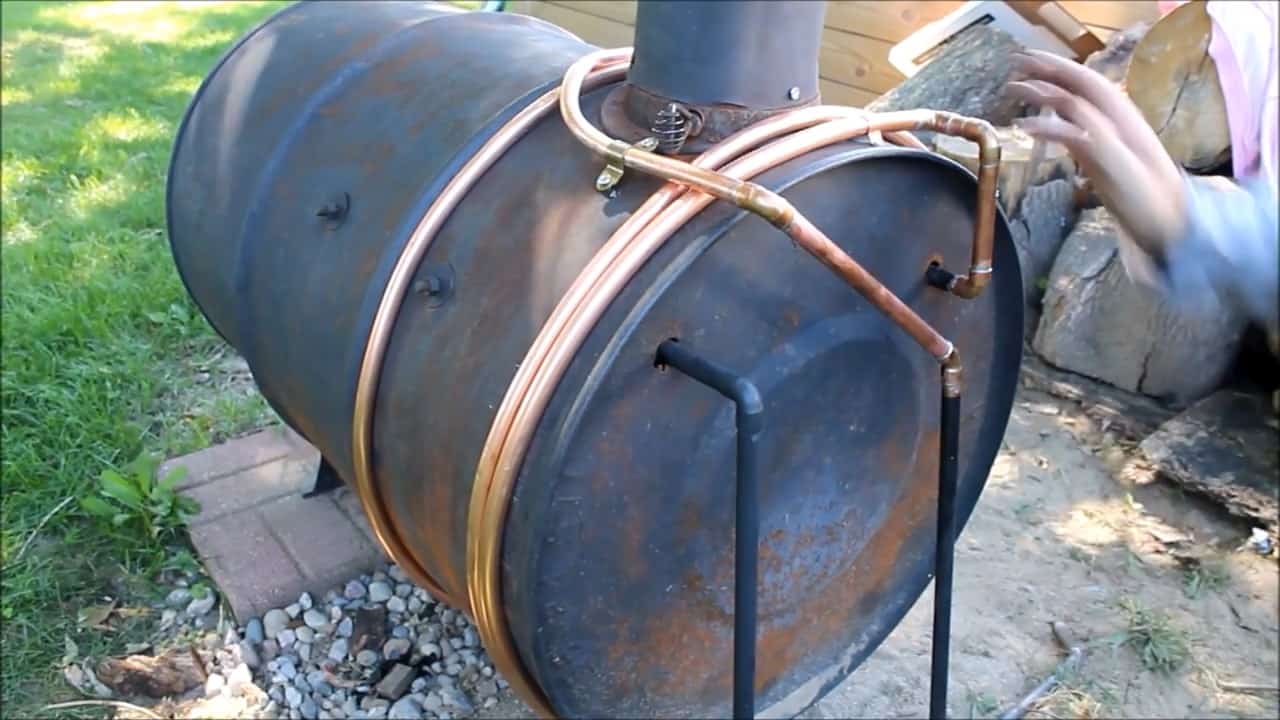
After installing the coiled copper tubes inside the barrel, the next step is to create a loop of copper coil outside the barrel, which will further enhance the heating process.
The input end of the copper coil that comes out at the back of the barrel is connected to this outside coil. The outside coil is wound around the barrel in a circular pattern.
The incoming water flows through this outside coil before entering the barrel. This preheats the water using the heat generated by the stove.
The coiled copper tubes inside the barrel work as the primary heat exchanger, and the outside copper coil acts as the secondary heat exchanger.
The outside coil absorbs the heat from the wood stove, and the incoming water is preheated before it enters the barrel. As the water flows through the coiled copper tubes inside the barrel, it gets further heated.
STEP 6 : CONNECTING THE PIPES TO THE GARAGE
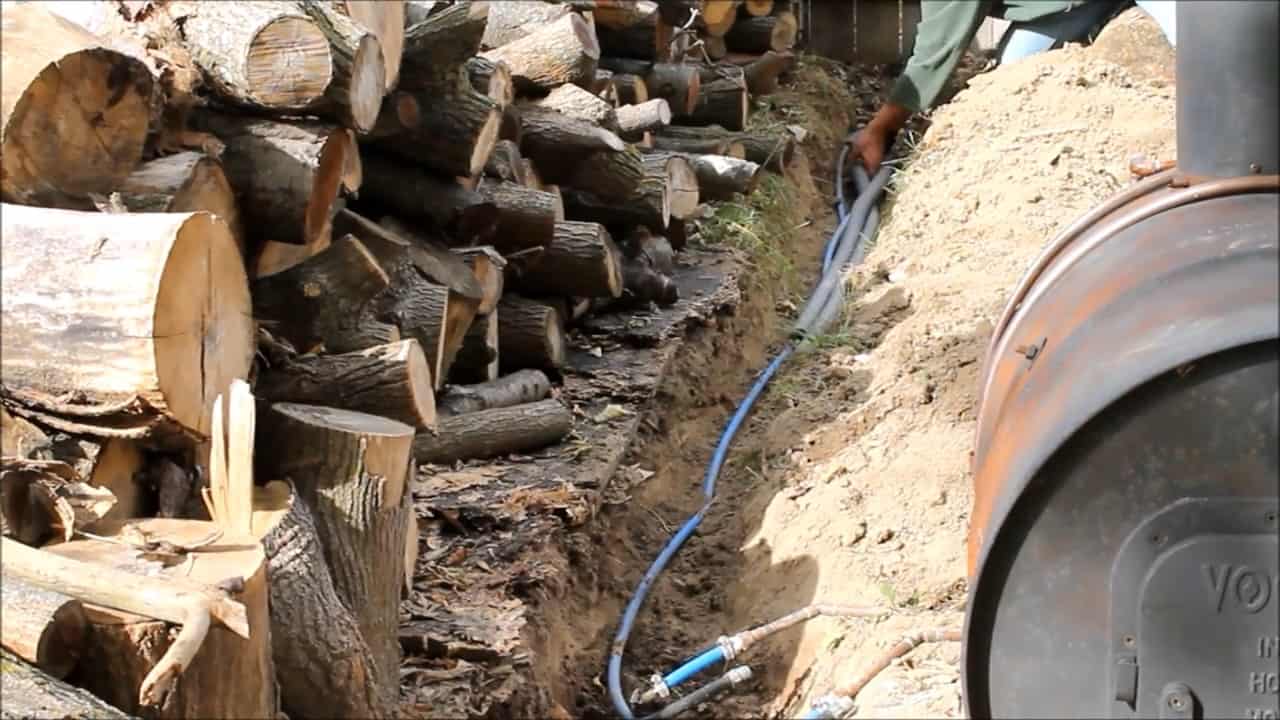
The ends of the coils are connected to two pipes, the outgoing and the return. These pipes are then insulated using half inch pipe insulation foam to prevent any leak.
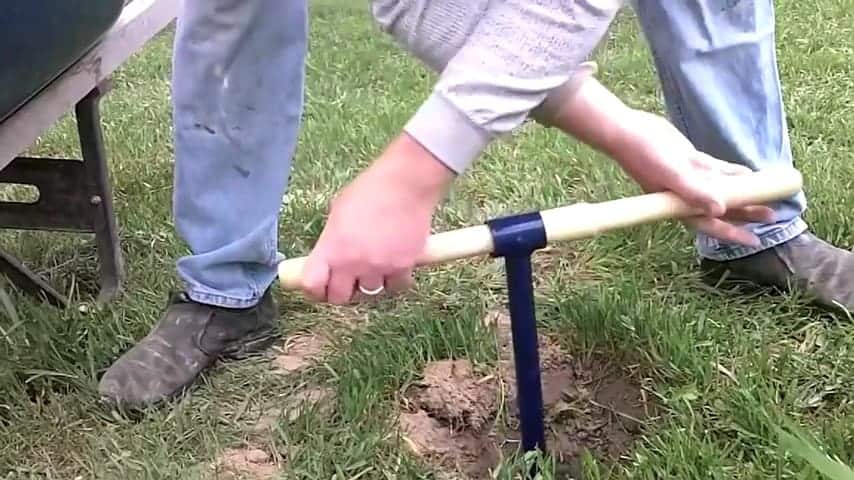
A small trench is dug and the insulated pipe is extended to the garage.
After connecting the input and output ends of the copper coil to pipes or flexible hoses, the next step is to insulate them to prevent any heat loss.
This is achieved by using half inch pipe insulation foam which is wrapped around the pipes. The insulation foam is secured in place with duct tape.
Once the pipes are insulated, a small trench is dug from the location of the wood boiler to the garage where the heated water will be circulated to provide warmth.
The length of the trench will depend on the distance between the wood boiler and the garage.
It is important to dig the trench deep enough to prevent damage from freezing temperatures during the winter months.
Additionally, it is recommended to place the pipes in a protective conduit to prevent accidental damage from gardening or landscaping tools.Any leak in the pipes or insulation can result in heat loss and reduced efficiency of the system.
STEP 7 : INSTALLING THE CAR RADIATOR AND SUBMERSIBLE PUMP
Once the insulated pipes are extended to the garage, the next step is to connect them to an old car radiator. The radiator serves as a heat exchanger that transfers heat from the hot water coming from the barrel to the air inside the garage.
The incoming hot water pipe is connected at the top of the radiator and the return pipe is connected at the bottom.

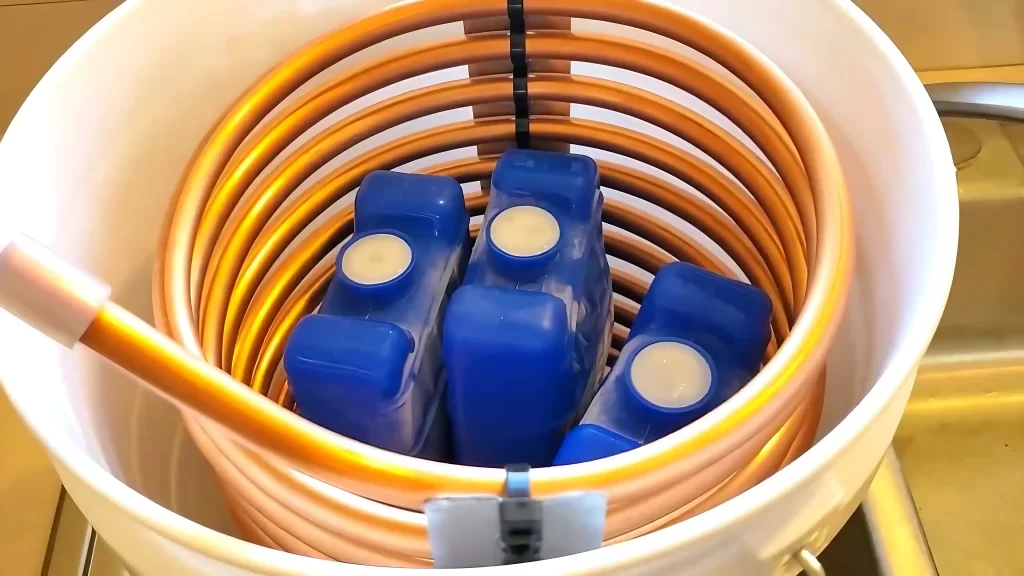
To circulate the water, a submersible pump is used. The pump is placed inside a bucket filled with cold water. The pump will then suck cold water out of the bucket and push it into the heater.
As the water passes through the heater, it absorbs heat from the hot water and becomes hot. The hot water is then circulated through the radiator, which cools it down by transferring heat to the air inside the garage. The cooled down water is collected in the bucket and the cycle starts again.
It is important to make sure that the pump is submerged in the water at all times, and that the water level in the bucket is maintained to prevent the pump from running dry.
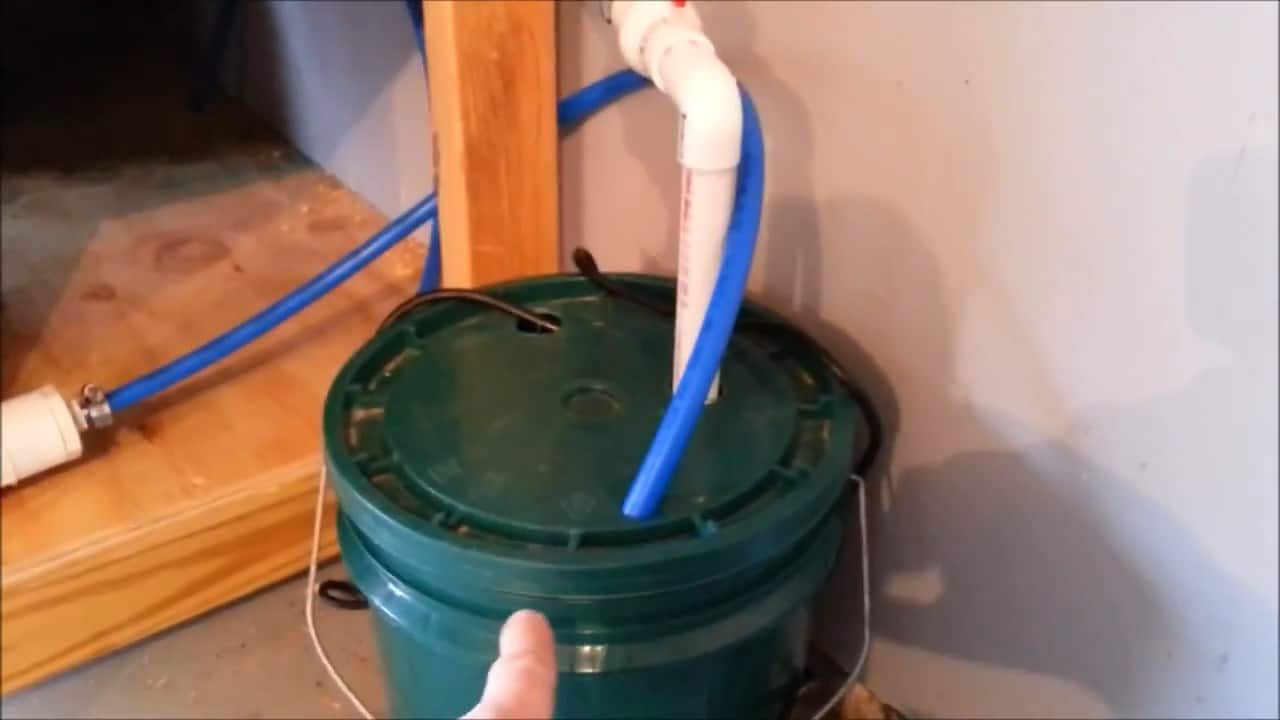
After connecting the incoming and outgoing water pipes to the old car radiator, the next step is to set up a recirculation system using a submersible pump.
The pump is placed in a bucket filled with water, and two holes are drilled on the top of the bucket, one for the pipe coming out from the pump and another for the pipe returning from the radiator.
The inch and quarter radiator hose is adjusted to fit the pex hose piping using a PVC poly tube with a threaded end.
On the other end of the polytube with the threaded end, a PVC adapter and a slip fitting with a bushing are attached to connect the pex pipe to the radiator. This ensures a secure and tight connection between the pipes and prevents any leaks.

To prevent the water from boiling due to the heat generated by the stove, an antifreeze solution is mixed with the water.
The antifreeze solution helps to regulate the temperature of the water and prevent any damage to the system caused by boiling water.

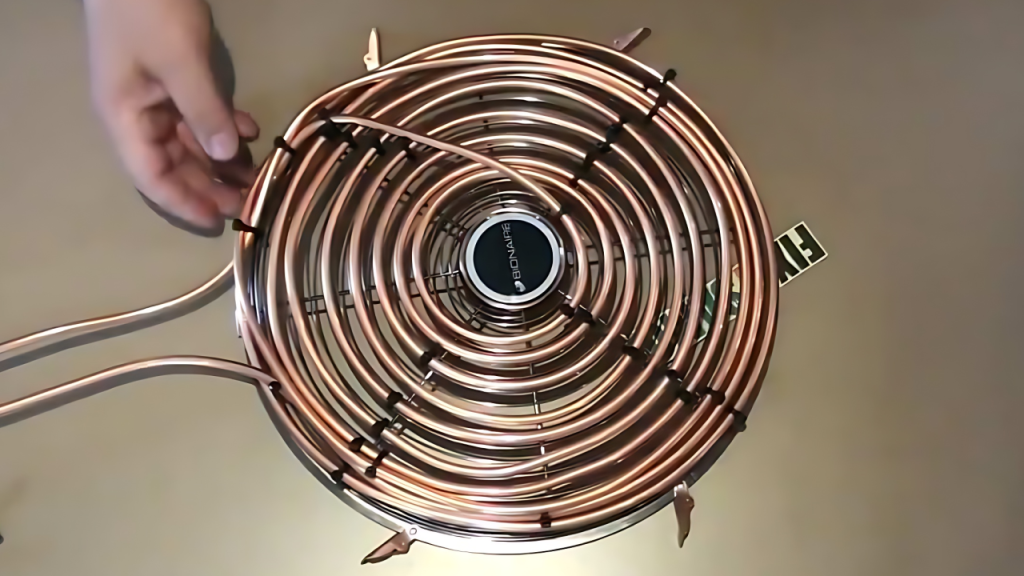
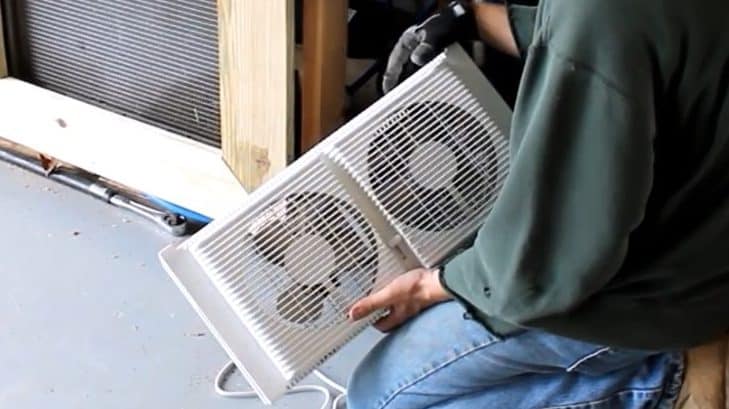
To ensure proper circulation of the hot air from the radiator into the garage, a window fan is utilized as a back fan. The fan is strategically placed directly behind the radiator, facing towards the garage.
This setup allows for the hot air to be blown through the radiator and into the garage, providing warmth and heat throughout the space.
The window fan is an efficient and cost-effective option for creating a steady flow of hot air from the radiator. It helps to distribute the heat evenly throughout the garage, ensuring that every corner of the space is properly heated.
The fan can be easily adjusted to control the speed and direction of the airflow, providing flexibility and customization for the user.
To sum up, constructing an outdoor wood boiler and repurposing an old car radiator can provide a practical alternative to electric heating for your garage.
By following the project guidelines, you can transform a used barrel into a stove and water heater, and connect it to a car radiator located inside the garage. Using a submersible pump and antifreeze solution, the warm water circulates through the radiator and fan, which in turn blows hot air into the garage via a window fan.
Image Credits : SSLFamilyDad | Youtube