When it comes to survival preparedness, having a secure and reliable shelter can make all the difference. With natural disasters and emergencies becoming increasingly common, it’s essential to have a safe space to retreat to.One innovative solution that’s gaining popularity is converting old shipping containers into underground survival bunkers. Not only are they affordable and easy to build, but they also provide unparalleled security and protection from the elements.
In this project, we’ll explore how to transform a used shipping container into a sturdy and functional underground shelter that can be used for storage, as a garage, or even as a survival retreat in case of emergency.
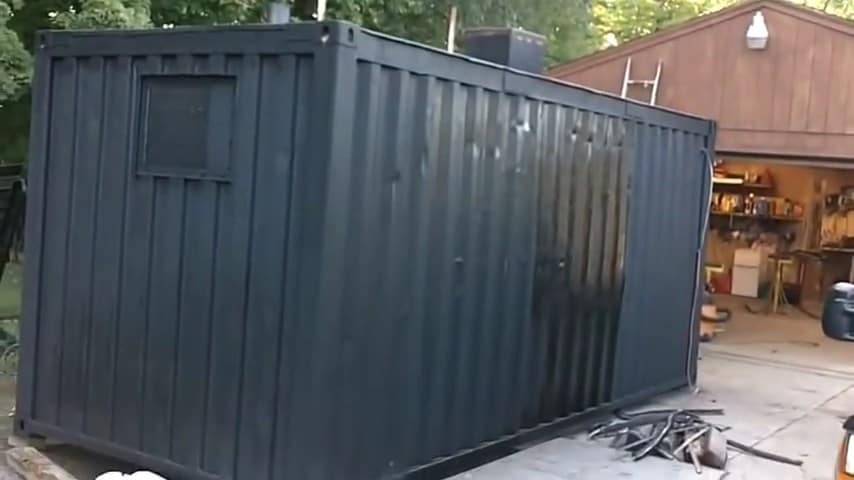
STEP 1 : INSPECT THE SHIPPING CONTAINER BEFORE PURCHASE
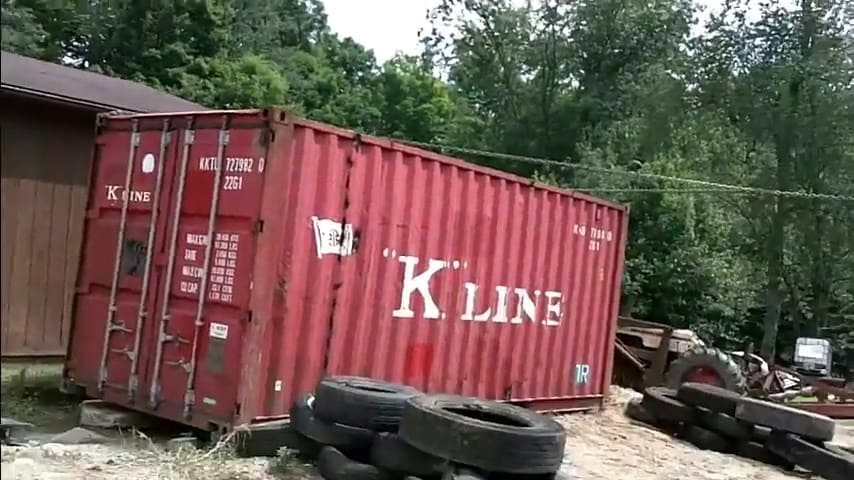
Before starting the project, make sure that the shipping container you have bought is not heavily used, banged up or rusty with holes. It is preferable that you go with a new one instead of a overused beaten one.
The container used here is a less damaged one. The dimensions of the container is 20ft long and 8 and 1/2 ft tall.

STEP 2 : BURY THE CONTAINER THE RIGHT WAY
The shipping container cannot be buried directly the way they are. It is not safe. The strength of the containers lies in the floor and the uprights.The load bearing capacity of the container is distributed along the corners of the container.
Here we invert the container so that the floor of the container is the new roof. The inverted floor has more strength to withhold any stress from outside. Before burying the container, make sure that you have a proper foundation. Don’t place the inverted container directly on the soil.
Since the earth will settle overtime, the probability of the container also settling and becoming off balance is there. Also ,add a drainage system to the foundation to prevent any concrete runoff in case of a flood or massive rain.
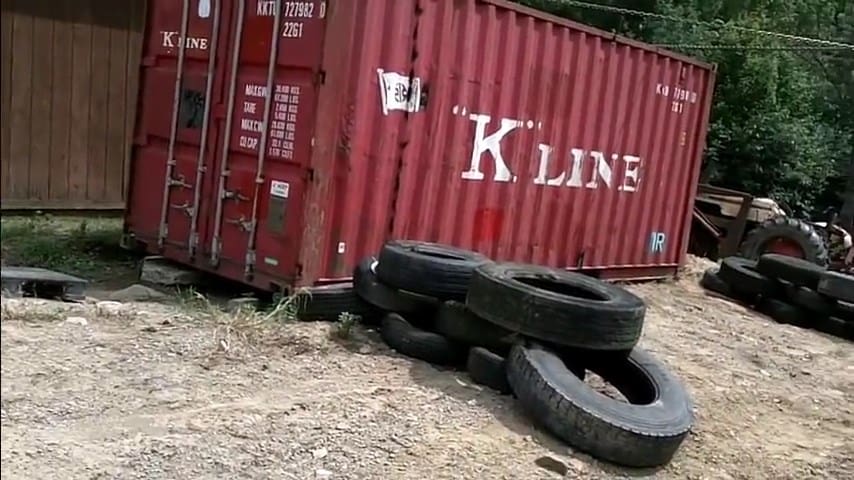
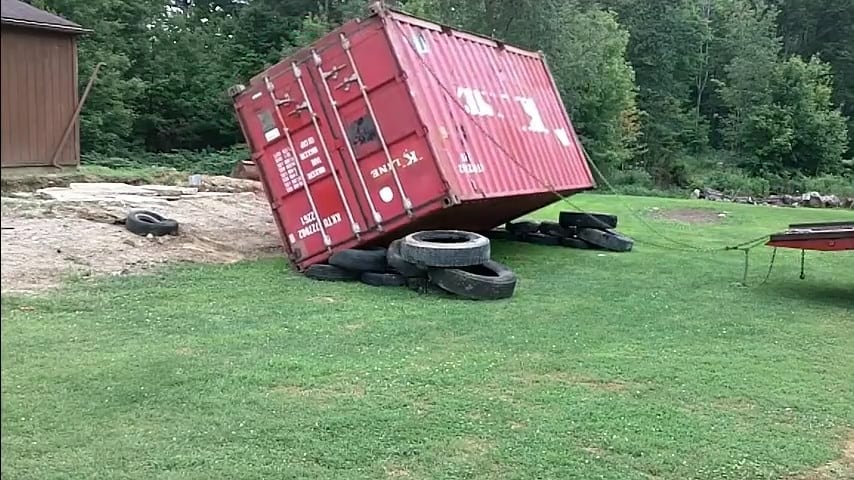
To roll over the container cheaply with a crane, we use a bunch of old tyres lined on support corners of the container where the beams are the strongest.
We pull the container using a rollback tow truck and lay them right on the tyres and do this process once more to completely invert the container. Make sure you have the container doors locked in place.
STEP 3 : SECURING THE WALLS
Since the load bearing capacity of the container is not focused on the walls and roof ( floor in our case) , it can be crushed by the soil around it once they are buried, so proper bracing around the sides and floor is necessary.
You have to build the support structure from the inside to hold everything securely.


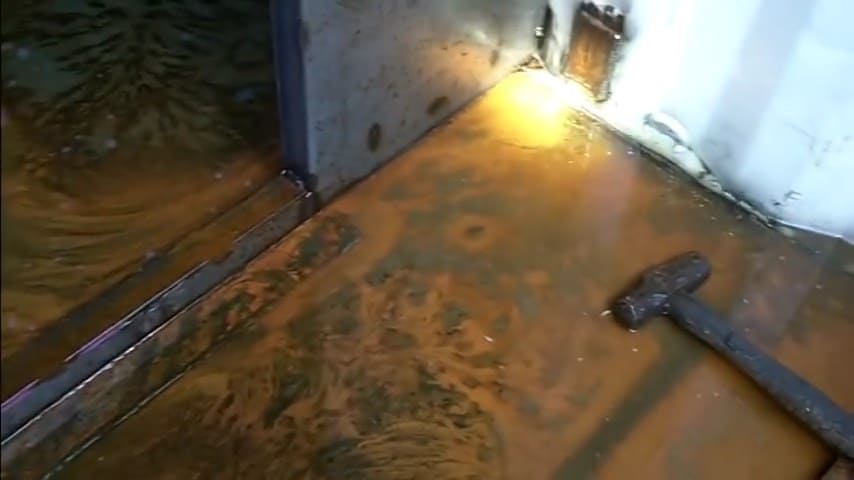
Walls made of 4 inch structural steel beams sandwiched between 2 quarter inch steel plate firmly supports the inside of the container from caving in .
Two such walls spaced apart are installed.Couple of structural beams are welded across the sides of the container too for extra support.
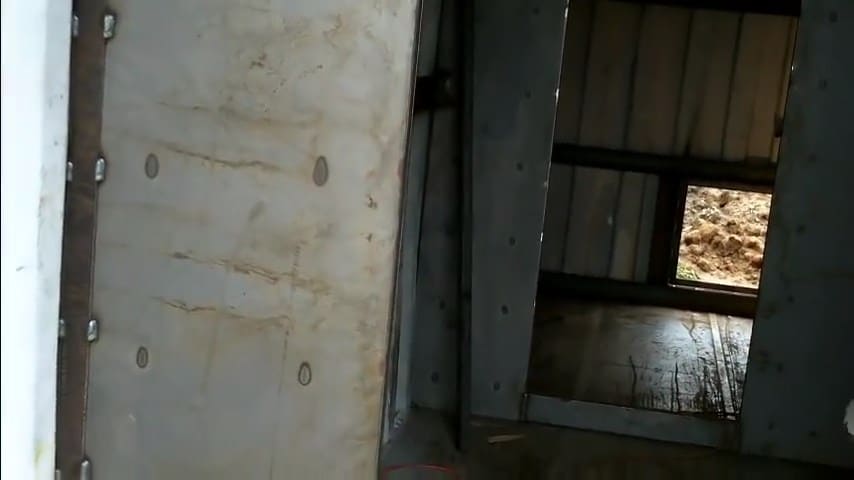
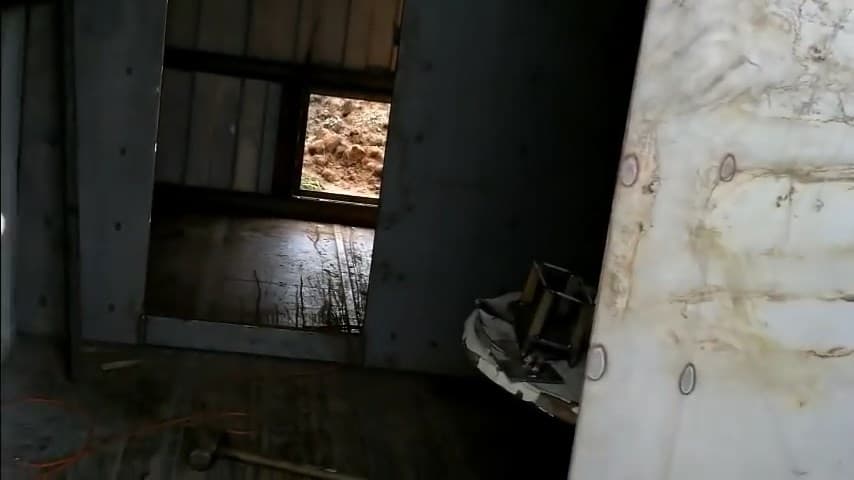
The back wall has two structural beams running across .Also, an opening for an escape hatch is made in case of a dire situation.
The door for the hatch is bolted down using rubberized silicon for easy removal.
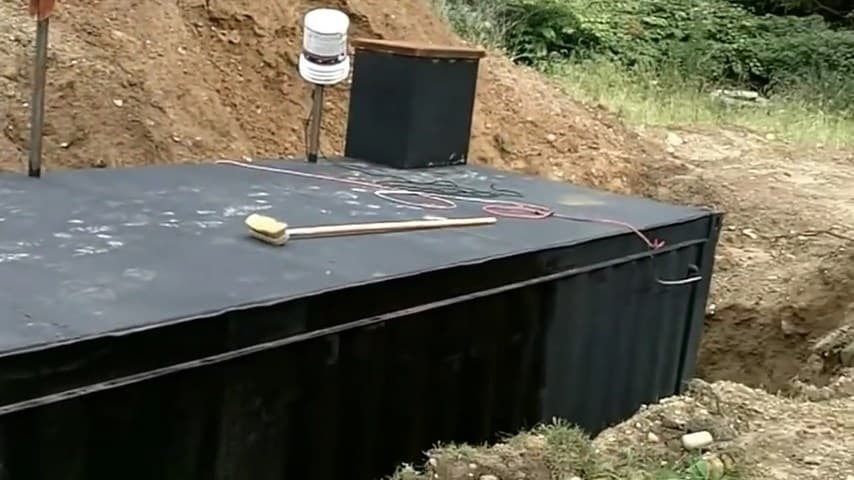
STEP 4 : PROTECTING THE ROOF
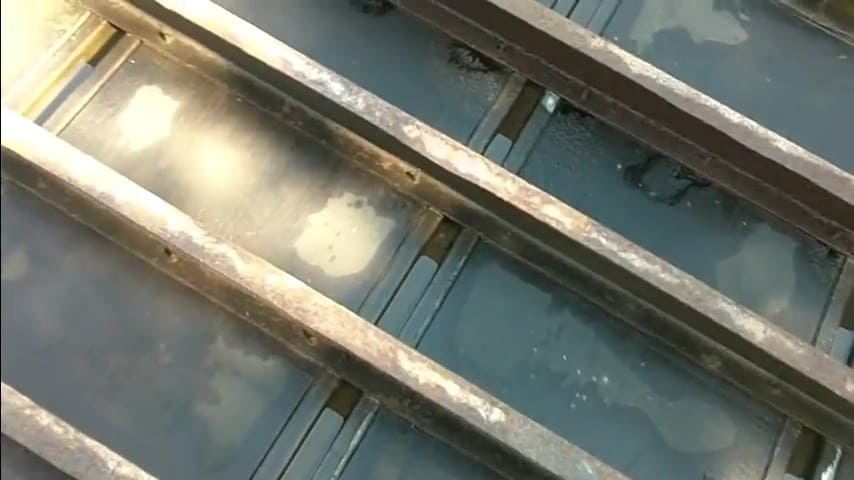
Since the floor ( the original roof) structure is really flimsy and weak, we secure them with structural beams along the width of the floor from the front all the way across to the end.
It is then covered with steel plates that is welded all along the length of the floor.

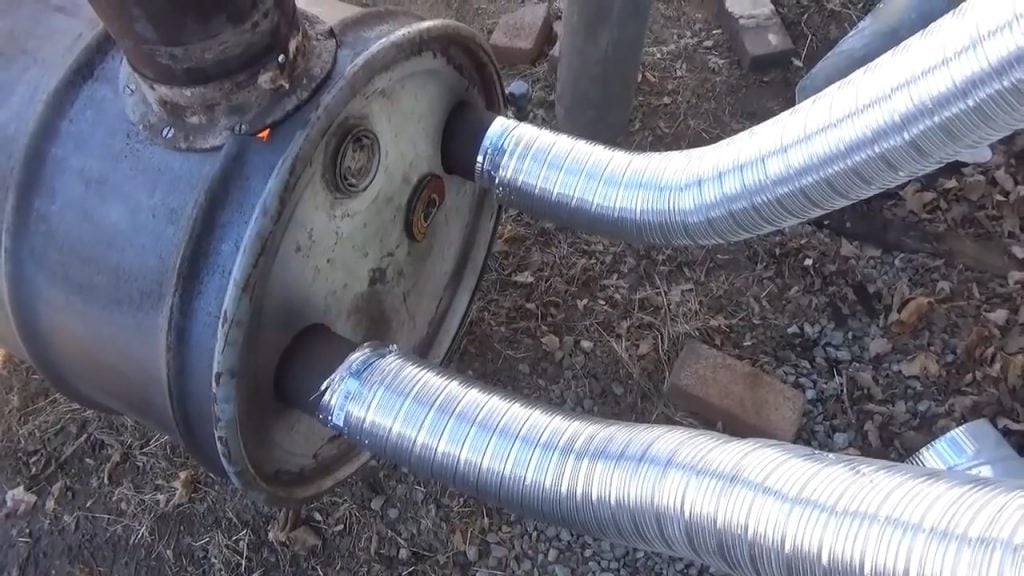
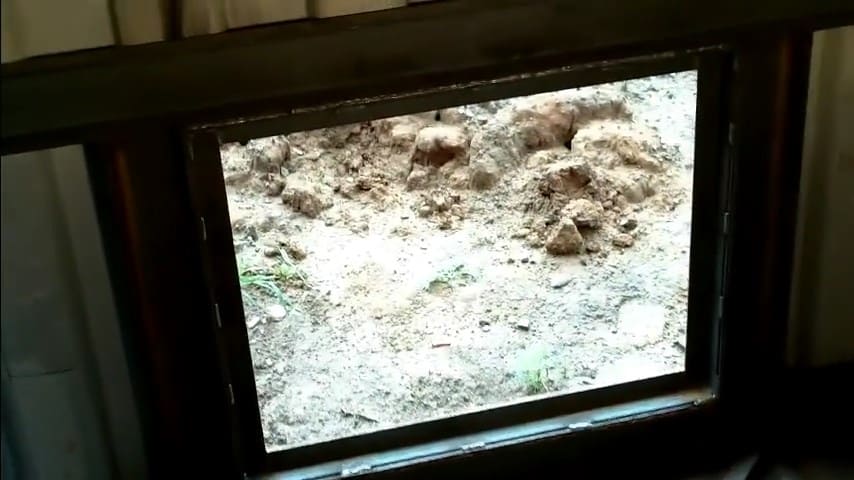
The roof of the container ( the actual floor) is covered and sealed up water tight with quarter inch steel plate. Holes for the air ventilation pipes and entry opening hatch are also made alongside with this.
The roof needs to be sealed tightly to prevent any leak.
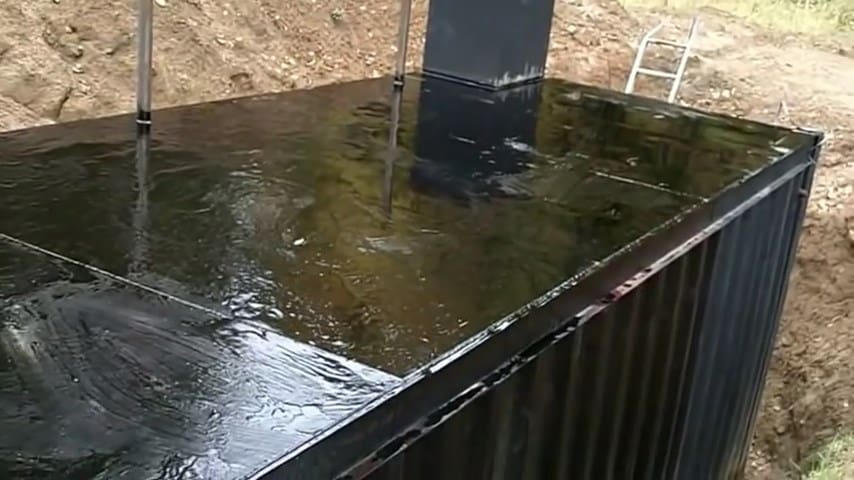
STEP 5 : COATING THE CONTAINER
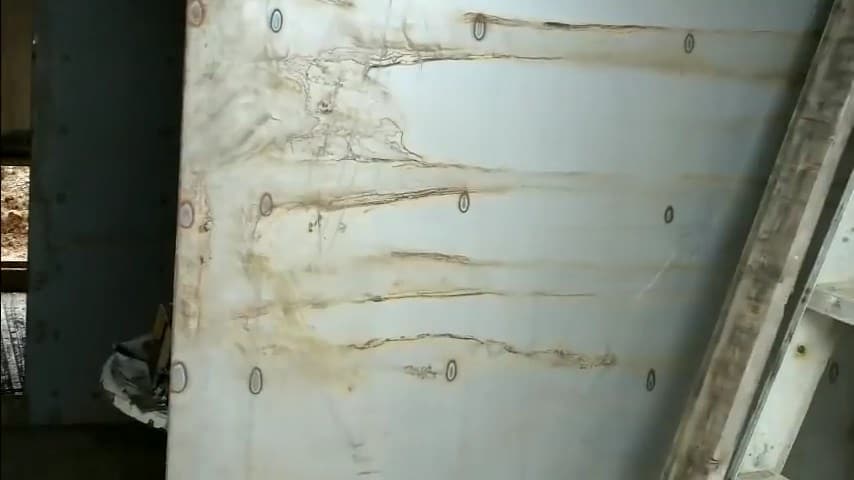
To prevent the container from gathering moisture and attracting rust and thus erode and fall apart, the exterior is sealed with a triple coated water proof paint.
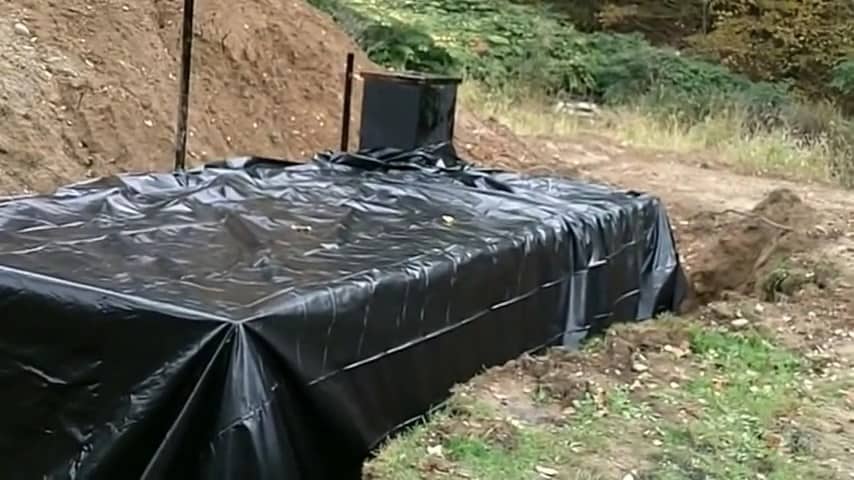
STEP 6 : BURYING THE CONTAINER
Eight and half foot deep hole is dug with the help of an excavator. As we said before, the first thing to do is to make a proper foundation with drainage options before we place the container .
The container is safely placed with the help of a crane once the foundation work is finished.
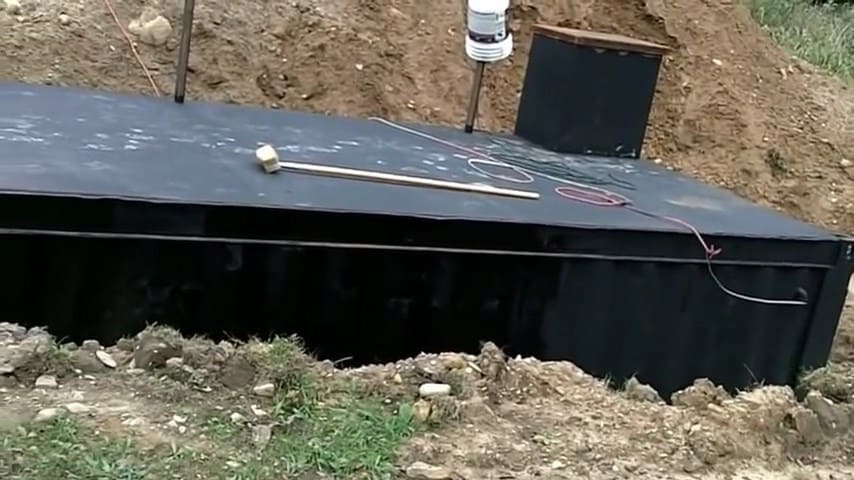
To provide some extra seal, the top of the container is coated with tar and then covered by 20 foot X 100 foot plastic sheet .
Then we begin covering up the container with the soil and start to bury it.
CONCLUSION
To sum up, constructing an underground off-grid survival shelter using an old shipping container is an excellent solution for those who want to ensure safety and security in the event of extreme weather conditions or emergencies.
Not only is it a practical and cost-effective option, but it also provides peace of mind, knowing that you have a safe and secure shelter to turn to during a crisis.
However, it’s essential to remember that building an underground shelter from a shipping container requires careful planning, proper foundation, and structural support to ensure safety and durability.
It’s crucial to inspect the shipping container before purchase and secure the walls and roof to prevent any leaks or damage. Additionally, coating the exterior is necessary to protect the structure from moisture and rust.
Overall, with the right materials, tools, and techniques, anyone can build their own survival bunker and be prepared for any emergency situation. Whether you use it as a storage cellar or a garage, it’s always better to be safe than sorry.
By following these guidelines, you can build a sturdy, reliable underground shelter that will provide safety and security for you and your loved ones for years to come.
Image Credits : loveihi